
Crafting Personalized Gifts: Salt Shaker and Pepper Mill Project

Welcome to Turning Stitches! I’m Sean, and we’re here to help woodturners like you learn the craft faster, so you can start making fun projects right away. If you’re anything like me, you might find gift-giving a bit of a challenge. I tend to wait until the last minute, often picking up something forgettable. But if you’re in the same boat, this series is here to change that! We’ll take your woodturning skills and turn them into personalized, handmade gifts that your friends and family will cherish for years to come.
Today’s project is a great example—a custom salt shaker and pepper mill set. It’s an ideal gift, especially for the aspiring chefs in your life. What’s great about this project is that you can personalize it by using different wood species or adding color for a unique look. There’s a lot to cover, so let’s dive in!
Materials You'll Need
To start, you’ll need two turning blanks:
One blank that is 2 ½ inches square and 4 inches long for the base.
Another blank that is 2 ½ inches square and 2 inches long for the top.
Combination Salt Shaker and Pepper Mill Kit (https://amzn.to/3Up1k1r)
(Below is a full list (including easy to use links) of the tools and supplies we are using today.)
Step-by-Step Instructions
1. Preparing the Blanks
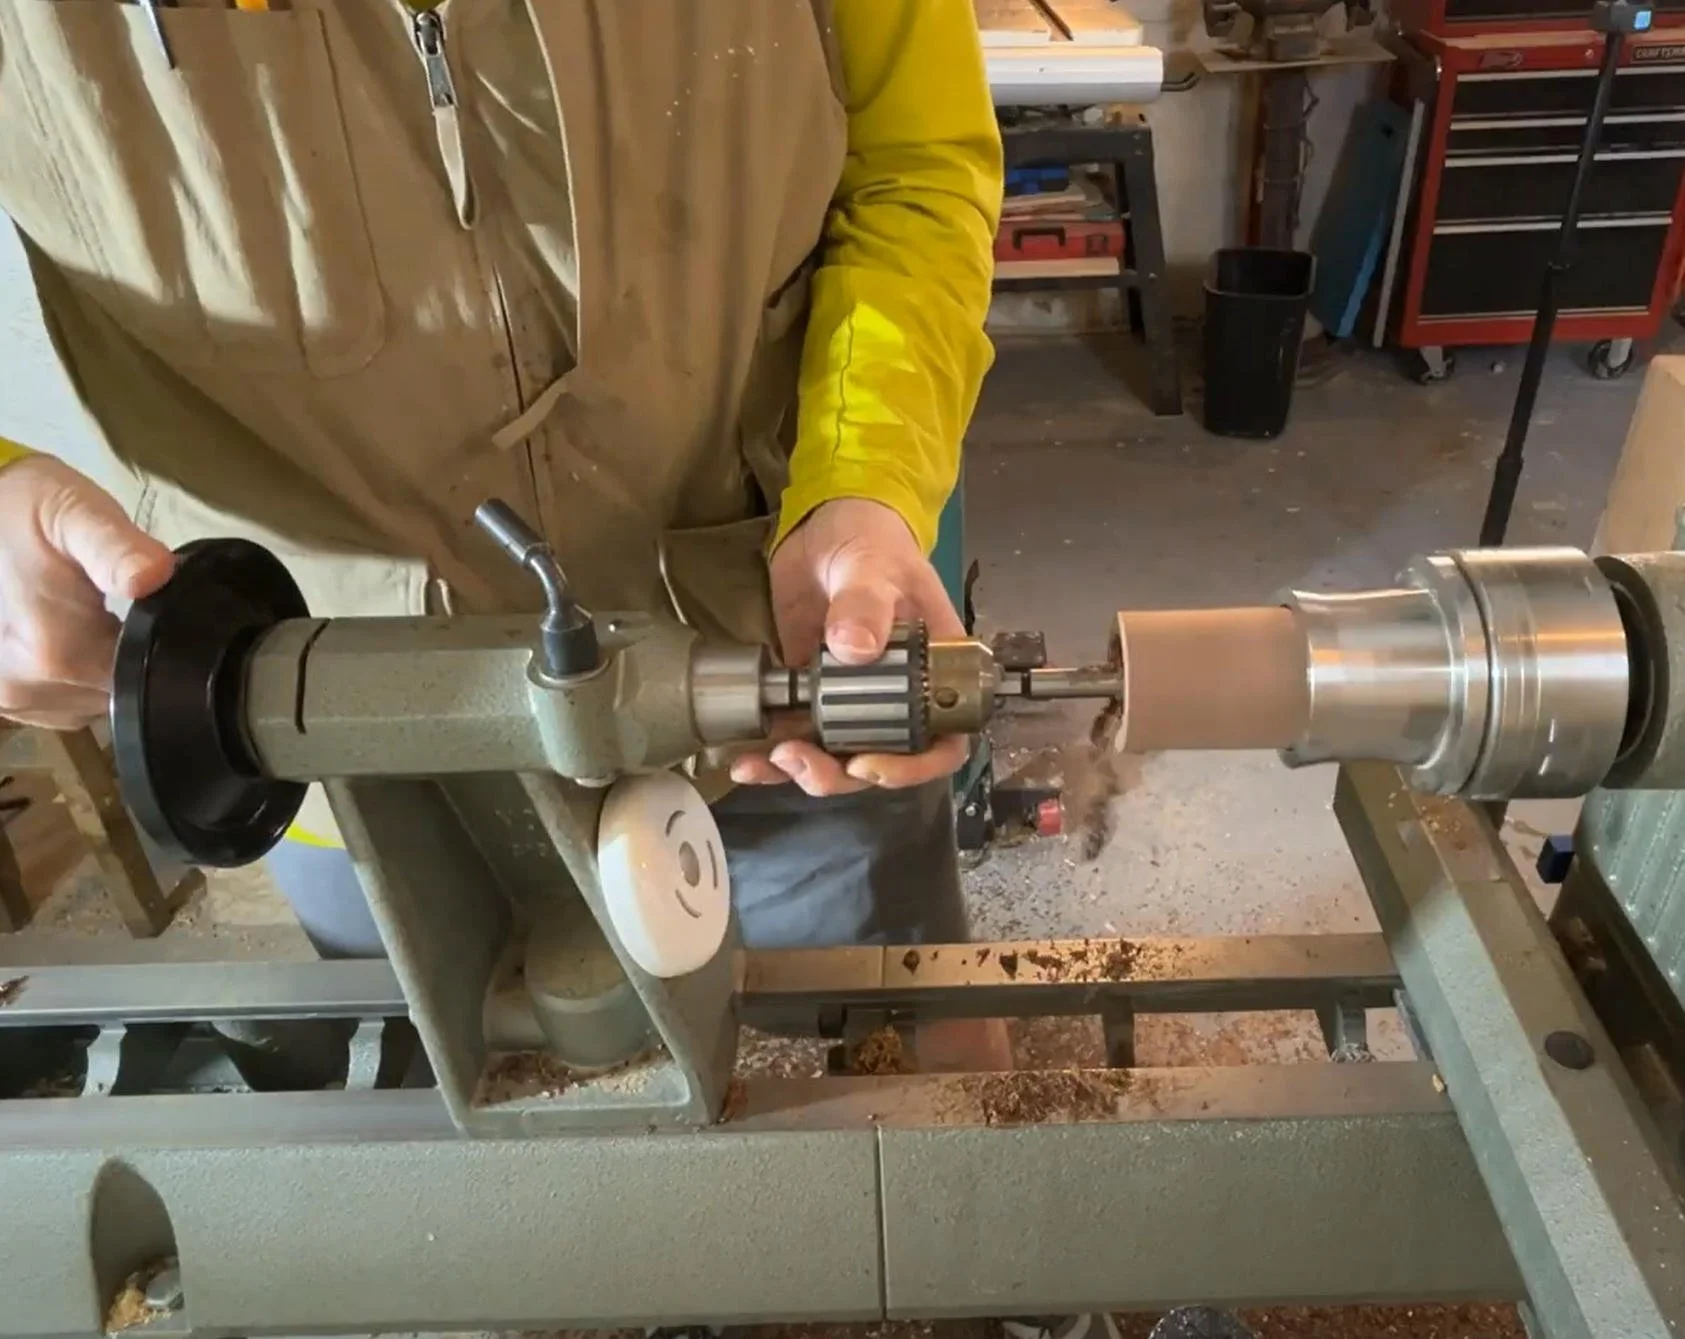
Start by boring holes into your blanks. Begin with the base (the 4-inch blank):
Drill a 1 ½-inch hole, ⅜ inches deep, into one end.
Drill another 1 ½-inch hole, ¼ inches deep, into the opposite end.
Finally, drill a 1 1/16-inch hole all the way through the blank.
Now for the top (the 2-inch blank):
Drill a 1 ½-inch hole, ¼ inches deep, into the top.
Then, drill a 1 1/16-inch hole all the way through the blank.
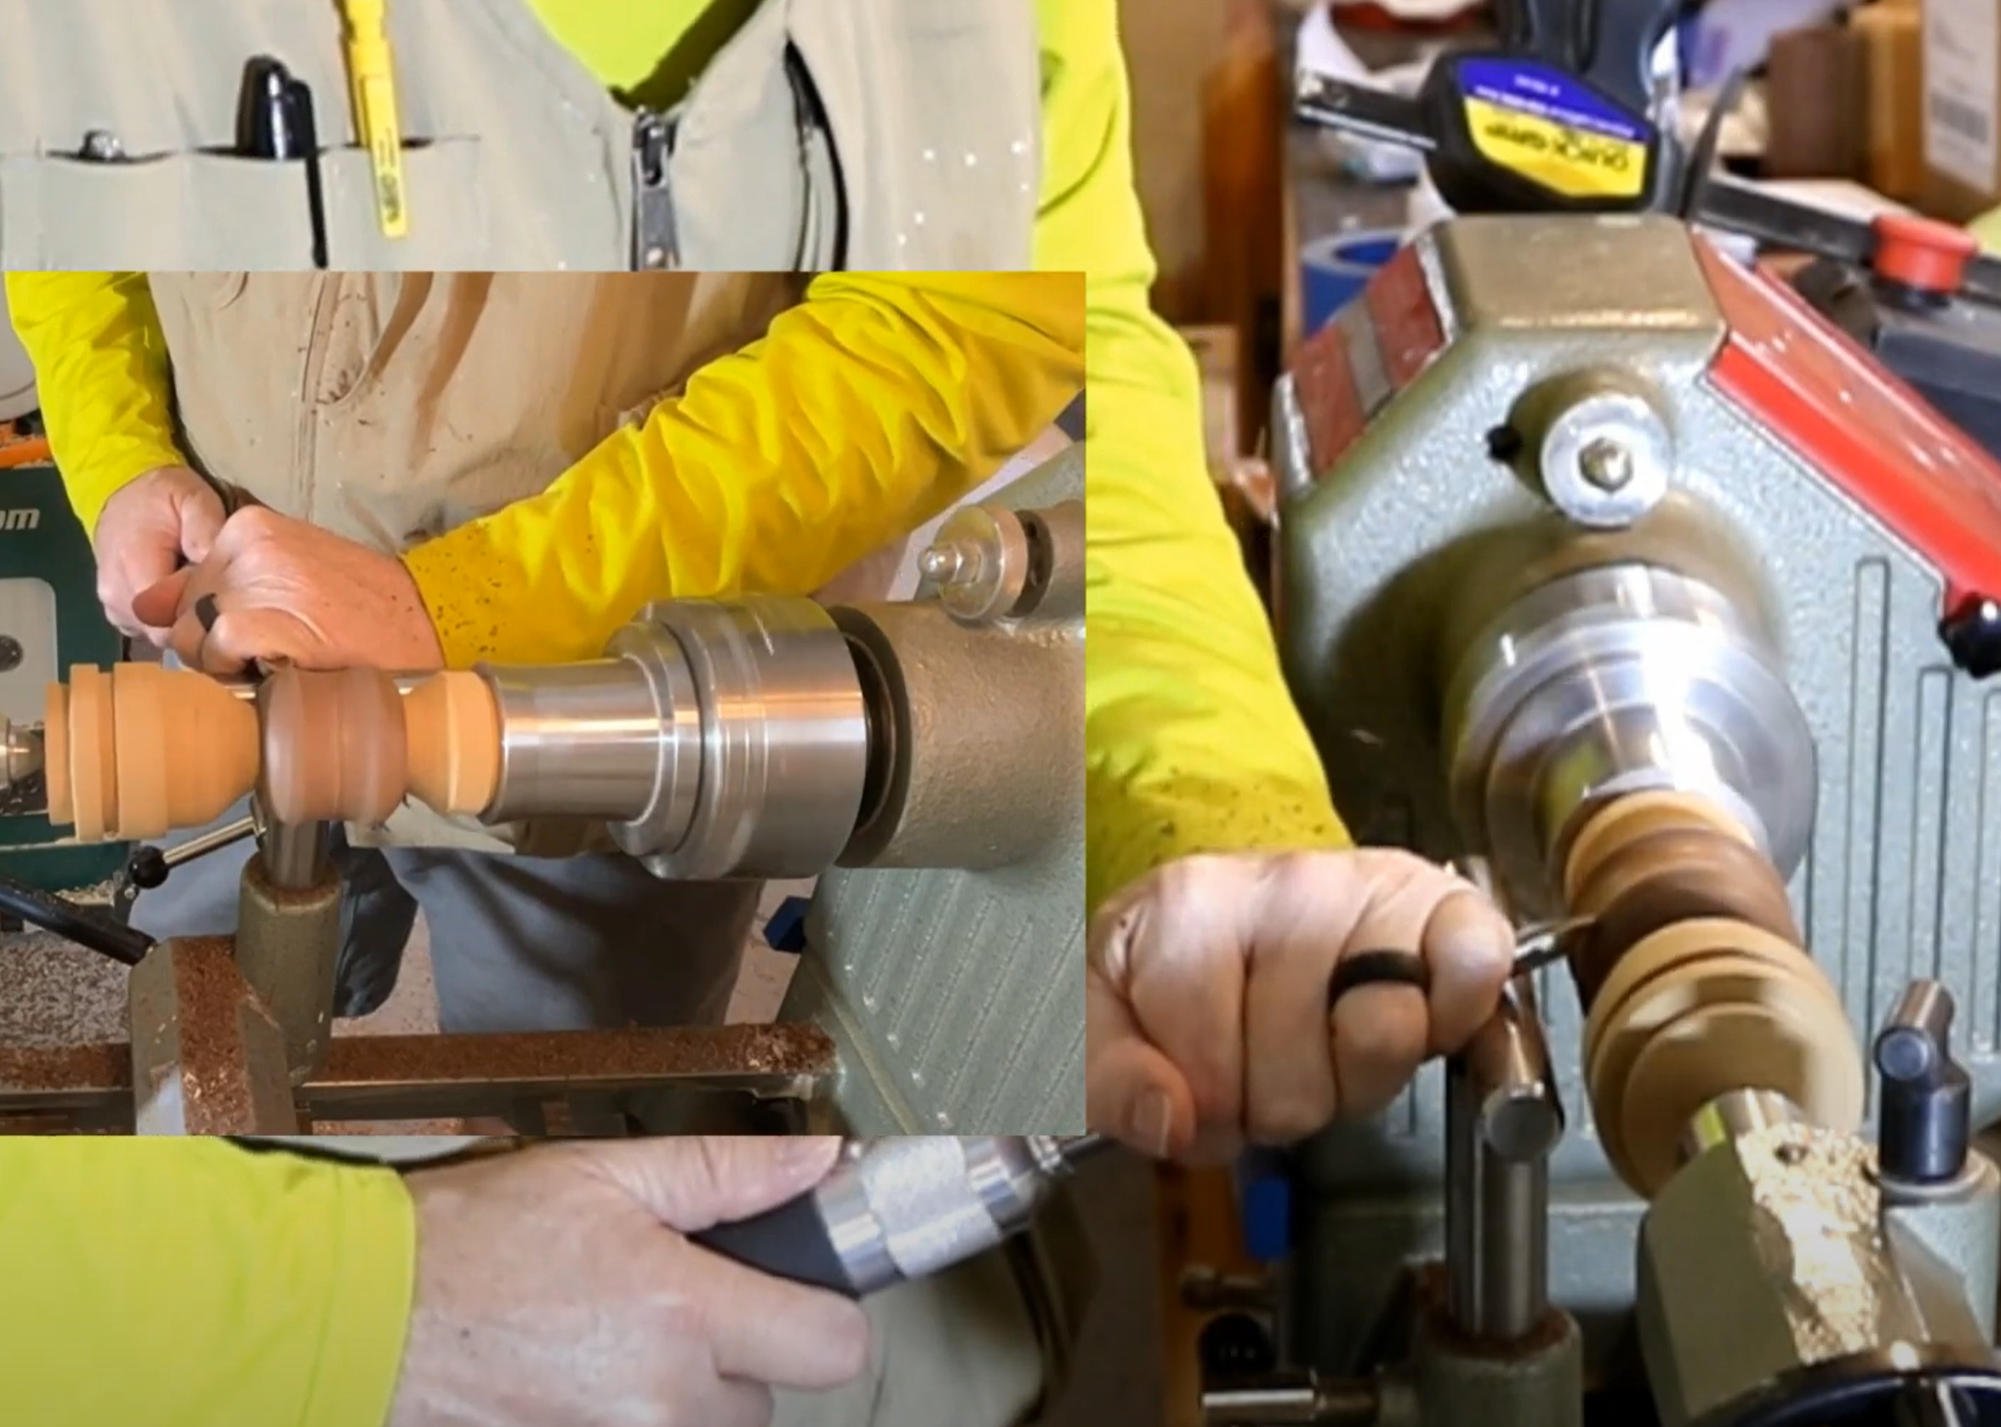
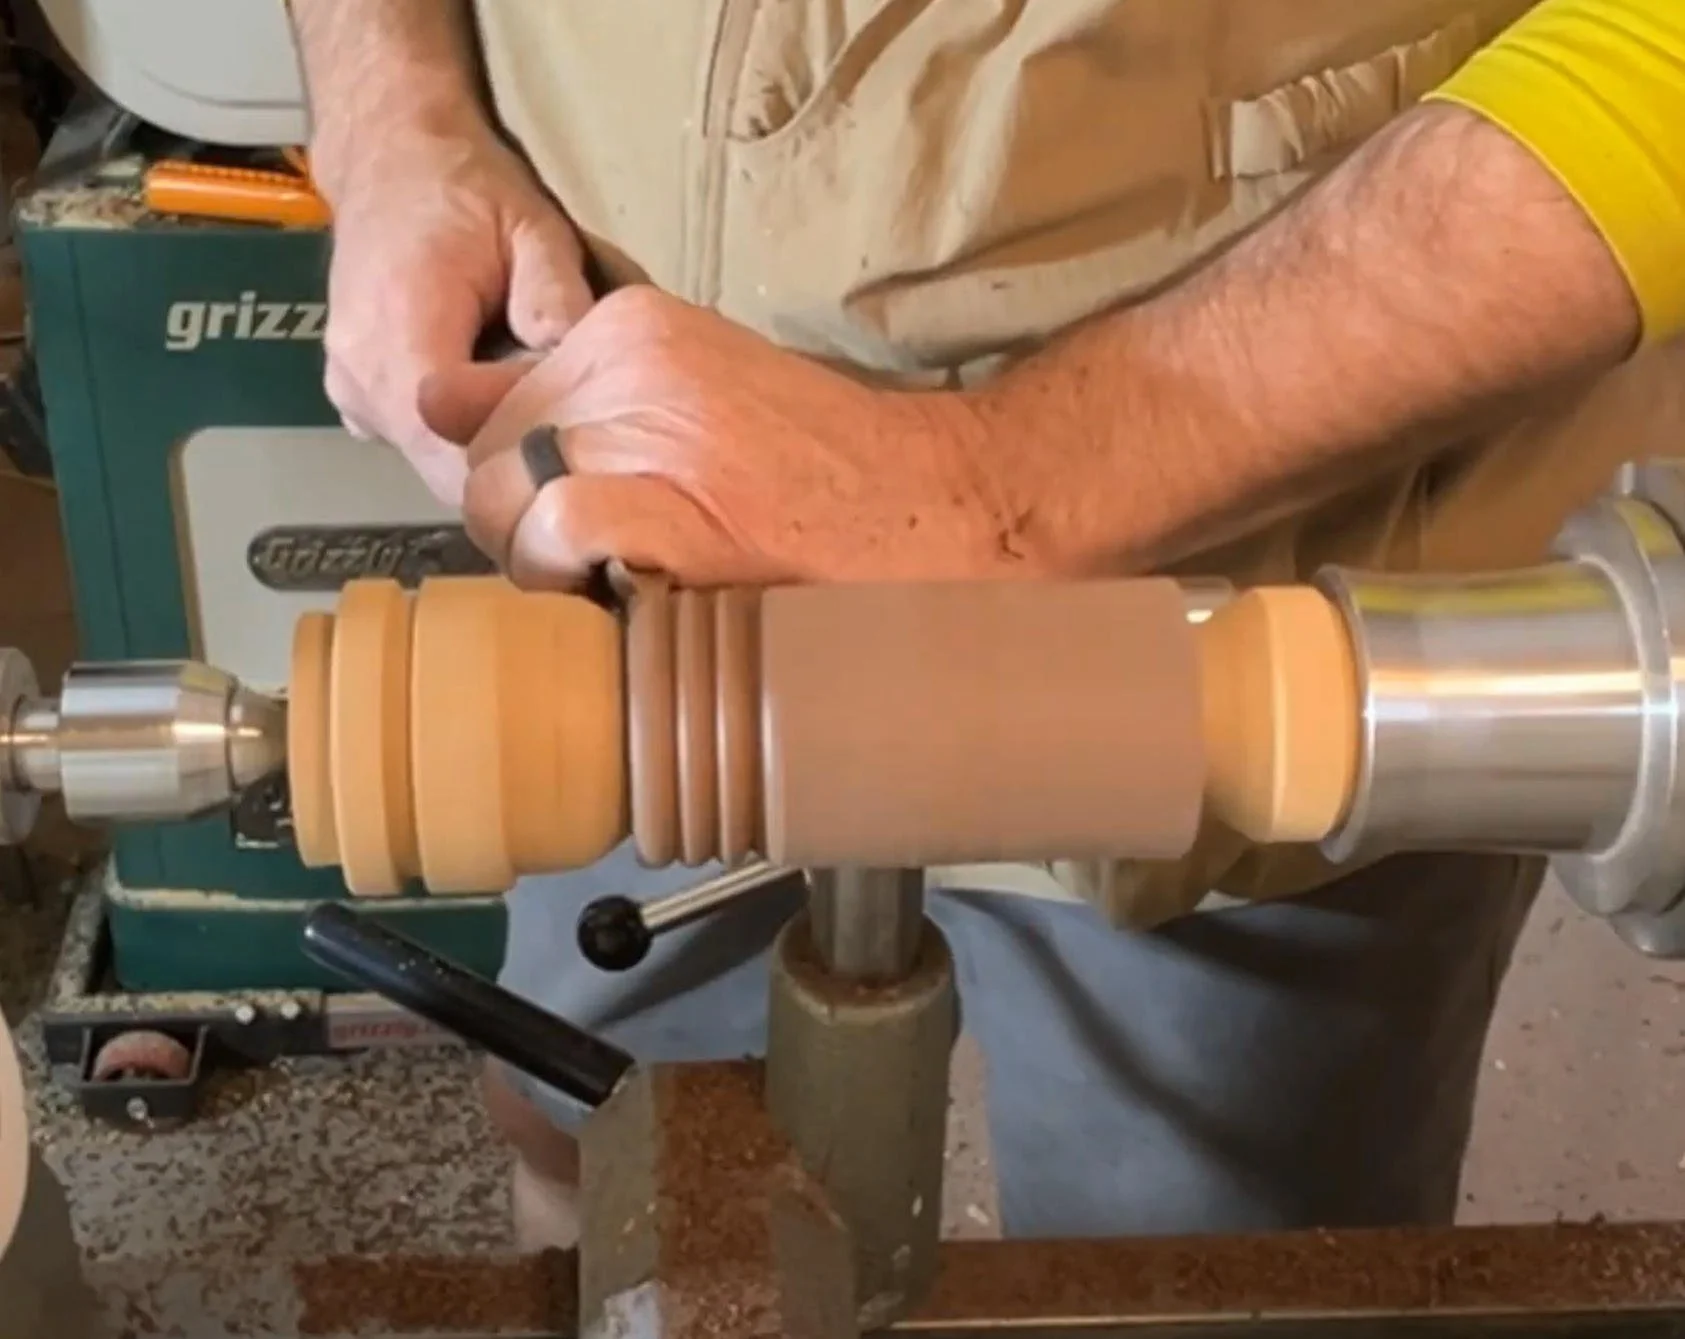
2. Shaping the Salt Shaker and Pepper Mill
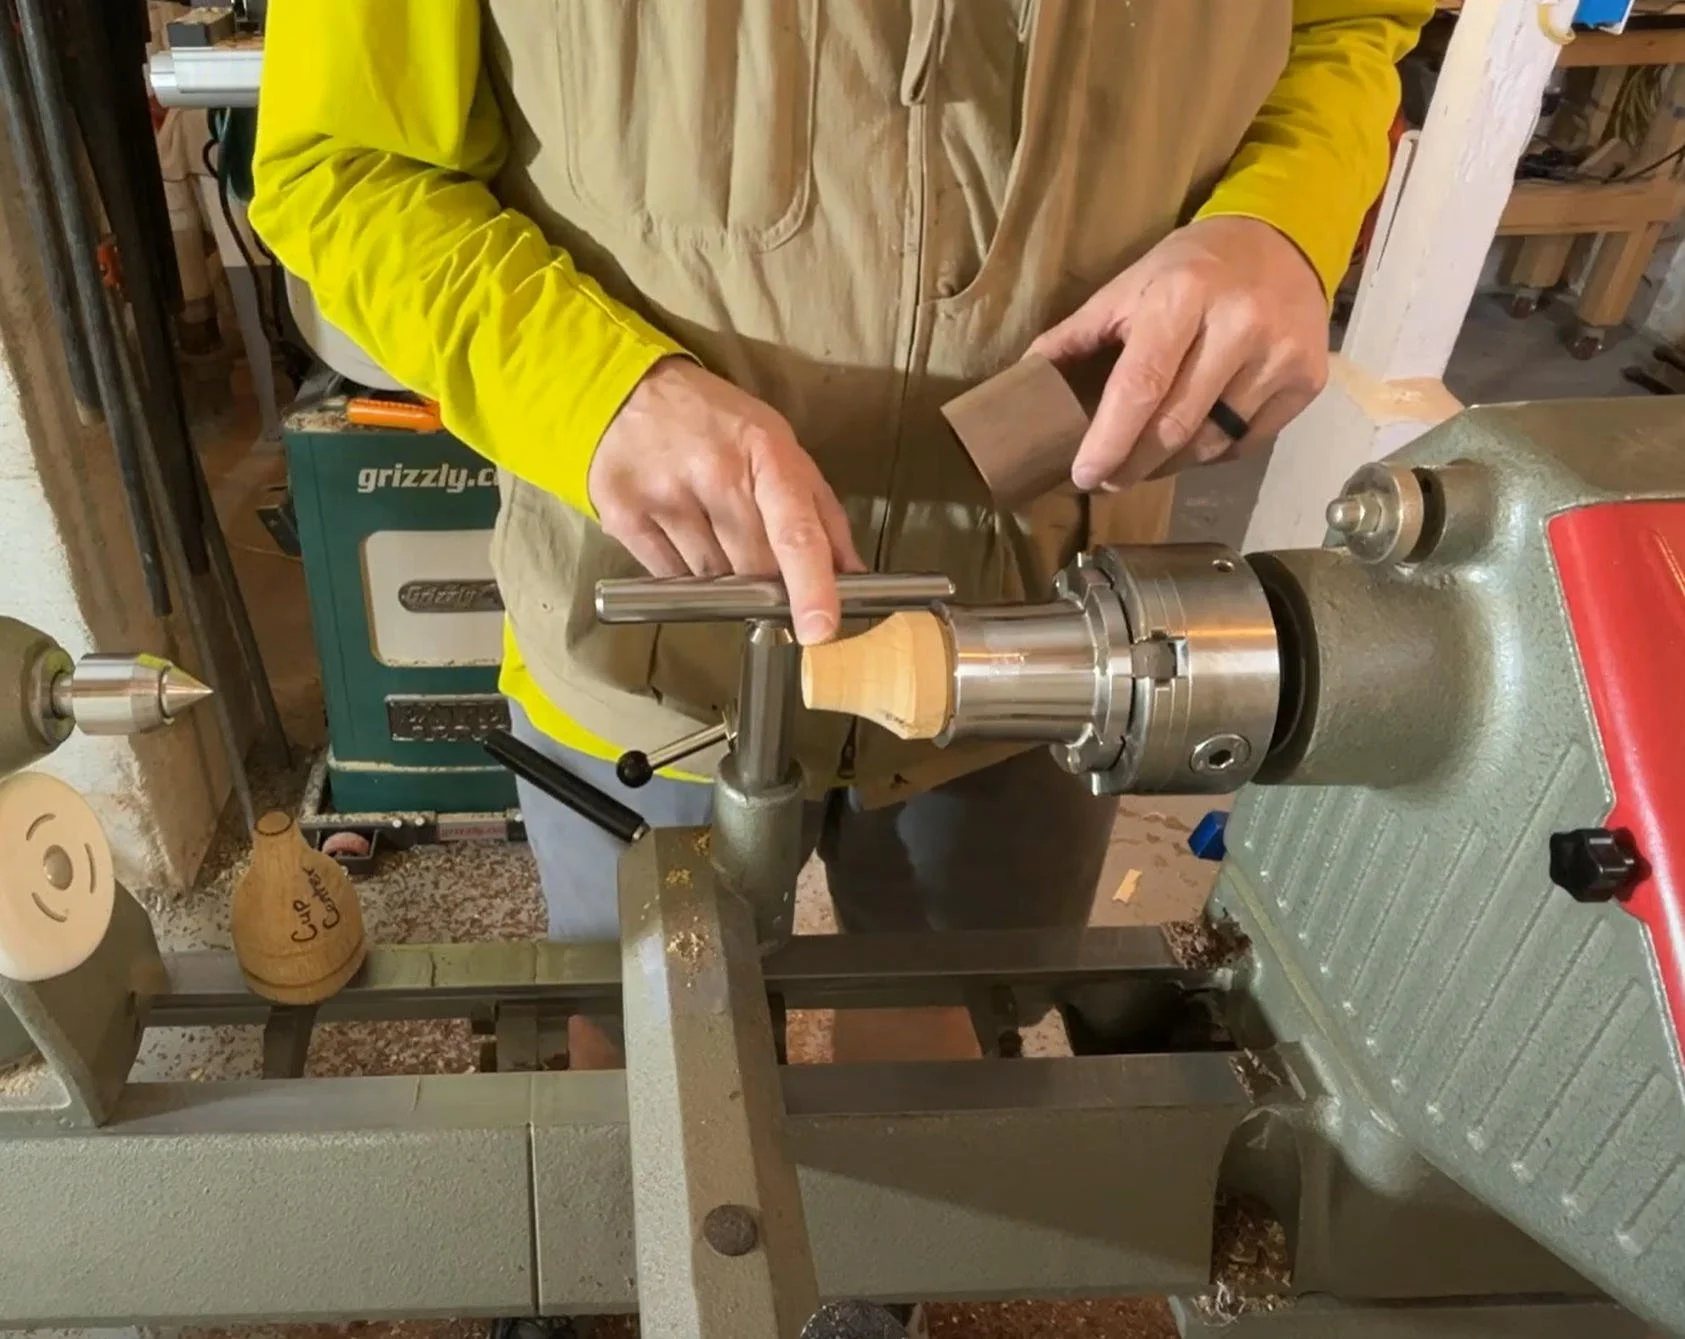
Mount both blanks on a jam chuck that’s about 1 inch in diameter. Here’s where you can get creative! I’m shaping the top to look like an eaten apple core, while the base will have three beads near the bottom, tapering towards the top.
Once you’ve settled on your shape, sand the blanks through the grits—typically up to 220 or 320, depending on the finish. I’ll be using a CA glue finish, so I’ll sand up to about 1000 grit for that perfect smoothness.
3. Applying the Finish
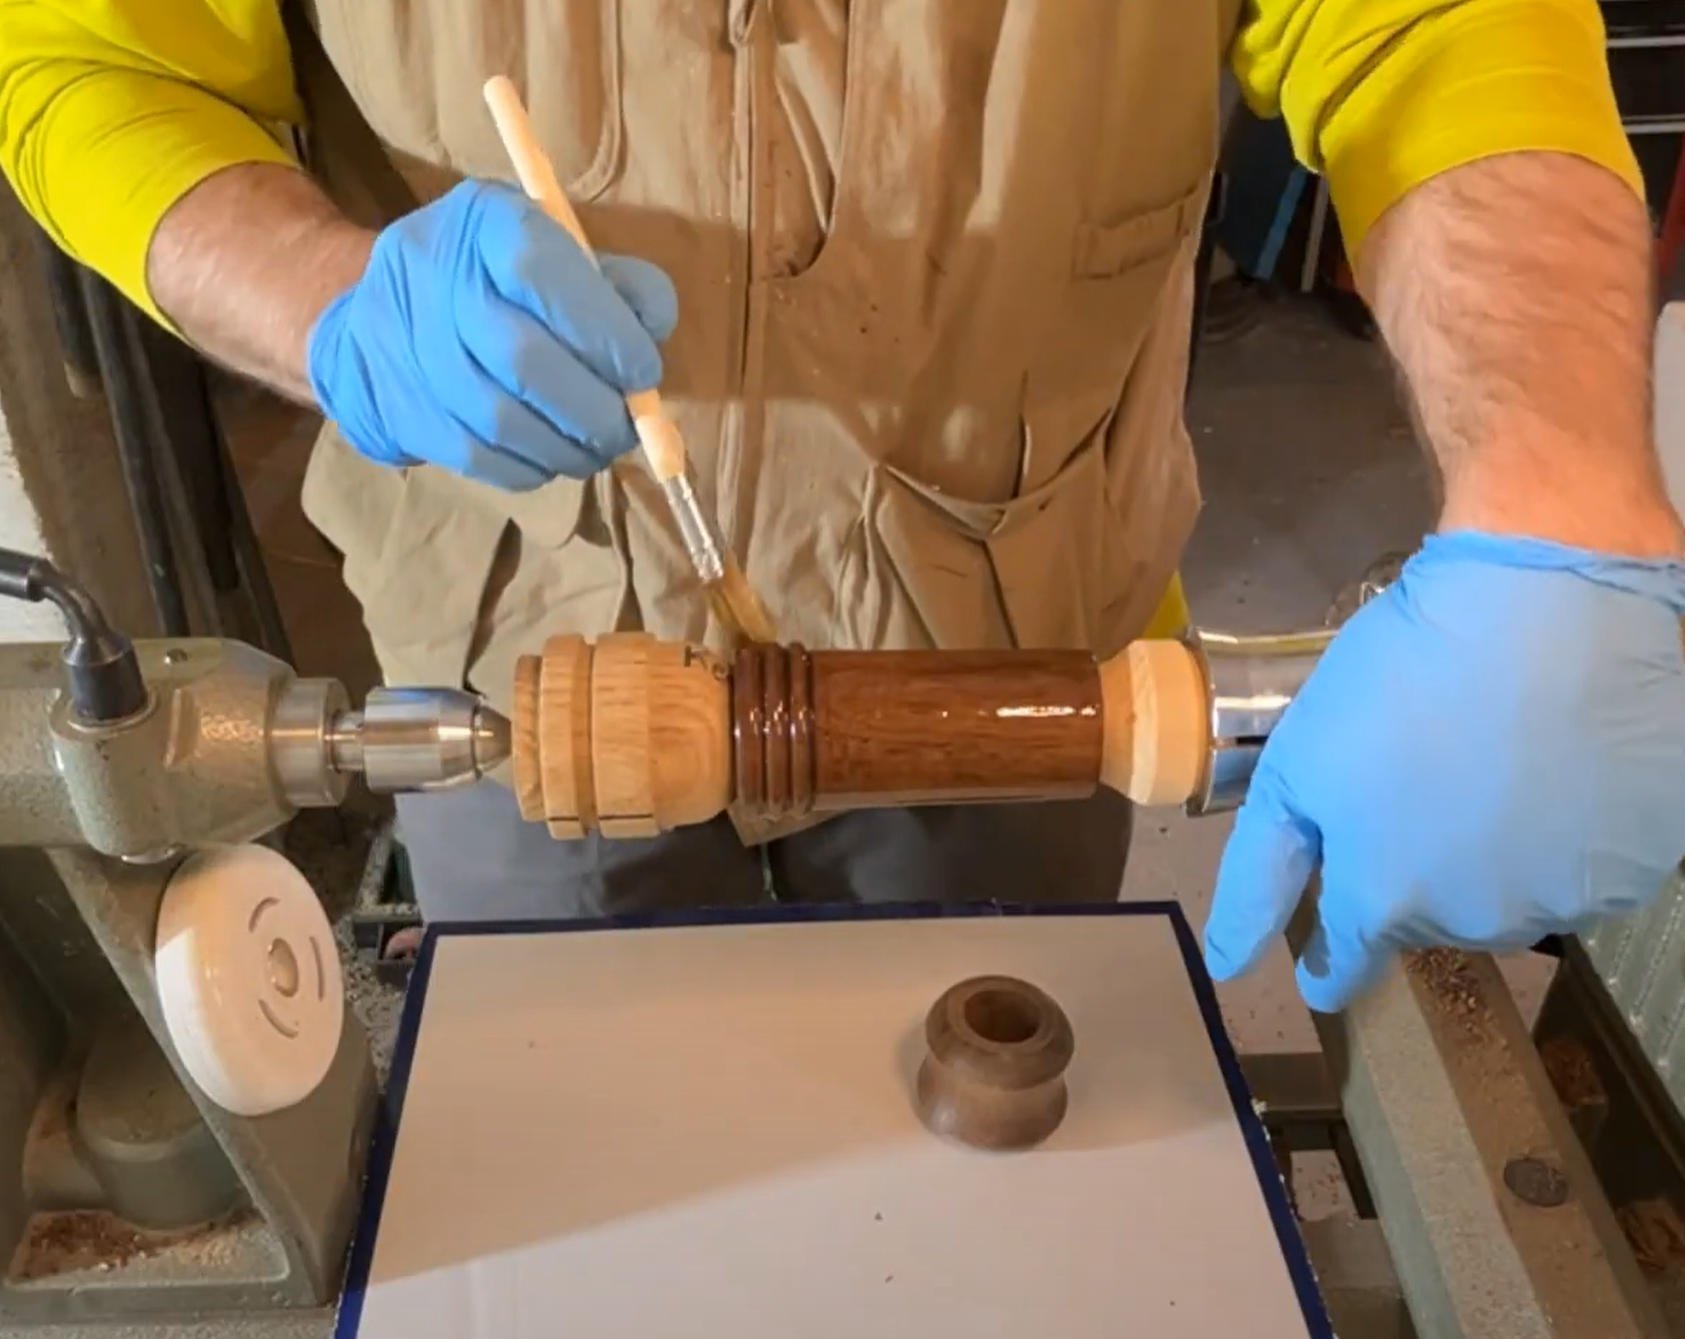
Today I am using shellac to finish the pepper mill. Shellac dries quickly, looks great and is food safe. You can use a CA glue finish, similar to what you’d use on a pen. It’s durable, quick to apply, and leaves a glossy shine. It’s perfect for items that will see daily use like a salt shaker and pepper mill.
Once the finish is applied, you’re almost ready for assembly!
4. Assembling the Salt Shaker and Pepper Mill
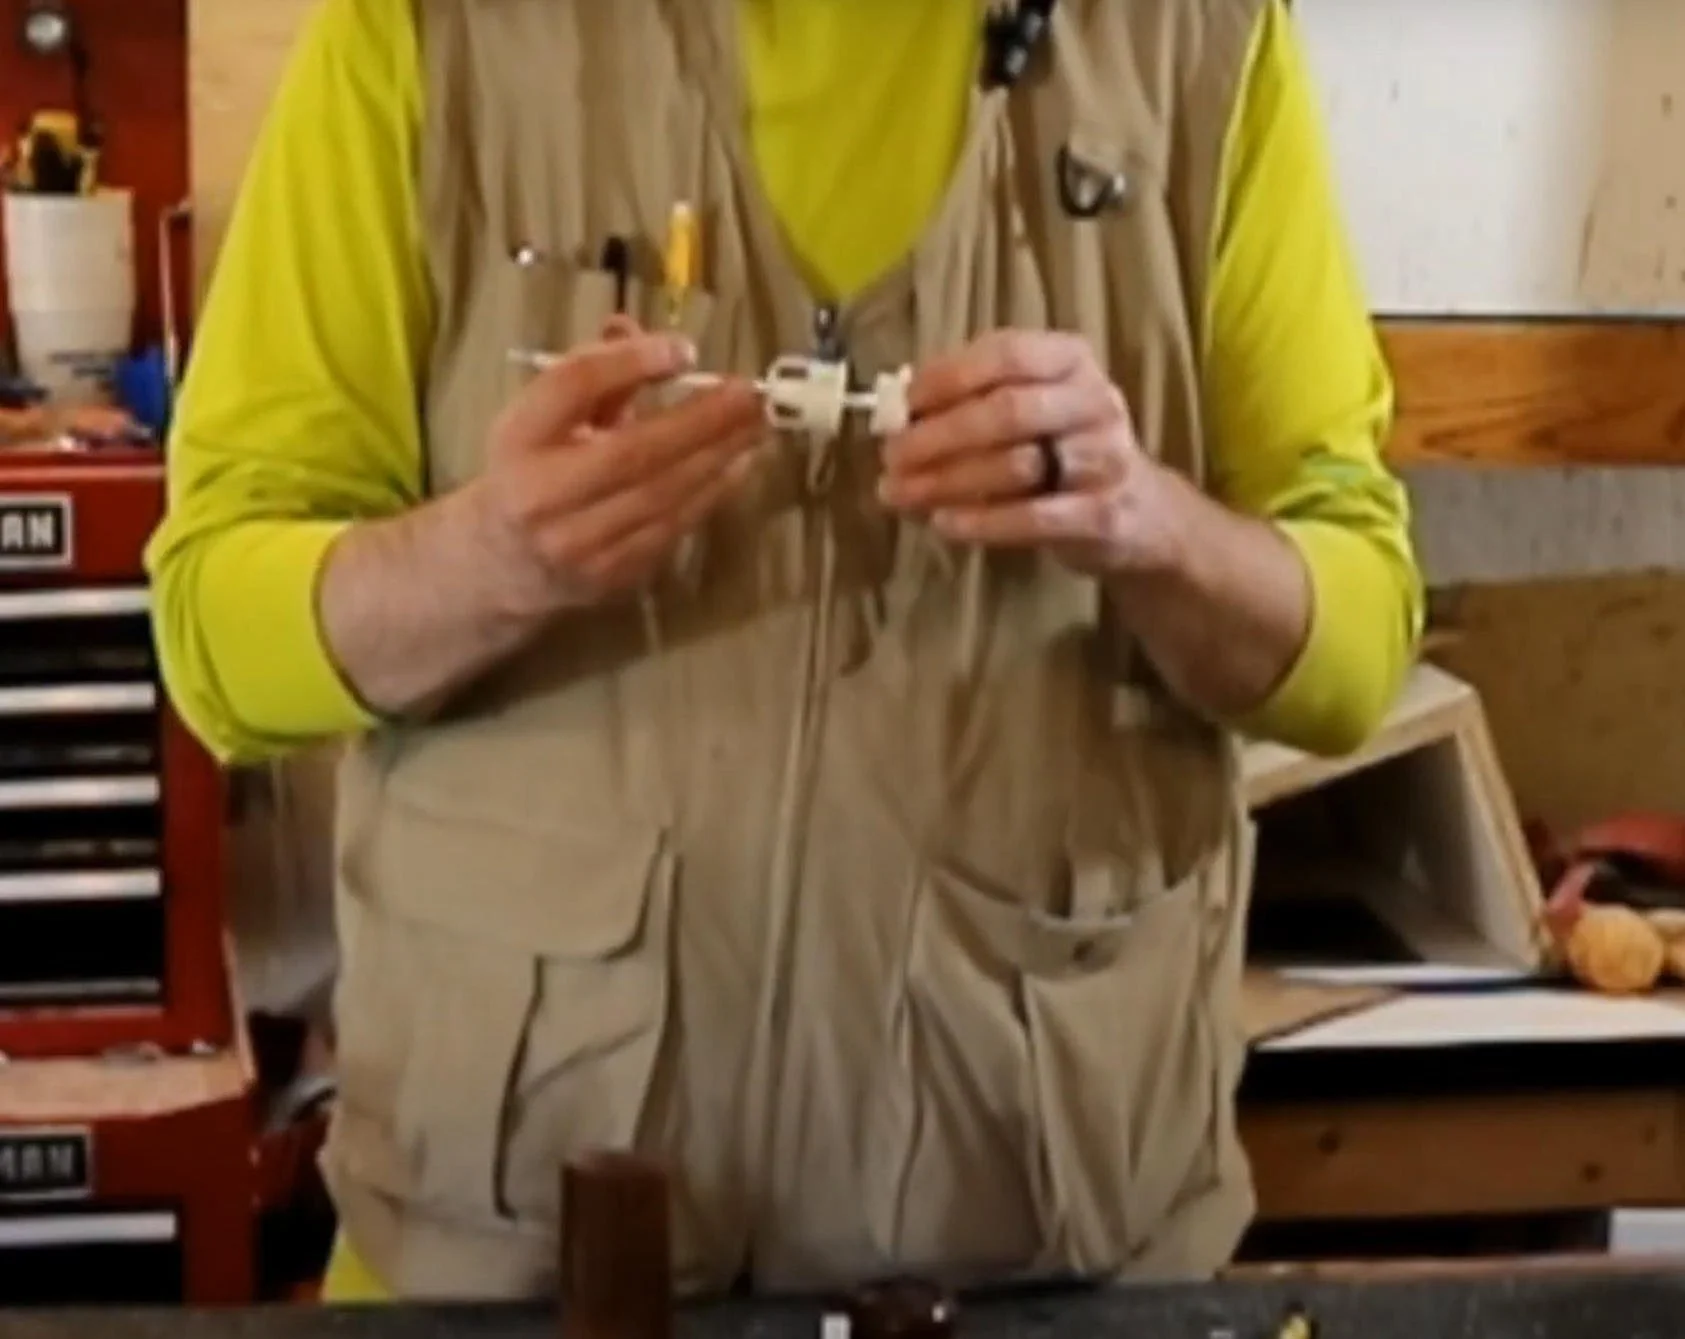
Here’s how to bring everything together:
Start by assembling the grinder components (Grinder, Grinder Housing, Grinder Support, and Grinder Shaft).
Insert the assembly through the bottom of the base blank and align the slots in the recess. Attach the Grinder Retainer, mark the holes, and drill small 1/16-inch pilot holes to screw in the mounting screws.
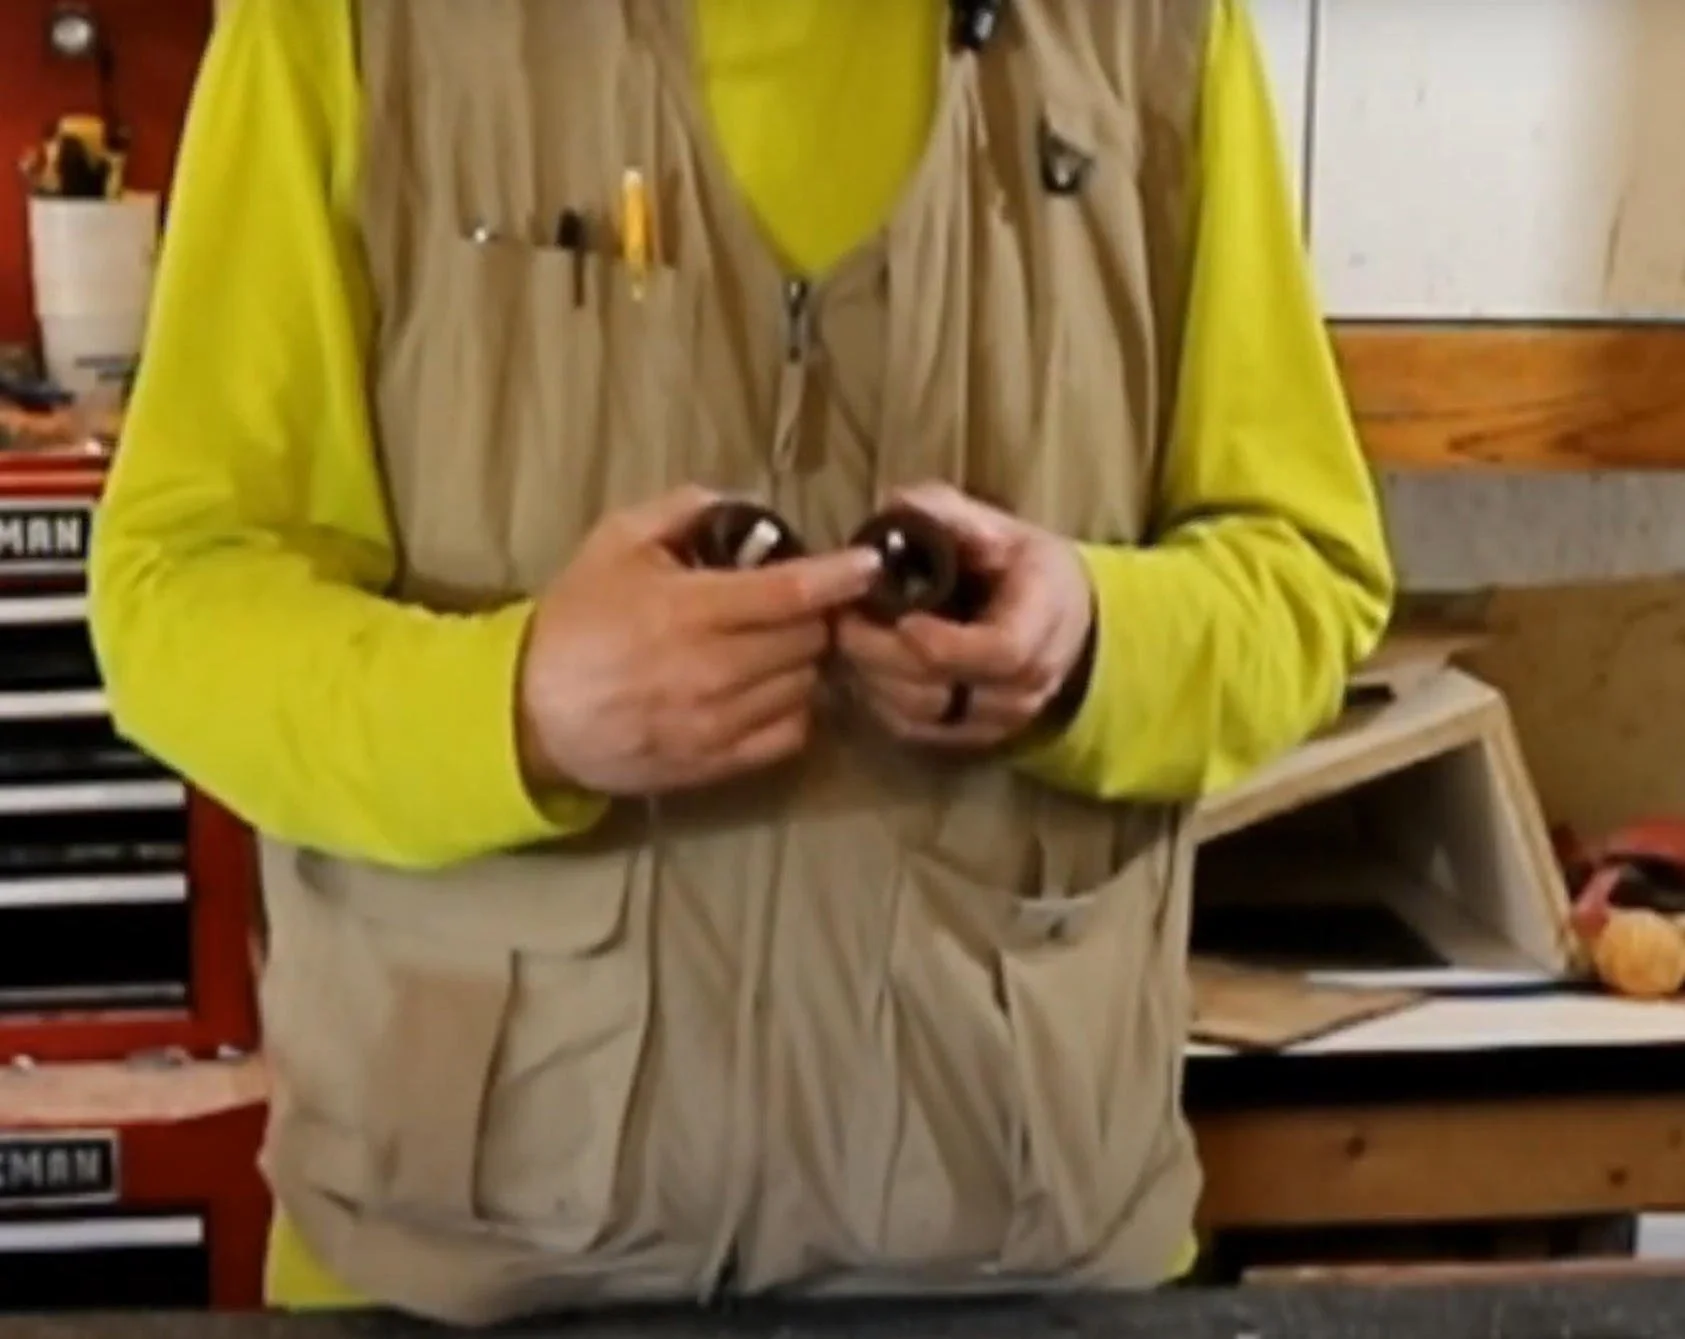
For the head:
Glue the Grinder Sleeve into the bottom of the head blank with CA glue. Once the glue dries, fit the head over the extended shaft and into the recess at the base.
Insert the salt shaker cap into the top hole of the head blank and screw on the adjusting nut.
5. Filling and Adjusting
Now comes the fun part—filling the salt shaker and pepper mill!
To add peppercorns, unscrew the adjusting nut, remove the head, and fill the container with peppercorns. Replace the head and screw the adjusting nut back on.
For the salt, remove the salt shaker cap, fill with granulated salt, and replace the cap. Adjust the grinding mechanism to your liking by loosening or tightening the adjusting nut.
Finished Product
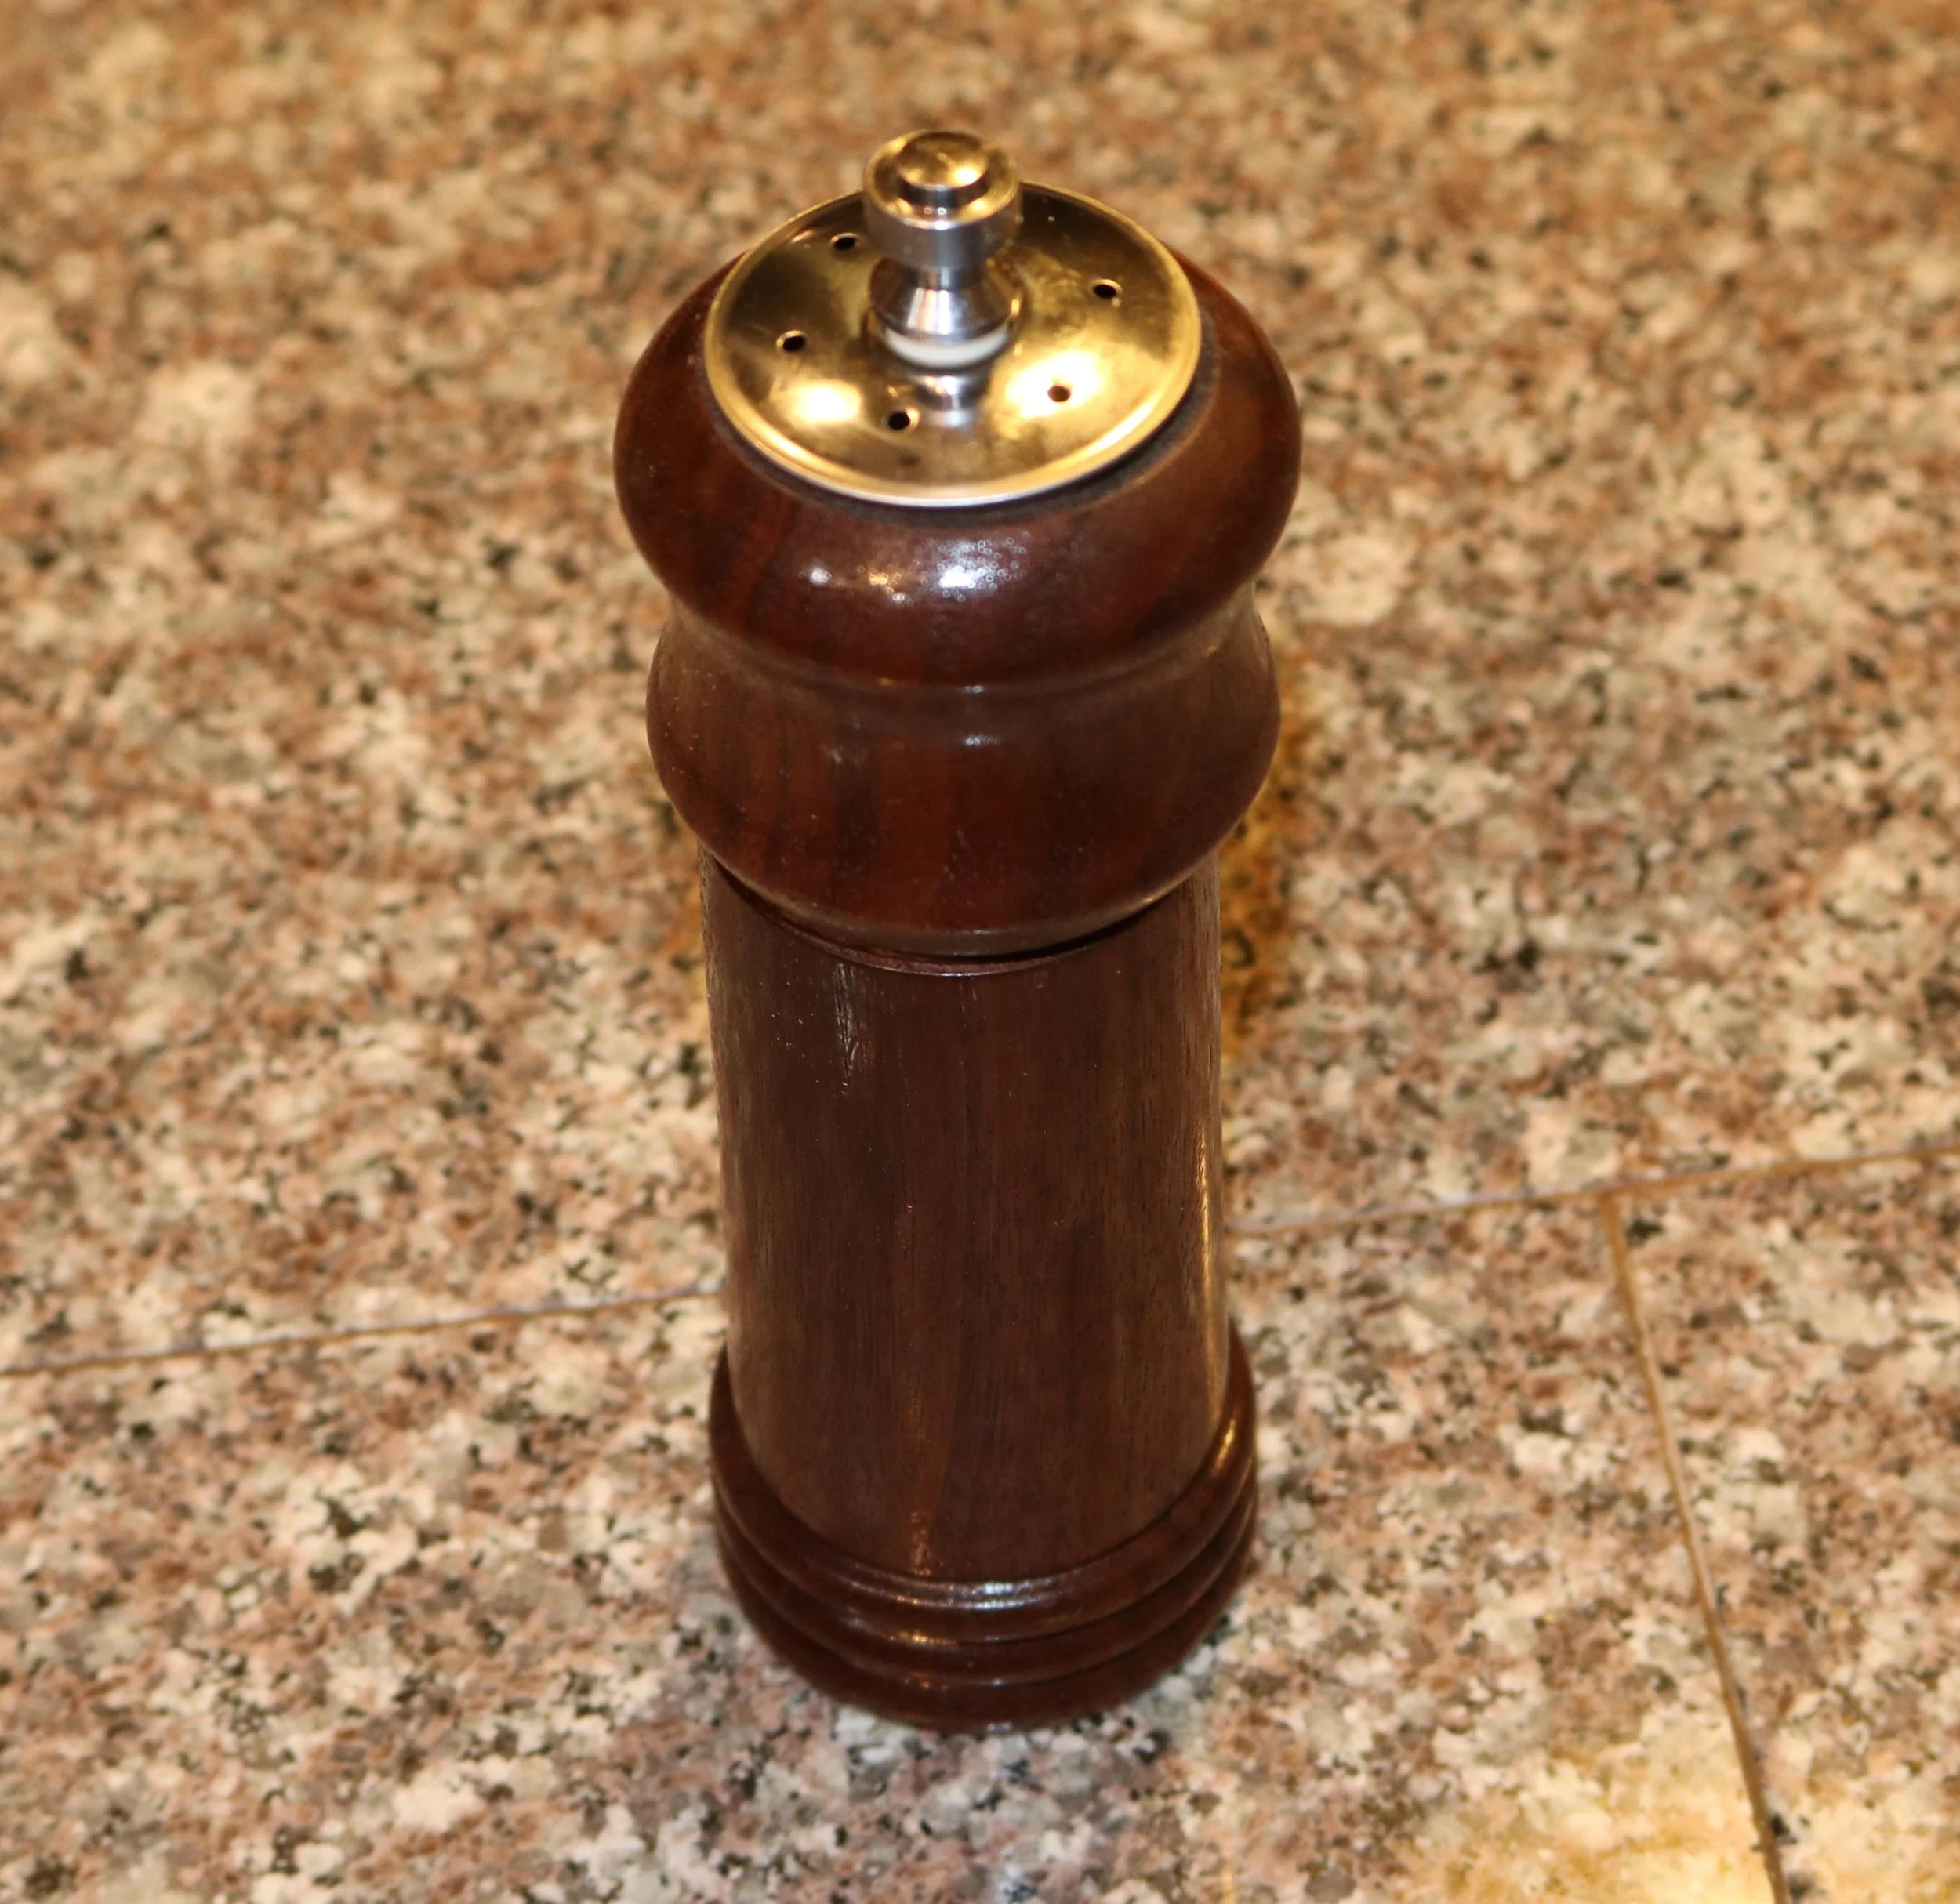
And just like that, you’ve made a beautiful, custom salt shaker and pepper mill set! This is a thoughtful, practical gift that’s sure to impress. Plus, with the ability to customize the wood and finish, each set you make can be unique.
Make sure to subscribe to our e-mail list so you never miss our new project ideas like this one. Happy turning!
Links to Products and Supplies:
Some of the links on this page are affiliate links, meaning, at no additional cost to you, I may earn a commission if you click through and make a purchase.
Amazon Affiliate Links:
Combination Salt Shaker and Pepper Mill Kit - https://amzn.to/3Up1k1r
Nova Supernova 2 Chuck - https://amzn.to/3YE1eG6
Nova 2 inch jaws - https://amzn.to/4dVYms5
Nova Long Nosed Jaws - https://amzn.to/3NFmzZ0
Drill Chuck - https://amzn.to/3WSbIAm
Brad Point Pen Drill Bits - https://amzn.to/3BiYkgd
1 ½ inch Forstner Bit - https://amzn.to/48BUCLD
1 1/16 inch Forstner Bit – https://amzn.to/48pyxQ3
Other great pen resources:
https://www.pennstateind.com/