
How to Prepare a Log for Bowl Turning: Step-by-Step Guide
Are you curious about how to start with a log and get it mounted on the lathe to make a bowl? In this post, I’ll walk you through the process, from raw log to lathe-ready bowl blank. If you’re ready to turn, let’s dive in!
Welcome to Turning Stitches! I’m Sean, and here we’re all about helping woodturners master the craft and start creating fun projects quickly. Today, we’re tackling the essential first steps in bowl turning: preparing bowl blanks from a log. We're outside today, prepping sweet gum wood for a special project, so follow along to learn the entire process!
Step 1: Choosing and Measuring the Log
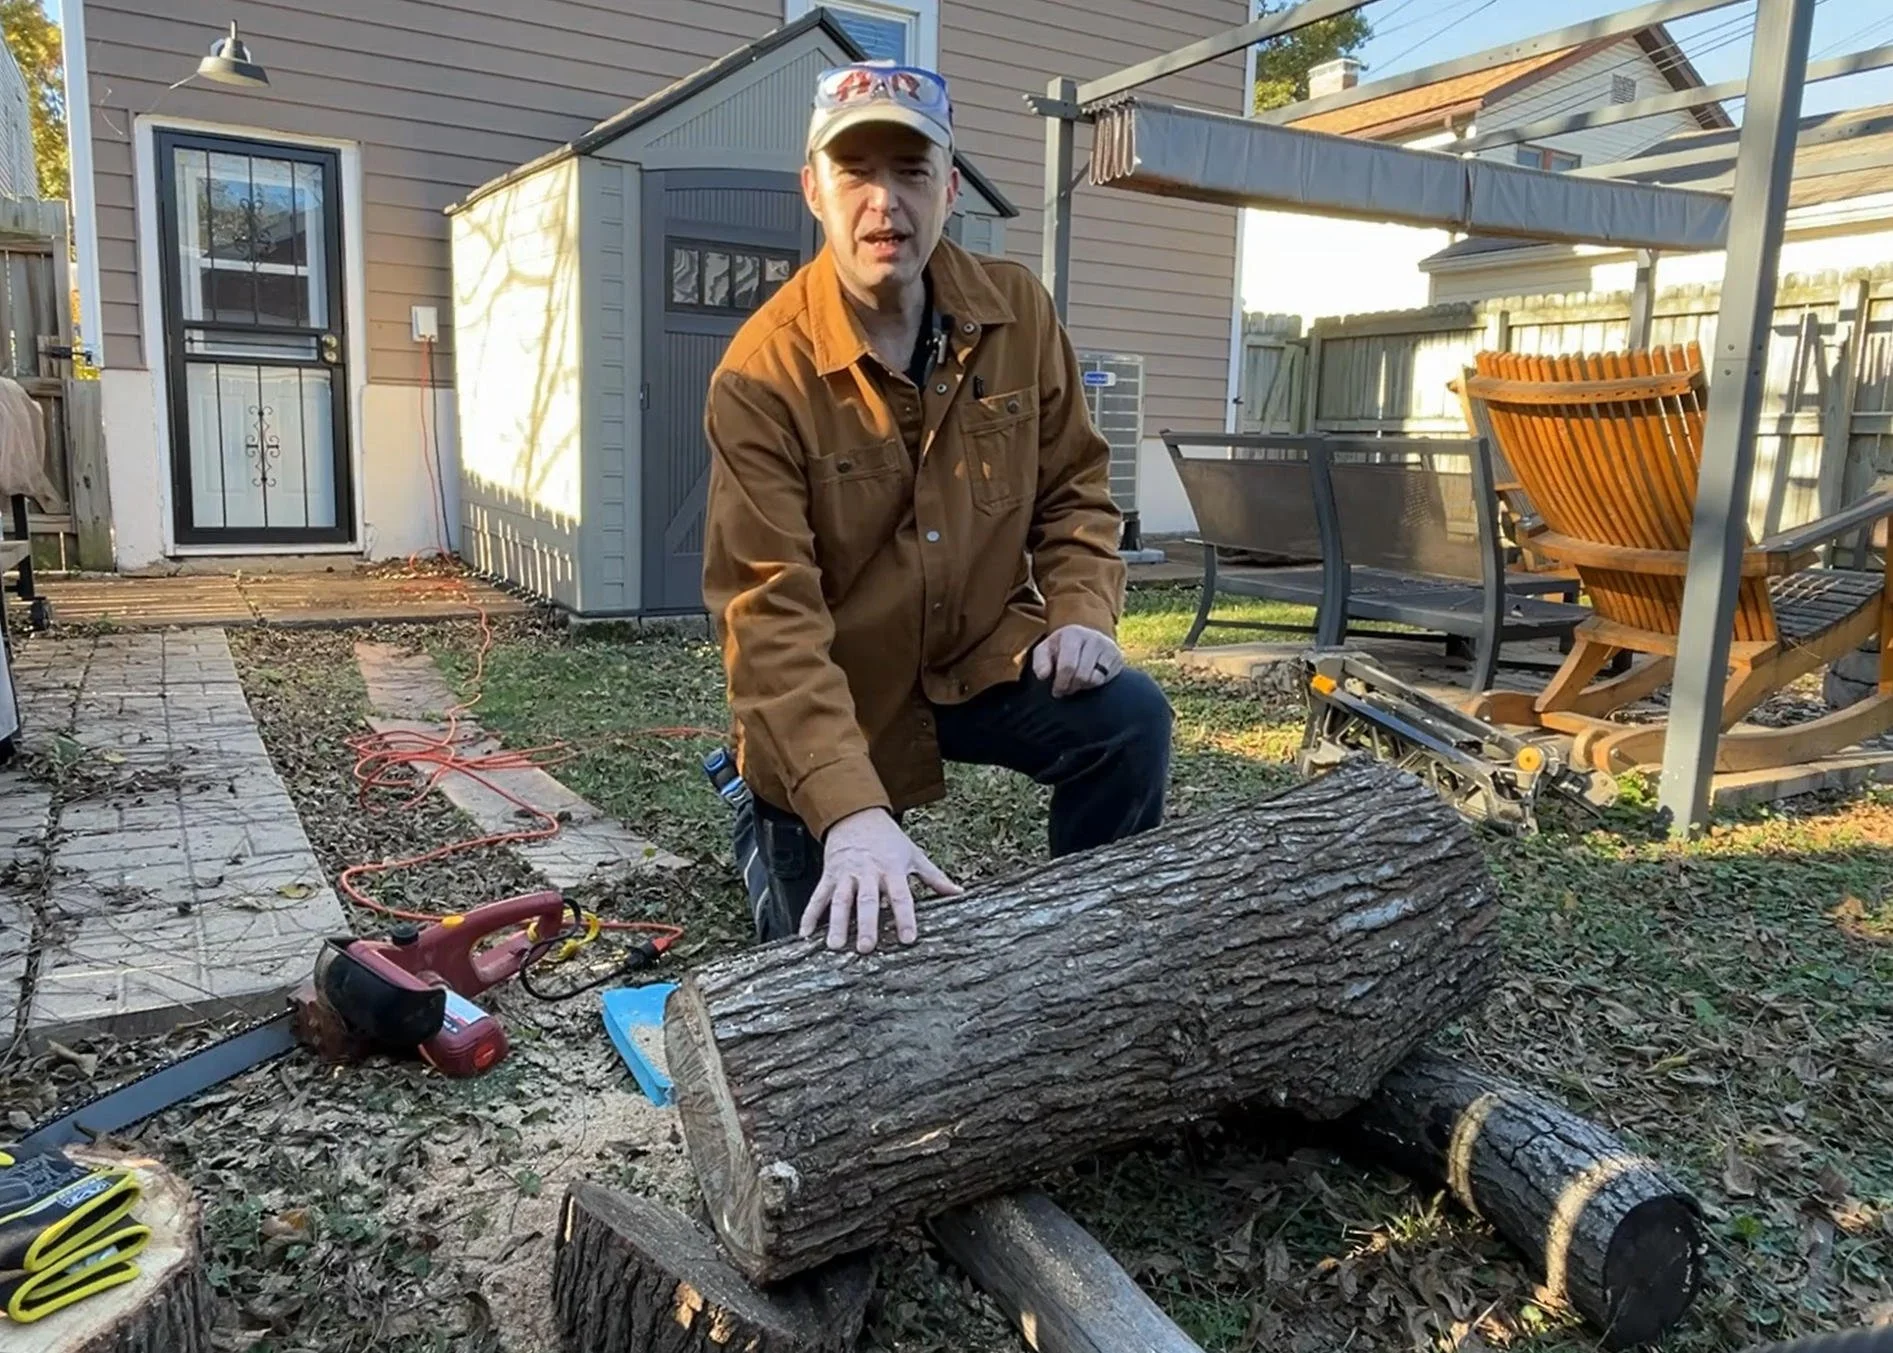
We’ve got a sweet gum tree log for this project. A family wanted bowls made from this tree, which had to come down, so we’re giving it new life. Our goal is to make an 8-inch serving bowl, so to get started, we need to understand the size constraints of our wood.
Since the maximum bowl size depends on the log's diameter, this one, at about 12 inches in diameter, gives us plenty of space. Knowing we need an 8-inch finished bowl, I’m marking and cutting the log into 10-inch segments, allowing some extra wood for turning.
Step 2: Marking the Cutting Lines
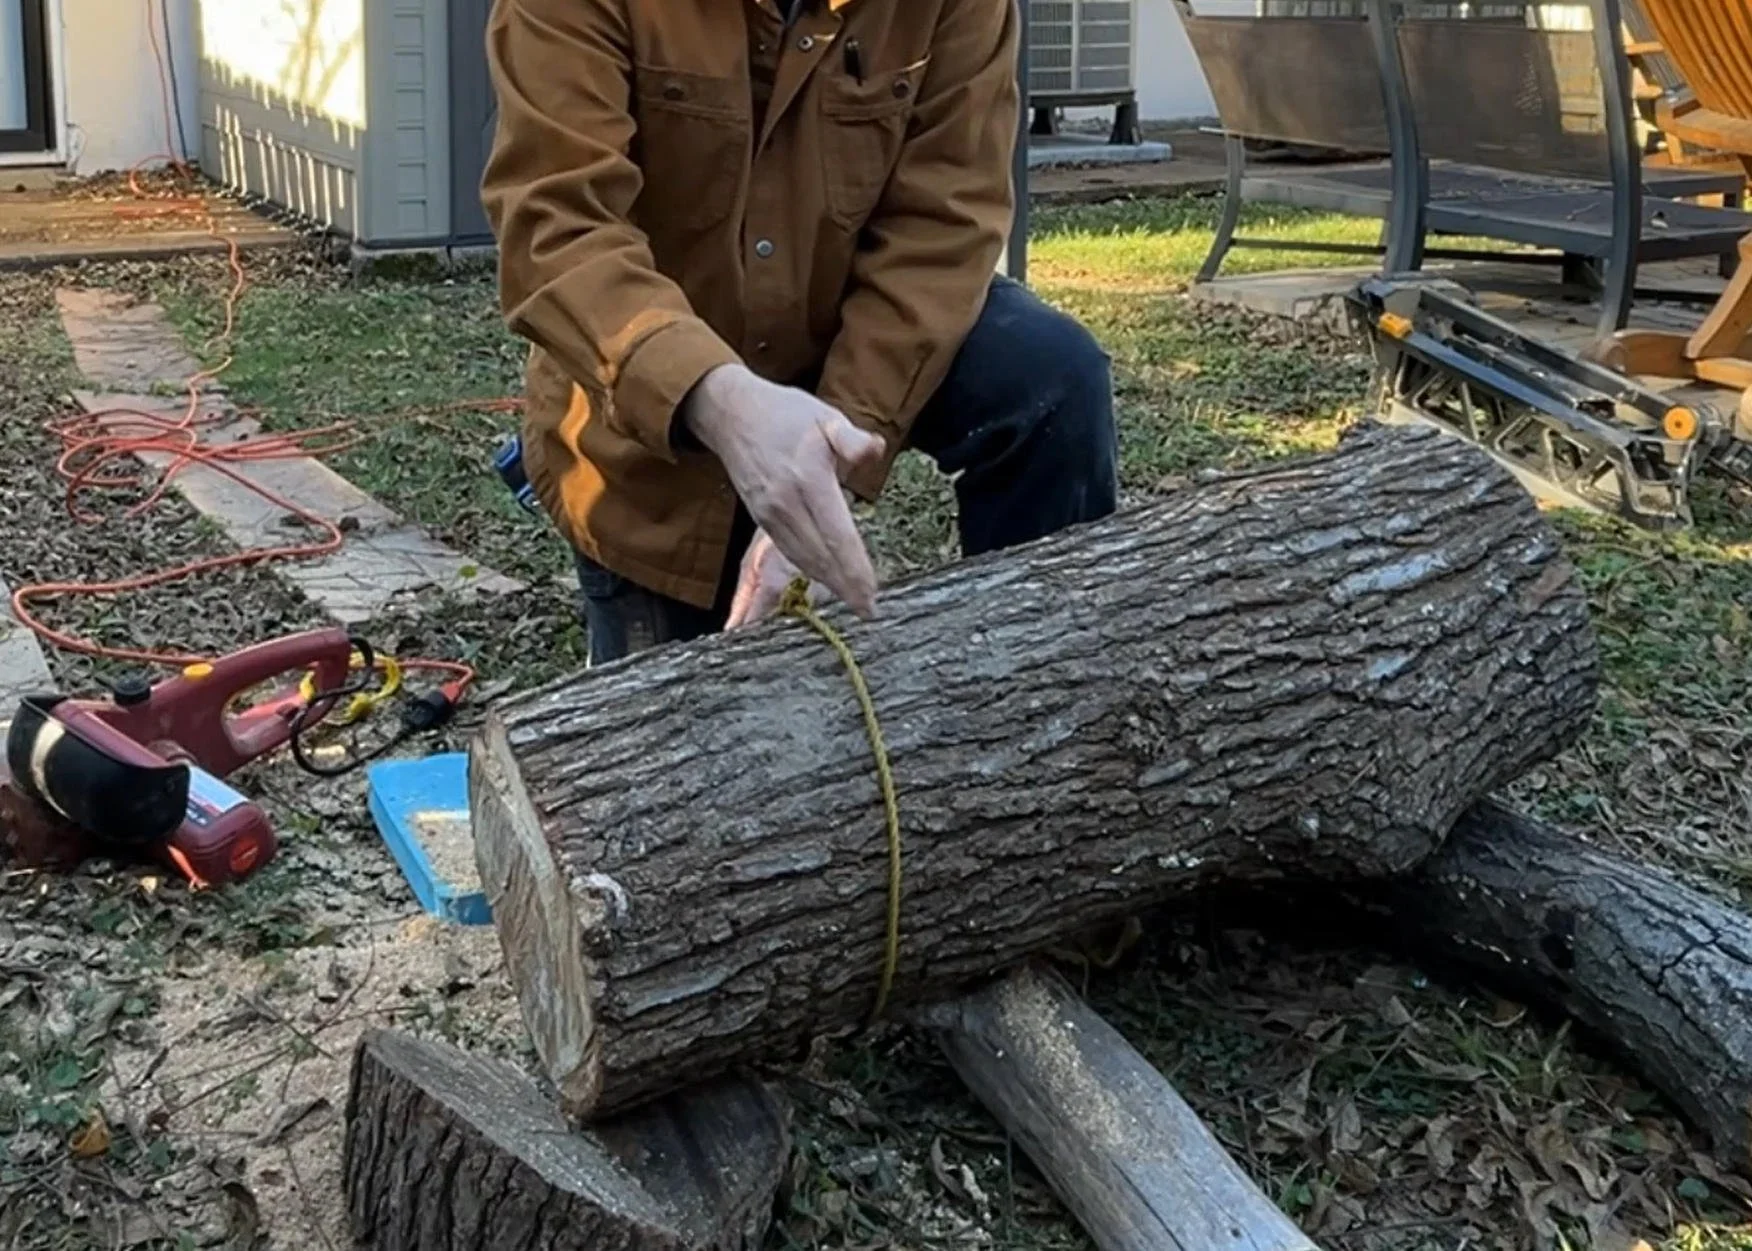
To make a clean, straight cut, I wrap a rope around the log to mark the circumference. This rope guide helps keep my cuts even, and while spray paint can make marking faster, the rope alone does the job here.
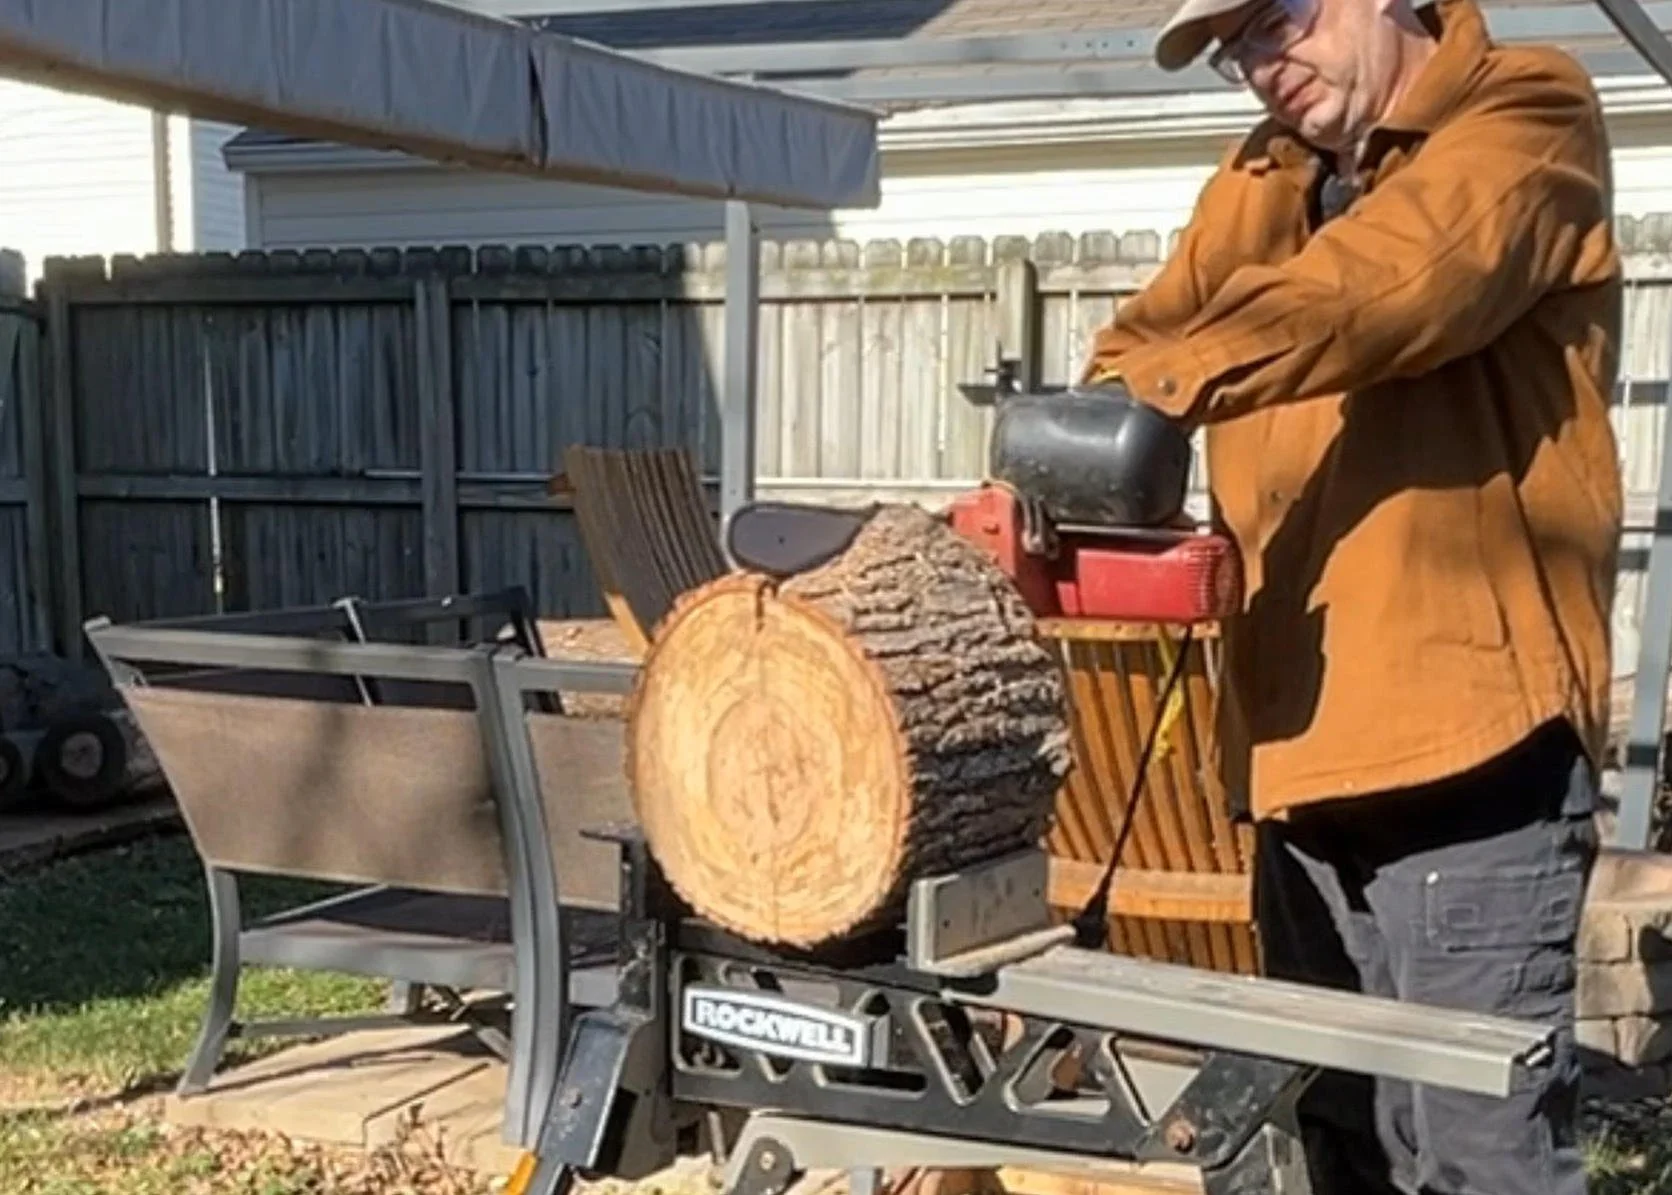
Step 3: Cutting the Log Segments
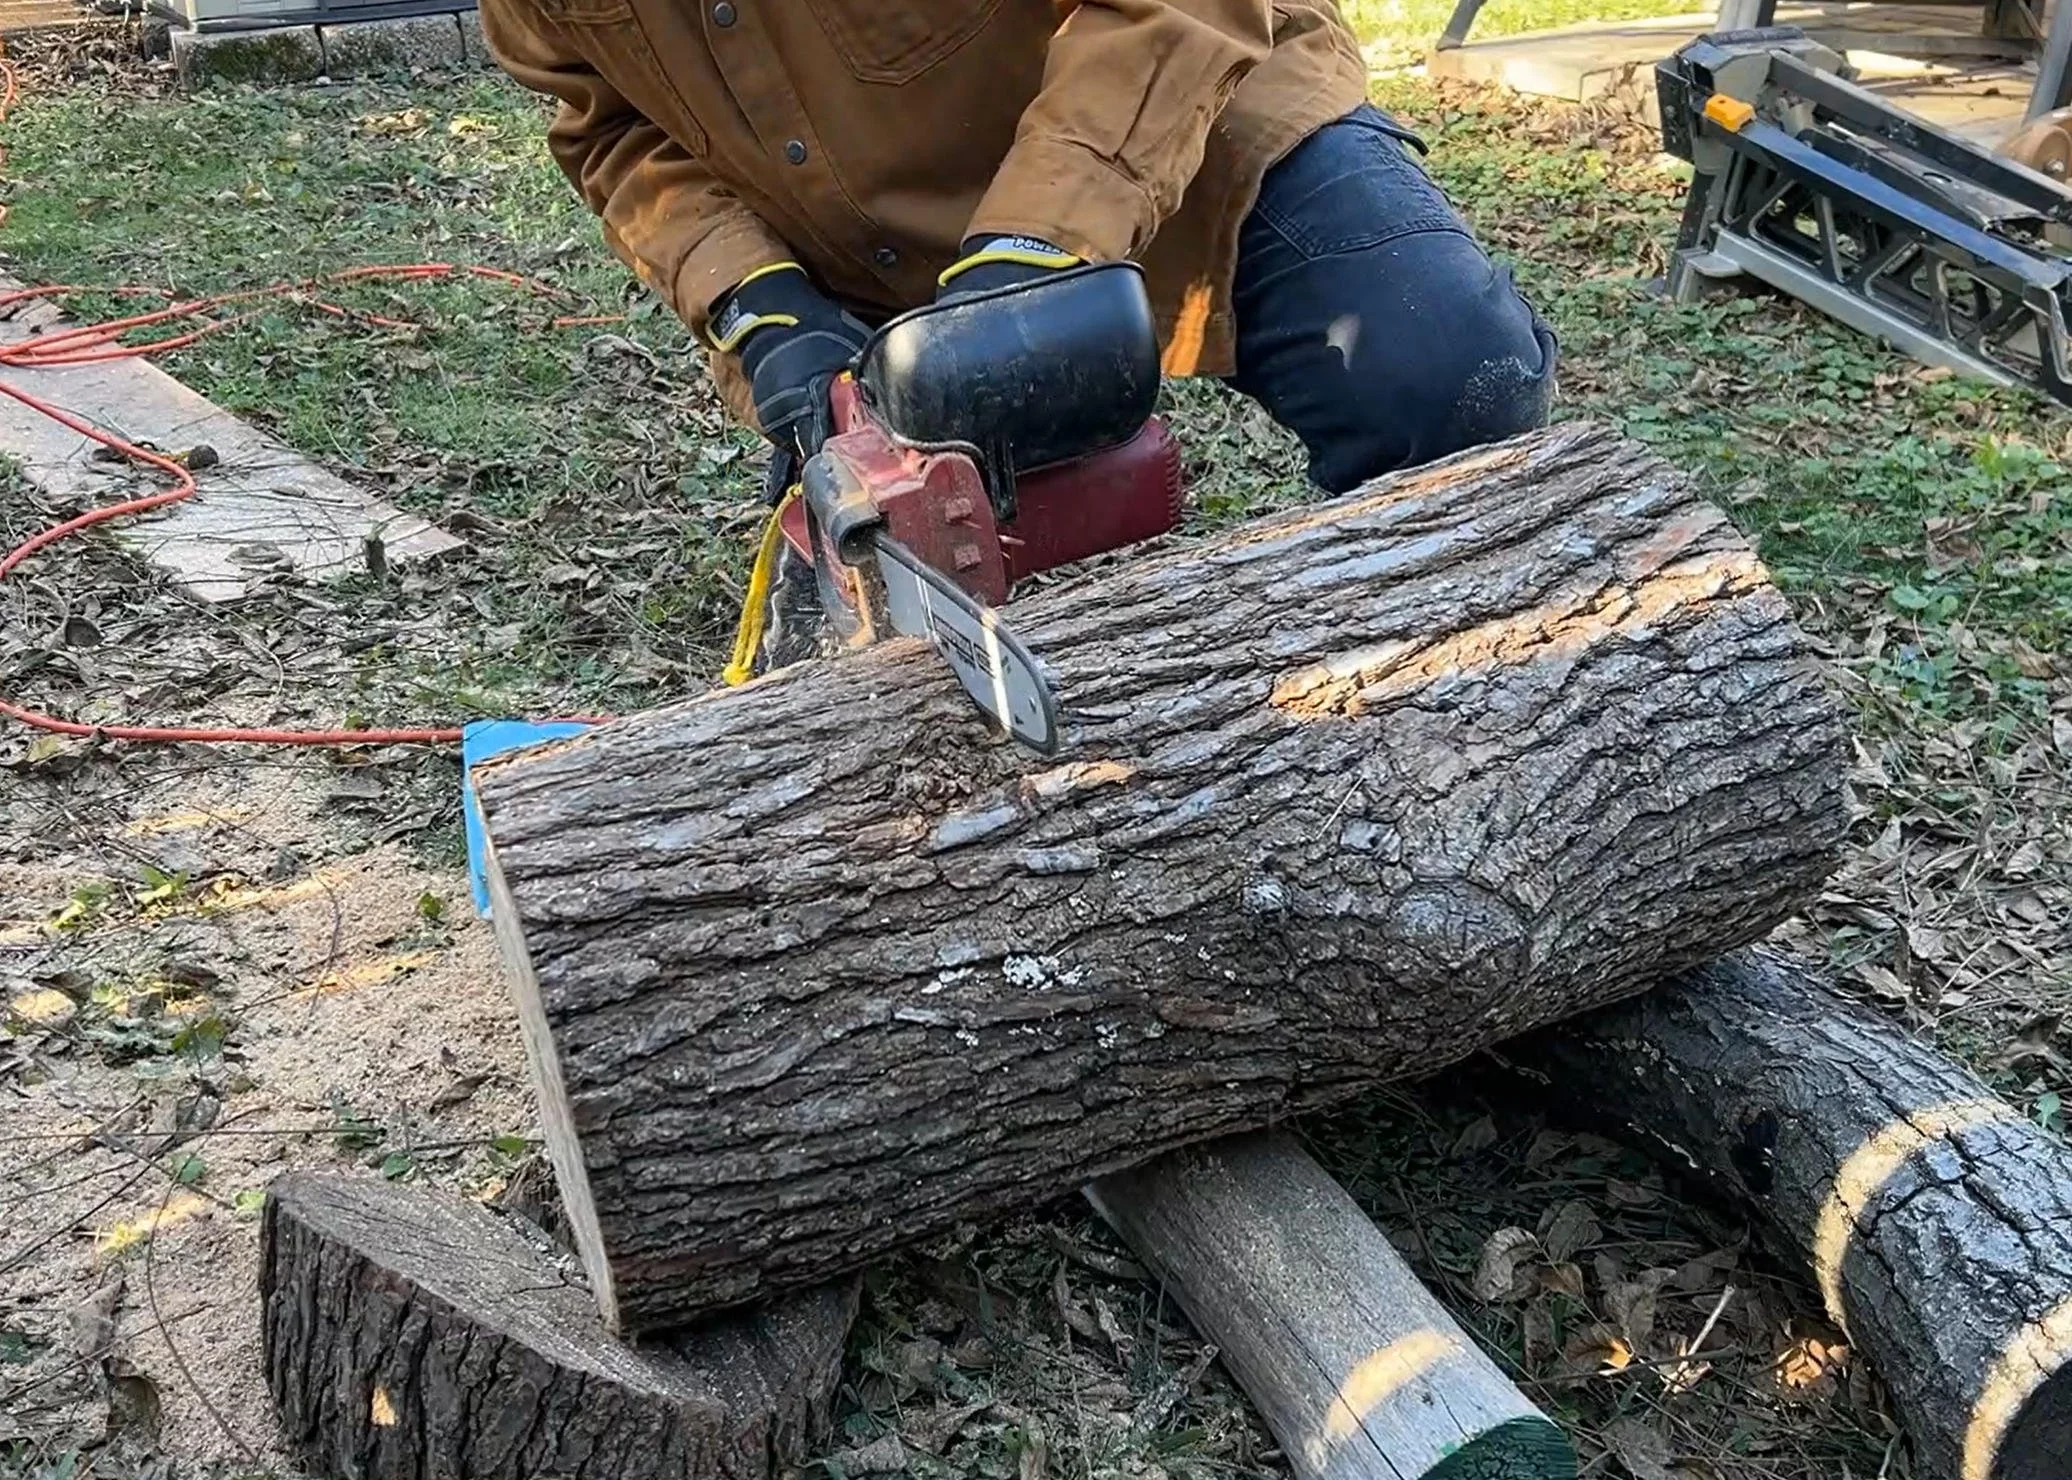
With the log marked, it’s time to bring out the chainsaw. I make a cut at each mark, creating two 10-inch segments. This will give us enough wood to turn a pair of 8-inch bowls.
Step 4: Splitting the Log
Now, with our segments cut, it’s time to split each one down the center. This step is crucial for two reasons: it helps create balanced blanks, and it removes the pith, the wood's core that can cause cracking.
There are two ways to do this:
Direct Cut Through the Pith: I split directly down the pith, dividing the log into two halves.
Isolate the Pith: Alternatively, you can make two cuts on either side of the pith, removing it as a separate piece.
Since cutting into end grain can be challenging, I lay the log horizontally and cut with the grain. This orientation allows for a faster, smoother cut.
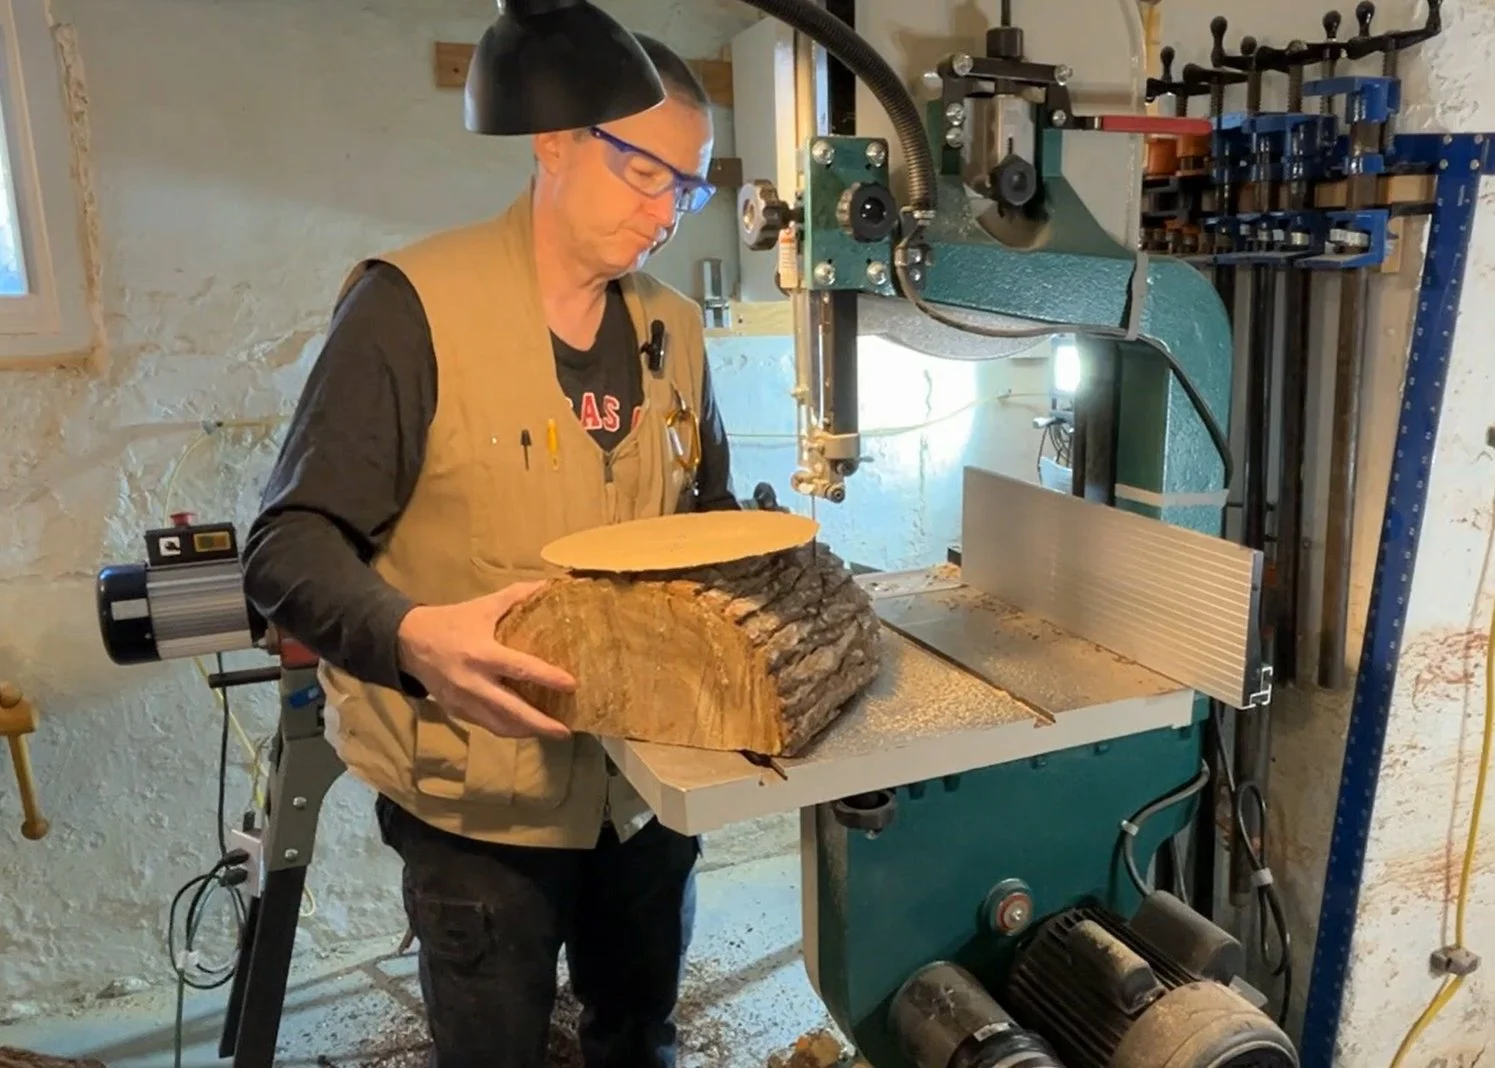
Step 5: Preparing the Rough Shape
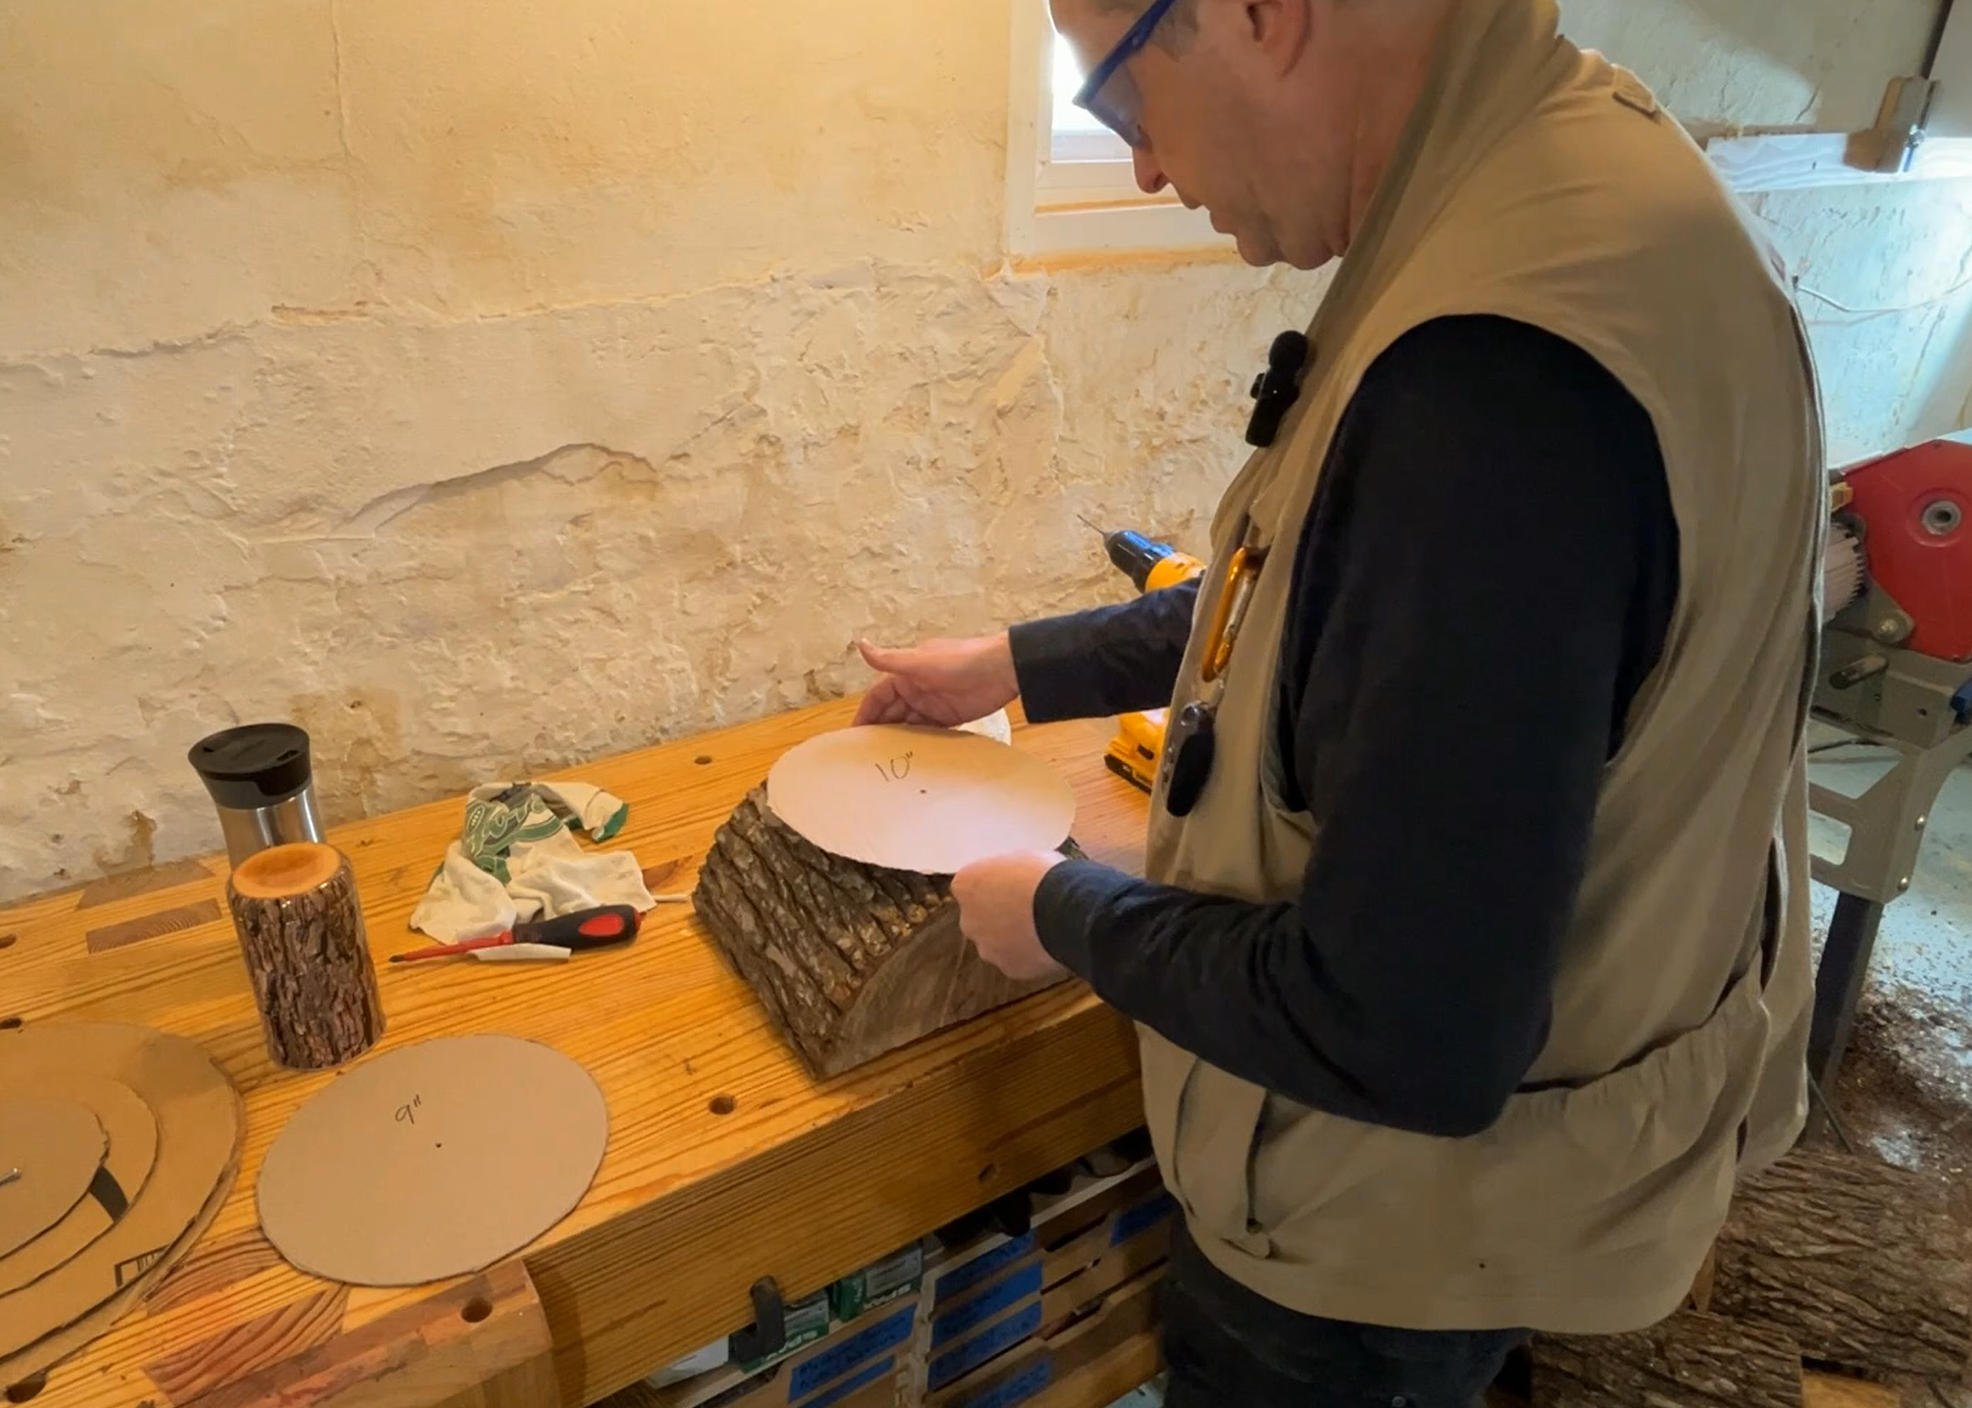
With our log halves ready, I take them to the bandsaw to get a rough circle. Using cardboard templates, around 9 or 10 inches in diameter to match the segments we just cut. After drilling a small pilot hole, I secure the template and cut along the edge, creating a round blank.
Step 6: Ready for the Lathe
Our bowl blank is now ready to mount on the lathe. To secure it, we can either attach a faceplate or use a Wormwood screw in the center. This setup ensures stability, making rough turning easier and safer.
Final Thoughts
Turning a bowl from scratch, beginning with a raw log, is incredibly satisfying. Each step in the process—from measuring and cutting to rough shaping—brings us closer to the final piece. Now that our blank is ready, it’s time to start turning!
Whether you’re a seasoned woodturner or just starting out, I hope this guide helps you approach log preparation with confidence. Stay tuned for more woodturning tips and project ideas here at Turning Stitches! Happy turning!