
Crafting Personalized Gifts with Woodturning - Pens
Hi, I’m Sean, and welcome to Turning Stitches! Here, we help woodturners like you learn the craft and begin creating fun projects faster. If you’re anything like me, you might struggle with finding the perfect gift, especially when time is running short. But don’t worry! This blog series is designed to help you turn your woodturning skills into thoughtful, handmade gifts that your loved ones will treasure for years.
In this first installment, we’ll dive into pen turning—a creative and customizable project that’s perfect for gift-giving. Whether you’re crafting for a family member, friend, or even adding to your product line, pens are a versatile and highly personal gift. With countless pen kits available for different hobbies, occupations, and sports, and a range of materials like wood, acrylic, and other unique textures, the possibilities for customization are nearly endless. Plus, if you’re a woodturner looking to sell your creations, pens can be a popular, marketable item.
What You'll Need for Pen Turning
To get started, you’ll need a few essential items. We’ve provided links to the pen kits, tools, and supplies we’ll be using today in the description. Some of these links are affiliate links, which means if you make a purchase through them, we earn a small commission at no additional cost to you.
For this project, I’m using a scrap piece of walnut and maple from my shop and a European Pen Kit (https://amzn.to/47ukzft) (also known as the Funline Designer Twist pen kit). This classic pen kit is one of my favorites for its timeless design.
Step 1: Preparing the Pen Blanks
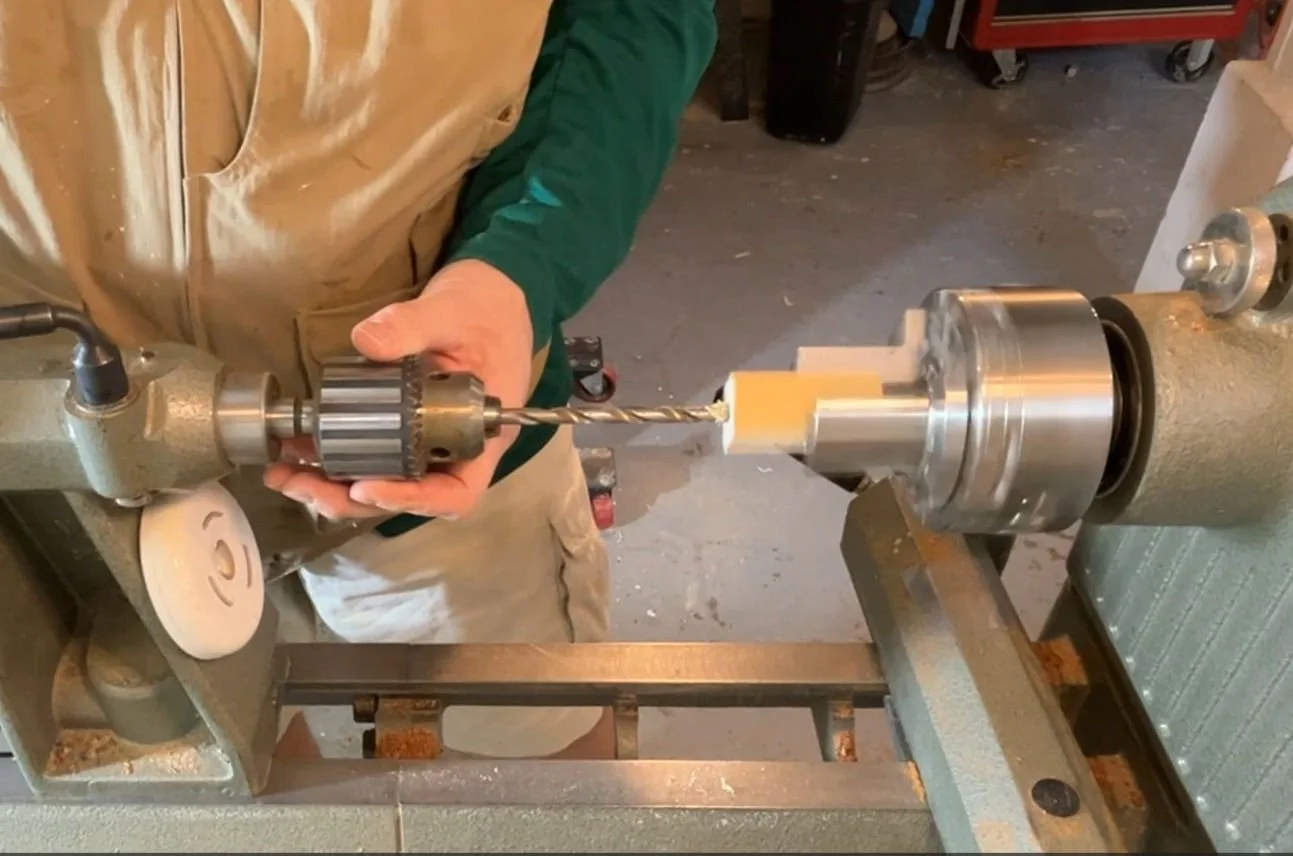
Start by cutting your blanks to size, leaving them just a little longer than the pen tubes. I’ll be using a scroll chuck with pen jaws to drill a 7mm hole through each blank. After that, glue the tubes into the blanks and set them aside to dry.
Once the glue has dried, we move on to the barrel trimming process. Using a barrel trimmer (https://amzn.to/3zn1wXQ), trim the blanks down to match the size of the pen tubes. This ensures a perfect fit when we start turning the wood.
Step 2: Turning the Blanks
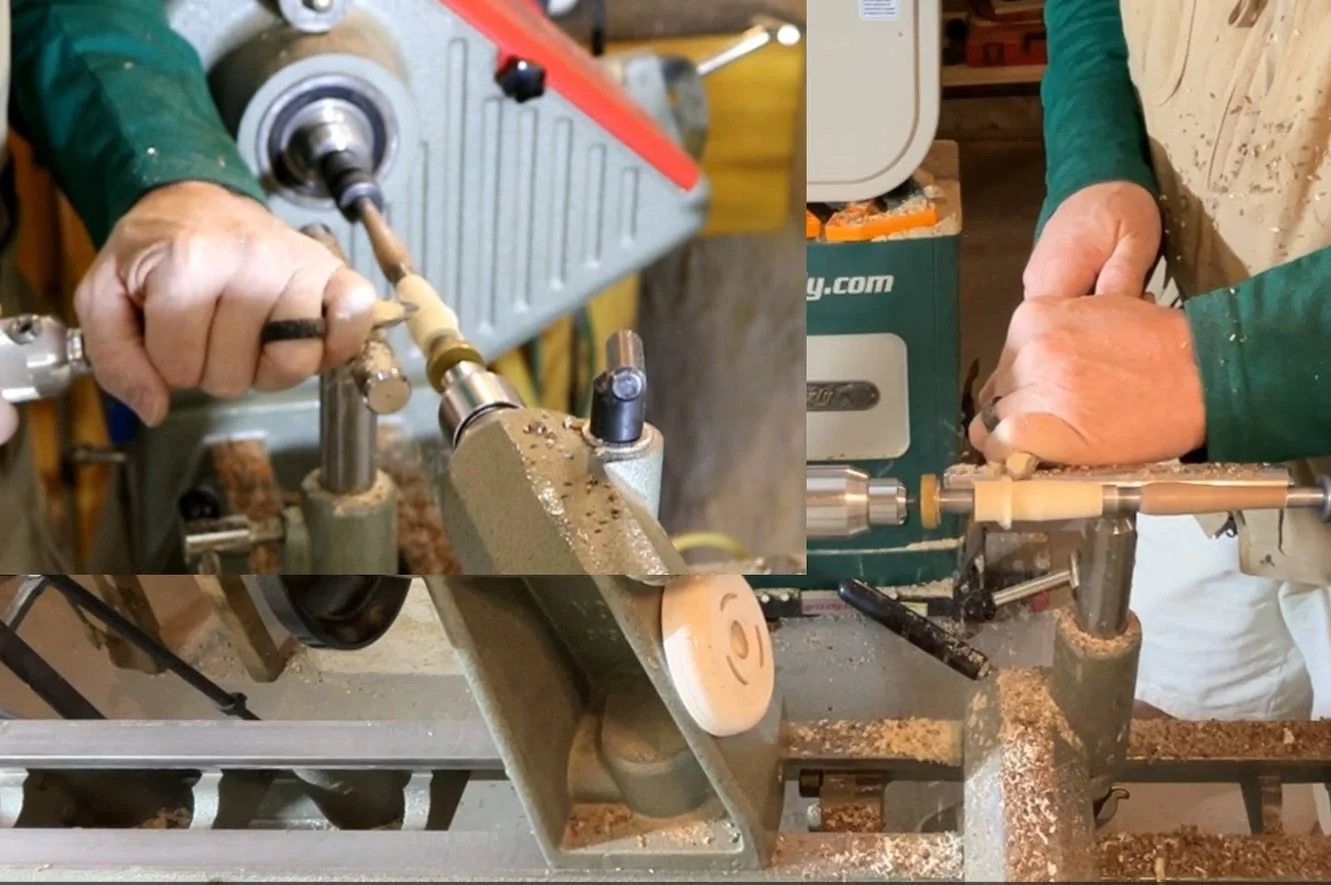
Now we’re ready to assemble the pieces onto the pen mandrel (https://amzn.to/3zfJxma). When purchasing pen kits, I recommend buying the corresponding bushing kits (https://amzn.to/3zsKU0L). These make it much easier to size your blanks while turning. Once the blanks are mounted, it’s time to start turning them down to the size of the bushings and adding any shape or contour that appeals to your design vision.
Step 3: Sanding and Finishing
Now for the sanding process. I usually start with 150-grit sandpaper, but if there are visible tool marks, you might want to begin with a coarser grit. I’ll work through the grits until I’m satisfied with the smoothness of the piece, usually around 600-800 grit. Don’t forget to sand with the grain of the wood between each grit for the best results.
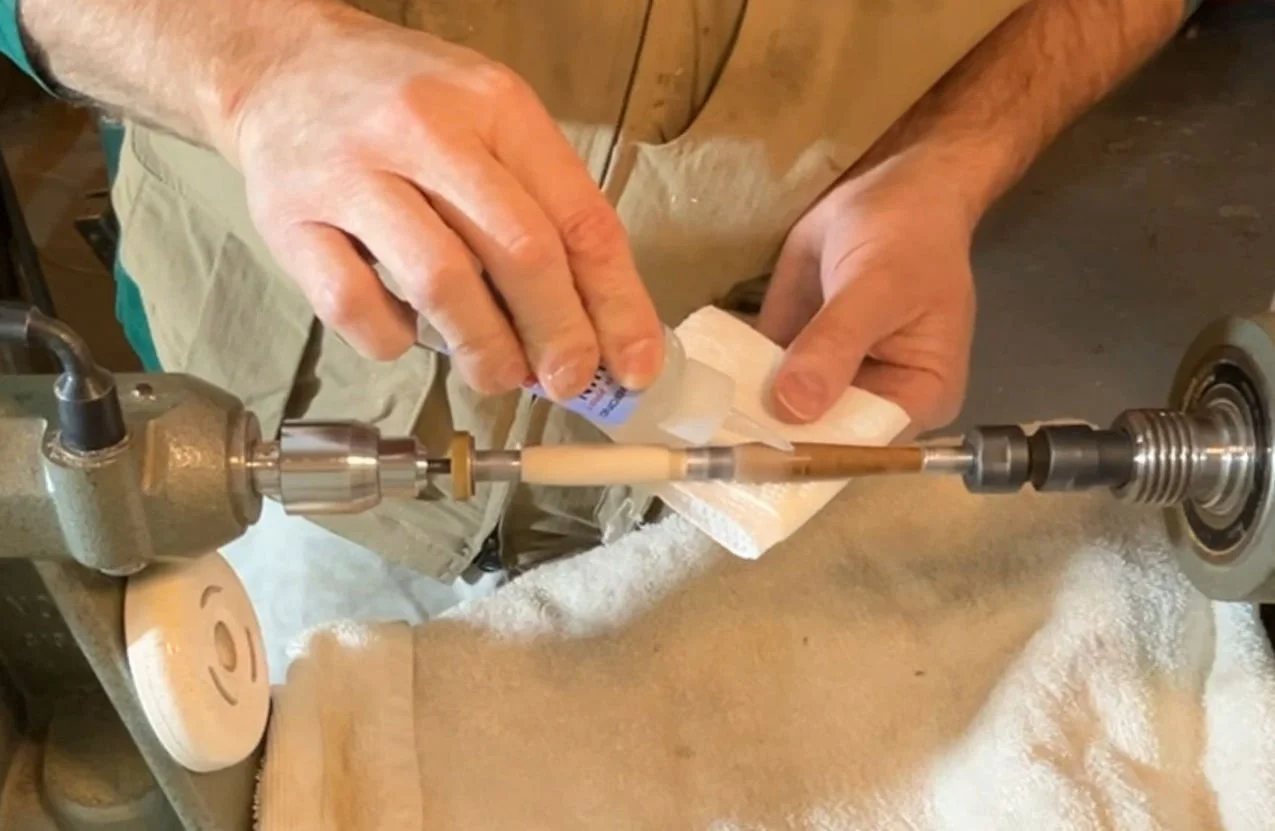
For the finish, I prefer using CA glue (cyanoacrylate glue - https://amzn.to/3XPBgPl) because it’s fast, durable, and leaves a glossy finish. To apply, I use a paper towel to spread thin layers of glue across the pen blank, rotating the towel as I go to avoid scratches from drying glue. After each coat, I lightly spray accelerator to speed up the drying process. Typically, 3-5 coats are enough, followed by a few minutes of drying.
Step 4: Polishing the Pen
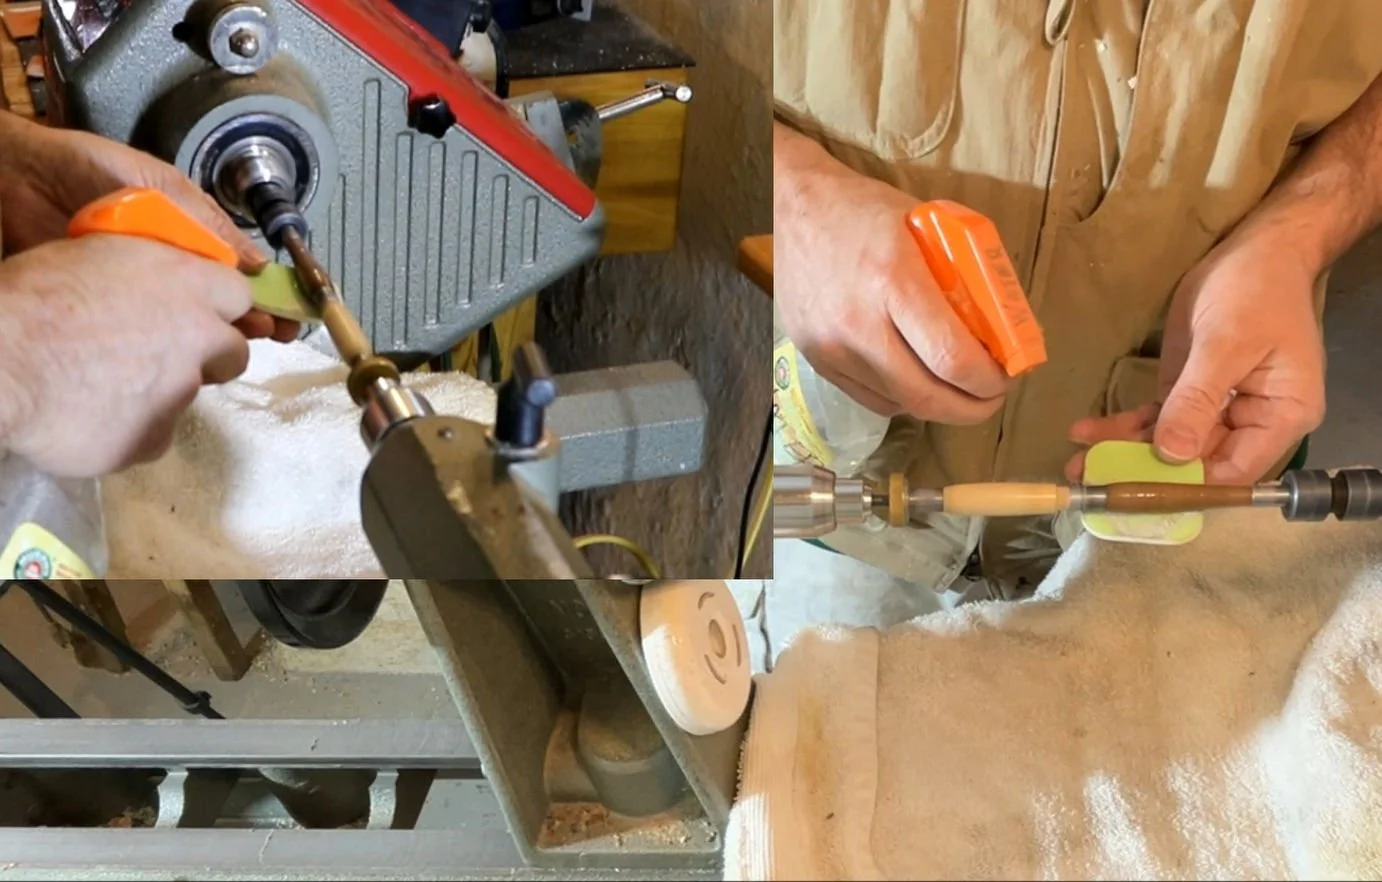
Once the finish has dried, it’s time to polish. I like to use Micro-Mesh pads (https://amzn.to/3Nby2Q5) or Mirka Abralon pads (https://amzn.to/47uVdOk) for this step. Start wet sanding with 500-600 grit and work your way up to about 12,000 grit. Remember to run the lathe at a speed of 2,000 RPMs or higher, and avoid applying pressure—just let the pads lightly rub against the pen blank. For a final touch, I apply a small amount of CA polishing cream to give the pen that extra shine.
Step 5: Assembling the Pen
Now that the pen is polished, it’s time for the final assembly. Before assembling, lightly score the seam between the pen blank and bushing with a utility knife to prevent the edges from cracking.
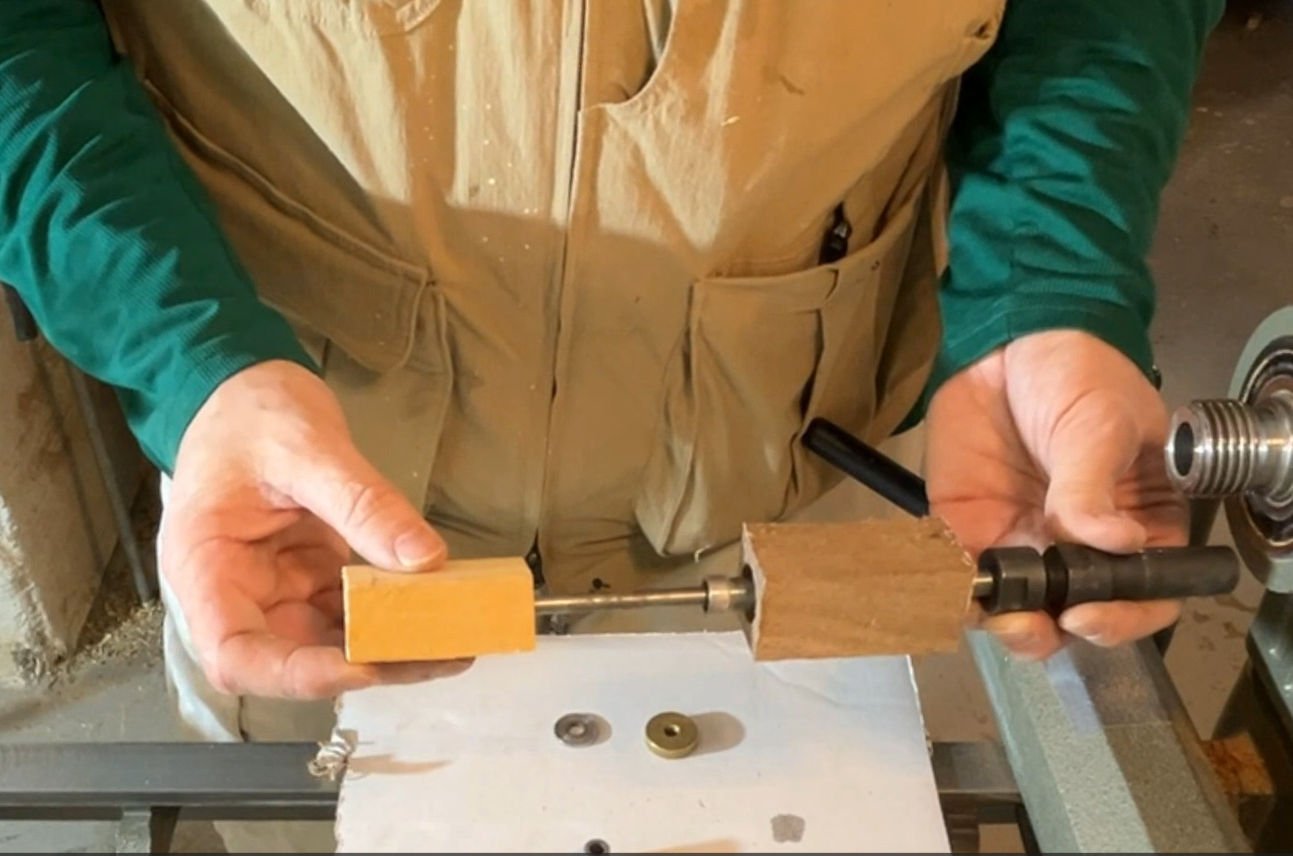
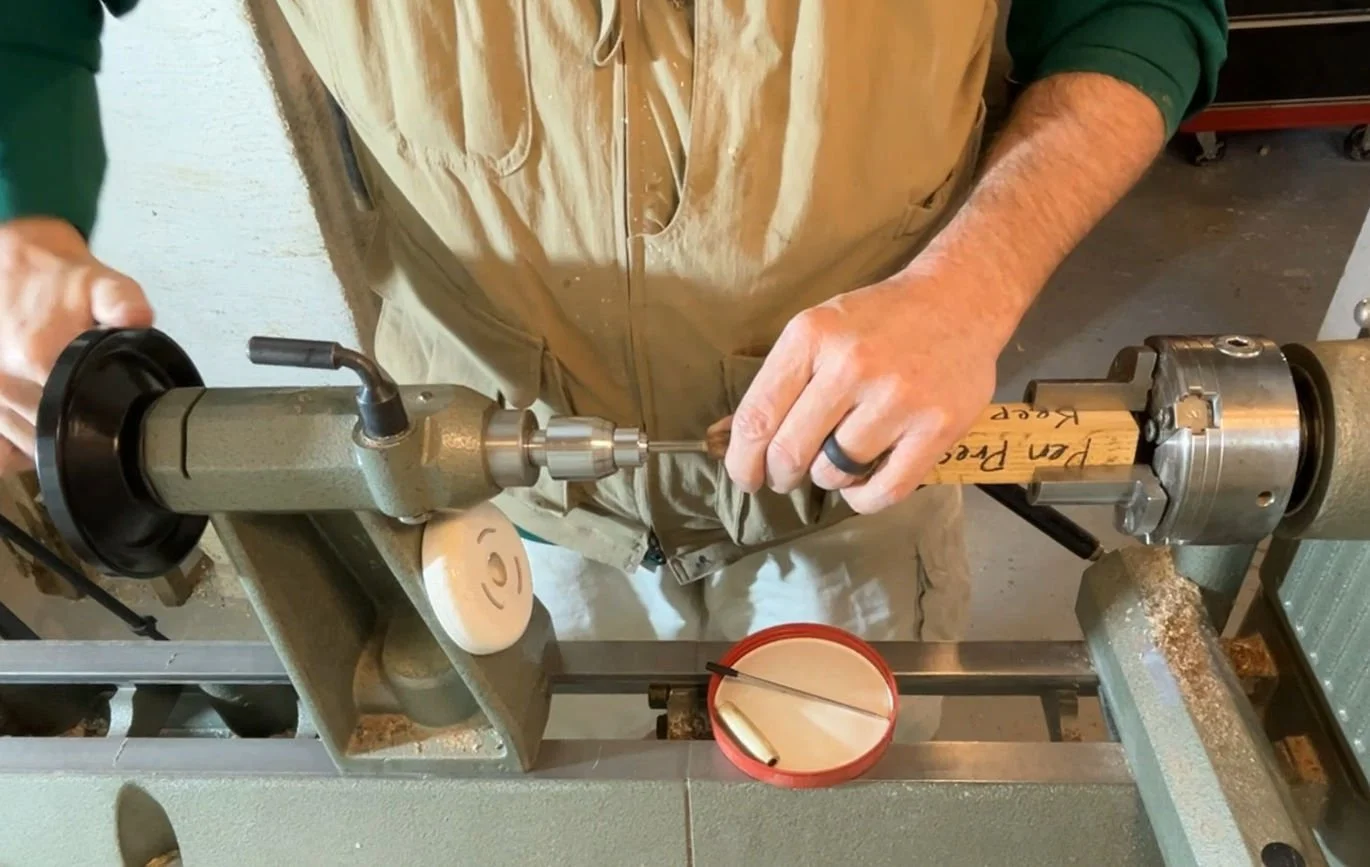
I like to use my lathe as a press for assembly—it's simple and effective. Using a block with holes drilled for the pen tip and cap, insert the pen tip and press the blank onto it using the tailstock. Repeat the process for the pen cartridge and cap, and ensure the pen refill is properly aligned.
Finally, glue the decorative center band in place with CA glue, and you’re done!
The Perfect Handmade Gift
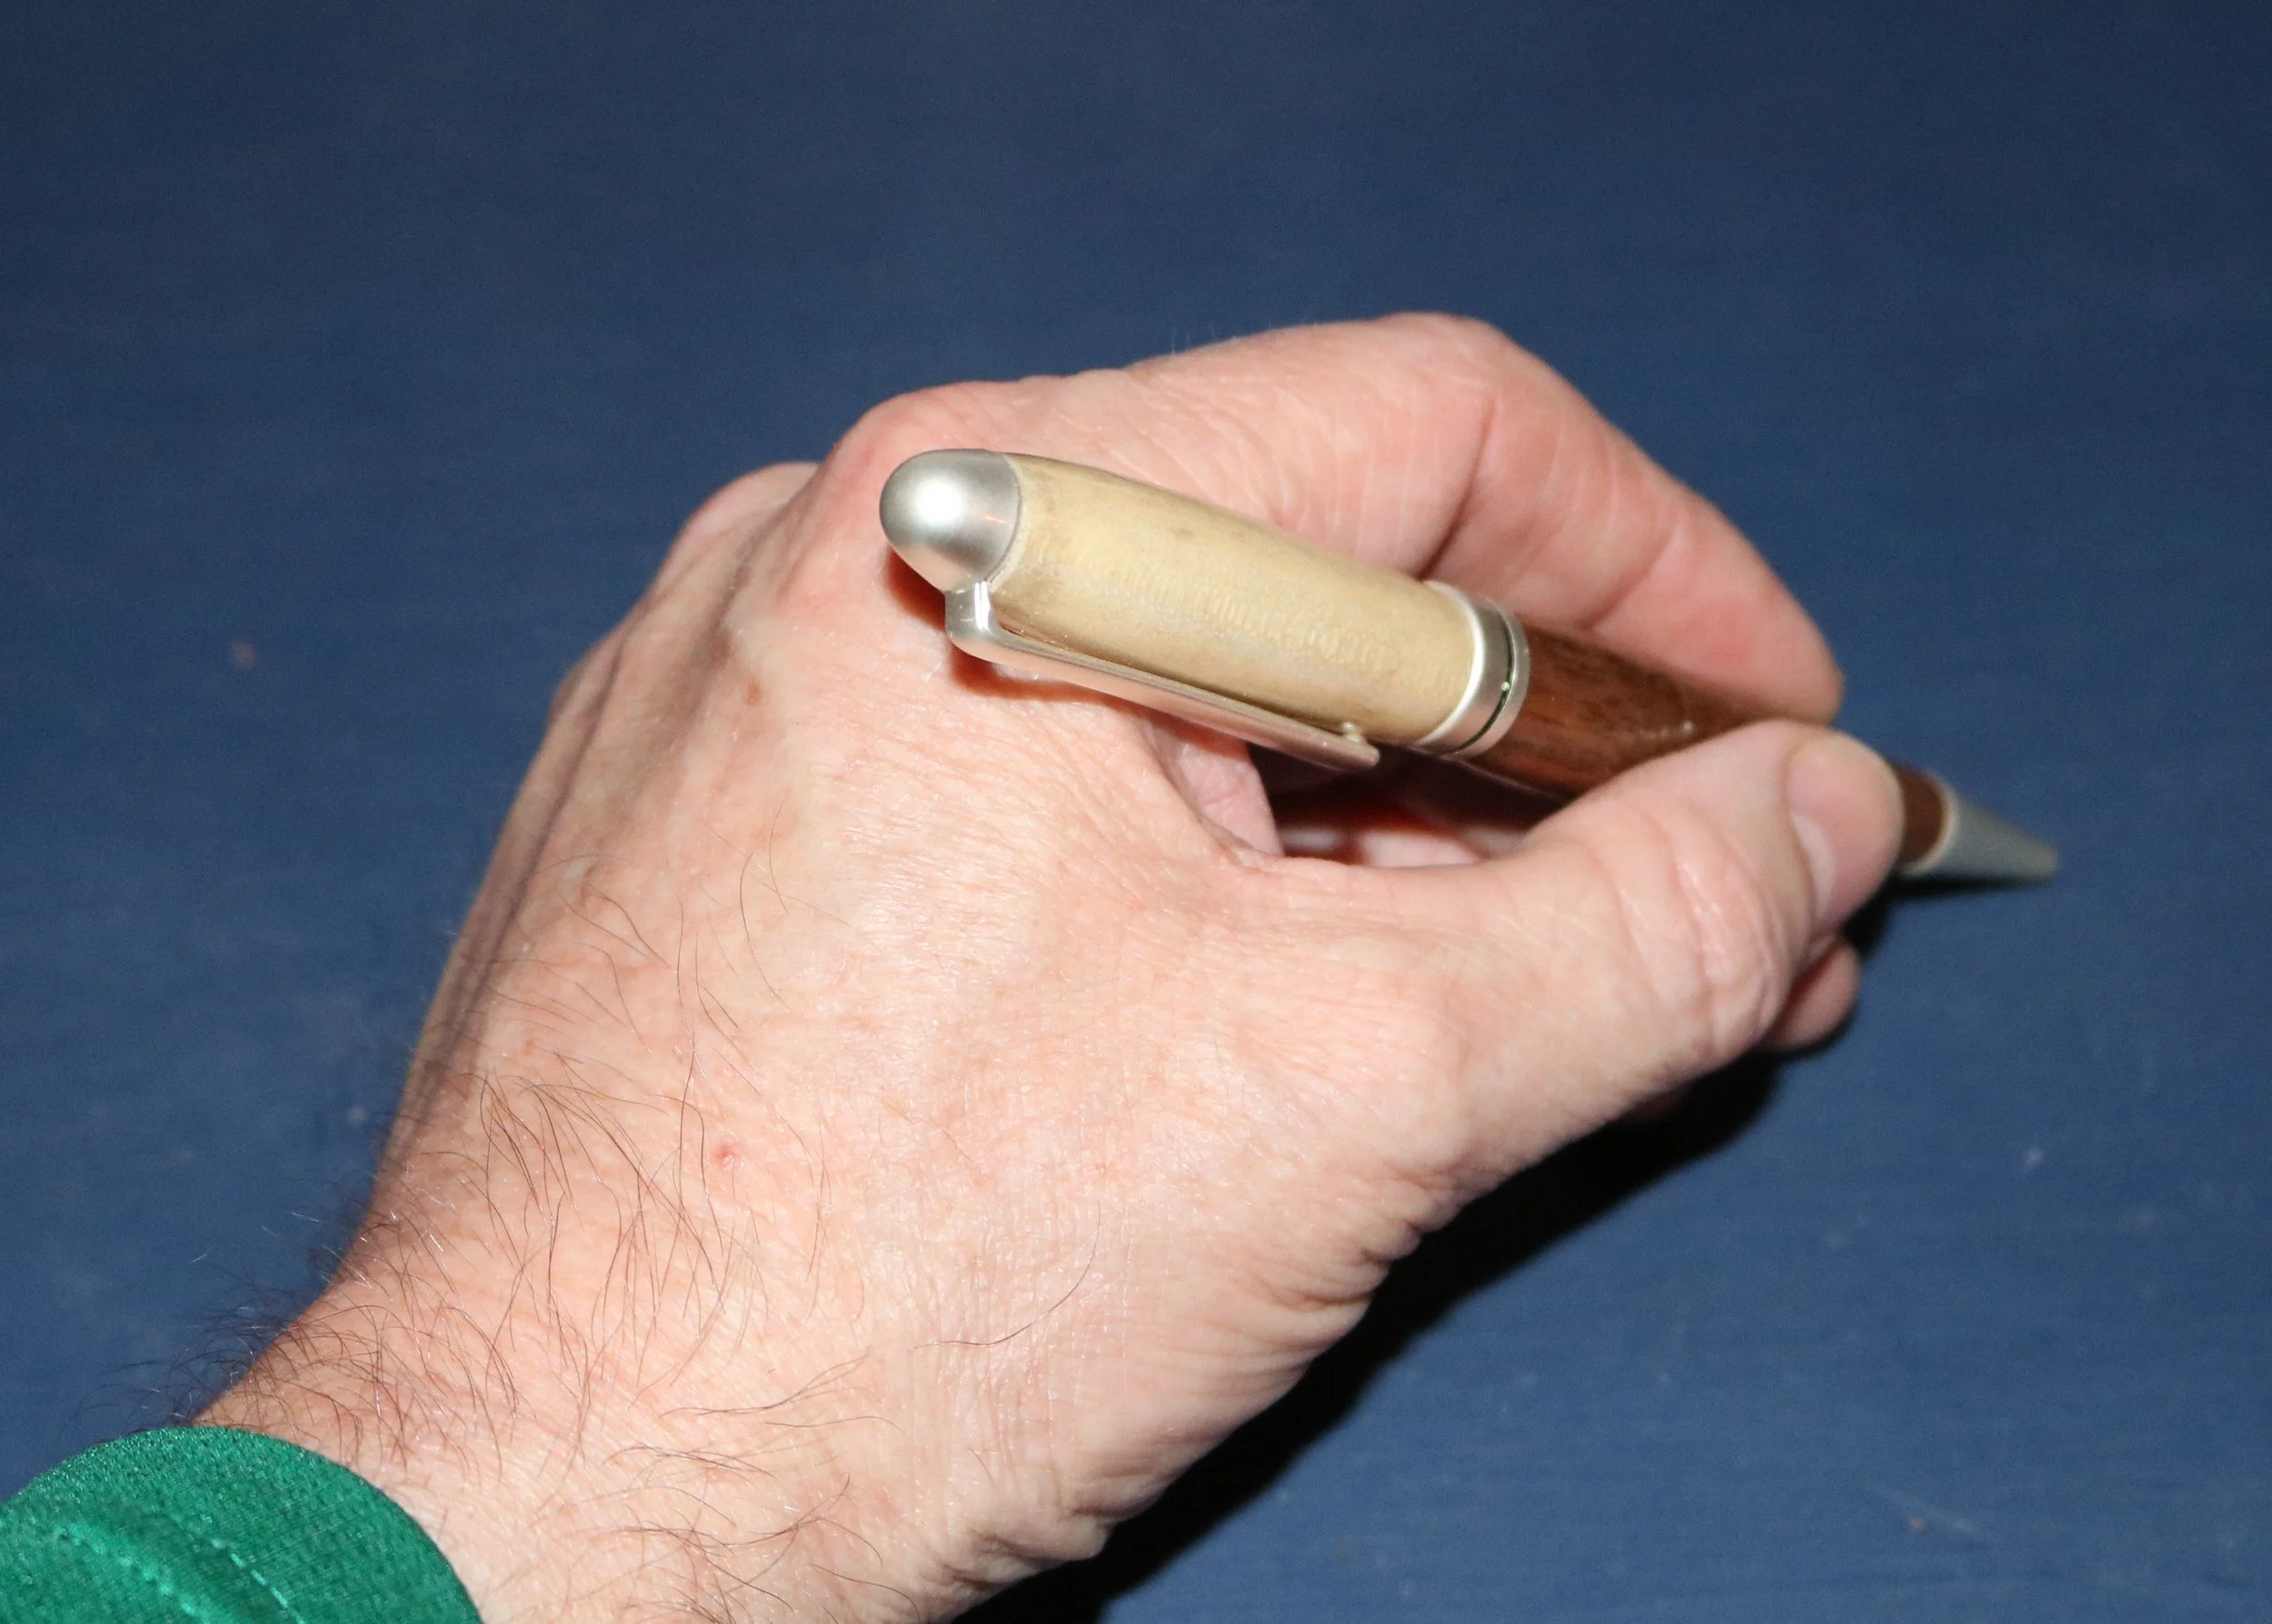
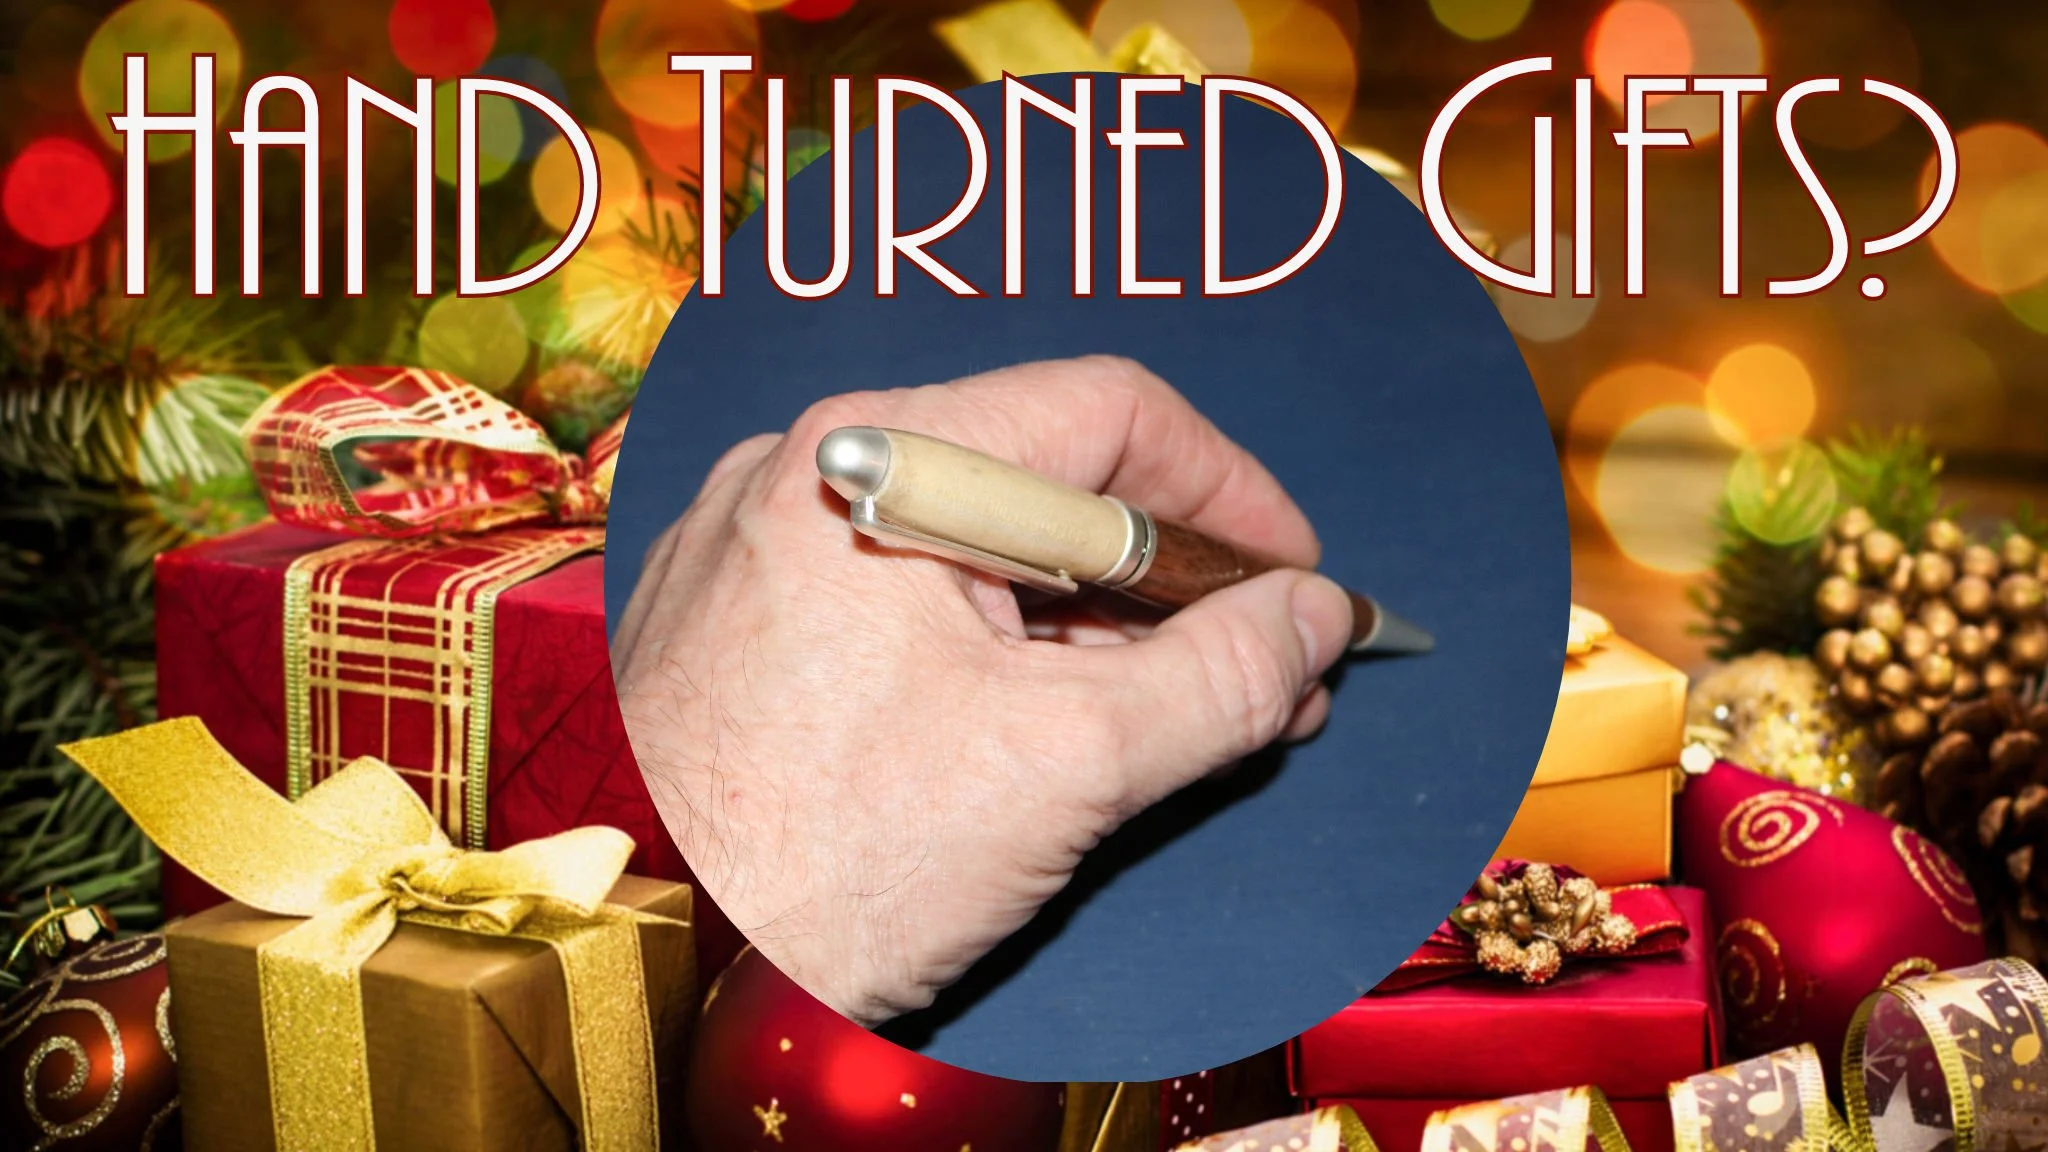
And just like that, you’ve crafted a beautiful, custom pen—a perfect, personalized gift for any occasion. Not only is this pen a unique keepsake, but it’s also a project that showcases your creativity and craftsmanship.
If you found this guide helpful, don’t forget to subscribe to the Learnin’ Turnin’ e-mail list to get notified when the next project is live. In our next post, we’ll explore another fun gift idea to continue building your woodturning skills.
Happy turning!
Links to Products and Supplies:
Some of the links on this page are affiliate links, meaning, at no additional cost to you, I may earn a commission if you click through and make a purchase.
Amazon Affiliate Links:
European Pen Kit (10 Pack) - https://amzn.to/47ukzft
European Pen Bushings - https://amzn.to/3zsKU0L
Designer Twist Pen Kit (10 Pack) - https://amzn.to/4esUaRl
Bushings for Designer Pen Kit - https://amzn.to/3ZxiPQu
Pen Turning Mandrel Kit - https://amzn.to/3Zw1eIW
Pen Turning Mandrel Only - https://amzn.to/3zfJxma
Pen Tube Insertion Tool - https://amzn.to/3XooF44
Barrel Trimming Tool - https://amzn.to/3zn1wXQ
Nova Supernova 2 Chuck - https://amzn.to/3YE1eG6
Nova Pen Jaws - https://amzn.to/3BiMtie
Drill Chuck - https://amzn.to/3WSbIAm
Brad Point Pen Drill Bits - https://amzn.to/3BiYkgd
Micro-Mesh Sanding Pads - https://amzn.to/3Nby2Q5
Mirka Abralon Polishing Pads - https://amzn.to/47uVdOk
Starbond Thin CA Glue - https://amzn.to/3XPBgPl
Starbond Medium CA Glue - https://amzn.to/4evLbiy
Starbond CA Glue Accelerator - https://amzn.to/4d9fvhD
CA Polish - https://amzn.to/47uVdOk
Other great pen resources:
https://www.pennstateind.com/