
Crafting Personalized Woodturning Gifts – Seam Ripper

Hello, and welcome to Turning Stitches! I’m Sean, and our goal is simple: we help woodturners like you learn the craft so you can start creating fun projects faster.
Let’s be honest—I’m not great at gift-giving. I tend to wait until the last minute and end up with something forgettable. If that sounds familiar, this blog post (and video series) is here to help you out. We’ll take your woodturning skills and use them to craft handmade, personal gifts that your family and friends will cherish for years.
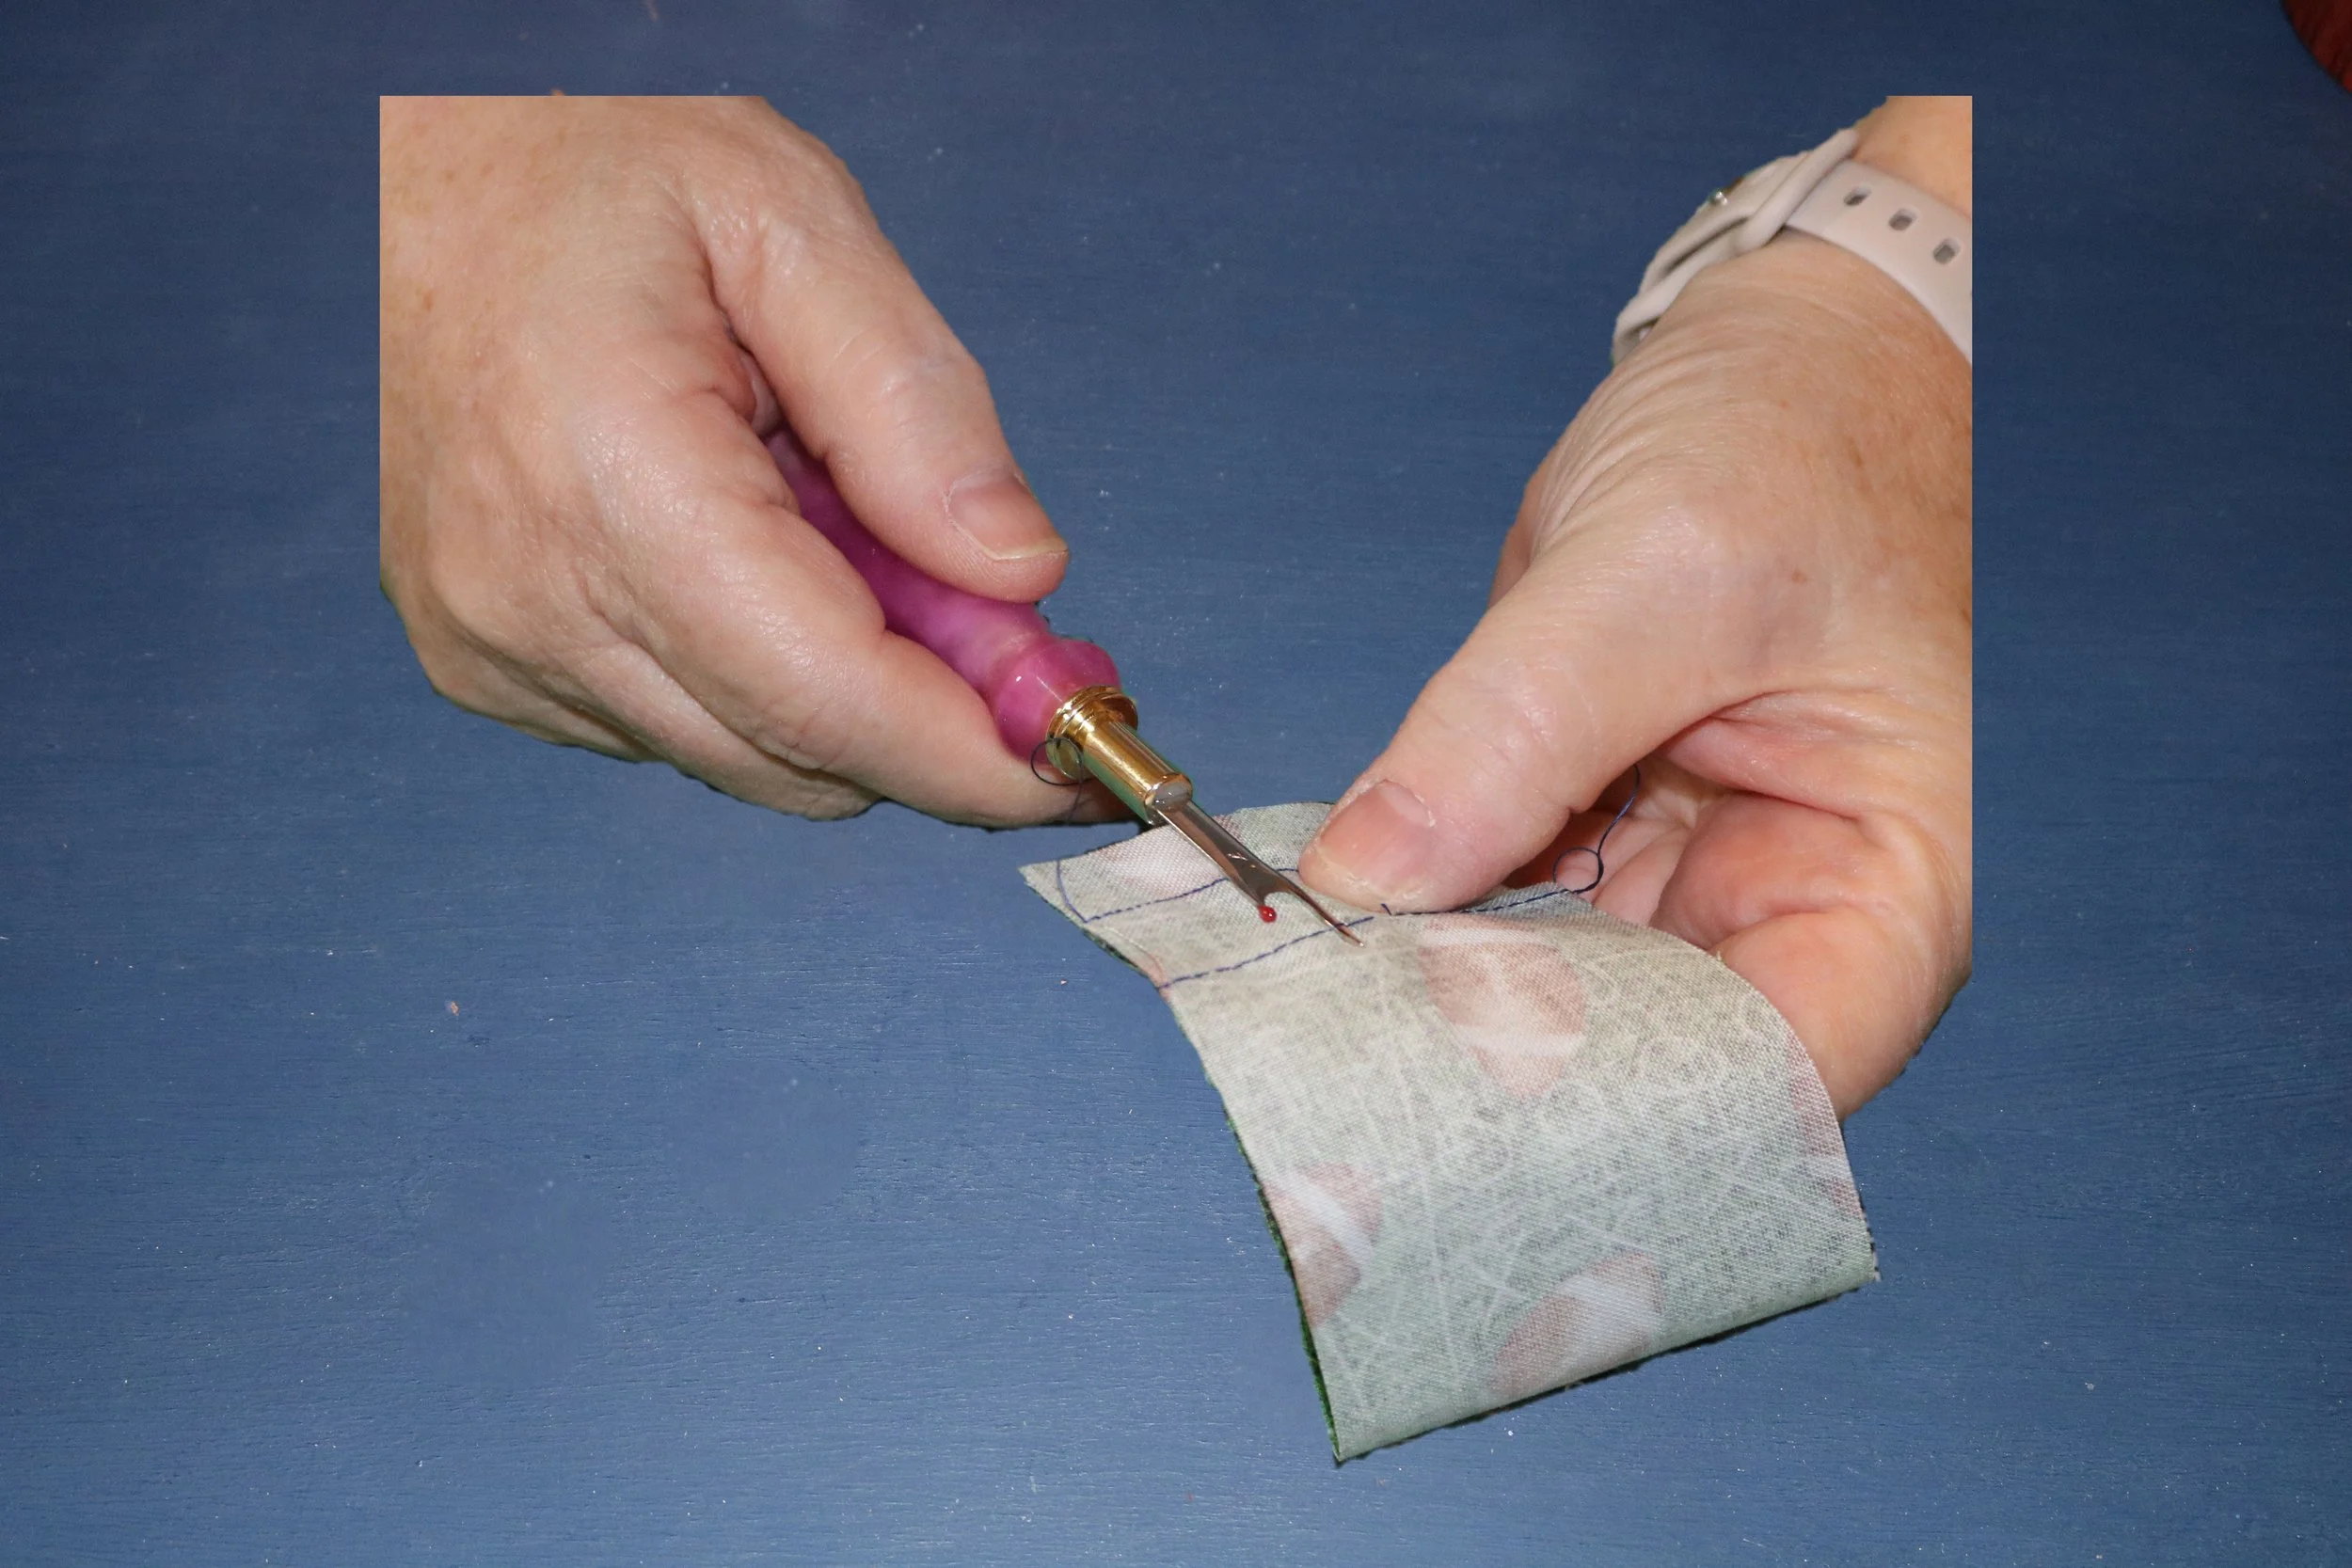
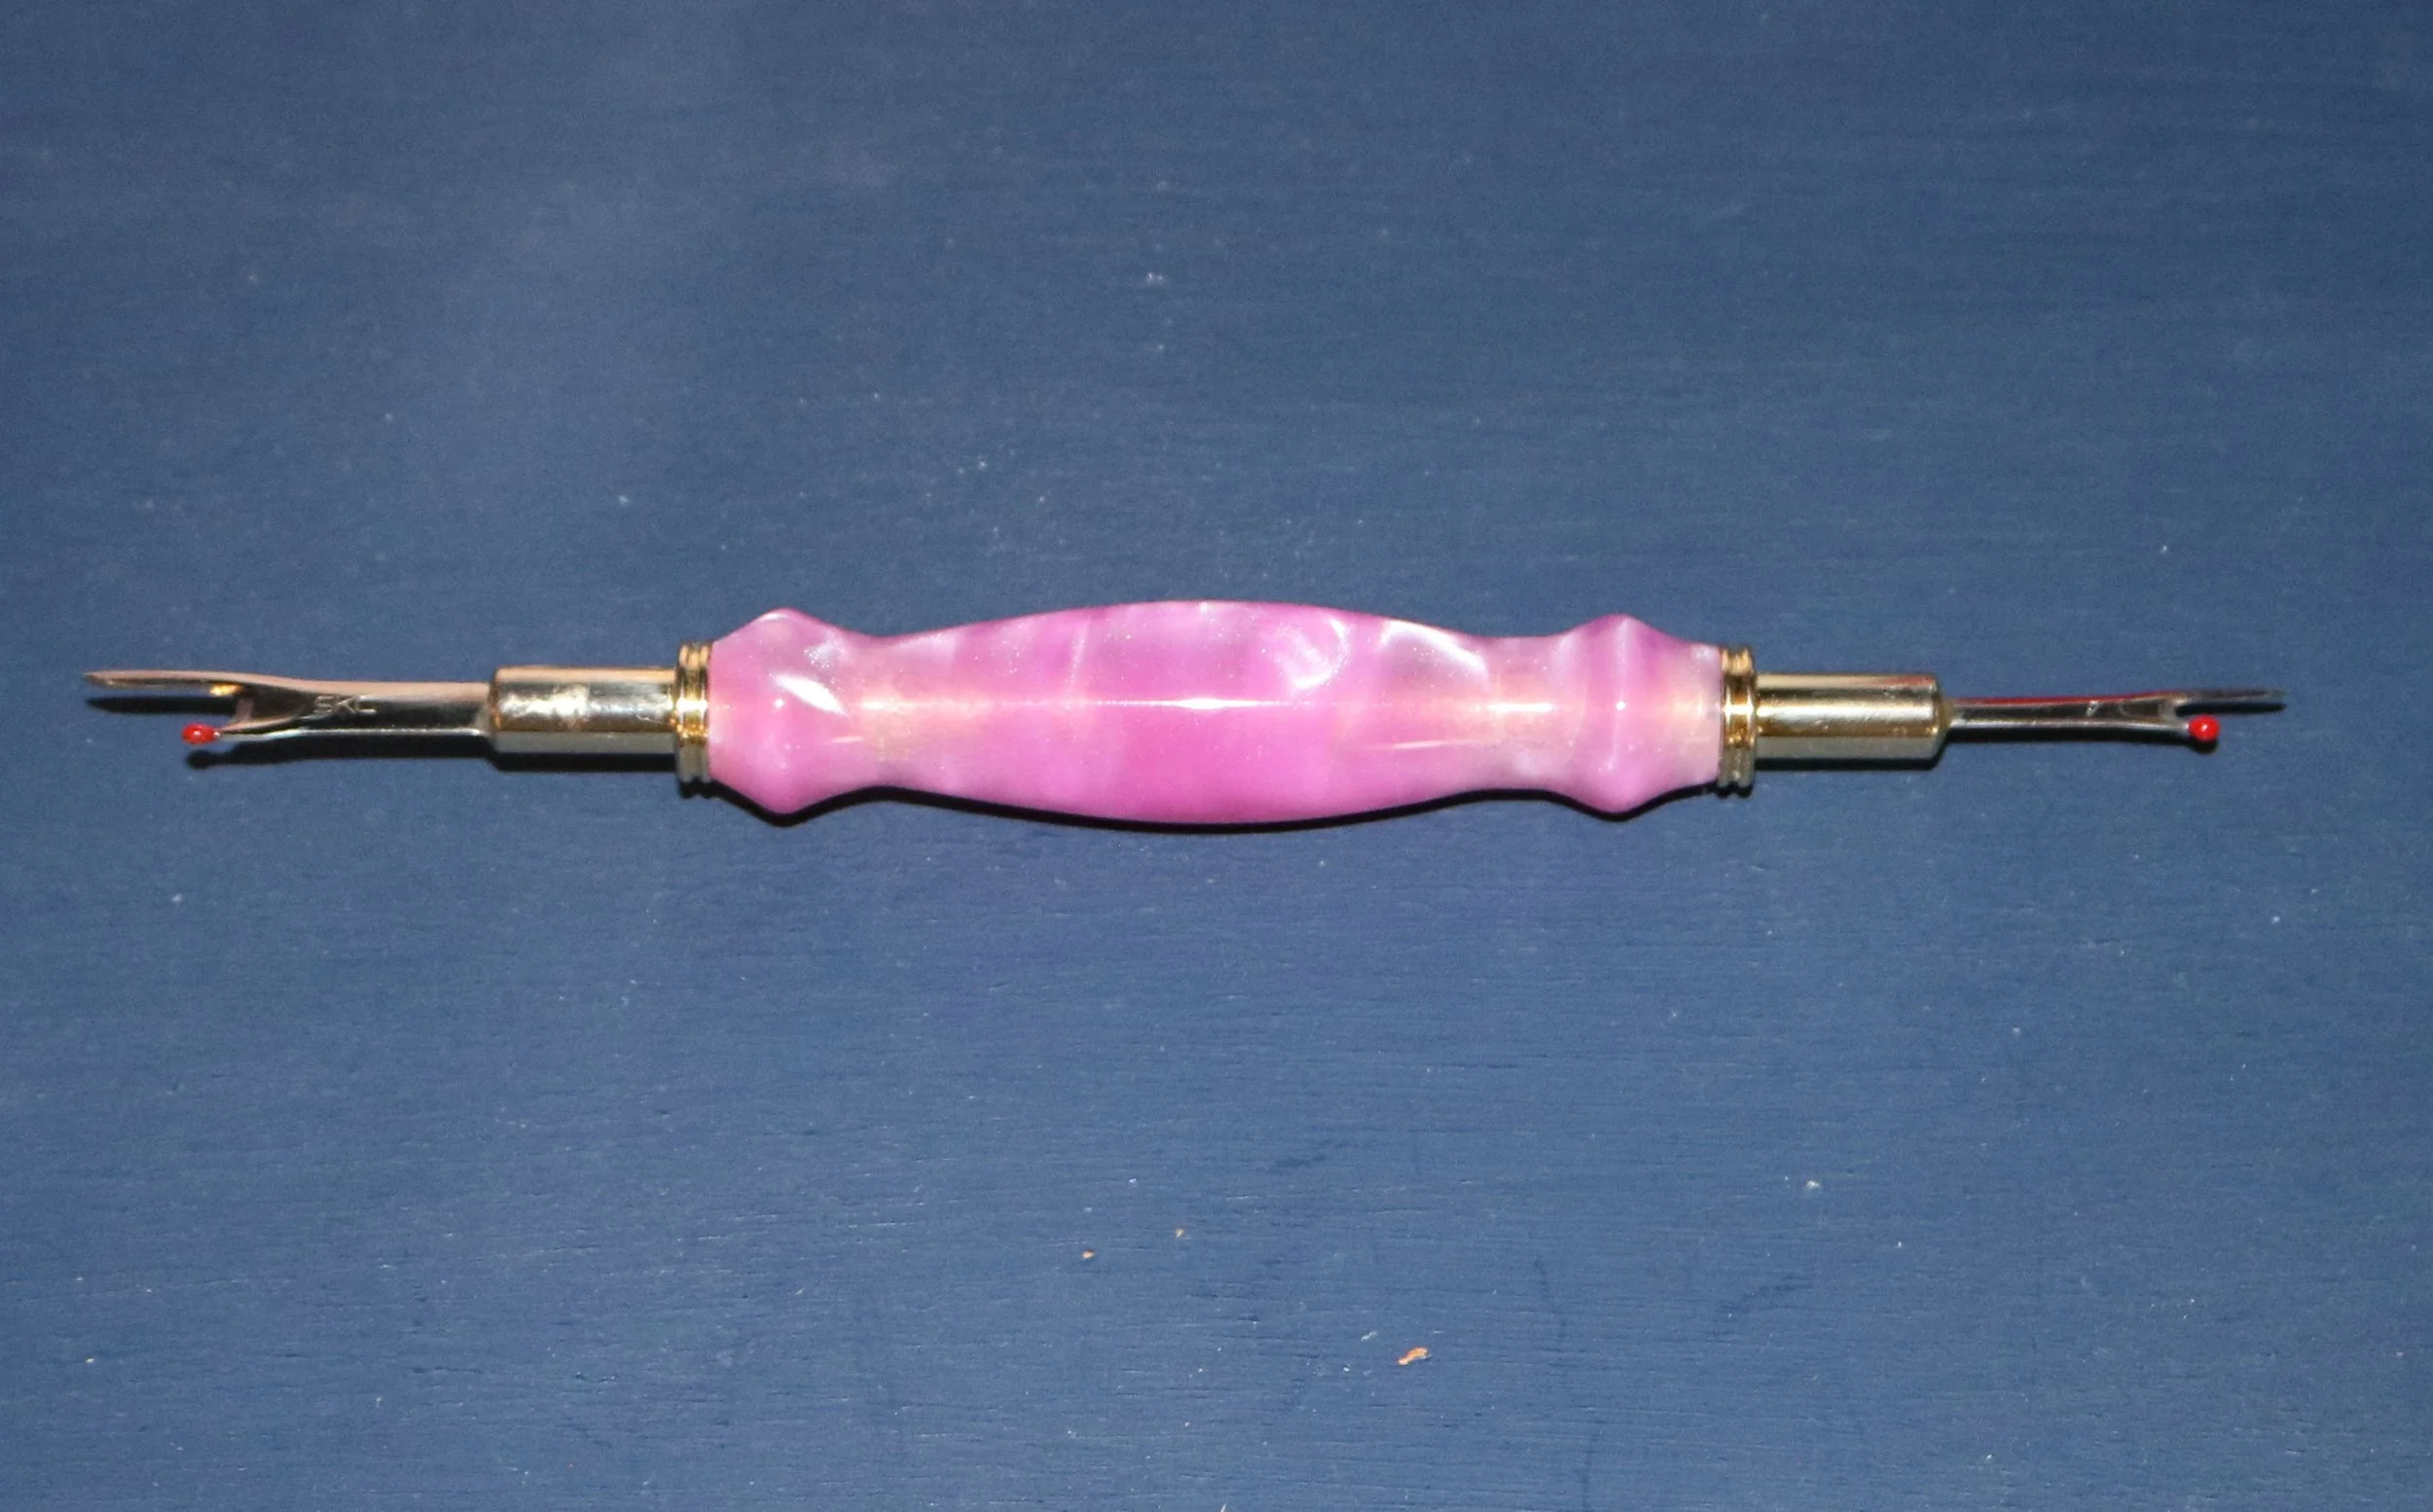
Today’s project is a double-blade seam ripper (https://amzn.to/3XUKV6Y), a perfect gift for anyone who loves sewing. Much like the pens we made in the last blog, there are several different seam ripper kits available, including some that can be worn as a necklace. You’ll also find a variety of materials to choose from—wood, acrylics, and more—allowing you to fully customize your project. Whether you're gifting this or selling it as a product, it’s a fantastic way to showcase your creativity.
Let’s Get Started
In this tutorial, we’ll be using an acrylic pen blank to craft the seam ripper. I’ve included links to all the tools and supplies I’ll be using in this project below. Some are affiliate links, meaning if you make a purchase through them, we earn a small commission at no additional cost to you.
Step 1: Cut the Blank
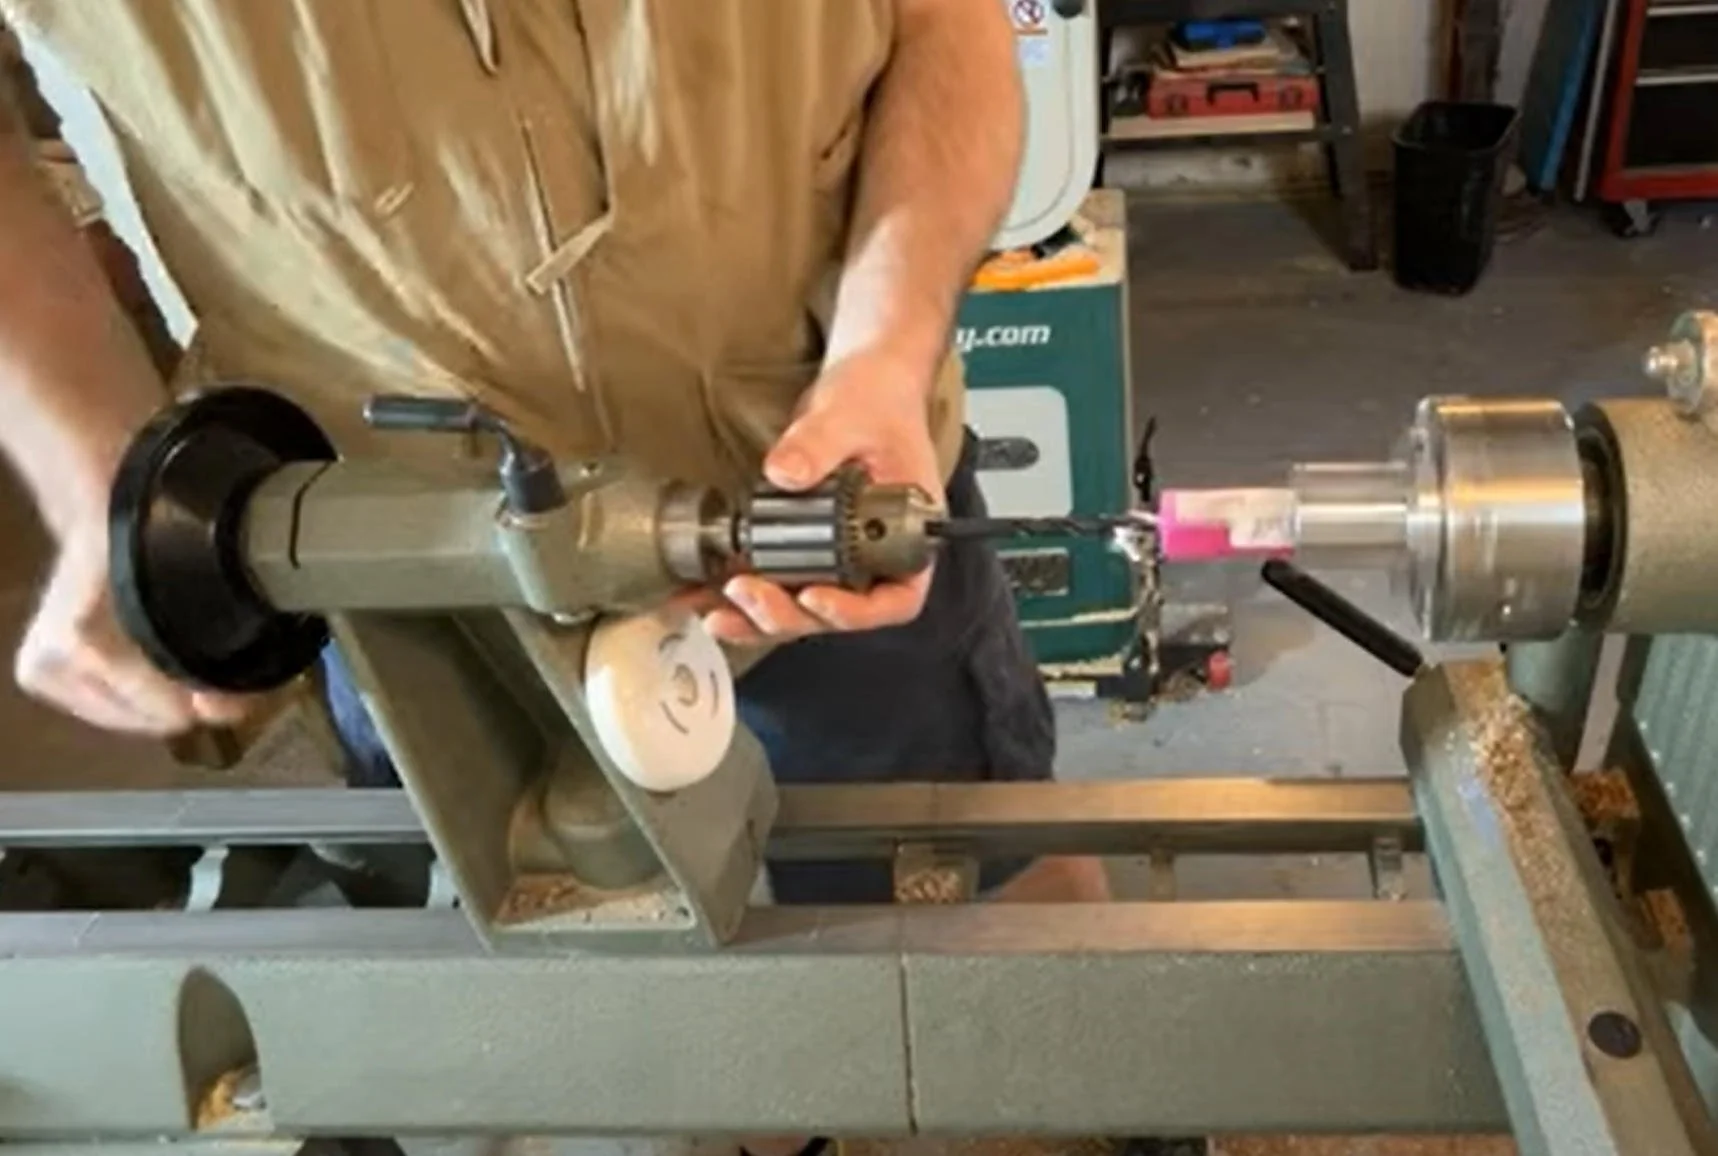
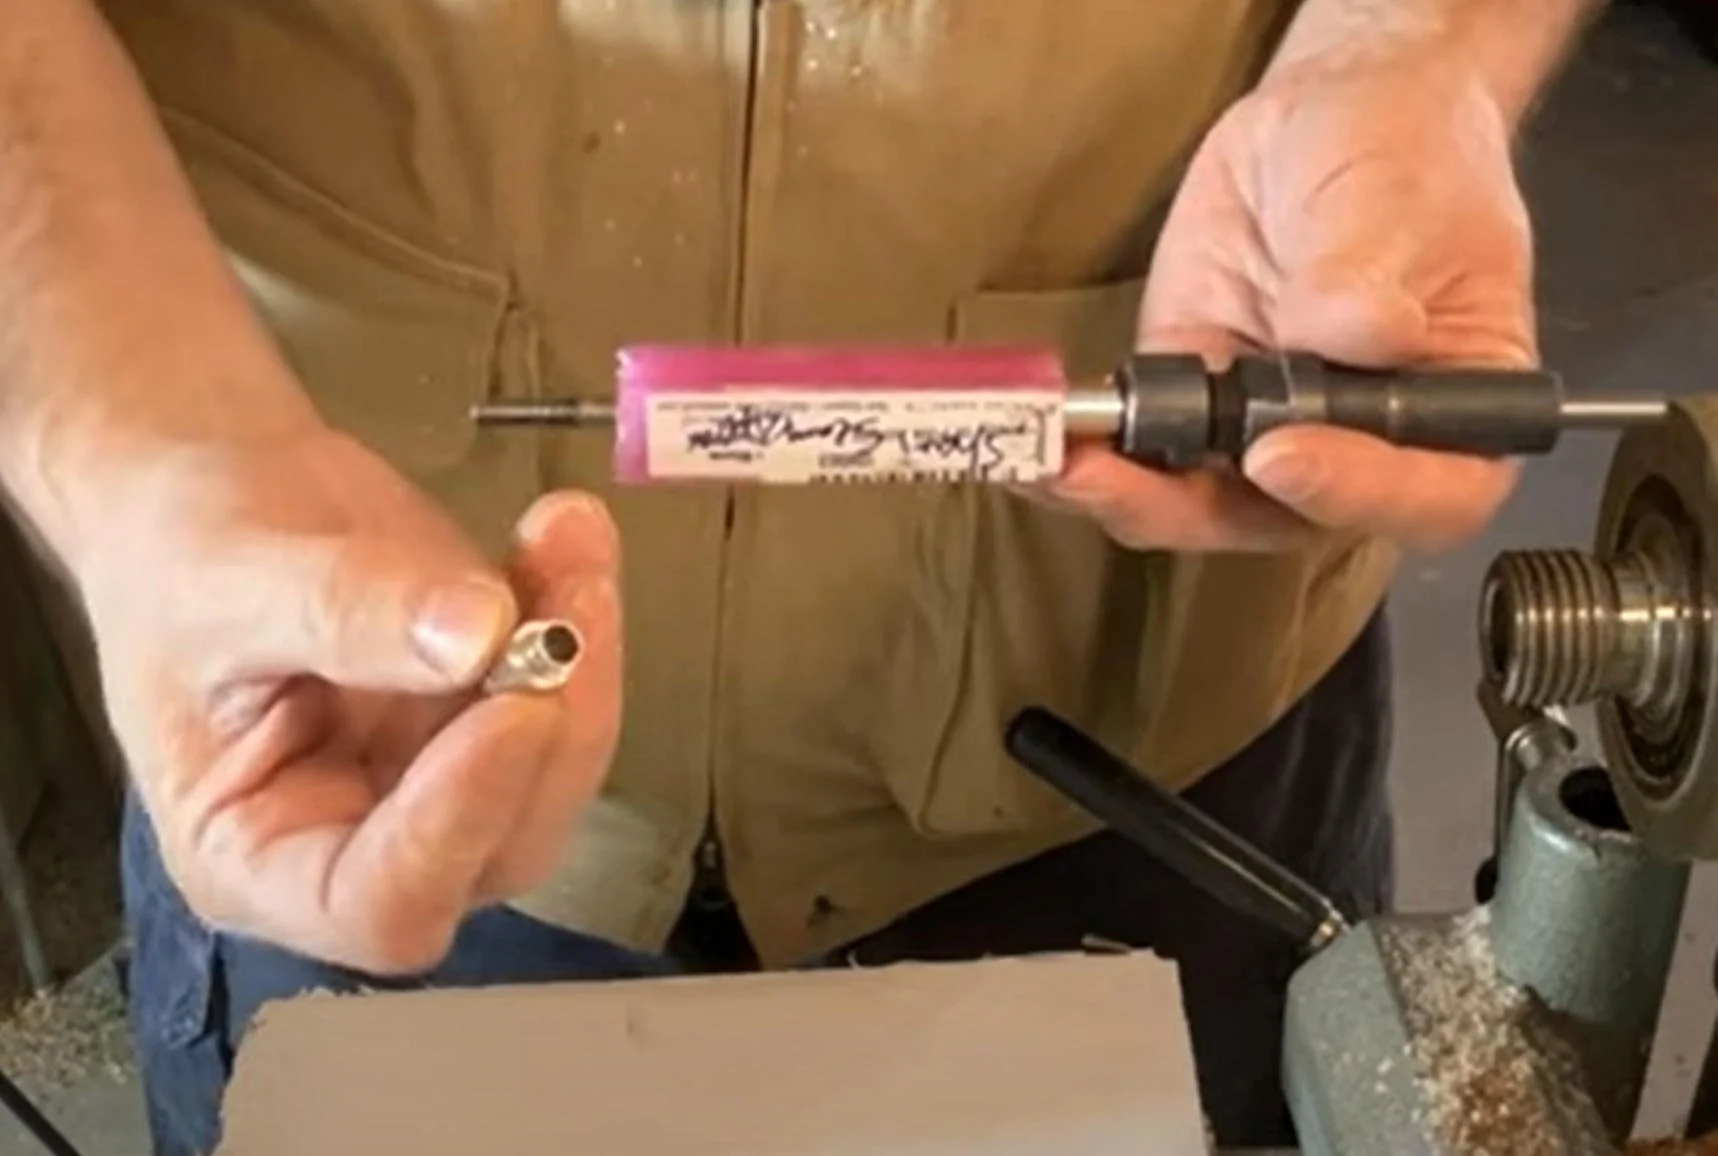
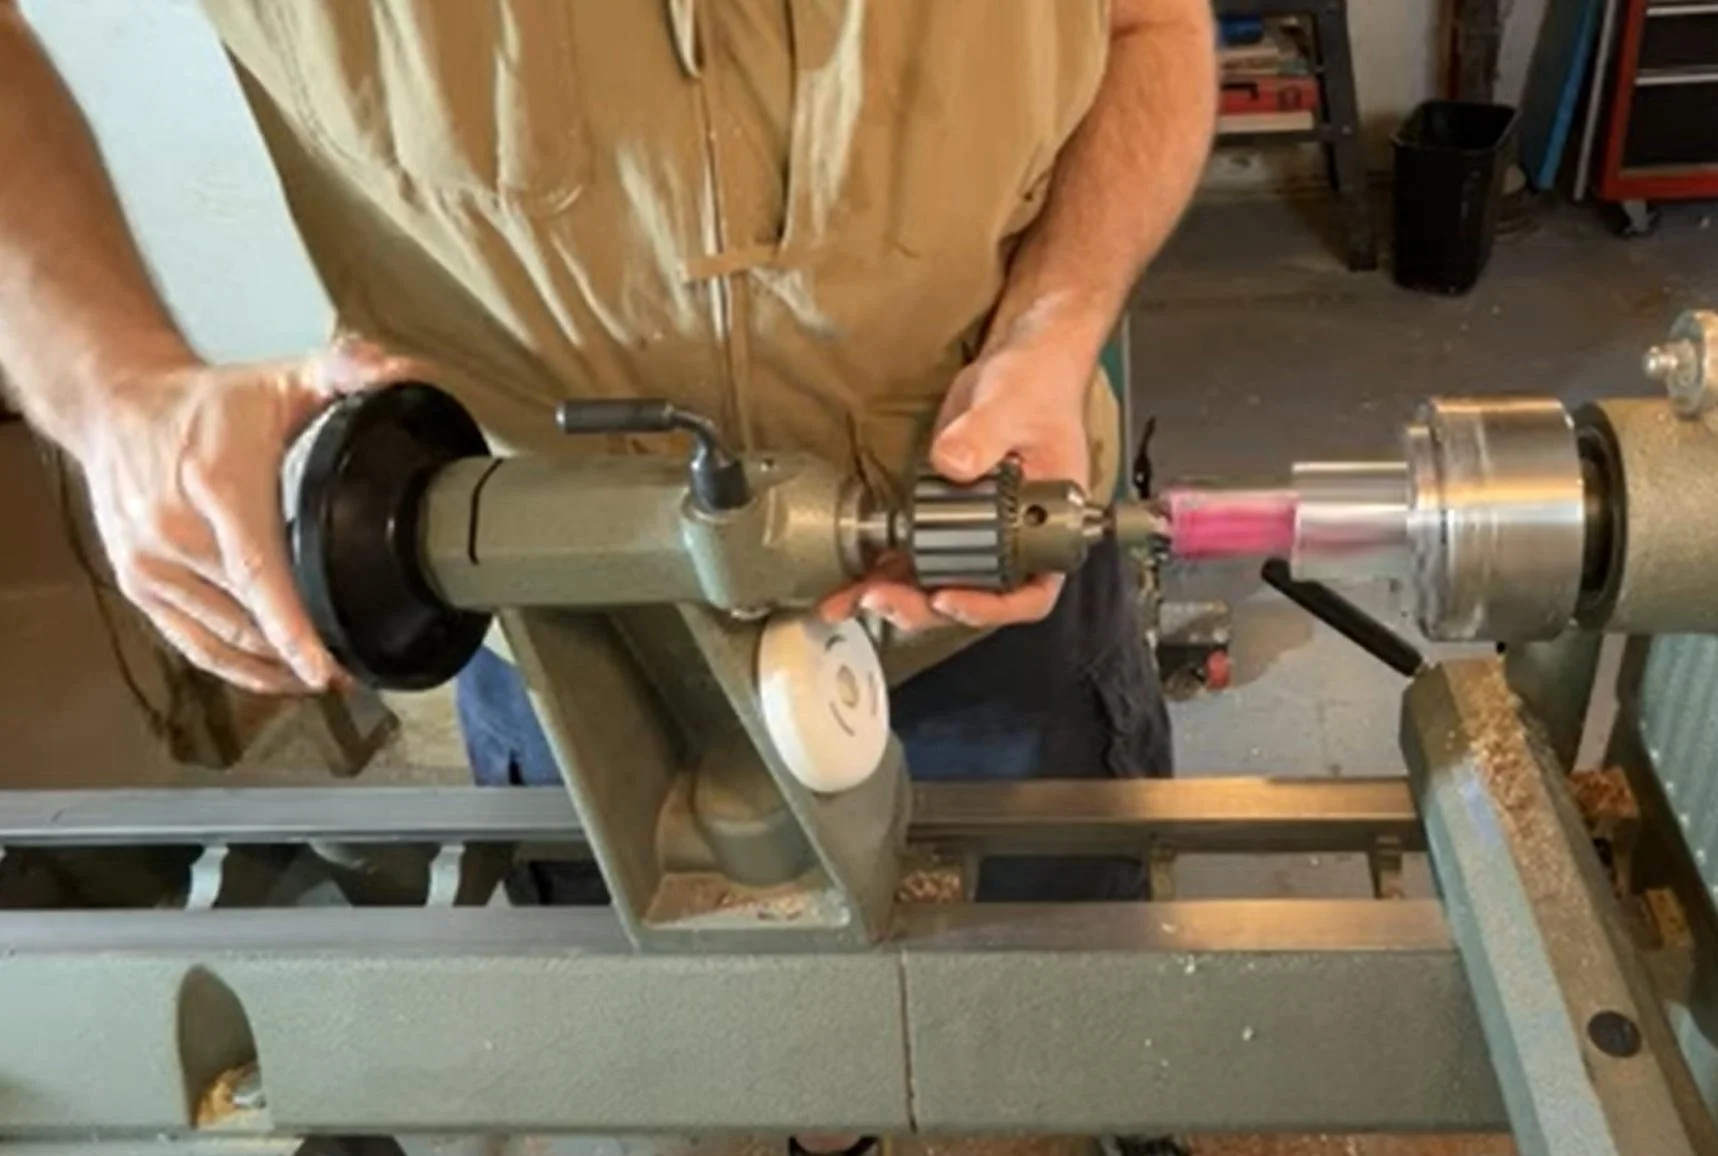
To start, we’ll cut the blank down to size—just a little longer than the pen tubes at about 3¼ inches. Next, using a scroll chuck (https://amzn.to/3YE1eG6) with pen jaws(https://amzn.to/3BiMtie) on the lathe, drill an 8mm hole through the blank. Once that’s done, glue the tubes into the blanks and set them aside to dry for a few minutes.
Step 2: Trim the Blanks
After the glue has dried, we return to the lathe. Using a barrel trimmer (https://amzn.to/3zn1wXQ), we’ll face off the blanks and trim them down to the size of the tubes. The next step is to assemble everything onto the pen mandrel. I always recommend purchasing the corresponding bushing kits (https://amzn.to/4eEtGwx) for projects like this—it makes the process of sizing your blanks a breeze.
Step 3: Turning the Handle
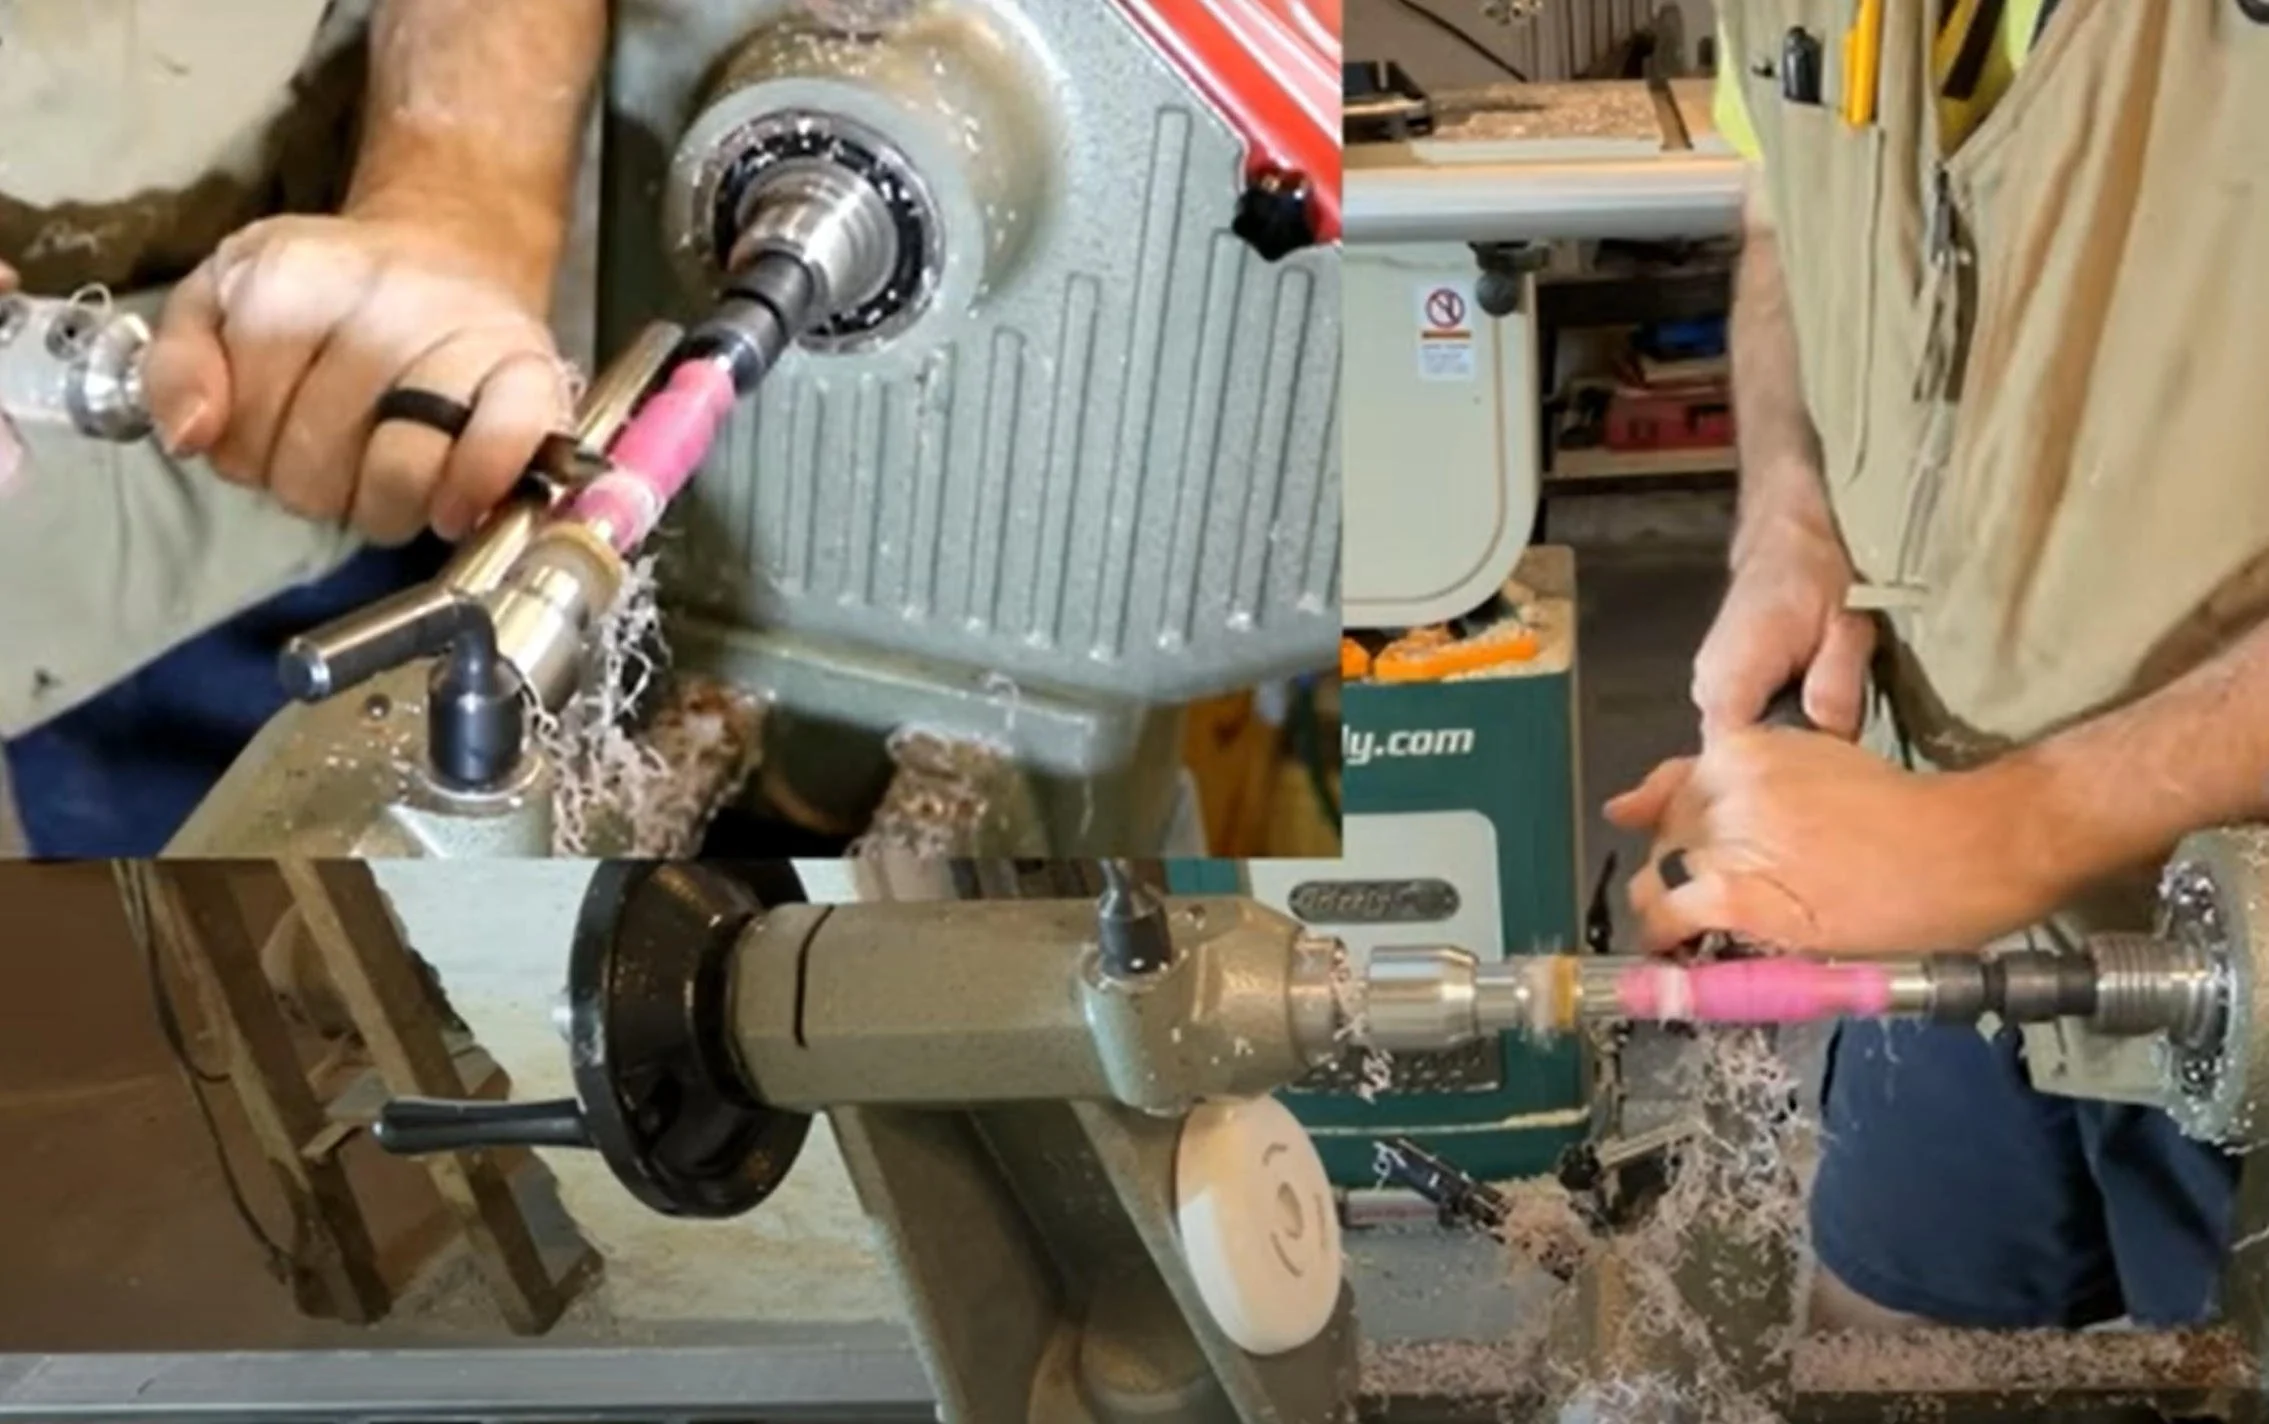
Once your blanks are on the mandrel, it’s time to start turning. You’ll want to turn your blanks down to the size of the bushings, shaping the piece to your liking as you go.
Step 4: Sanding and Finishing
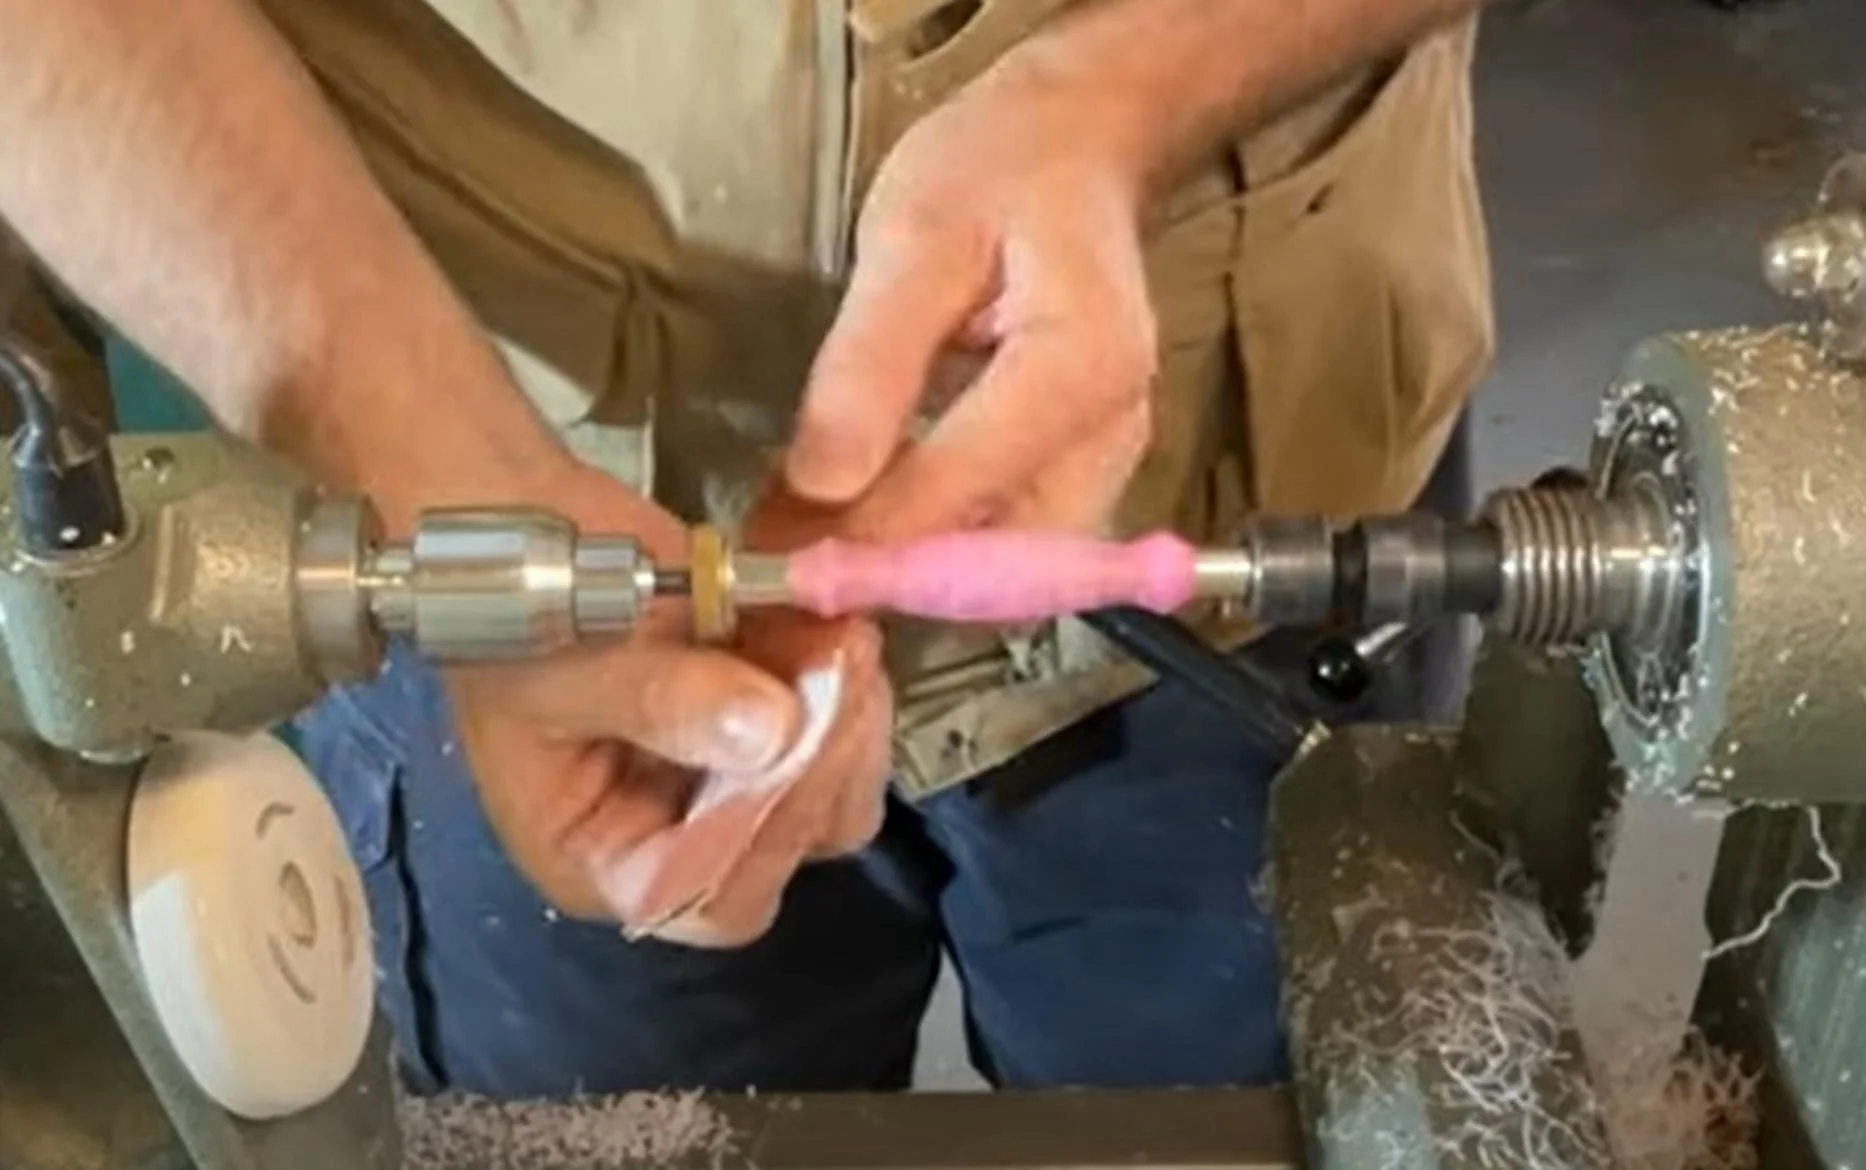
When it comes to sanding, I start with 150 grit, unless there are tool marks, in which case I’ll start with something coarser. I work through the grits until I’m satisfied with how smooth the blank is, which is usually between 600 and 800 grit. With acrylic materials, I’ll sand all the way up to the 1,000s.
Pro tip: Make sure to sand with the grain by hand for each grit to get a clean, smooth finish.
If you’re using wood, I recommend finishing the project with CA glue (https://amzn.to/3XPBgPl). You can find the process for that in our pen turning blog here: https://www.turningstitches.com/s/stories/learnin-turnin-blog-gifts-pens.
Step 5: Polishing
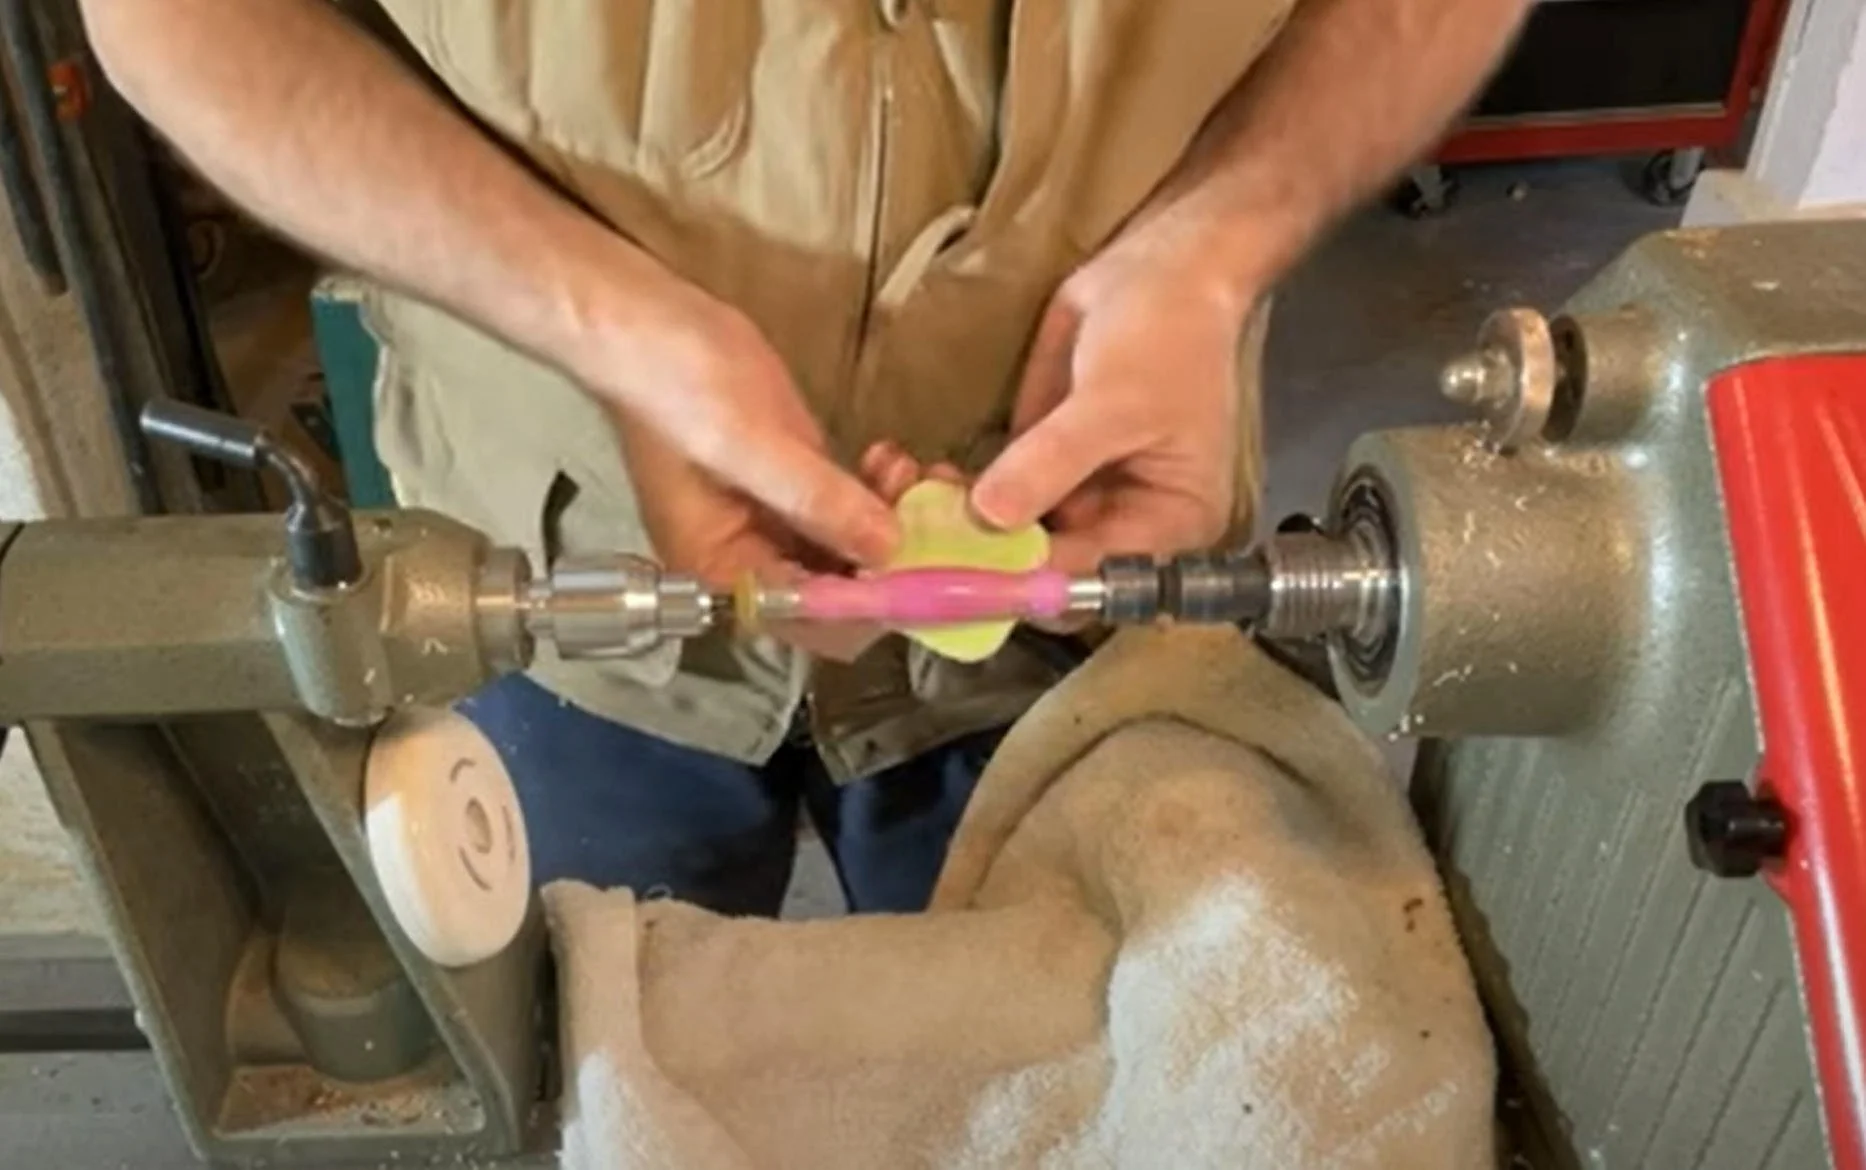
Once your blank is sanded, it’s time to polish. For this, I like to use micro mesh pads (https://amzn.to/3Nby2Q5) or Mirca Abralon pads (https://amzn.to/47uVdOk). Start with 500–600 grit and wet sand each layer. I run the lathe at 2,000 RPMs or higher during this process. If necessary, I’ll add a couple more coats of CA glue and go back to sanding with 500–600 grit, then continue polishing up to 12,000 grit.
When using micro mesh pads, remember not to apply too much pressure—just let the pad lightly rub against the surface. To finish off, I apply a little CA polishing cream (https://amzn.to/47uVdOk) using a paper towel.
Step 6: Assembling the Seam Ripper
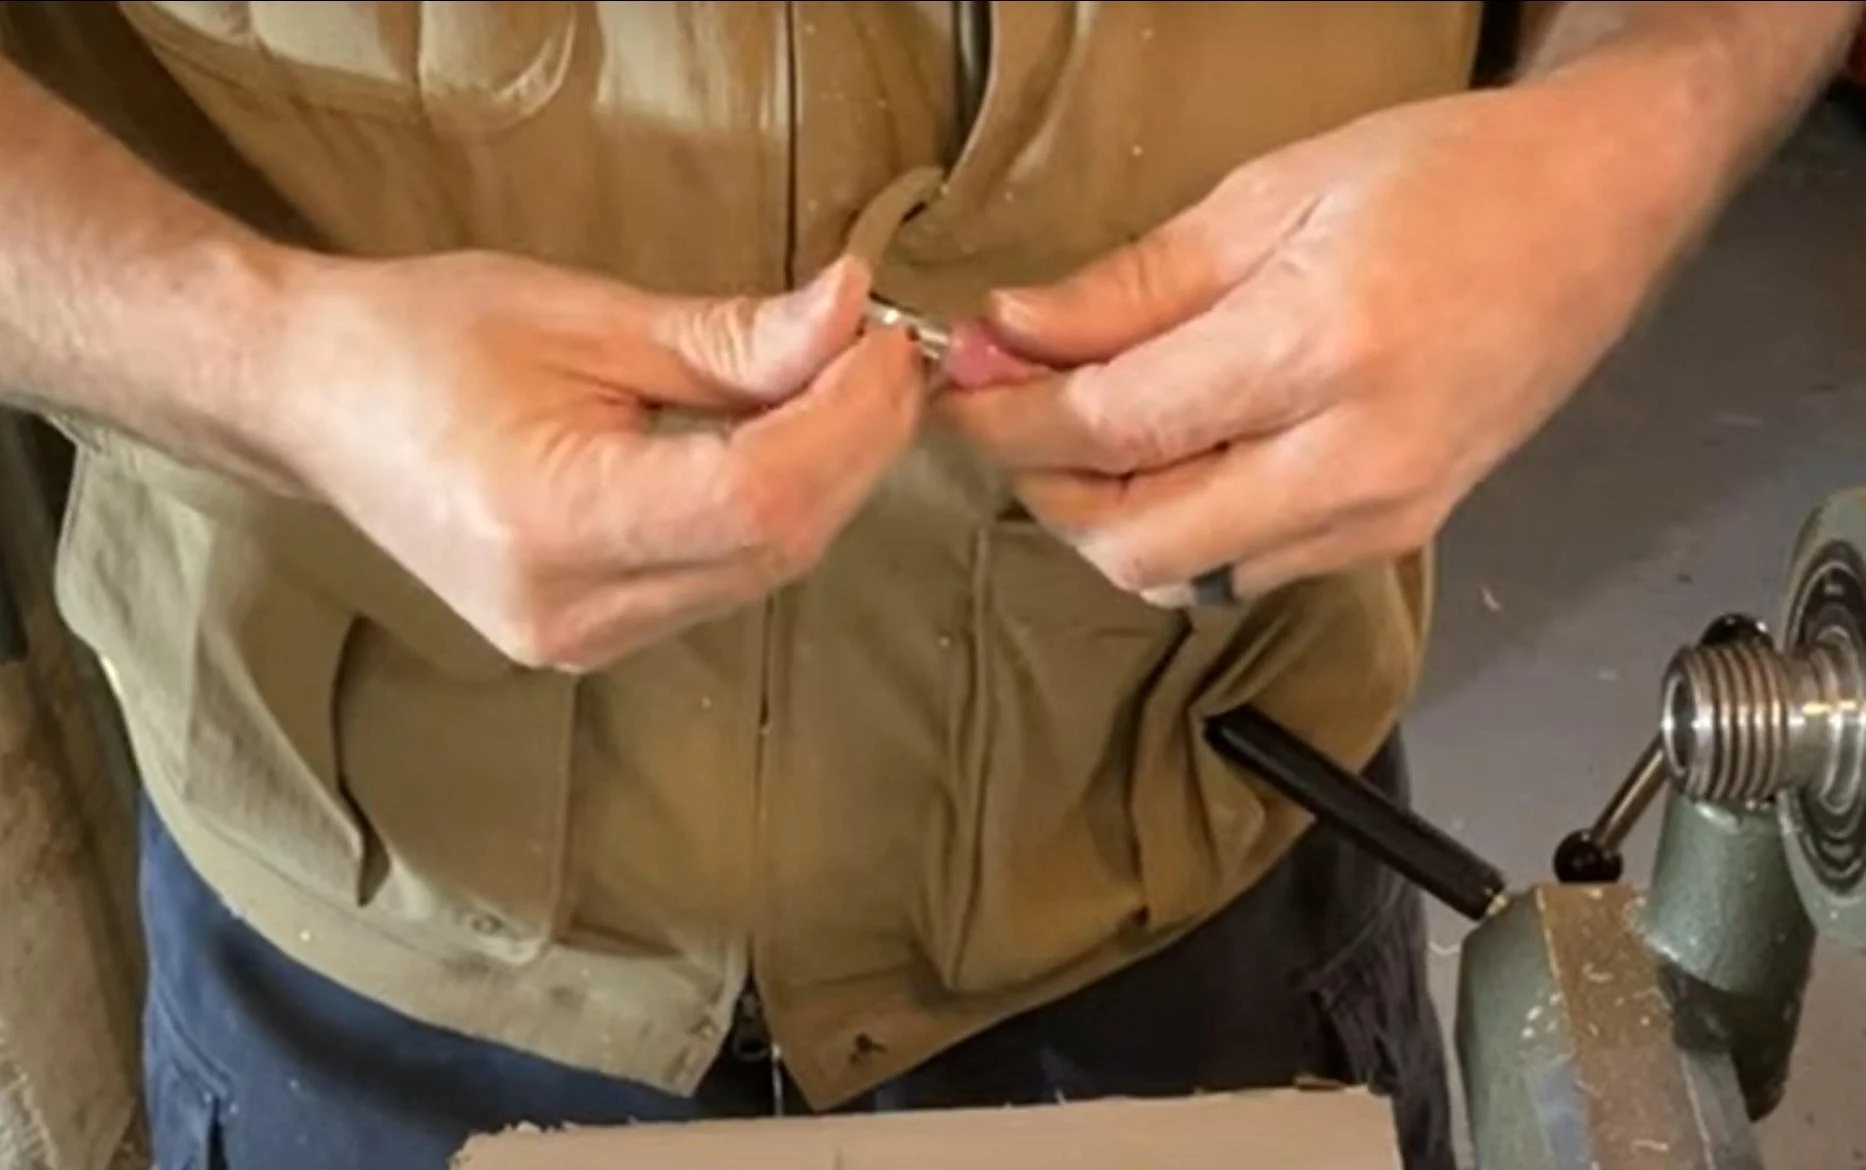
Now, it’s time to put everything together. This step is simple: Insert the retaining spring (solid end first) into each end of the tubes, then pop the blades into place. And that’s it—you’re done!
Don’t forget to sign up for our e-mail list so you will be notified when our next woodturning gift idea goes live. Happy turning!
Links to Products and Supplies:
Some of the links on this page are affiliate links, meaning, at no additional cost to you, I may earn a commission if you click through and make a purchase.
Amazon Affiliate Links:
Double Blade Seam Ripper Kits (5 pack) - https://amzn.to/3XUKV6Y
Bushings for Seam Ripper Kits - https://amzn.to/4eEtGwx
Seam Ripper Kid (WoodRiver) - https://amzn.to/4dfc3lz
Seam Ripper Busings (WoodRiver) - https://amzn.to/4egizKn
Pen Turning Mandrel Kit - https://amzn.to/3Zw1eIW
Pen Turning Mandrel Only - https://amzn.to/3zfJxma
Pen Tube Insertion Tool - https://amzn.to/3XooF44
Barrel Trimming Tool - https://amzn.to/3zn1wXQ
Nova Supernova 2 Chuck - https://amzn.to/3YE1eG6
Nova Pen Jaws - https://amzn.to/3BiMtie
Drill Chuck - https://amzn.to/3WSbIAm
Brad Point Pen Drill Bits - https://amzn.to/3BiYkgd
Micro-Mesh Sanding Pads - https://amzn.to/3Nby2Q5
Mirka Abralon Polishing Pads - https://amzn.to/47uVdOk
Starbond Thin CA Glue - https://amzn.to/3XPBgPl
Starbond Medium CA Glue - https://amzn.to/4evLbiy
Starbond CA Glue Accelerator - https://amzn.to/4d9fvhD
CA Polish - https://amzn.to/47uVdOk
Other great pen resources:
https://www.pennstateind.com/