
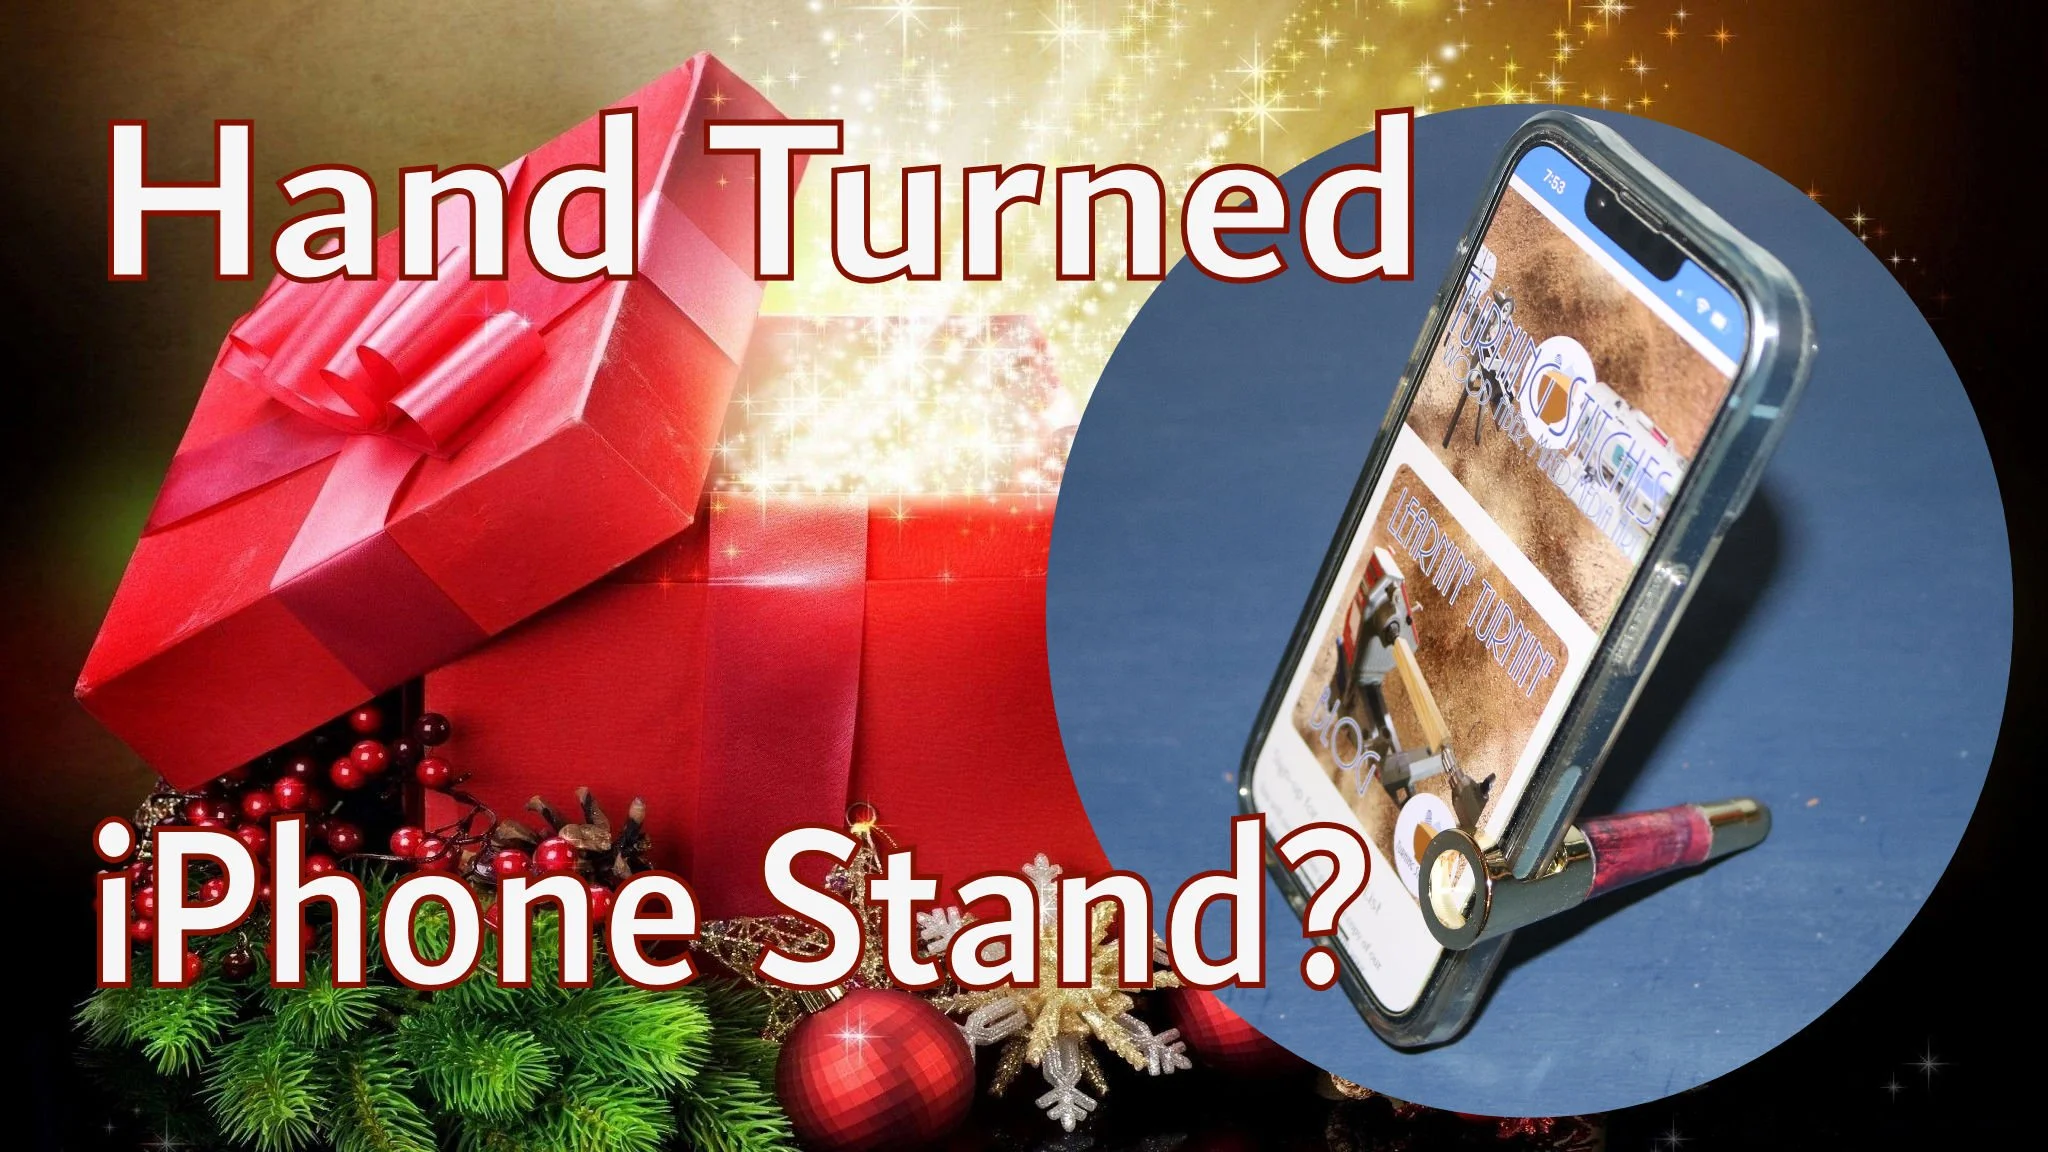
How to Make a Personalized Mobile Phone Stand: A Perfect Gift for Any Occasion
Welcome to Turning Stitches! I'm Sean, and I'm excited to help you level up your woodturning skills to create fun projects faster. If you're like me and struggle with finding the perfect gift, you're in the right place. Instead of last-minute, forgettable presents, why not craft something meaningful and personal? In this blog post, we're making a mobile phone stand kit—a practical, customizable, and cherished gift for family, friends, or even as a best-seller for enterprising woodturners.
Why a Mobile Phone Stand?
These days, everyone has a smartphone, and a beautifully crafted mobile phone stand makes a thoughtful and useful gift. What’s more, the possibilities are endless when it comes to customization. Whether you prefer working with wood, acrylic, or other materials, the variety of colors and textures available allows you to tailor each stand to the recipient’s style and personality. Plus, if you're looking to sell your woodturning creations, this project is a fantastic option!
Ready to get started? Here’s a step-by-step guide to creating your own mobile phone stand.
Materials and Tools
Before we dive in, I’ve provided links below to the tools, supplies, and kits I’m using. These are affiliate links, which means if you decide to purchase through them, it won’t cost you extra, but I’ll earn a small commission that supports the channel.
For this project, I’ll be using a small piece of pine scrap, but feel free to experiment with different materials.
- Mobile phone stand kit (https://amzn.to/3ZY7fyf)
- Pen mandrel and bushing kits(https://amzn.to/3zfJxma)
- 3/8-inch drill bit (https://amzn.to/3BiYkgd)
- Pen jaws (for scroll chuck) (https://amzn.to/3BiMtie)
- Barrel trimmer (https://amzn.to/3zn1wXQ)
- Sandpaper (150 to 800 grit for wood, higher for acrylic) (https://amzn.to/4dKsGWK)
- CA glue and accelerator (https://amzn.to/3XPBgPl) + (https://amzn.to/4d9fvhD)
- Micro mesh pads for polishing (https://amzn.to/3Nby2Q5)
- CA polishing cream (https://amzn.to/47uVdOk)
Step 1: Preparing the Blank
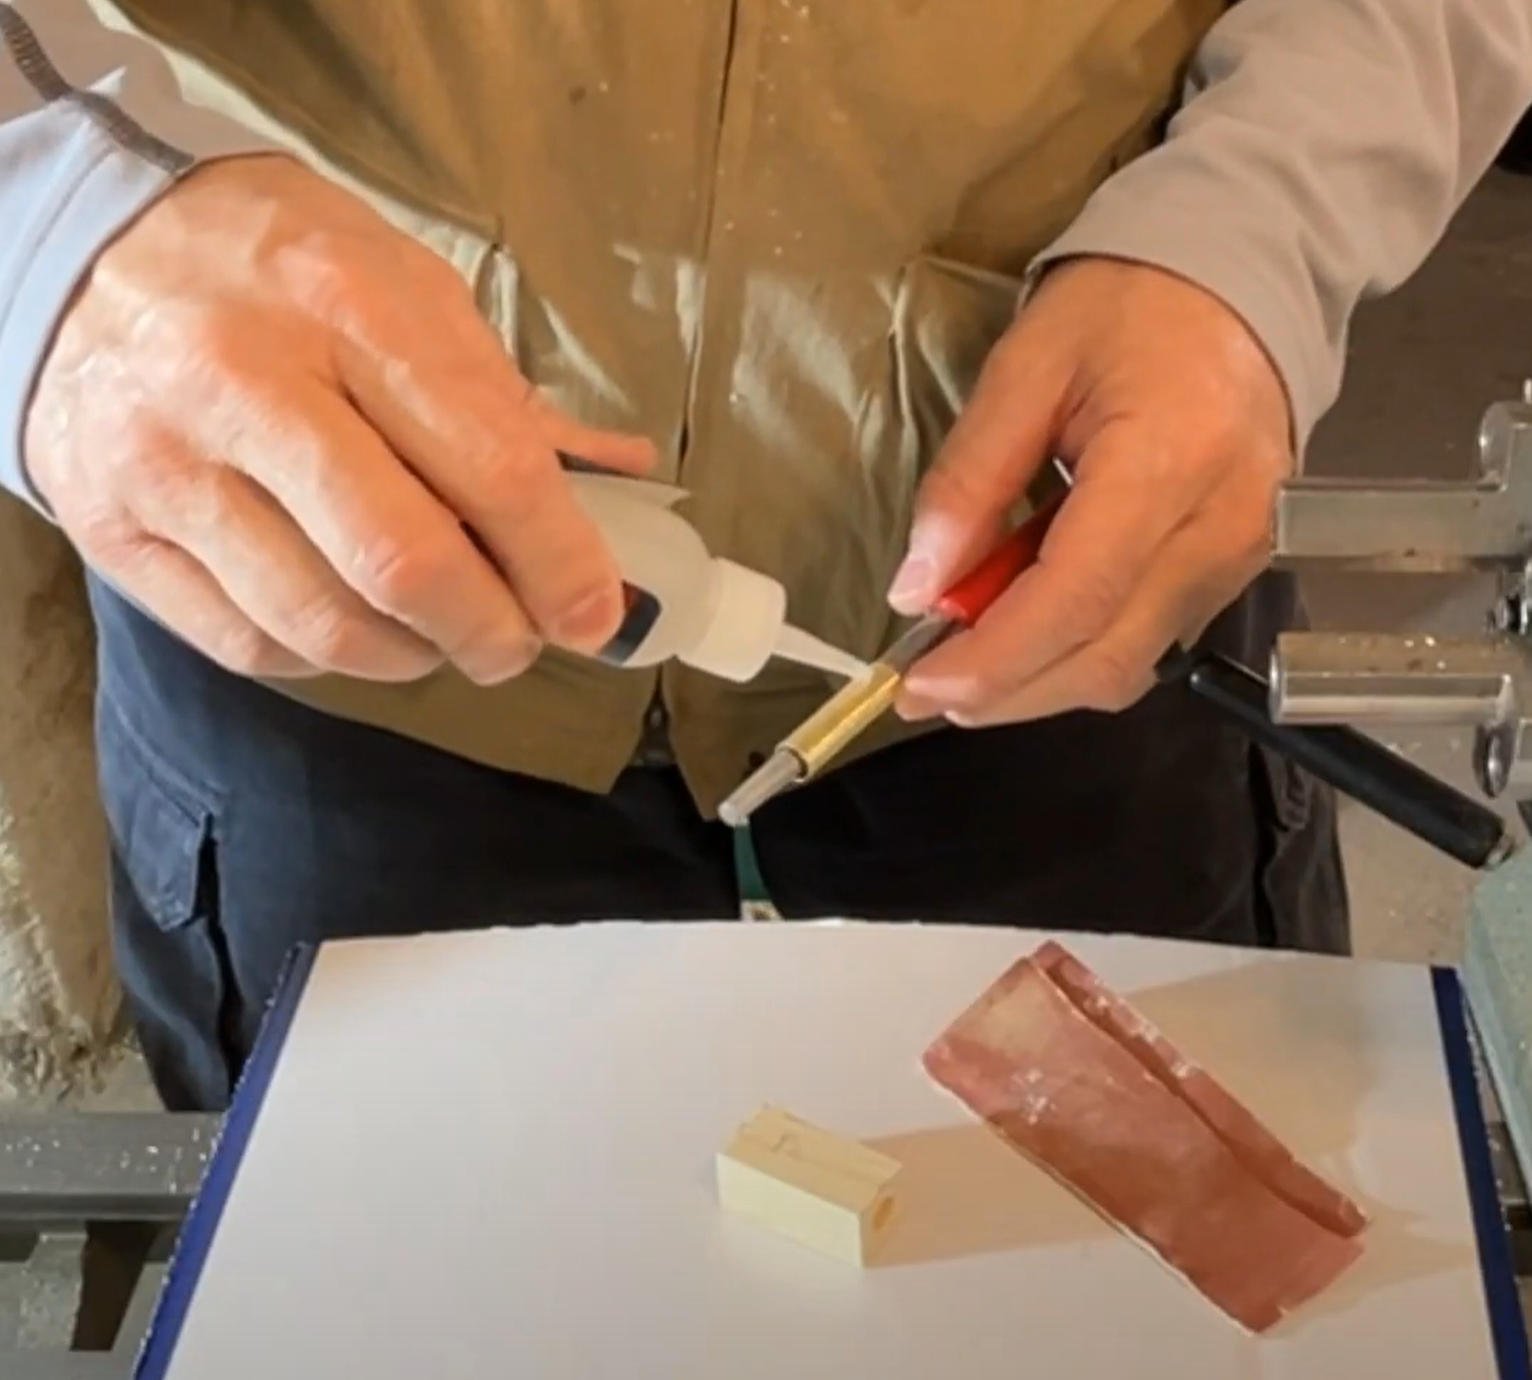
Start by cutting your blank down to size, leaving it just slightly longer than the pen tubes—about 1 ½ inches is ideal. Using a scroll chuck with pen jaws, drill a 3/8-inch hole through the center of the blank. After that, glue the pen tubes into the blank and set them aside for a few minutes to dry.
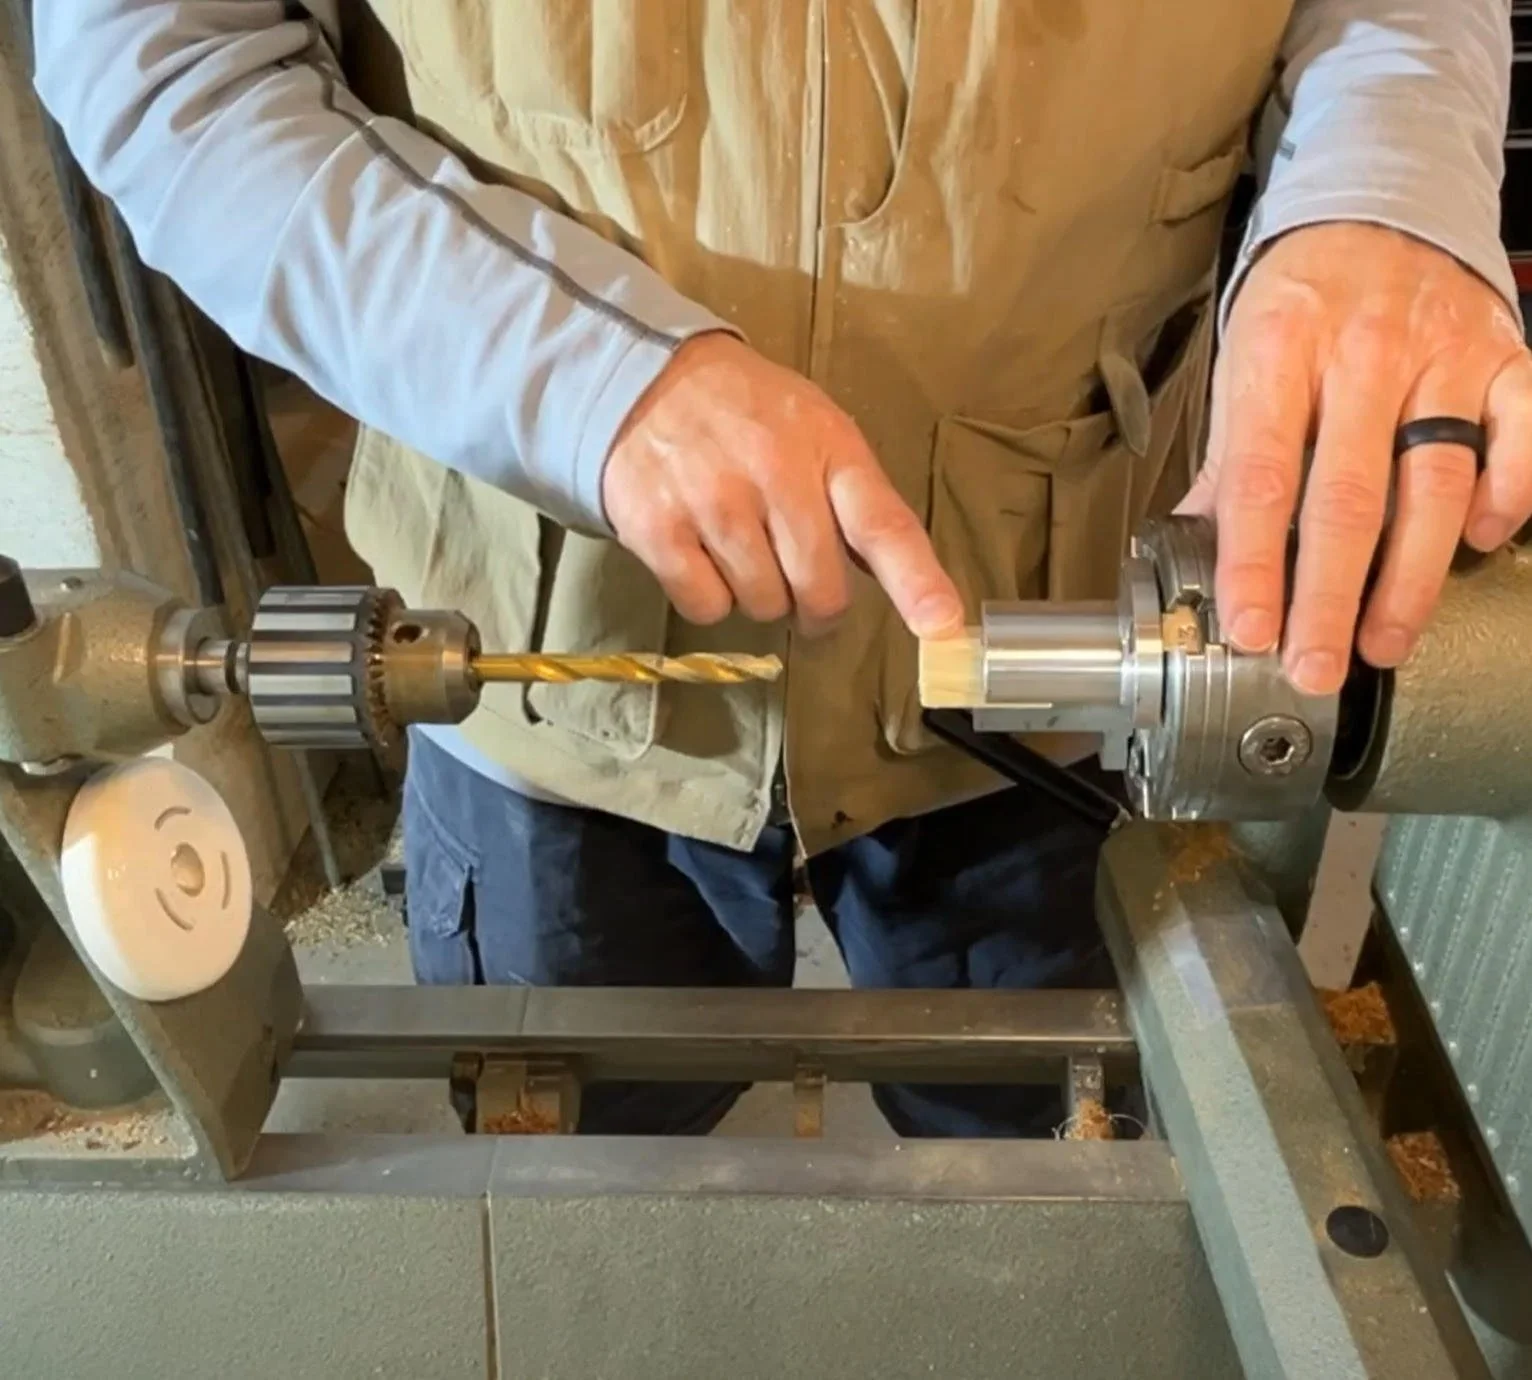
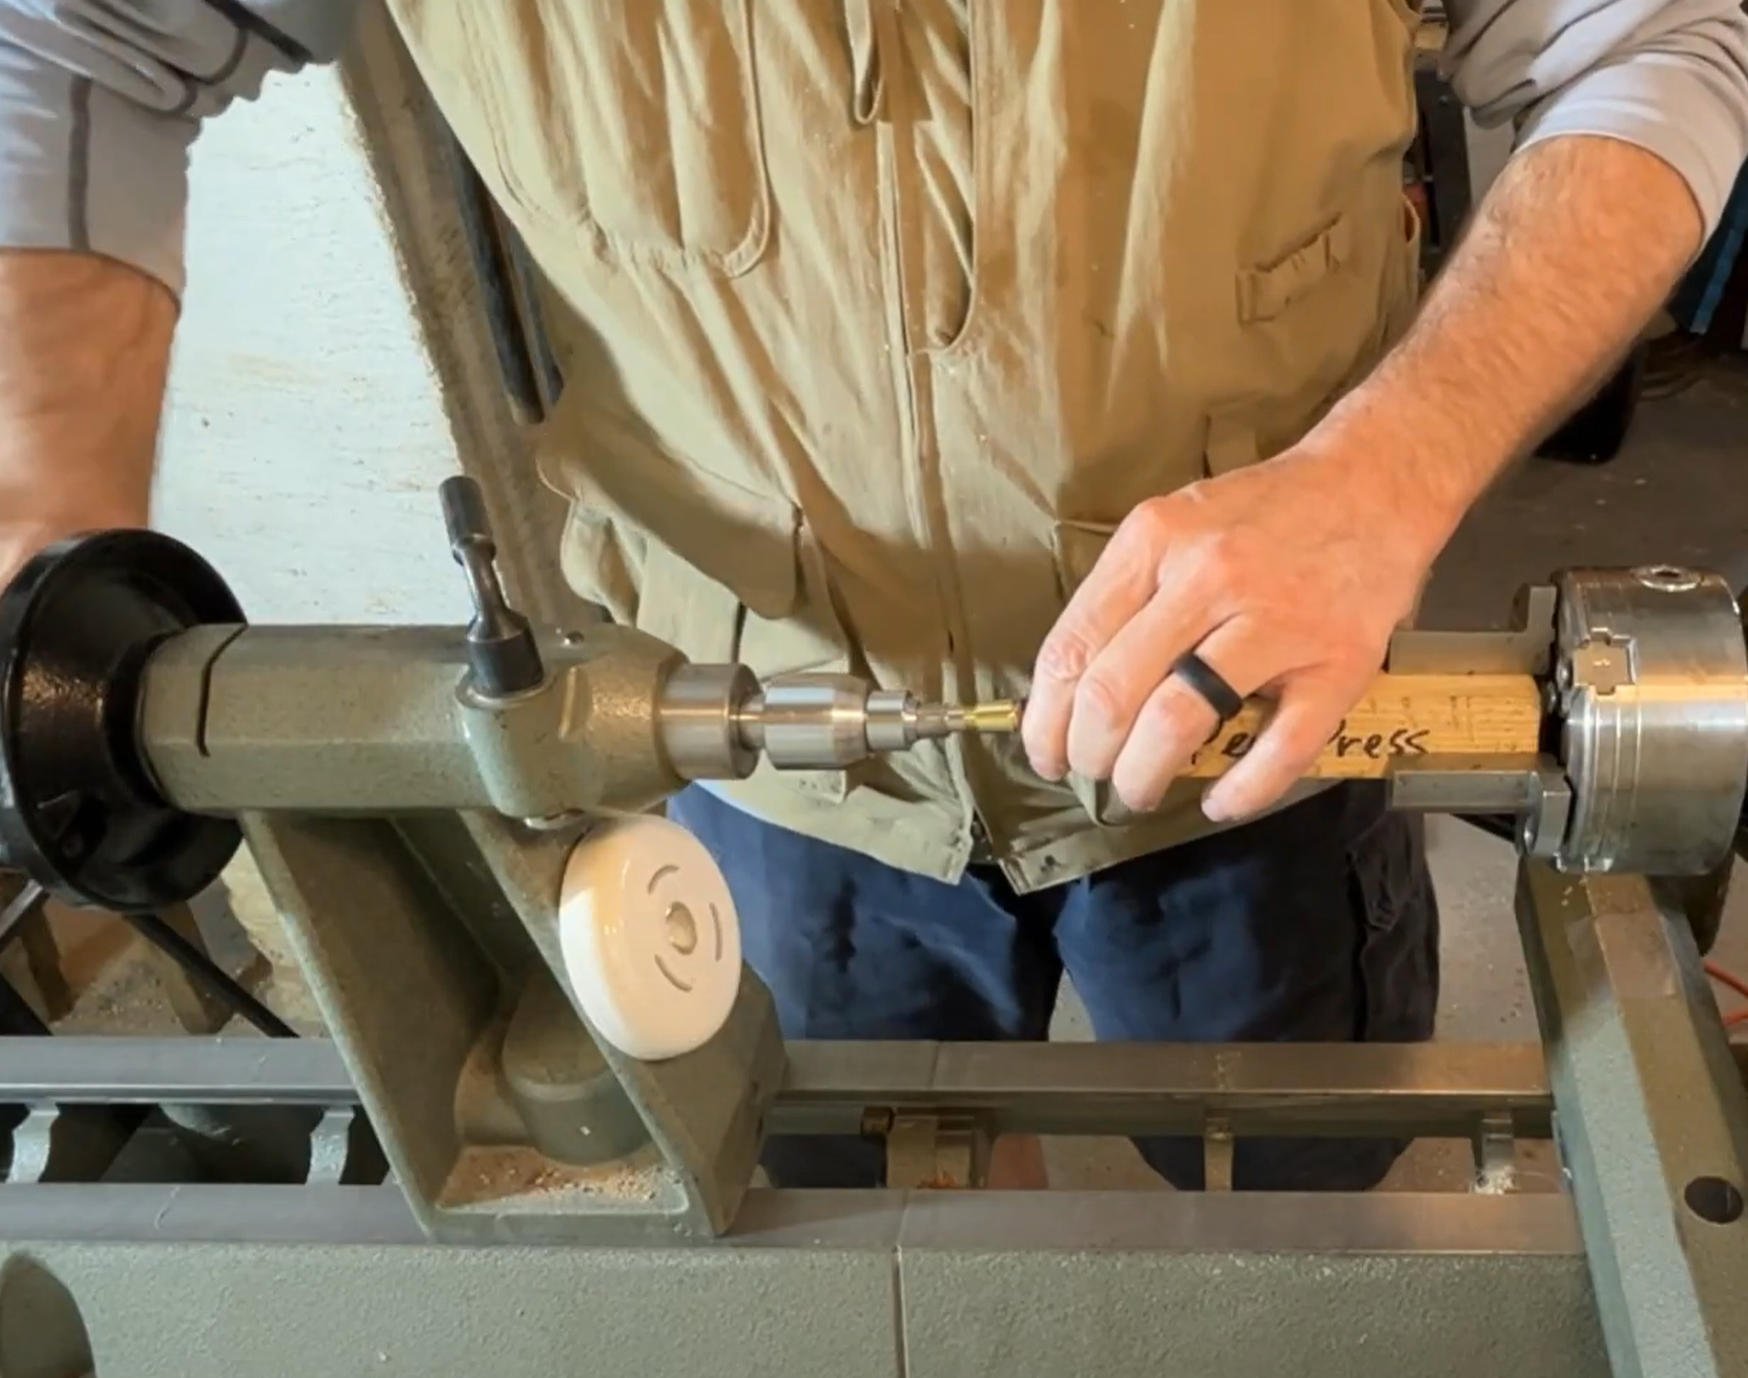
Step 2: Trimming and Assembling
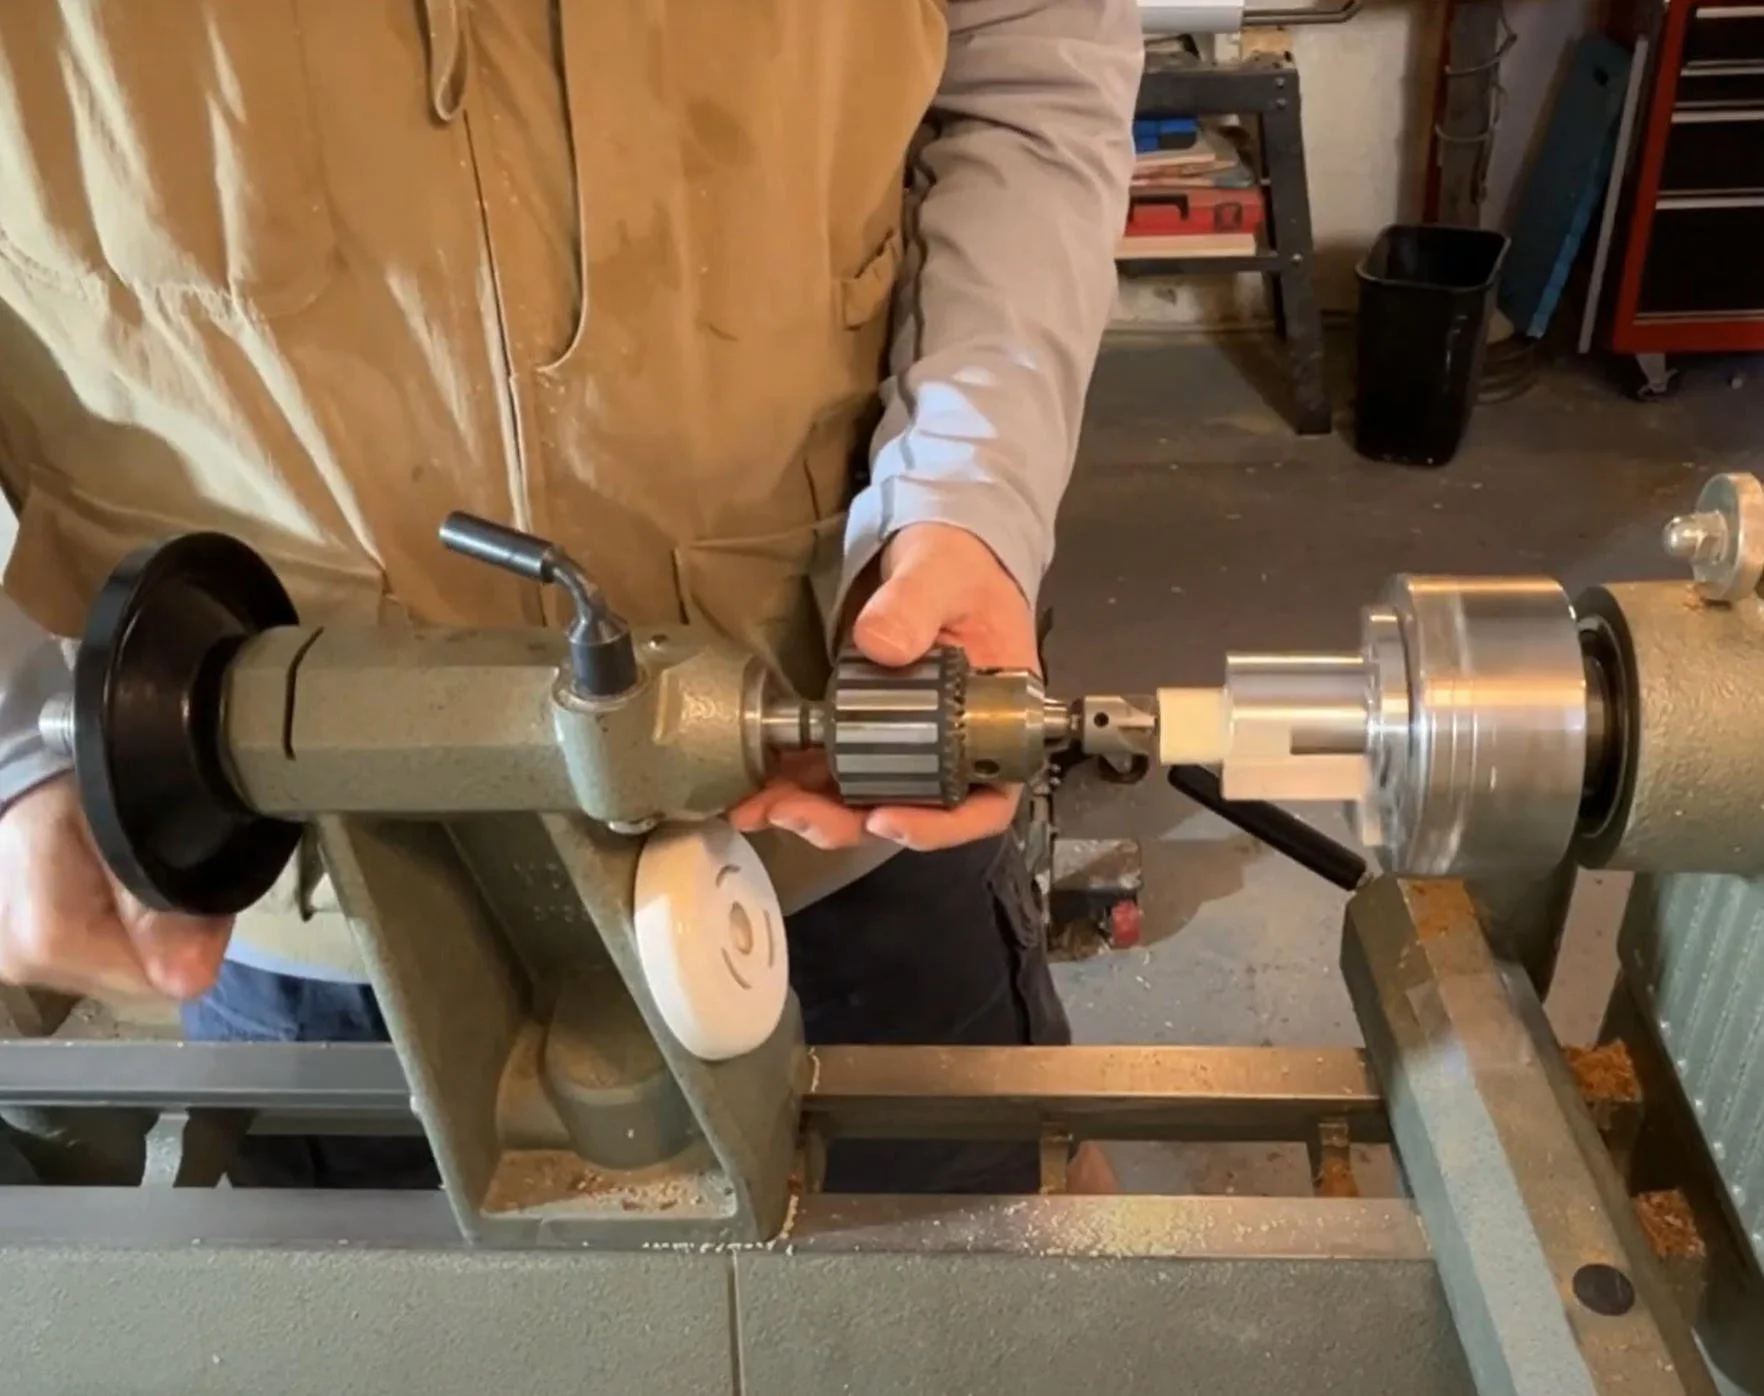
Once the glue has dried, return to the lathe and use a barrel trimmer to face off the ends of the blank, trimming them down to the exact size of the pen tubes. Next, assemble the pieces onto your pen mandrel, making sure to use the corresponding bushings that come with your kit. These bushings make it easy to size your blank as you turn it.
Step 3: Turning the Blank
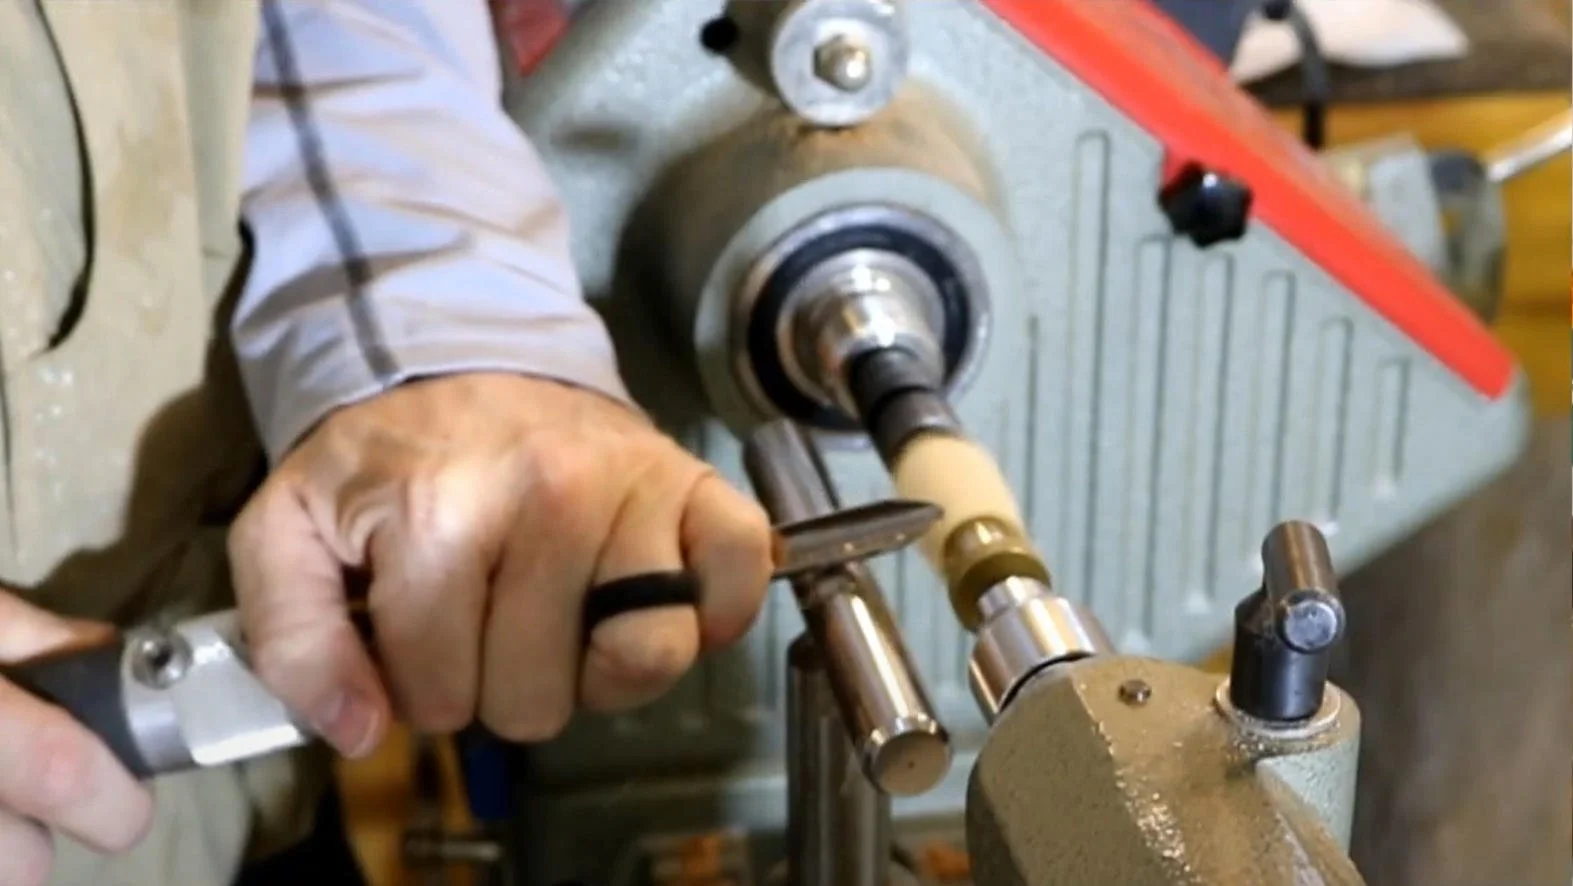
Now comes the fun part—turning! Use your lathe to turn the blank down to the size of the bushings, shaping it as desired. Remember, this is where you can get creative with the design, adding personal touches that make the phone stand unique.
Step 4: Sanding and Finishing
Once you're happy with the shape, it's time to sand. I generally start with 150 grit sandpaper unless there are tool marks, in which case I start with a coarser grit. Work your way up through the grits, typically to about 600 or 800 grit for wood. If you’re using acrylic, sand even finer, into the 1,000s.
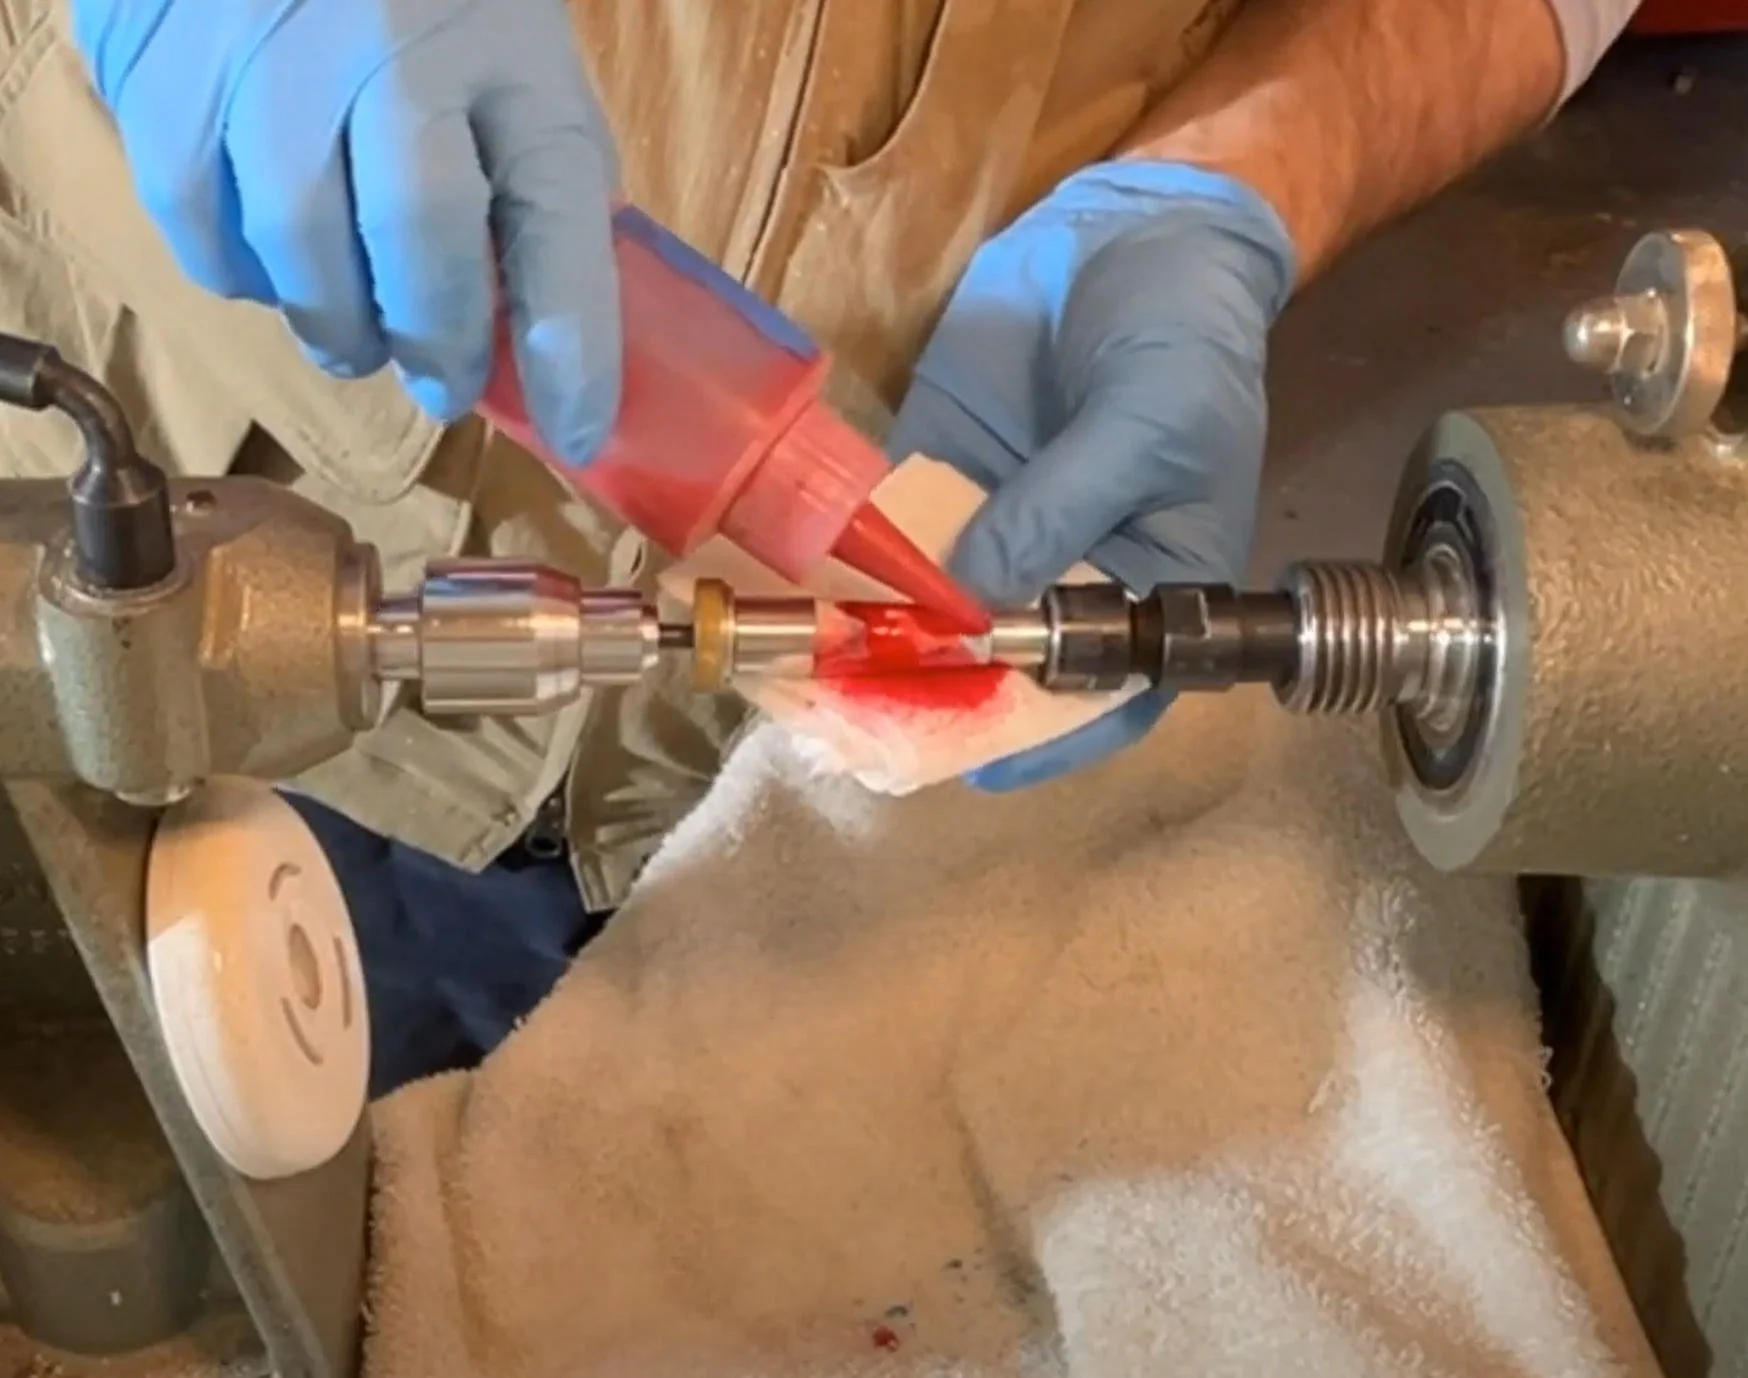
After sanding, I like to add color with a stain before applying a finish. Once the stain is dry, apply several thin coats of CA glue, rotating your paper towel between coats to avoid scratching the finish. Spray with accelerator between each coat to speed up the drying process. You’ll want to apply around 3-5 coats.
Step 5: Polishing
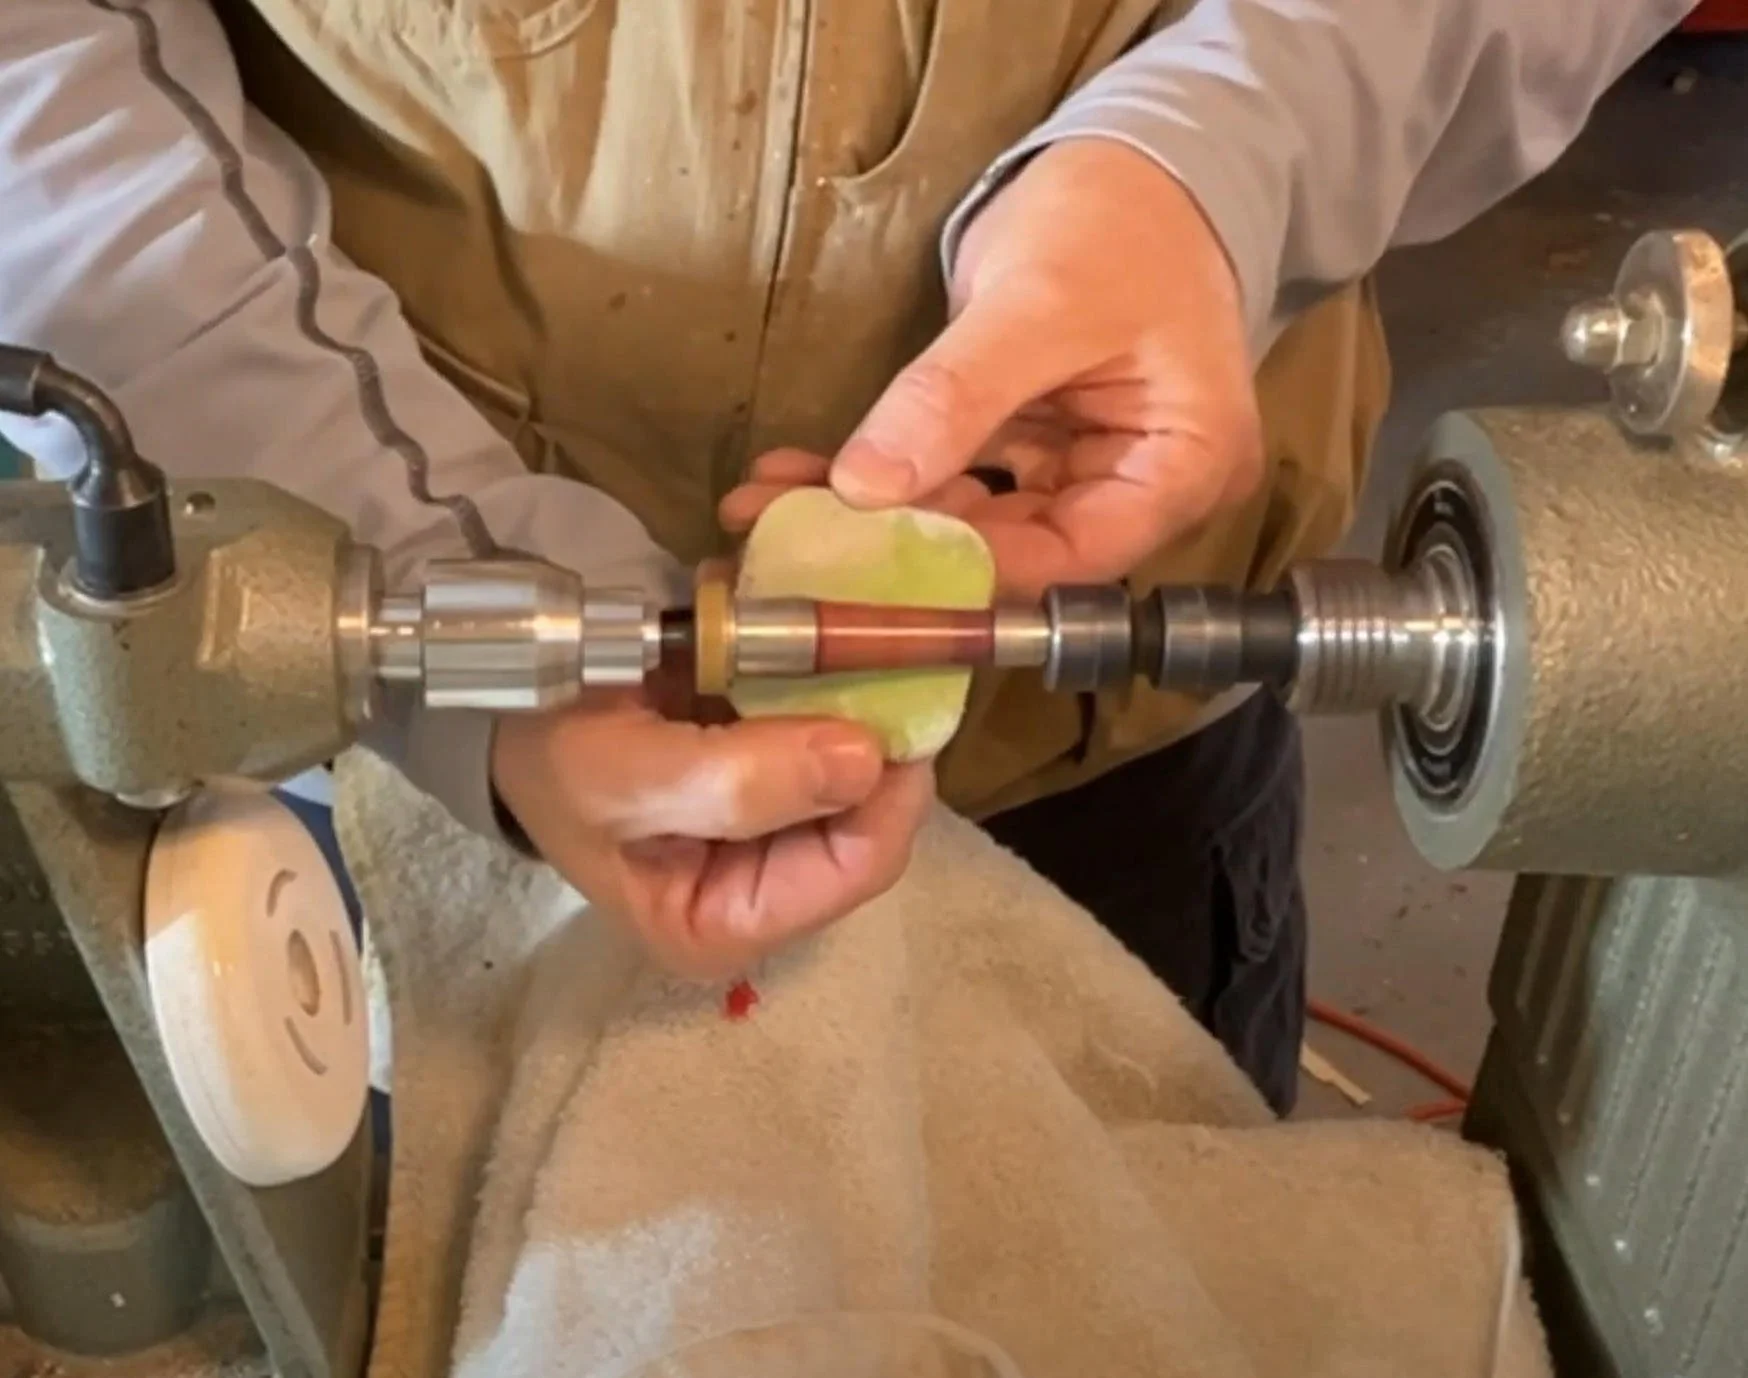
Now that your piece is finished, it’s time to polish. I use micro mesh pads or Mirca Abralon pads, starting around 500 to 600 grit and wet sanding each layer. Run your lathe at 2,000 RPMs, applying very light pressure. After every couple of grits, I sometimes apply an additional coat of CA glue for an ultra-smooth finish. Continue polishing up to 12,000 grit, then finish with a small amount of CA polishing cream.
Step 6: Assembly
With the finishing complete, we’re ready to assemble the phone stand. Using a pen press or a shop-made jig, press the parts together according to your kit instructions. Start by inserting the stylus holder into the narrow side of the barrel, followed by the device holder assembly into the wider end. Finally, insert the sliding clamp into the device holder and tighten. That’s it—you’re done!
Conclusion

In just a few steps, you've created a functional and stylish mobile phone stand that’s both a great gift and a potential bestseller! If you found this post helpful, don’t forget to subscribe to our e-mail list so you never miss a new project and to get notifications for next week's gift idea!
Happy turning!
Links to Products and Supplies:
Some of the links on this page are affiliate links, meaning, at no additional cost to you, I may earn a commission if you click through and make a purchase.
Amazon Affiliate Links:
Smartphone Stand & Stylus Kid (3 pack) - https://amzn.to/3ZY7fyf
Bushings for Smartphone Stand Kits - https://amzn.to/47Y8DTr
Pen Turning Mandrel Kit - https://amzn.to/3Zw1eIW
Pen Turning Mandrel Only - https://amzn.to/3zfJxma
Pen Tube Insertion Tool - https://amzn.to/3XooF44
Barrel Trimming Tool - https://amzn.to/3zn1wXQ
Nova Supernova 2 Chuck - https://amzn.to/3YE1eG6
Nova Pen Jaws - https://amzn.to/3BiMtie
Drill Chuck - https://amzn.to/3WSbIAm
Brad Point Pen Drill Bits - https://amzn.to/3BiYkgd
Micro-Mesh Sanding Pads - https://amzn.to/3Nby2Q5
Mirka Abralon Polishing Pads - https://amzn.to/47uVdOk
Starbond Thin CA Glue - https://amzn.to/3XPBgPl
Starbond Medium CA Glue - https://amzn.to/4evLbiy
Starbond CA Glue Accelerator - https://amzn.to/4d9fvhD
CA Polish - https://amzn.to/47uVdOk
Other great pen resources:
https://www.pennstateind.com/