
Creating a Seam Roller – A Perfect Handmade Gift for Sewing Lovers
Welcome to Turning Stitches! I'm Sean, and my mission is simple: “We help woodturners learn the craft to begin creating fun projects faster!” If you’re anything like me, you might struggle with gift-giving. I often find myself scrambling at the last minute, ending up with a gift that’s, well, a little forgettable. But that’s where this series comes in. Let’s use your woodturning skills to create beautiful, personal, handmade gifts that your family and friends will cherish for years to come.
Today, we’re continuing this series with a project that is perfect for the sewing enthusiasts in your life: a seam roller. These are especially great for quilters! The beauty of this project lies in its versatility. You can use a variety of materials like wood, acrylics, and more, making it easy to customize for the recipient. And for the enterprising woodturner, this handmade gift could also be a great seller!
There are a few steps involved, so let’s dive right in.
Tools & Materials
Before we get started, here’s what you’ll need for this project. For this seam roller, I’m using a Jatoba (Brazilian Cherry) wood scrap I had in the shop, along with a seam roller kit from Penn State Industries(https://amzn.to/4evNS42).
We’ve included links below to seam roller kits, tools, and supplies that we’re using today to help you with your research.
Ready? Let’s get started!
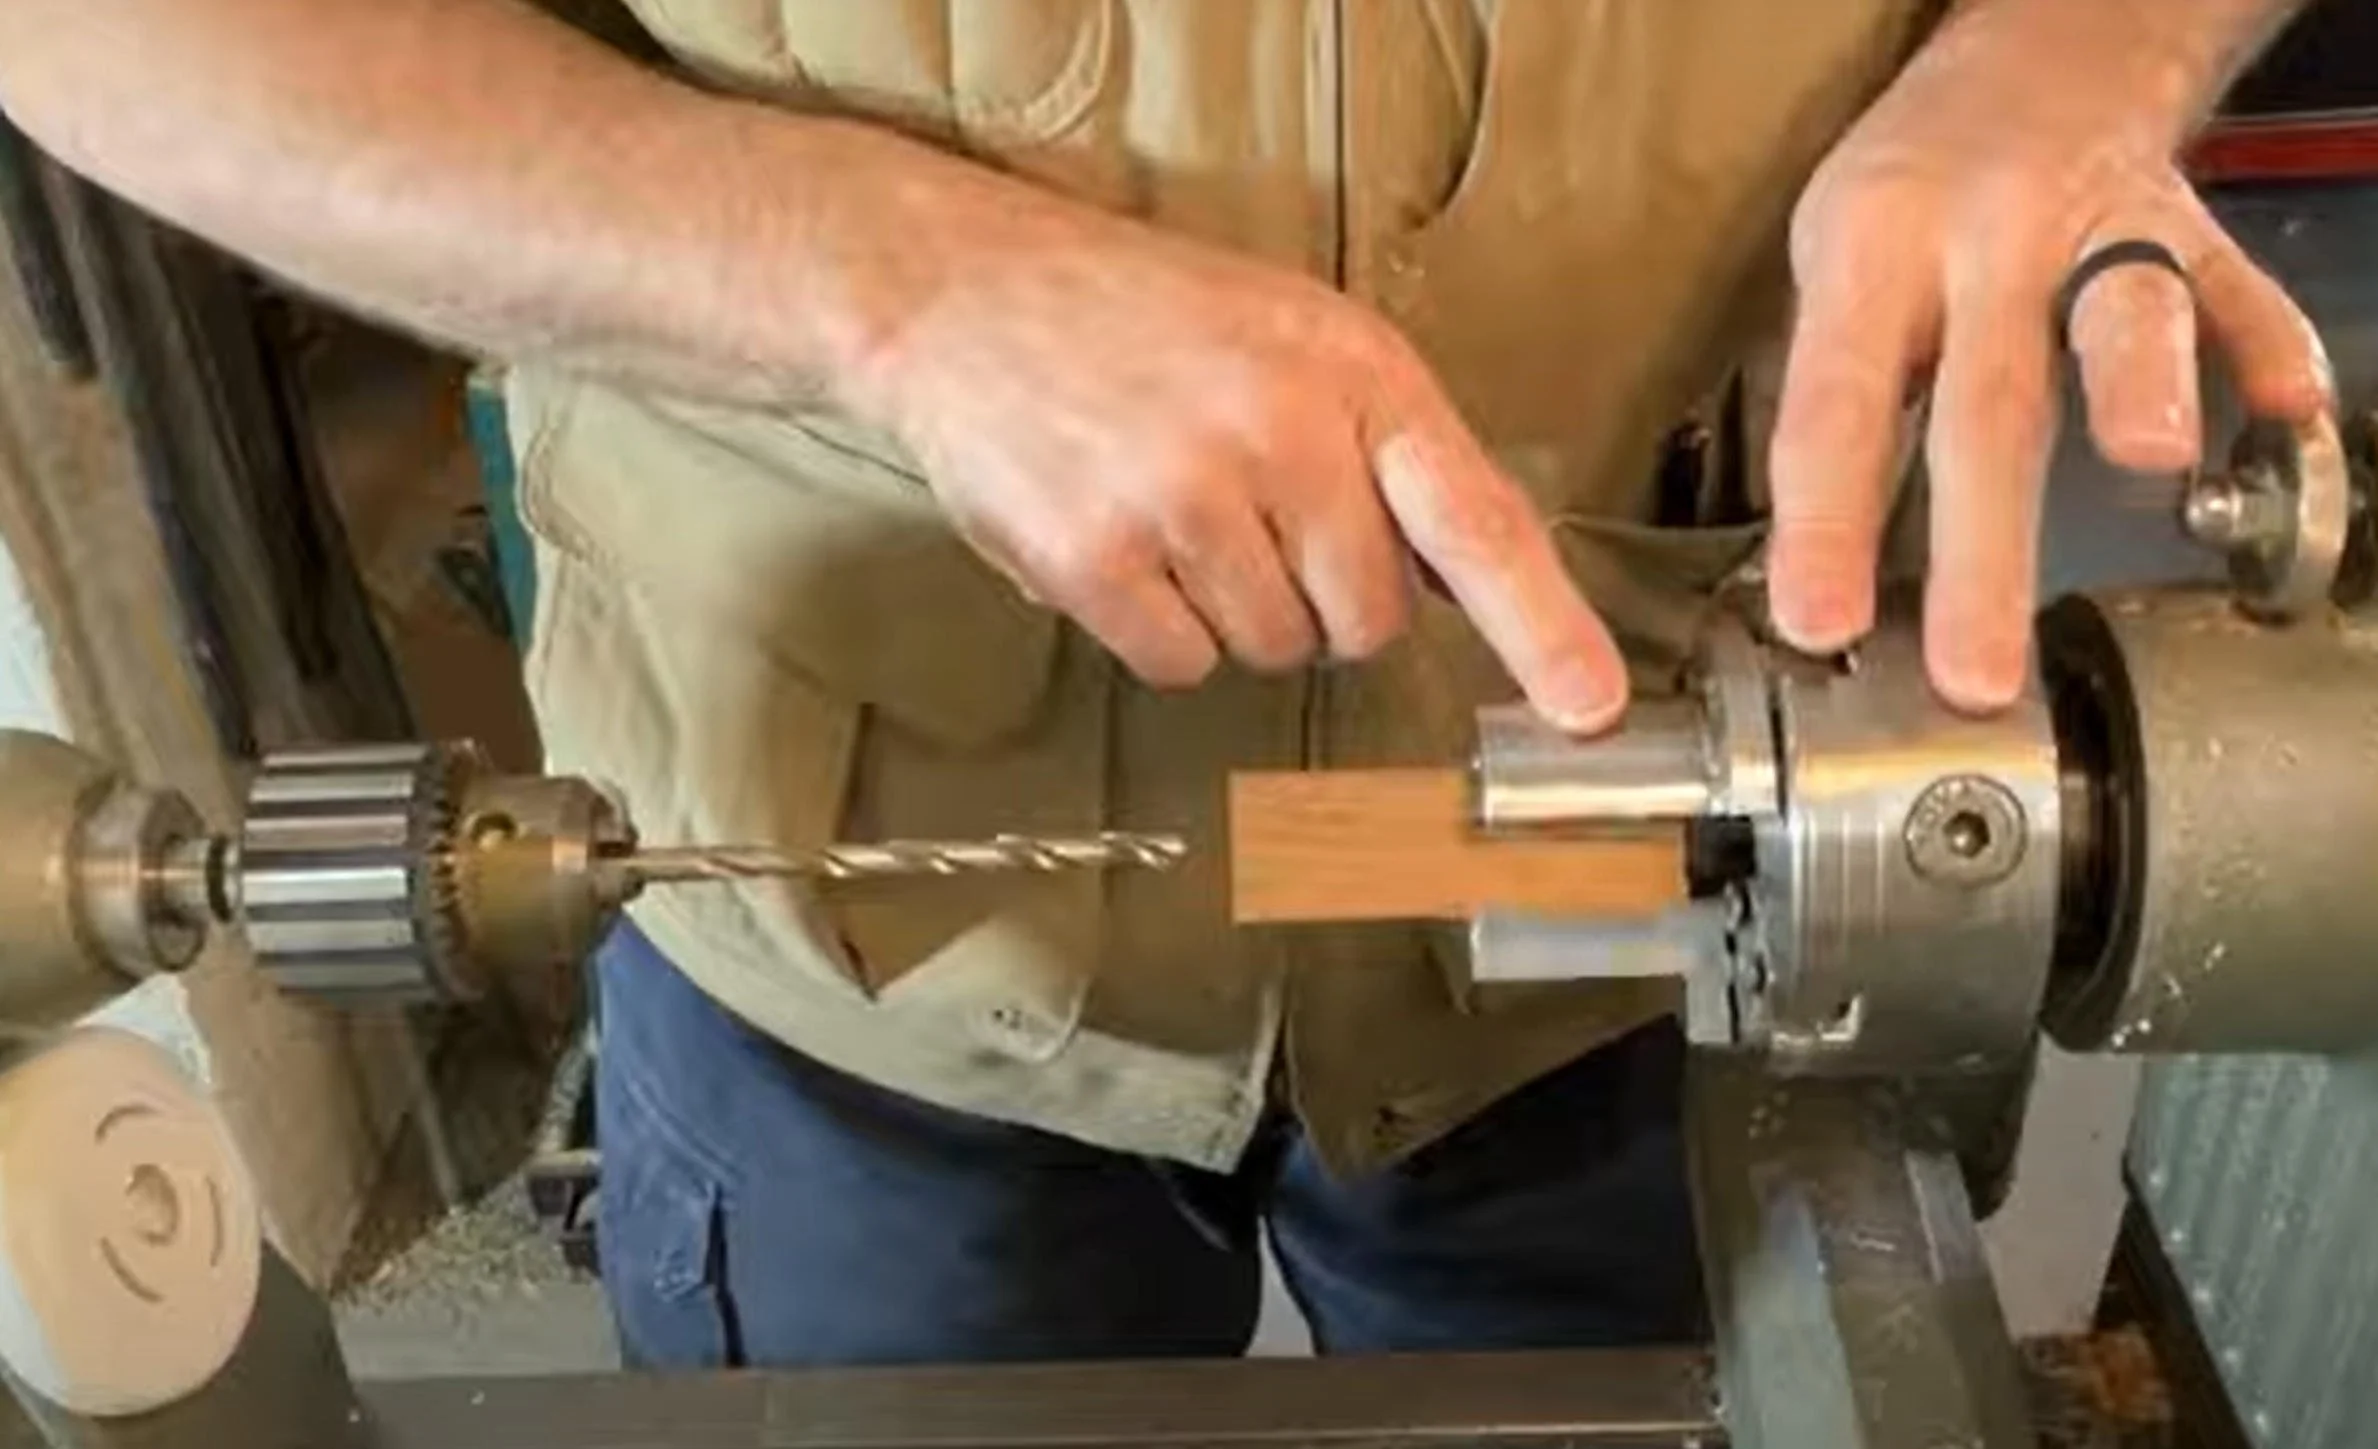
Step 1: Cutting & Drilling the Blanks
First, we’ll cut our blanks to size, leaving them just a bit longer than the brass tubes (around 3 ⅜ inches). Using my scroll chuck with pen jaws on the lathe, we’ll drill a 7mm hole through the blank. Then, we’ll glue the tubes into the blanks and set them aside to dry for a few minutes.
Once they’ve dried, we’ll use a barrel trimmer to face off the blank and trim them down to the tube’s exact size. Now, it’s time to assemble the blanks onto the pen mandrel (https://amzn.to/3zfJxma).
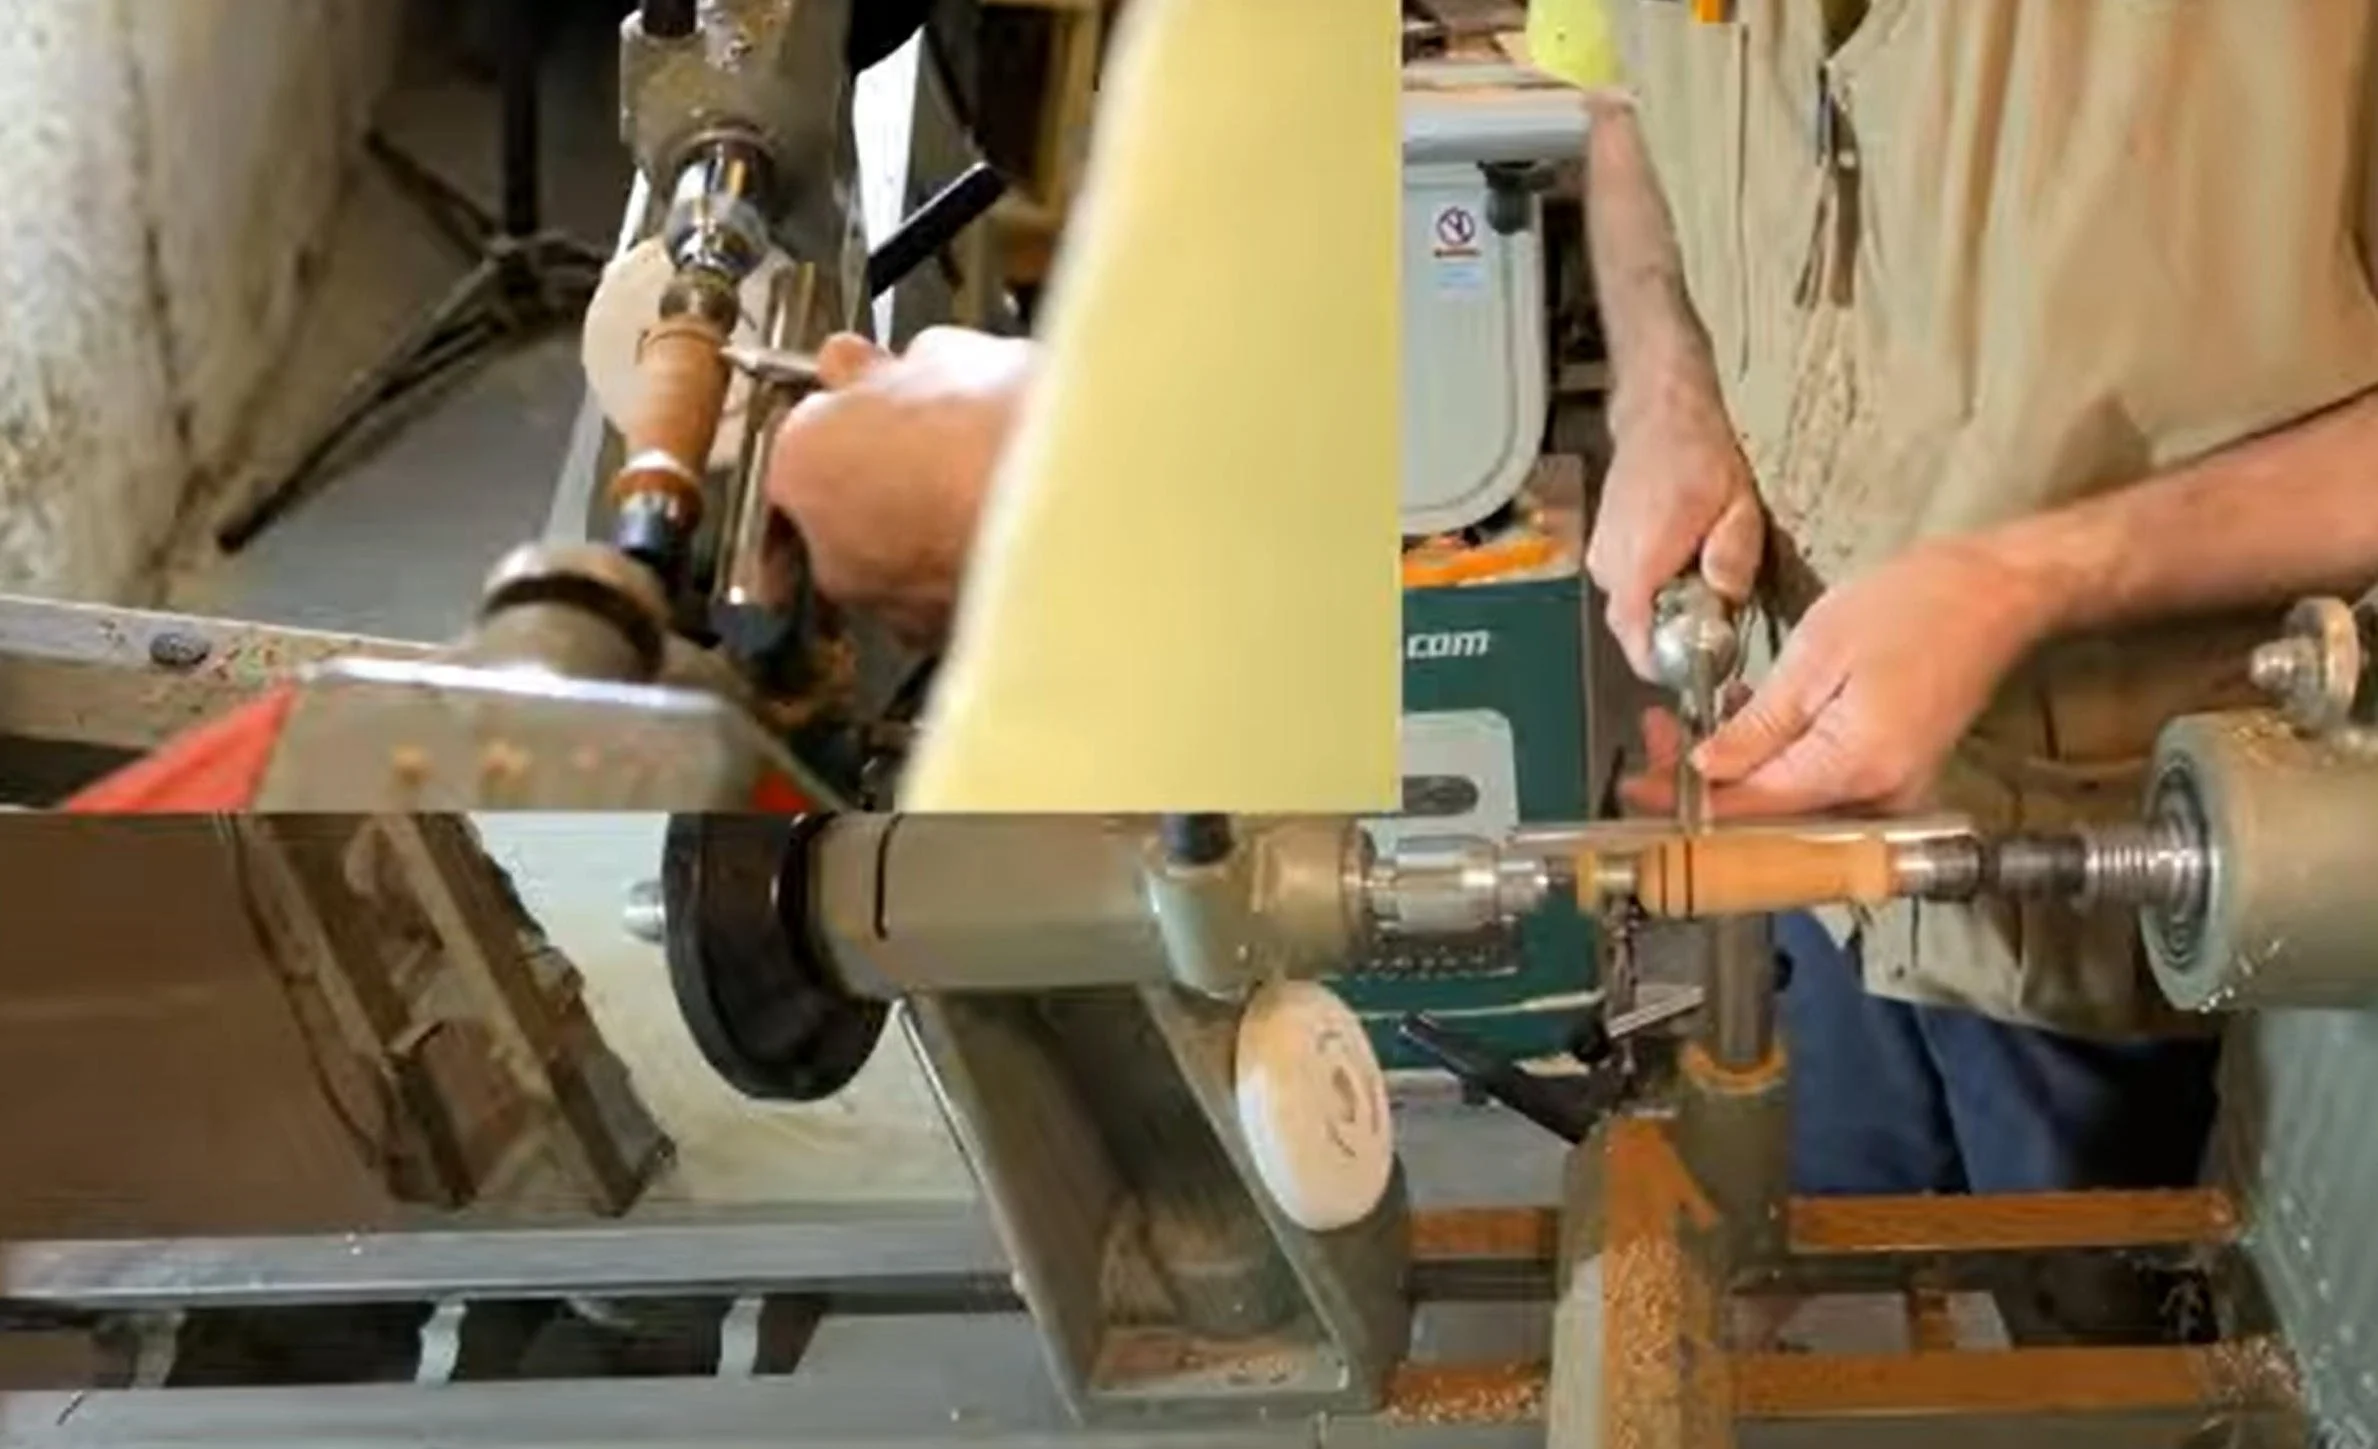
Pro tip: When buying project kits, I always recommend picking up the corresponding bushing kits (https://amzn.to/4esYj8r). These make sizing your blanks during turning much easier. Now, let’s turn the blanks down to match the bushing sizes, shaping them as desired.
Step 2: Sanding & Finishing
Once the blank is turned, we can start sanding. I typically begin with 150-grit sandpaper, but if there are deep tool marks, start with a coarser grit. Work your way through the grits until the surface is smooth—usually, 600 to 800 grit will do the trick. Remember to sand with the grain between each grit for the best results.
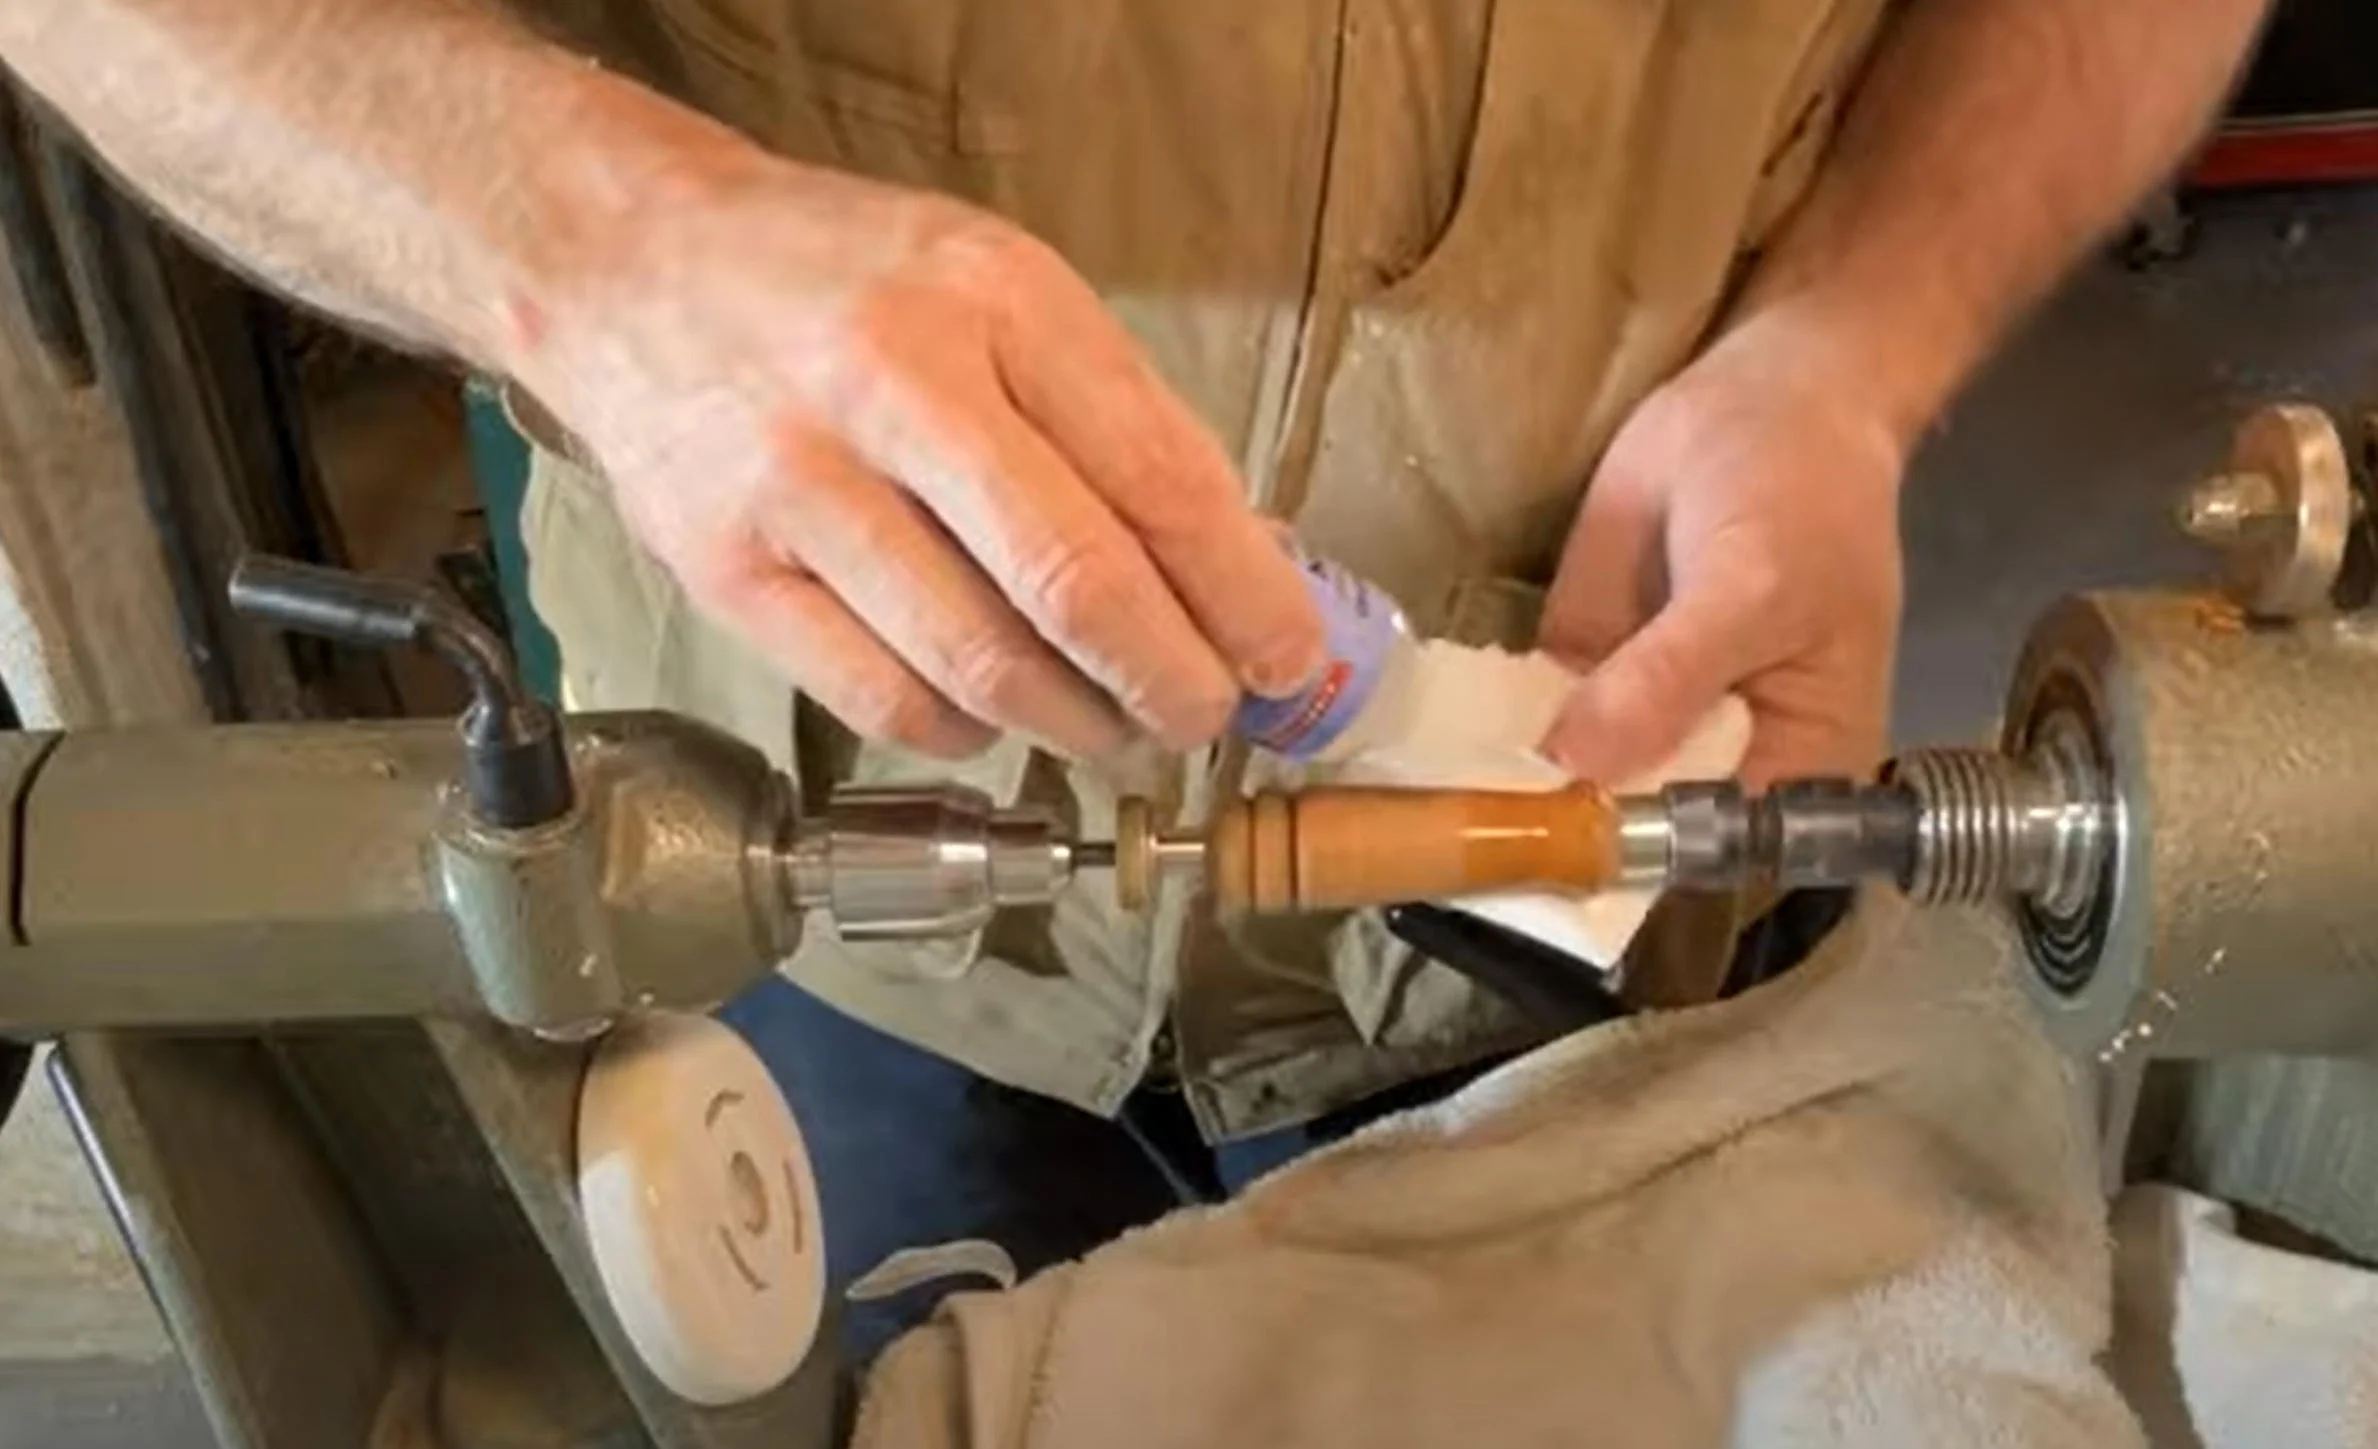
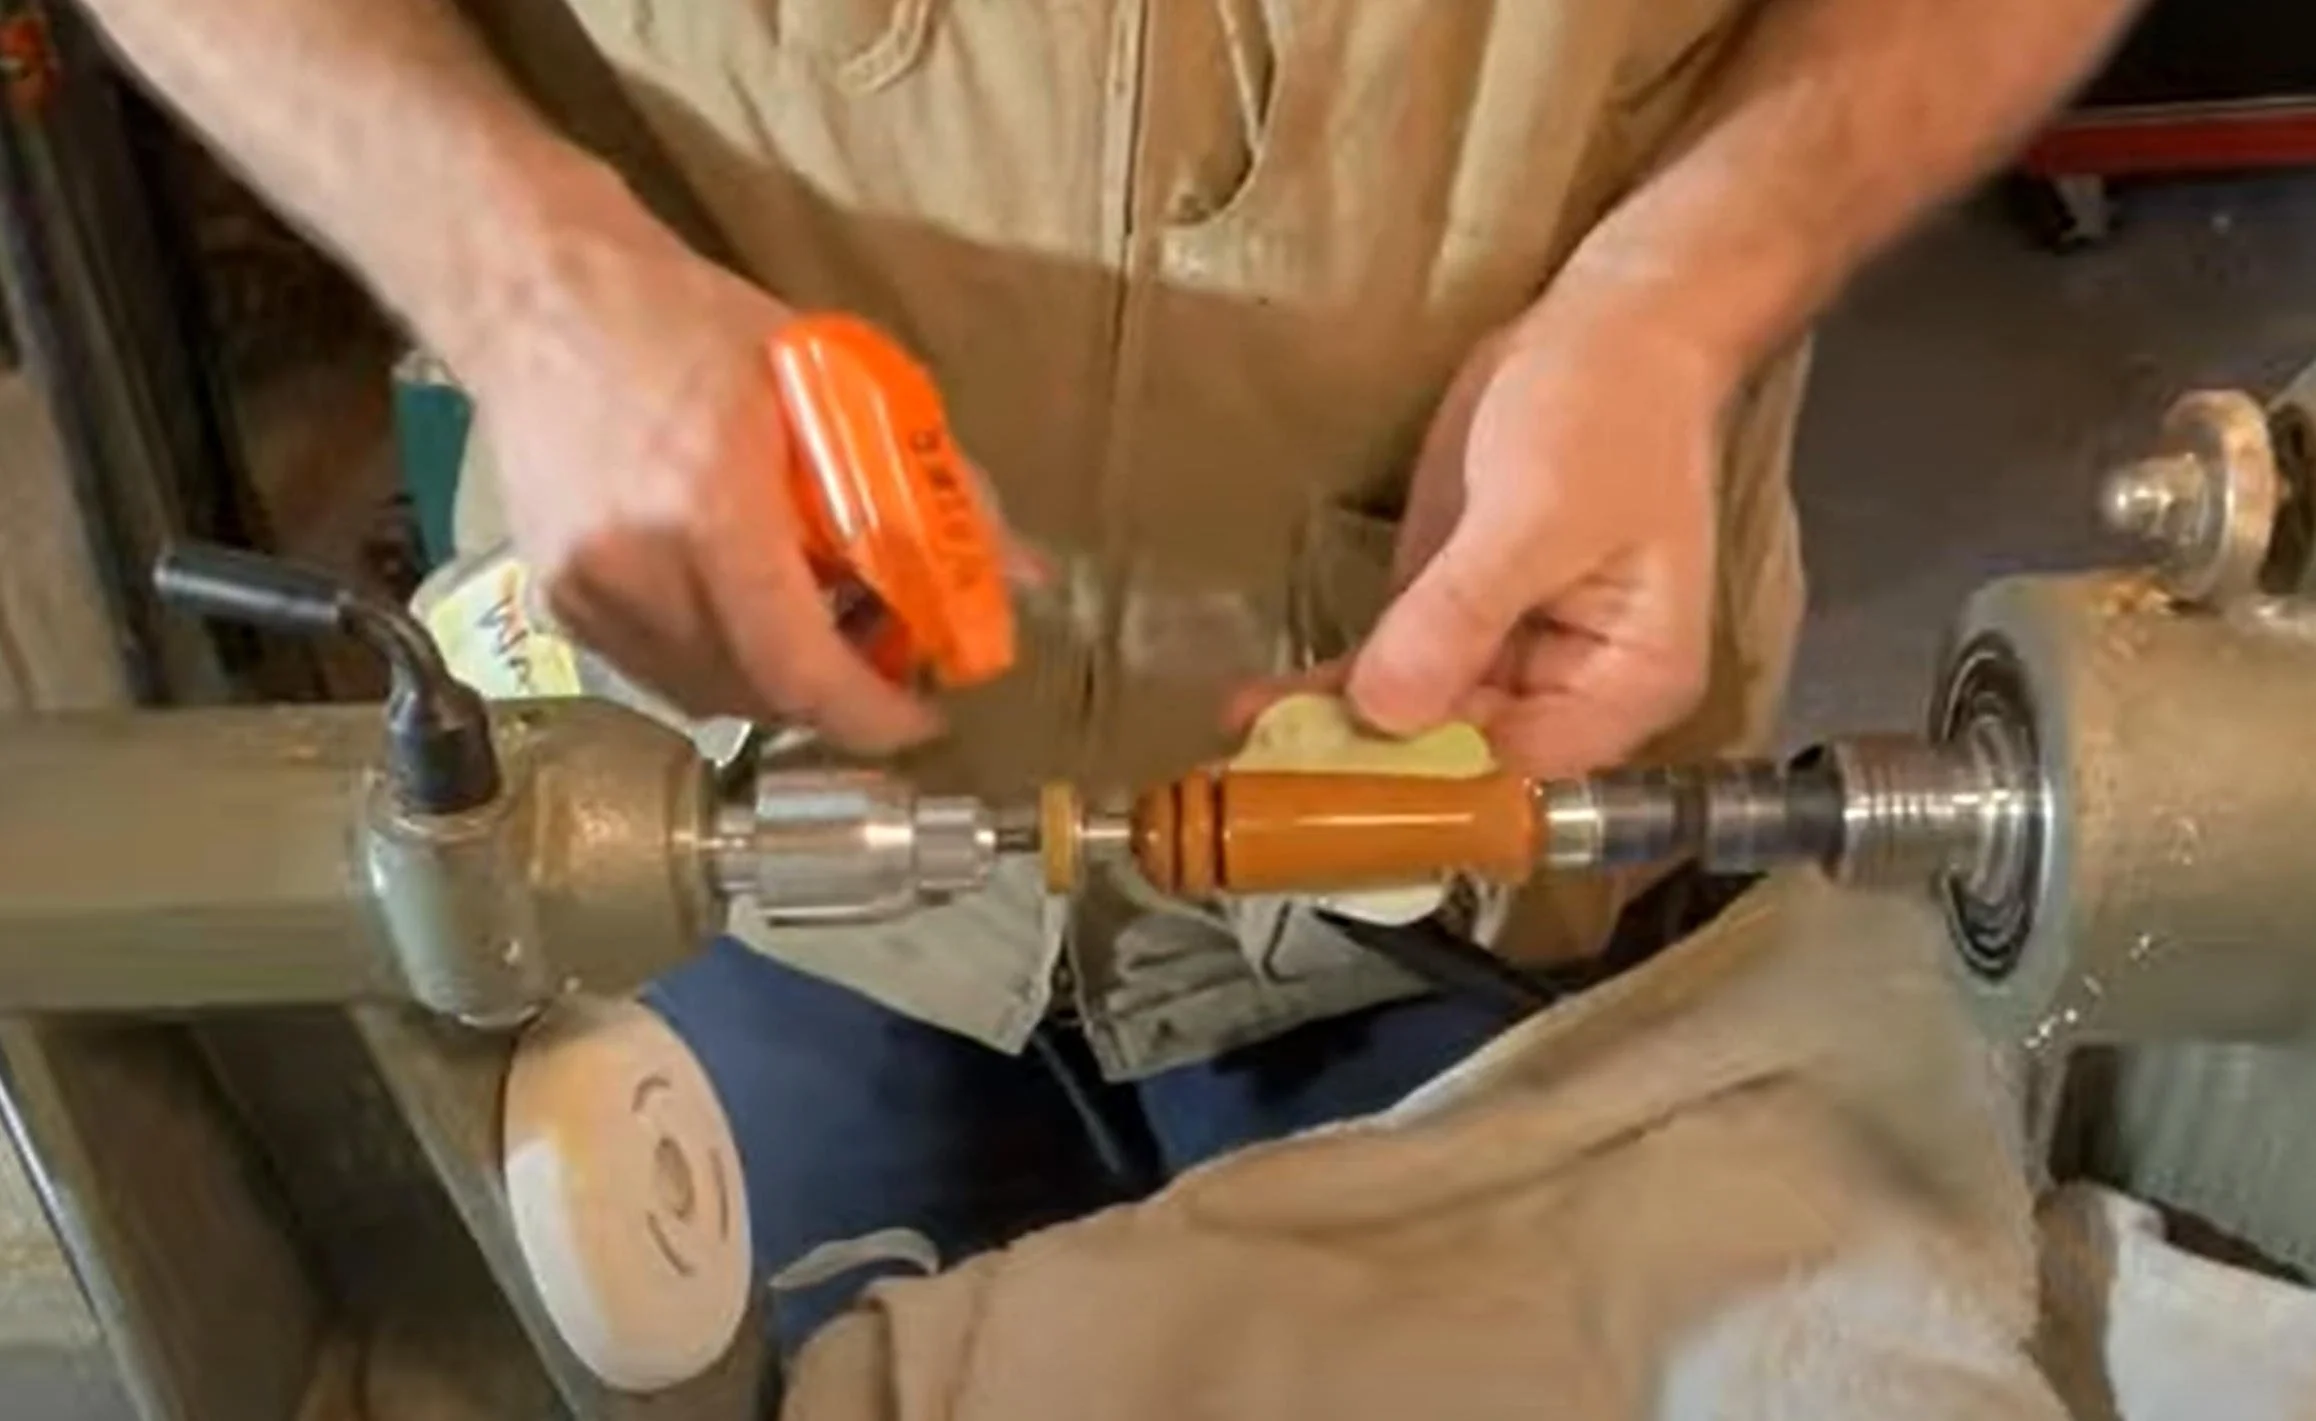
For this project, I’m finishing the seam roller with CA glue(https://amzn.to/3XPBgPl). It’s my favorite finish because it’s fast, durable, and provides a beautiful, glossy finish. To apply, use a paper towel to spread thin CA glue across the blank, rotating the towel to avoid scratching as the glue dries. Lightly spray an accelerator between coats to speed up the drying process. I usually apply 3 to 5 coats and let it dry for a few minutes.
Step 3: Polishing the Finish
Now, we’re ready to polish. I prefer using micro mesh(https://amzn.to/3Nby2Q5) or Mirka Abralon (https://amzn.to/47uVdOk) pads for this. Start wet-sanding with 500 to 600 grit, running the lathe at about 2,000 RPMs. After a grit or two, I like to add a couple more coats of CA glue, then start sanding again. When using micro mesh pads, be sure not to apply too much pressure—let them lightly glide across the workpiece.
Work your way up to 12,000 grit, then finish with a little CA polishing cream to give it a final shine.
Step 4: Assembling the Seam Roller
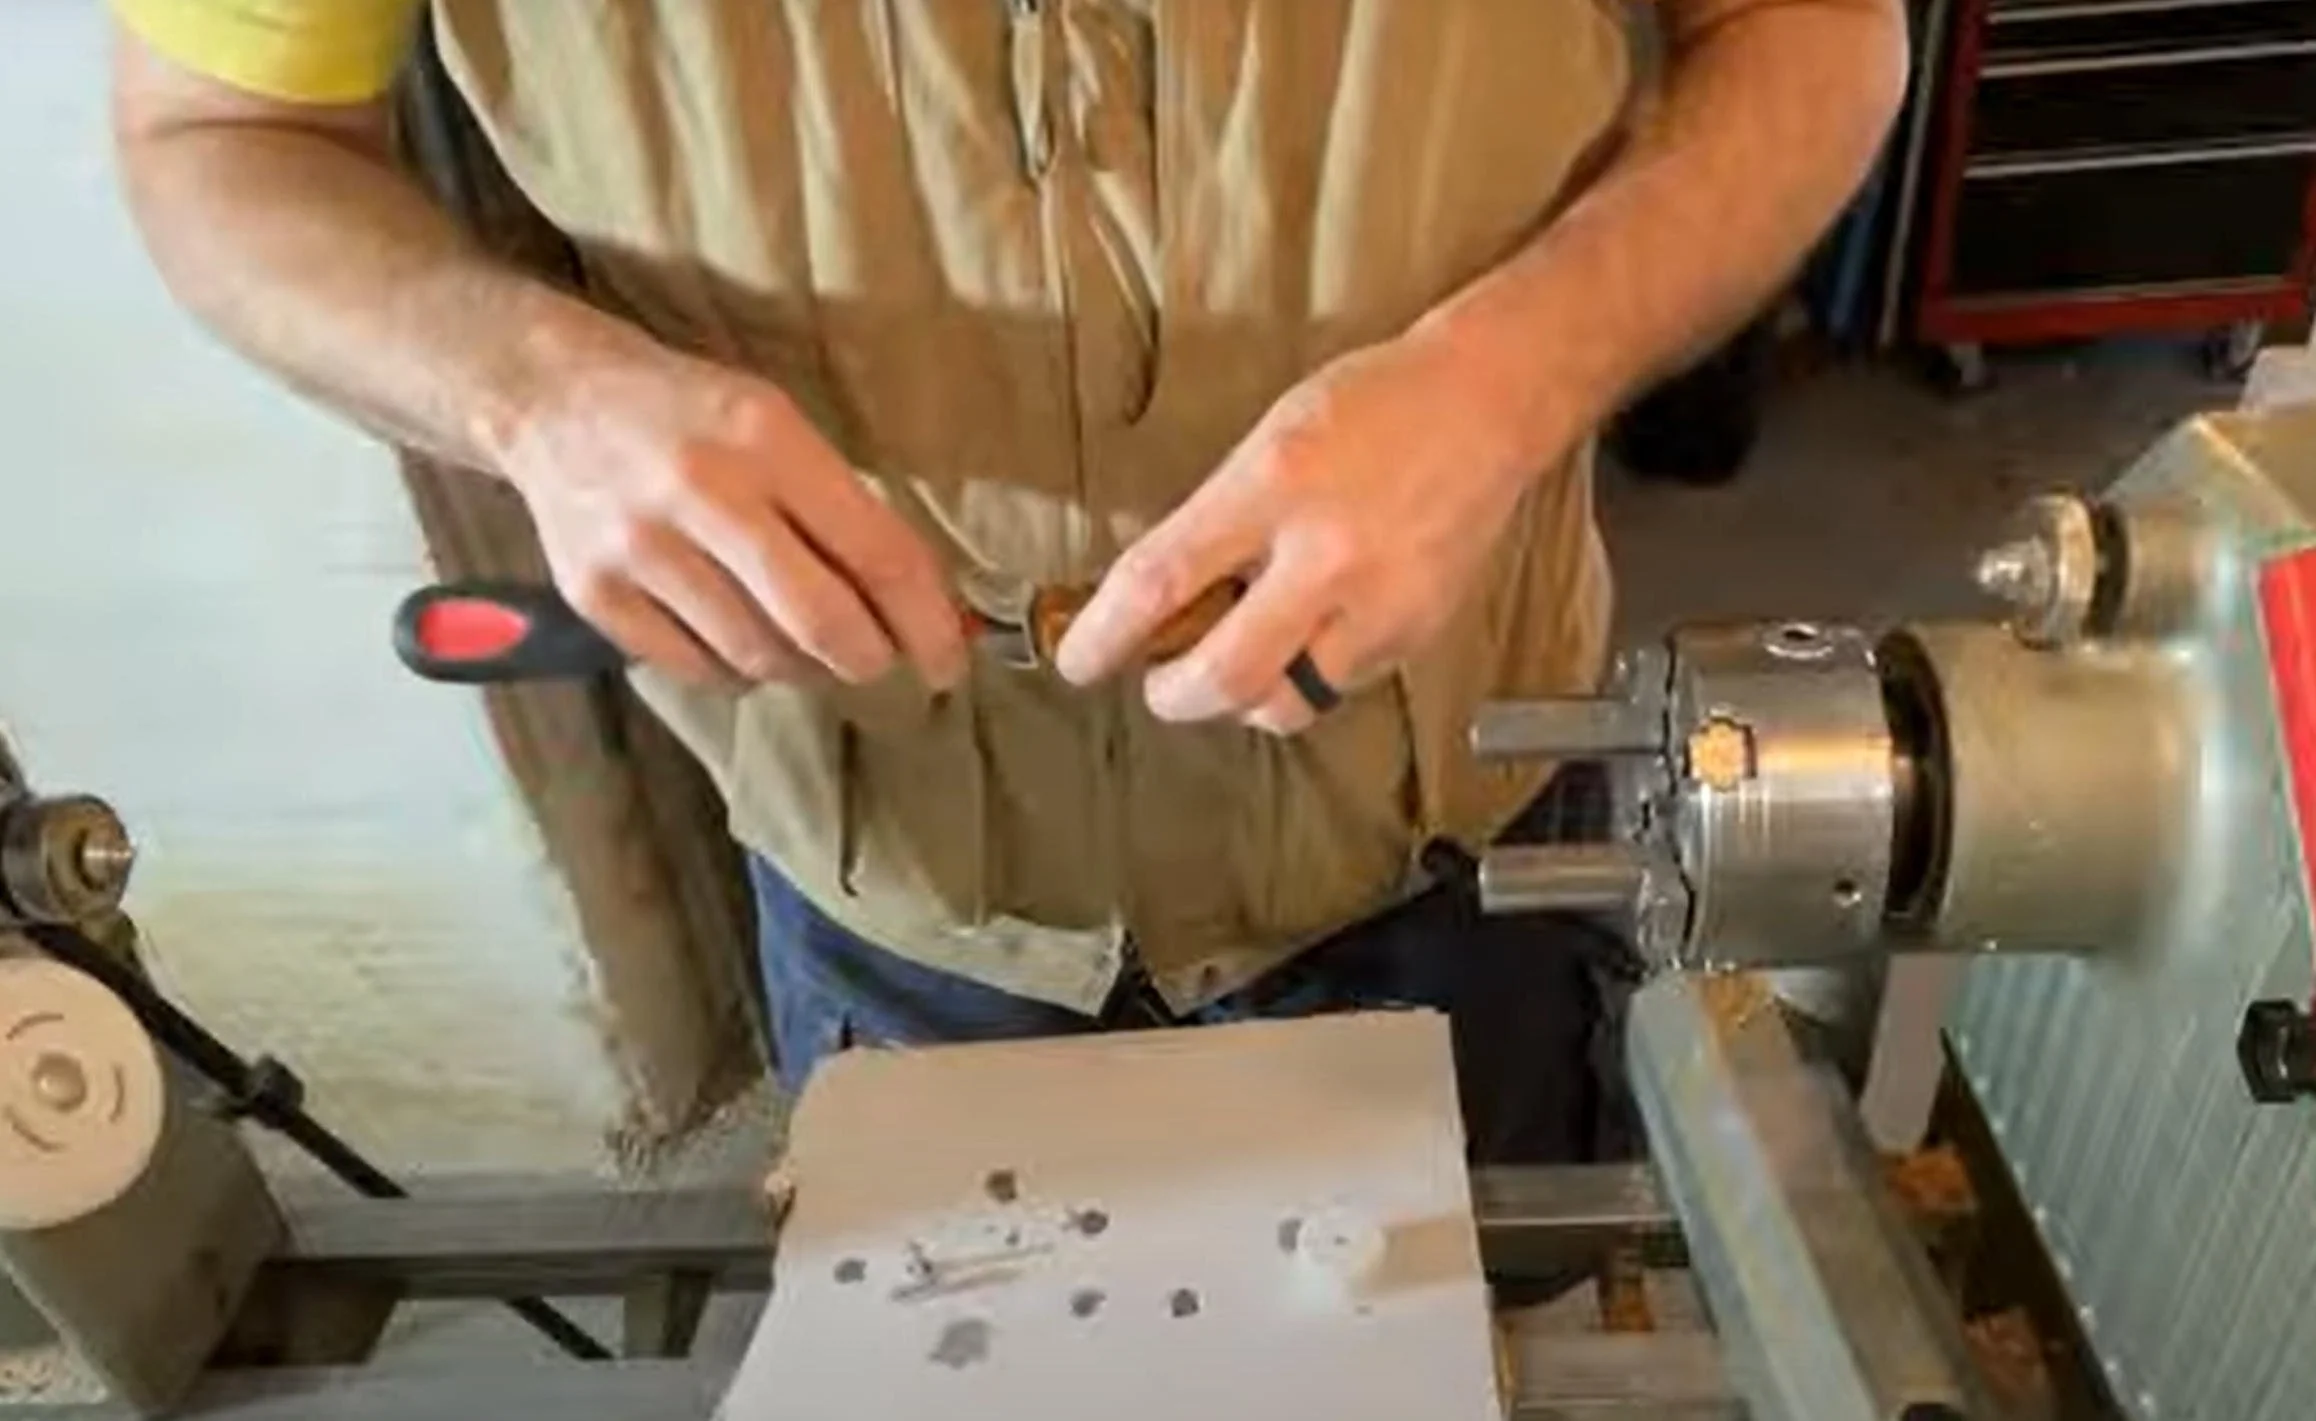
The last step is to assemble your seam roller. If the blank is glued to the bushings, score the seam lightly with a utility knife to prevent cracking. I prefer to use my lathe as a press for assembling the parts.
Carefully insert the bracket nut (small diameter first) into the large end of the blank and press it in using the tailstock. Then, flip the blank around and press the cap into the smaller end. Attach the roller bracket by threading the bracket screw into the bracket nut. Finally, slide the roller into the bracket, align the holes, and secure everything in place with the axis bolt and axis screw.
A Gift to Remember
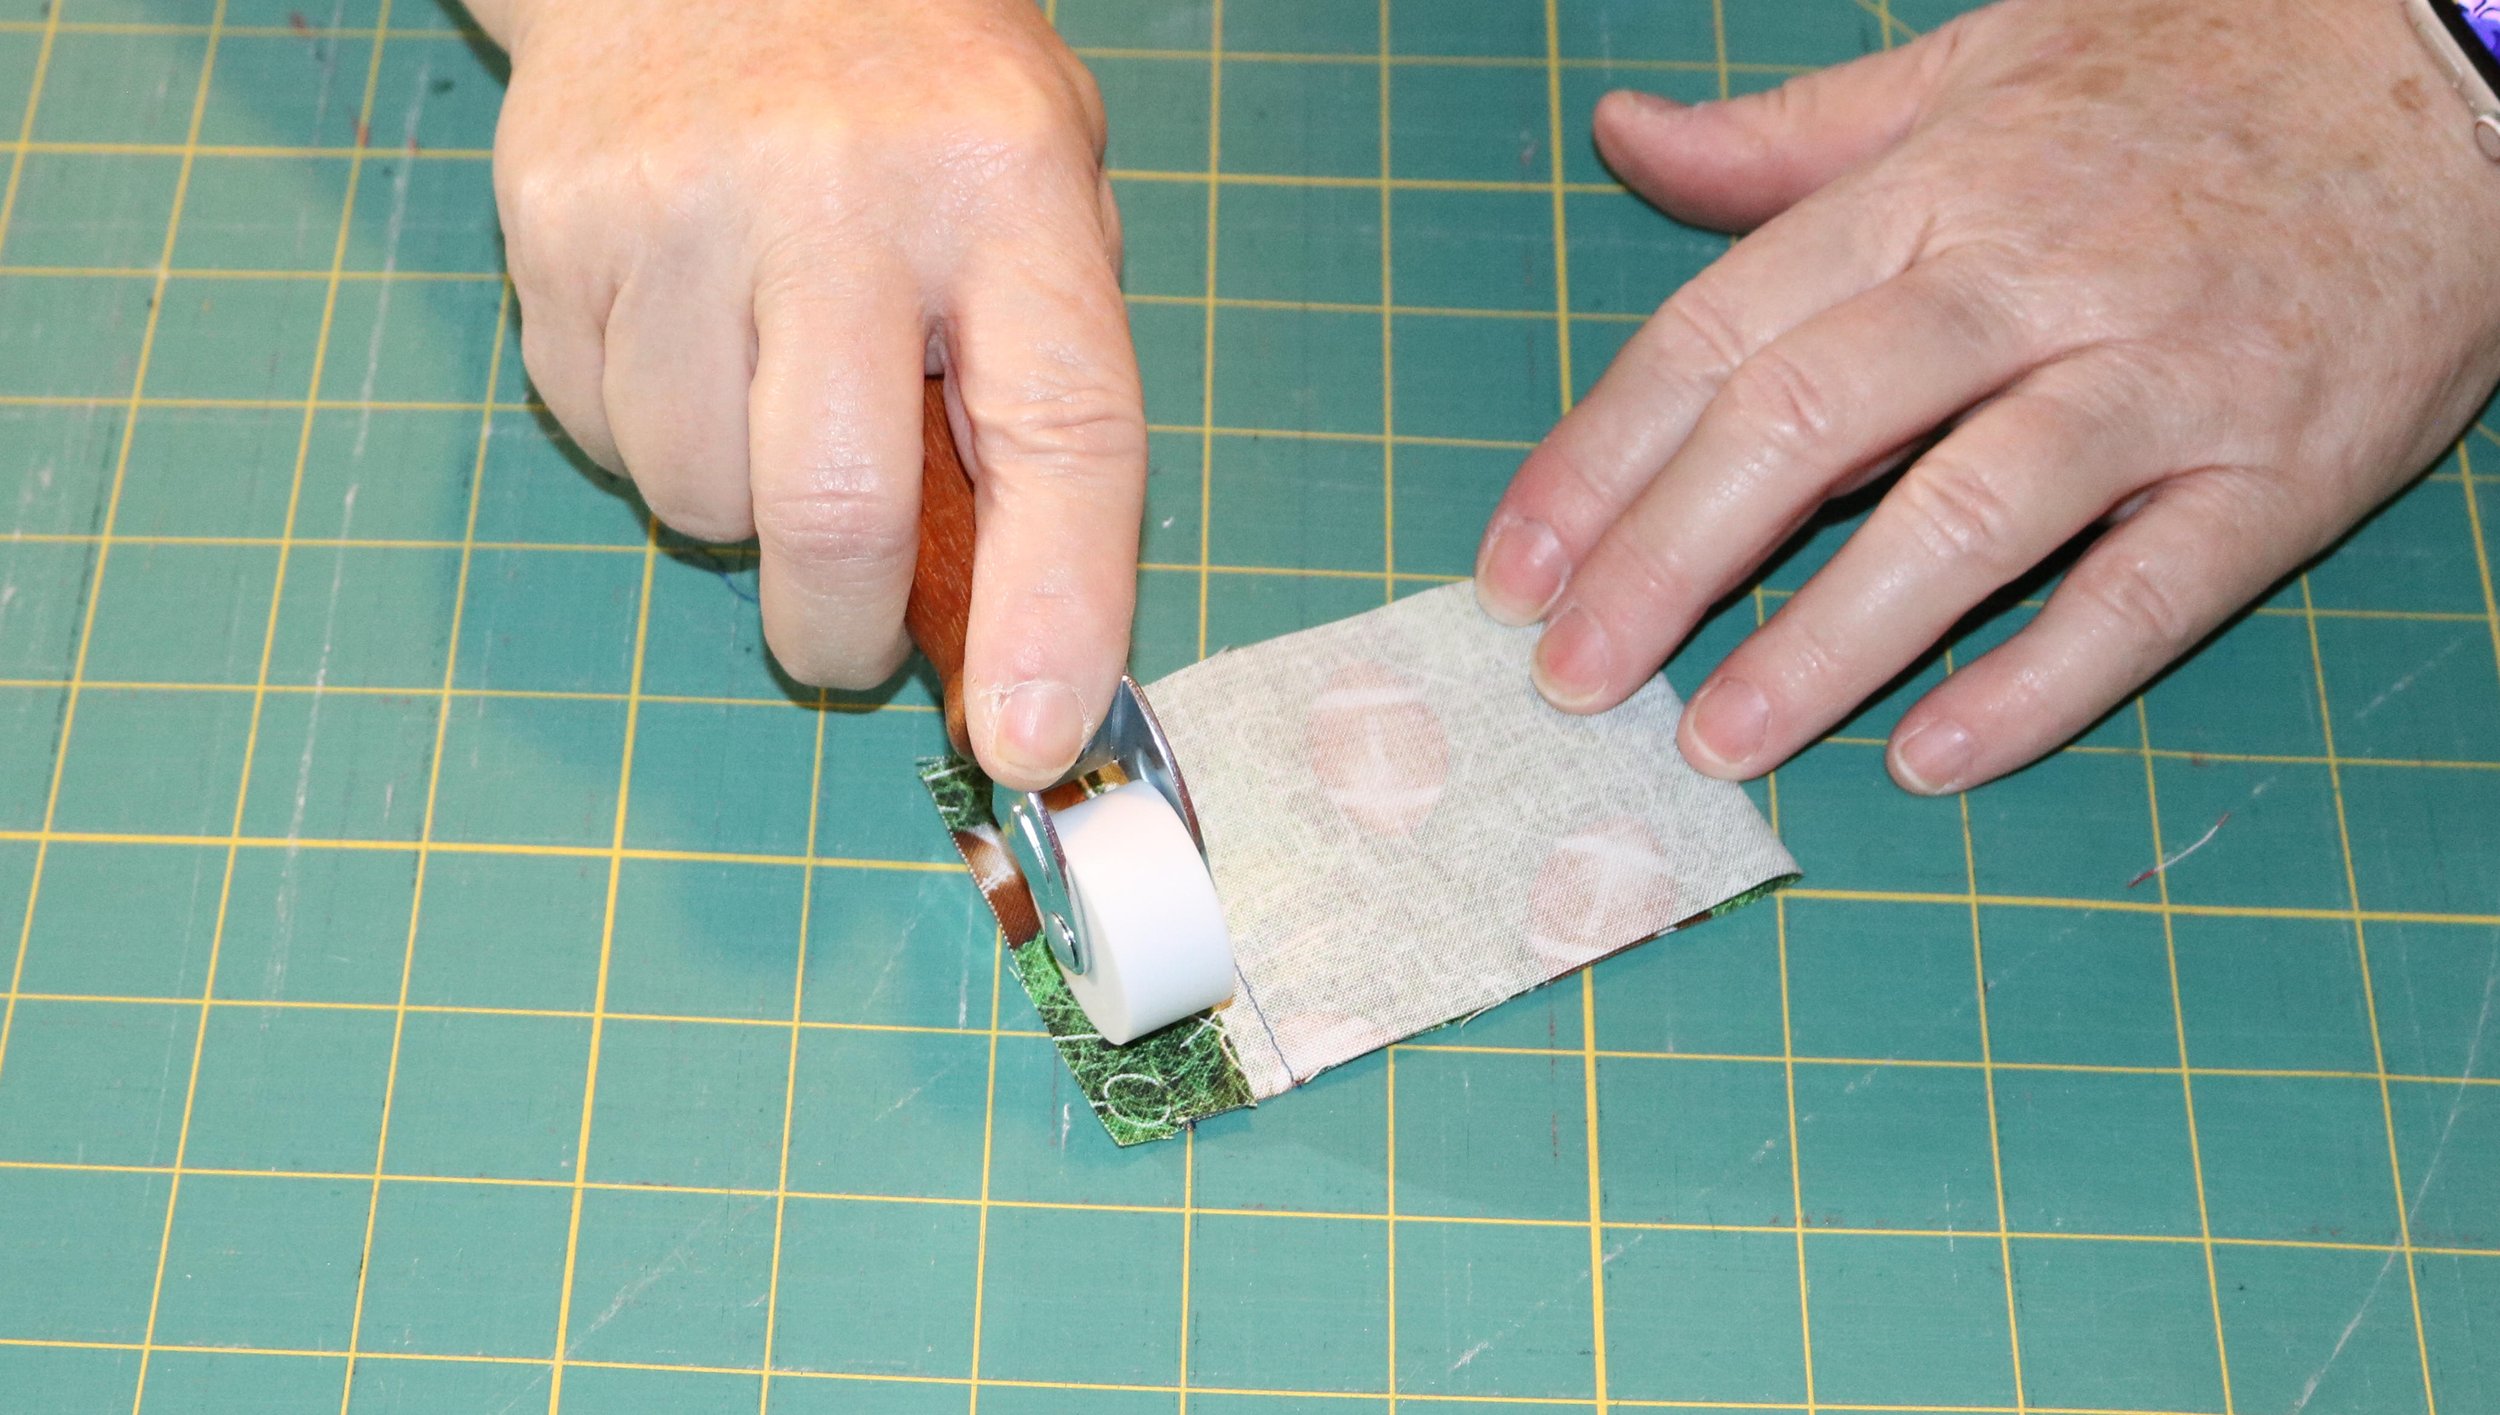
That’s it! You’ve just created a unique, custom seam roller that’s not only functional but also a special, handmade gift for a loved one. Don’t forget to subscribe to the channel and hit the bell icon so you won’t miss next week’s gift idea!
Thanks for joining me on this project, and I can’t wait to see what you create next!
Links to Products and Supplies:
Some of the links on this page are affiliate links, meaning, at no additional cost to you, I may earn a commission if you click through and make a purchase.
Amazon Affiliate Links:
Seam Roller Kit - https://amzn.to/4evNS42
Seam Roller Bushings - https://amzn.to/4esYj8r
Pen Turning Mandrel Kit - https://amzn.to/3Zw1eIW
Pen Turning Mandrel Only - https://amzn.to/3zfJxma
Pen Tube Insertion Tool - https://amzn.to/3XooF44
Barrel Trimming Tool - https://amzn.to/3zn1wXQ
Nova Supernova 2 Chuck - https://amzn.to/3YE1eG6
Nova Pen Jaws - https://amzn.to/3BiMtie
Drill Chuck - https://amzn.to/3WSbIAm
Brad Point Pen Drill Bits - https://amzn.to/3BiYkgd
Micro-Mesh Sanding Pads - https://amzn.to/3Nby2Q5
Mirka Abralon Polishing Pads - https://amzn.to/47uVdOk
Starbond Thin CA Glue - https://amzn.to/3XPBgPl
Starbond Medium CA Glue - https://amzn.to/4evLbiy
Starbond CA Glue Accelerator - https://amzn.to/4d9fvhD
CA Polish - https://amzn.to/47uVdOk
Other great pen resources:
https://www.pennstateind.com/