
Mastering Segmented Woodturning: A Step-by-Step Guide to Creating Stunning Bowls
Have you ever marveled at the intricate vases and bowls artists create, featuring mesmerizing colors and patterns? Imagine crafting such works of art yourself. With this guide, inspired by our new segmented woodturning lesson series, you’ll learn the essentials to get started and refine your skills in this creative woodworking technique.
Why Segmented Woodturning?
Segmented woodturning opens up a world of design possibilities. By combining different wood species and materials, you can create unique pieces that truly stand out. It’s a fantastic way to spark your creativity while building functional art. However, achieving great results requires careful planning—a lesson learned from my early experiments.
Learning from Mistakes
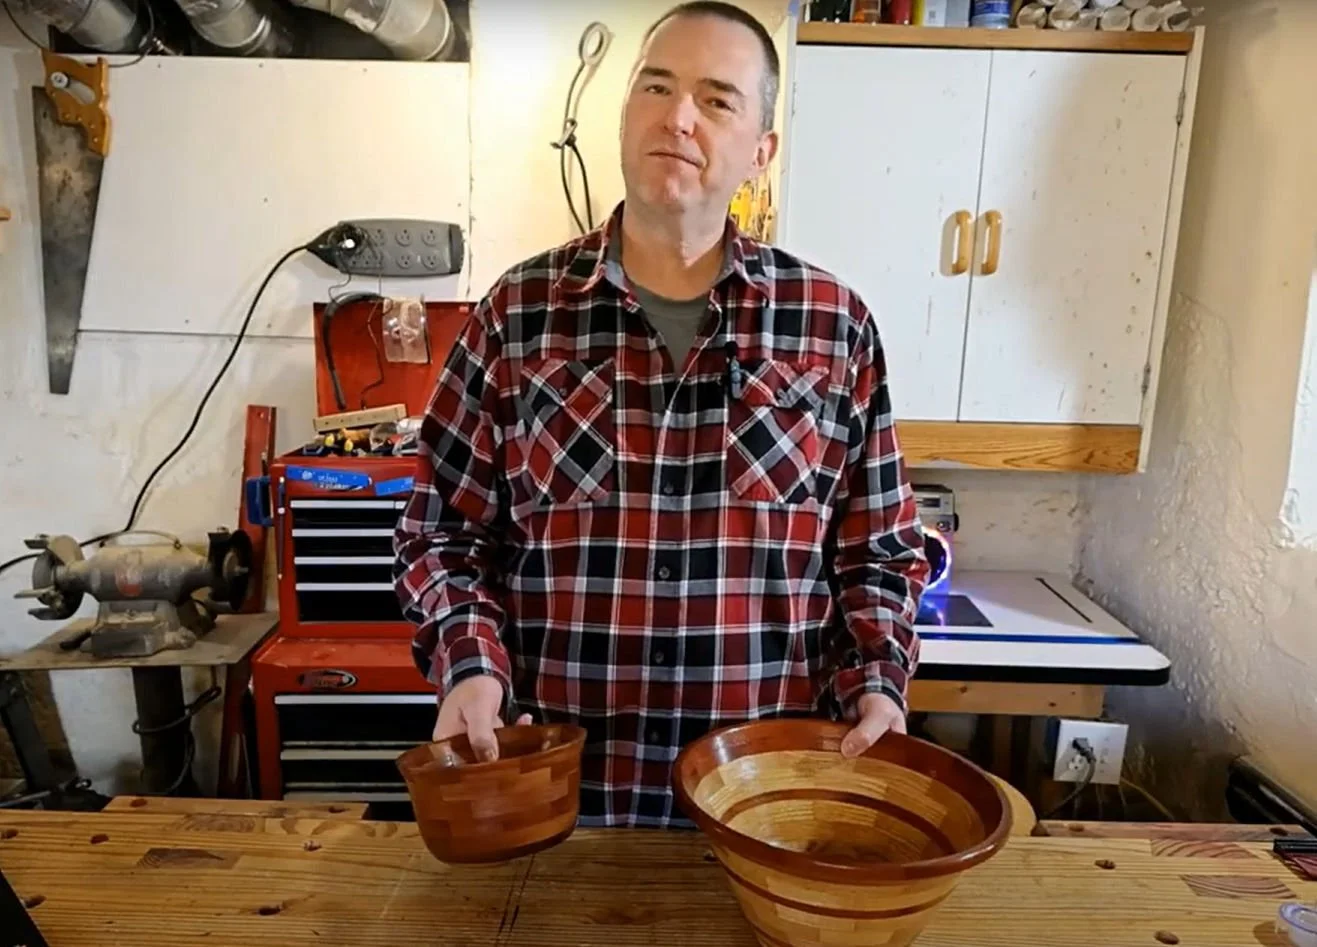
In my initial attempts at segmented woodturning, I made several rookie mistakes. For example, a small bowl turned out too tall with straight sides, making it impractical. Another piece, intended as a large bowl, ended up overly deep because I kept adding rings to achieve my desired diameter. These early missteps taught me the importance of starting with a clear plan.
Starting with a Plan
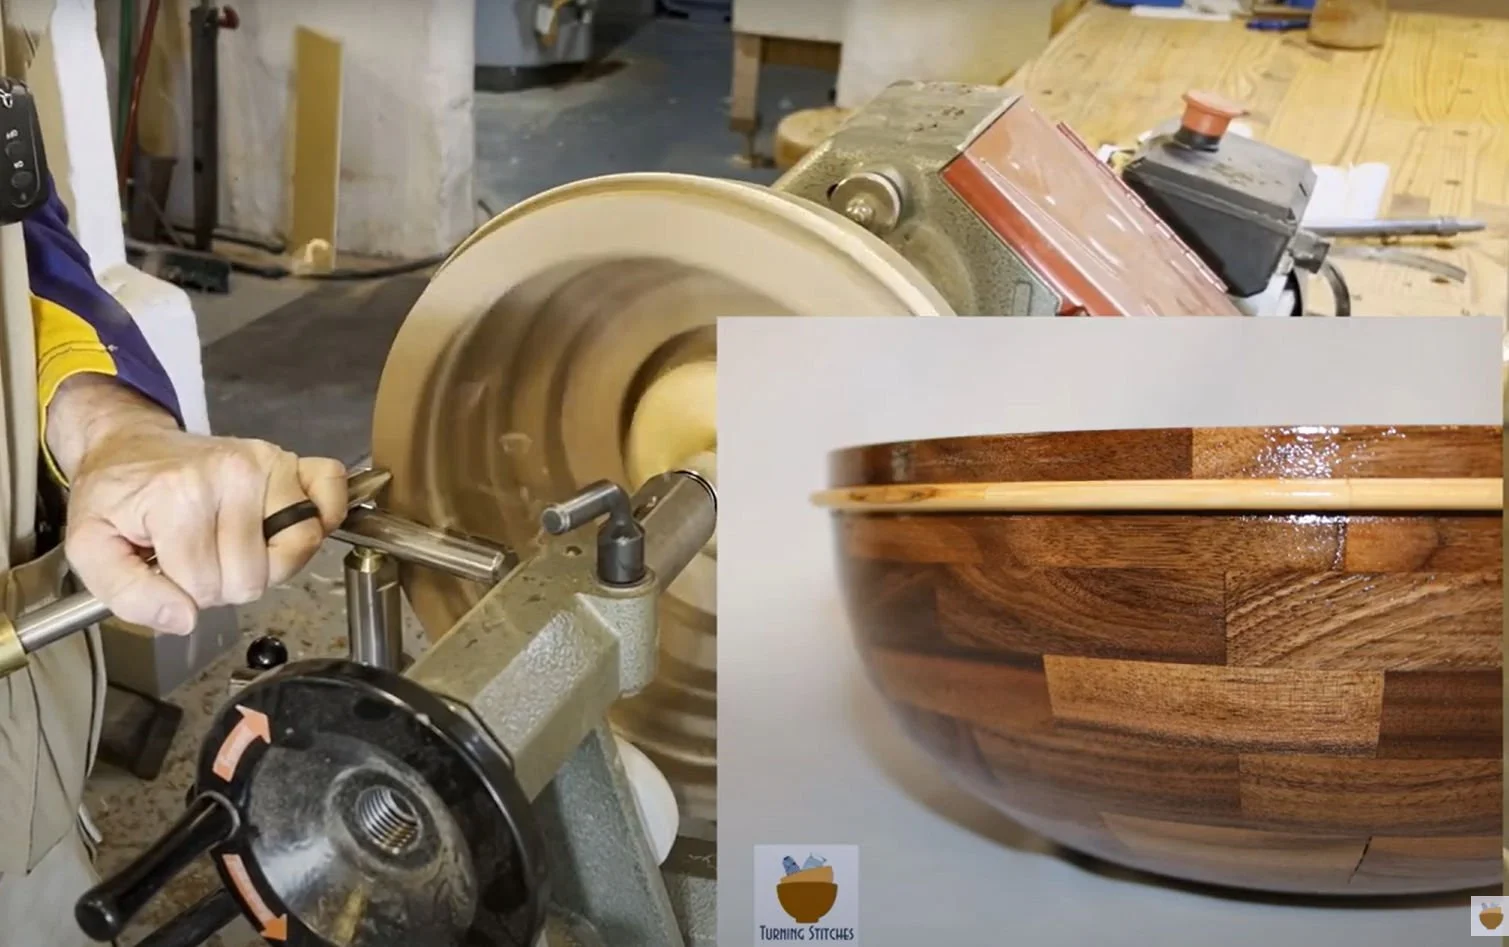
The prototype for this series is a large salad or serving bowl, designed with functionality in mind. I begin every project with a full-scale drawing now. While computer programs can simplify the process, manual drafting helps you better understand the design.
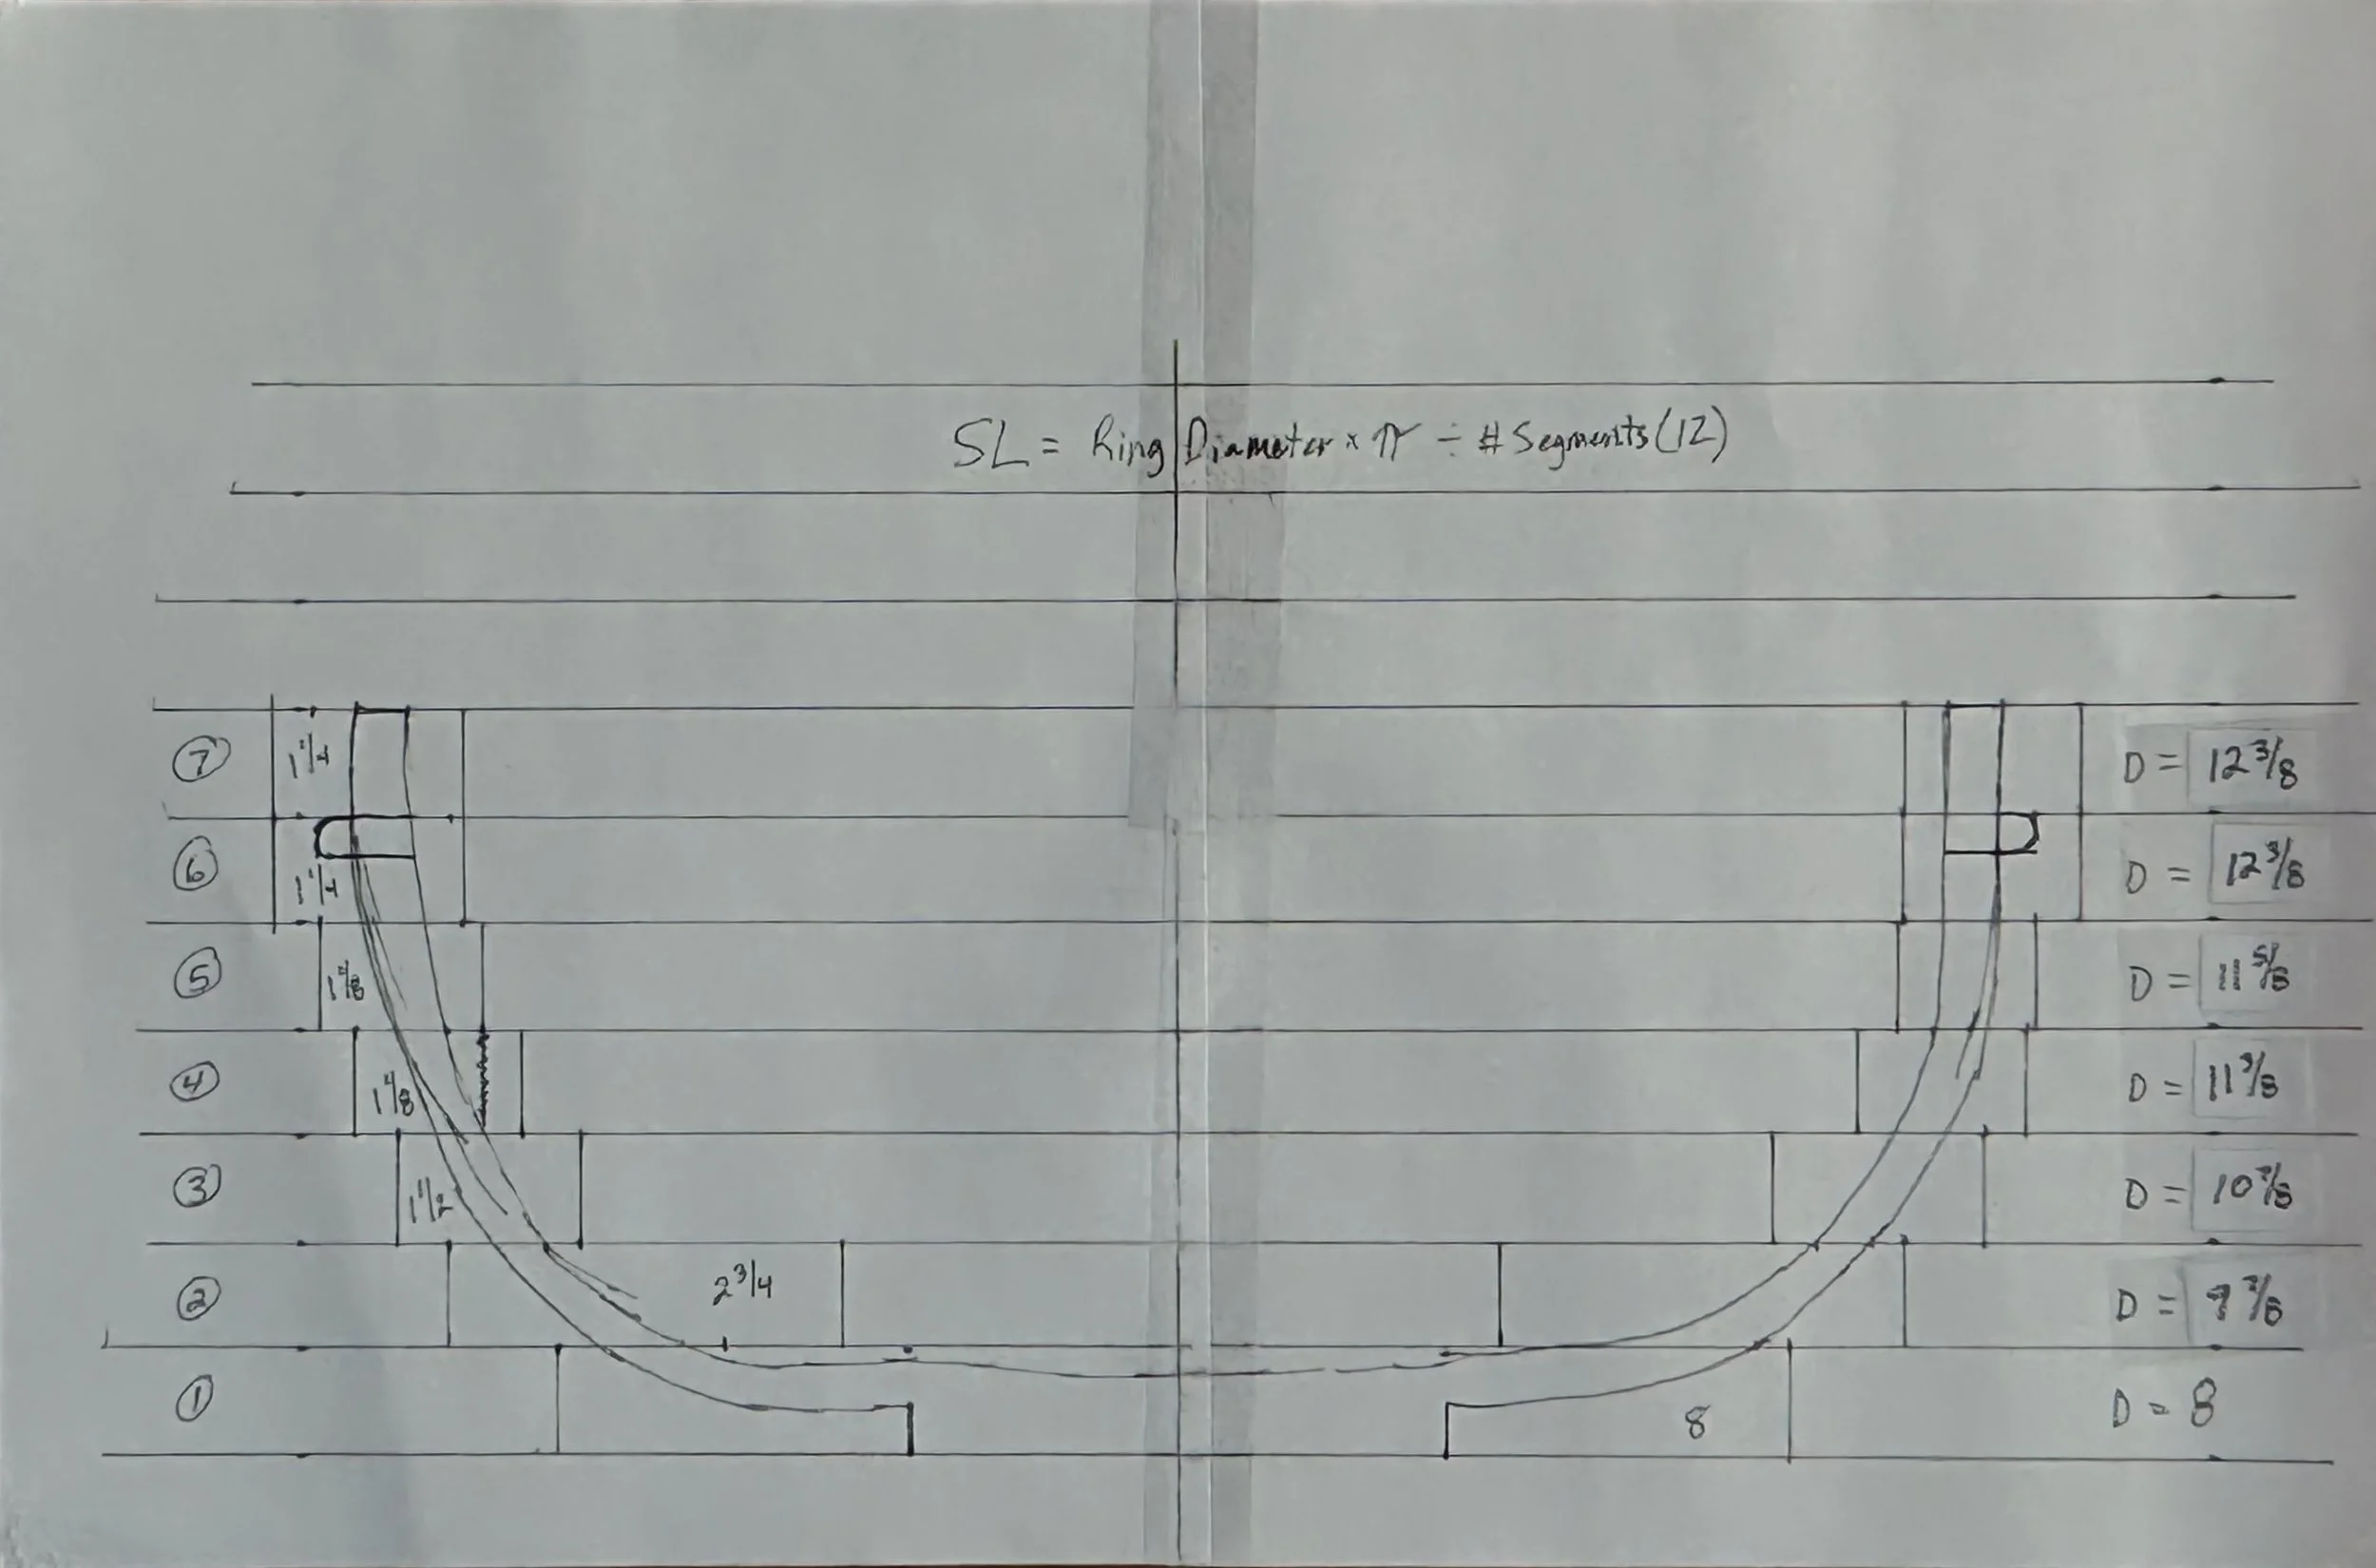
Here are the critical dimensions for our bowl:
· Finished diameter: 11-1/2 inches
· Height: 4 3/4 inches
· Base diameter: 3 3/4 inches
· Number of rings: 7 (including the base)
· Ring thickness: 3/4 inch (ideal for dimensional lumber)
Using a simple grid and precise measurements, we’ll outline the bowl’s exterior and interior curves, ensuring consistent wall thickness and an appealing shape.
Adding Features

To enhance the design, we’ll include a feature ring on the sixth ring, adding a bead made from a contrasting wood species like maple or walnut. This bead, protruding slightly from the wall, adds visual interest without complicating the overall structure.
Calculating Segment Dimensions

At each ring, measure about ¼ inch from the widest and narrowest point where the curve intersects the ring and put a mark. Add vertical lines here. Complete this for each ring. With our full scale drawing we can measure this distance for each ring which is the diameter of our rings. The width of the ring is the measurement between the vertical lines that surround the sketch of our bowl.
Each ring is composed of 12 segments cut at a 15-degree angle. Using the formula:
Segment Length (SL) = Ring Diameter × π / Number of Segments
We calculate the segment lengths for each ring. For example, a ring with a 10 3/16-inch diameter results in segments approximately 2.75 inches long. Once calculated, compile your cut list for all rings to ensure efficient material use.
Exploring Digital Tools
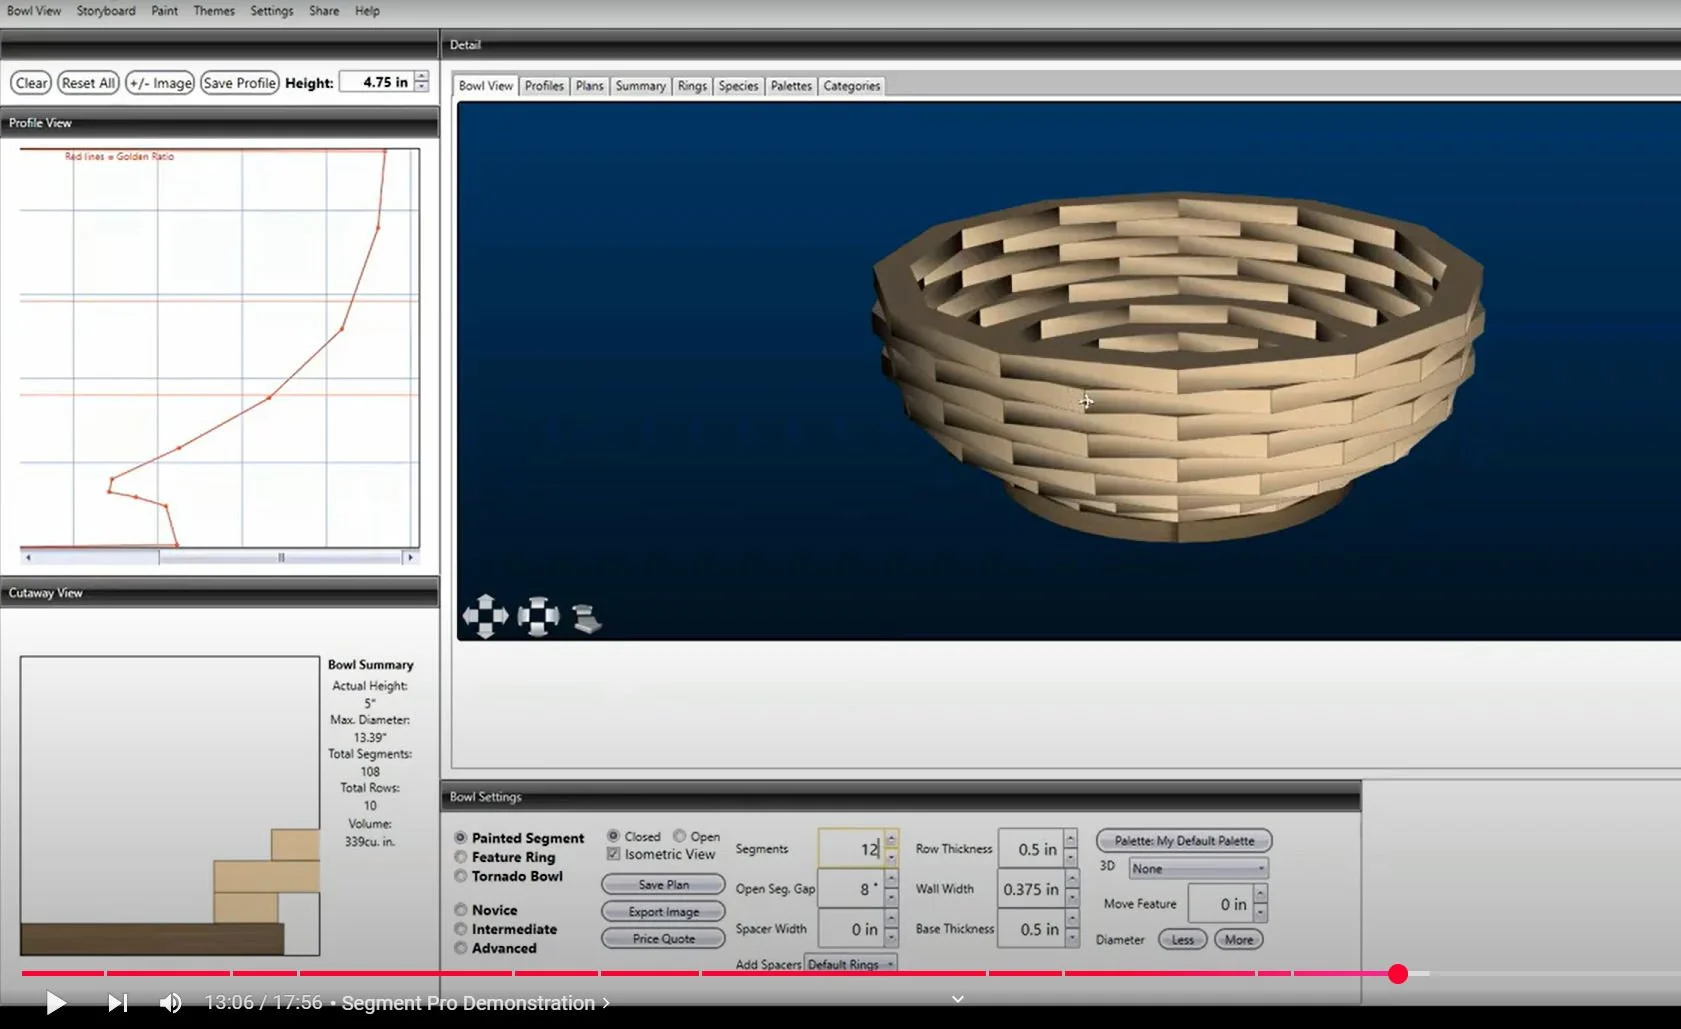
OAfter drafting manually, we transition to the Segment Pro software, a powerful tool for creating and refining segmented designs. This program streamlines the process, allowing you to:
· Adjust dimensions like height, diameter, and wall thickness
· Visualize your design in 3D
· Generate a precise cut list
With Segment Pro, you can quickly modify features such as the base shape or add intricate design elements. Although the software’s default settings might differ slightly from manual calculations, it offers a flexible and efficient way to finalize your design.
Next Steps
Once your design is complete and your cut list is ready, it’s time to head to the workshop and start cutting segments. Stay tuned for our next lesson, where we’ll cover this process in detail.
Get Your Free Design Resources
Want a printable copy of the drawing and cut list? Sign-up for our e-mail list using this link (https://turningstitches.ck.page/1c092d04a0) and you can download printable copies.
With the right preparation and tools, segmented woodturning can be a rewarding craft that combines creativity and precision. Dive into this series to bring your woodworking visions to life!