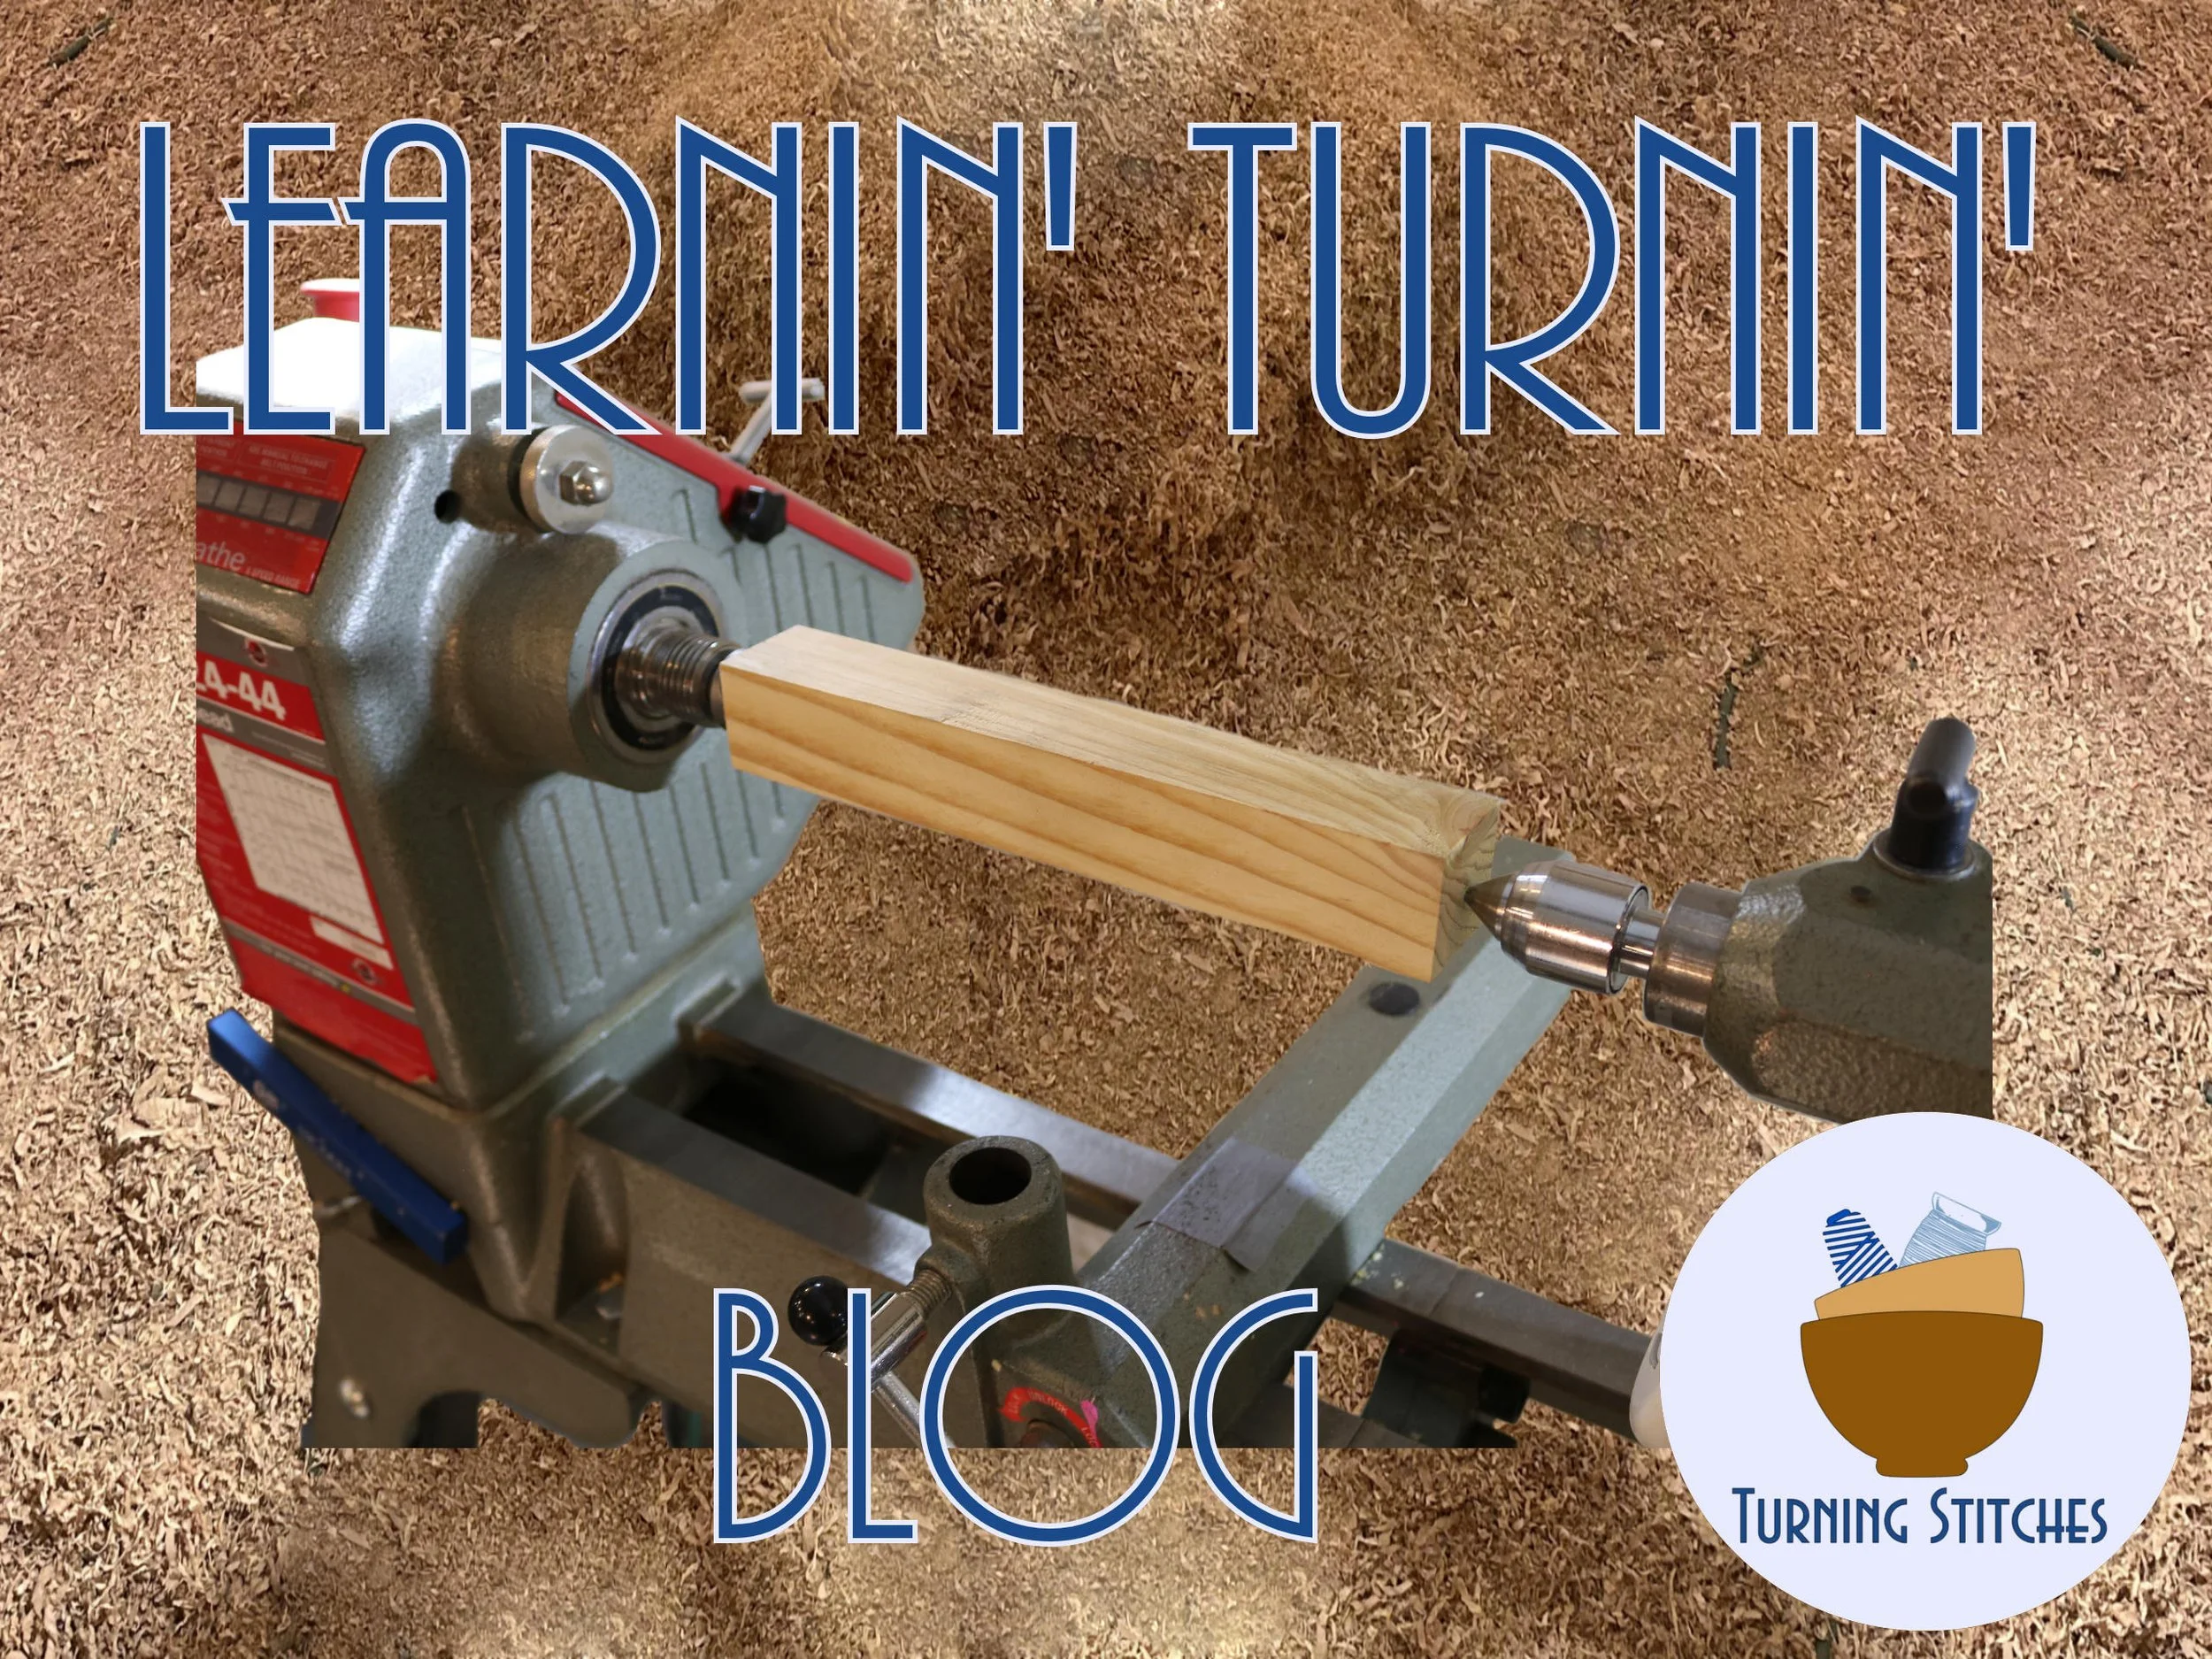

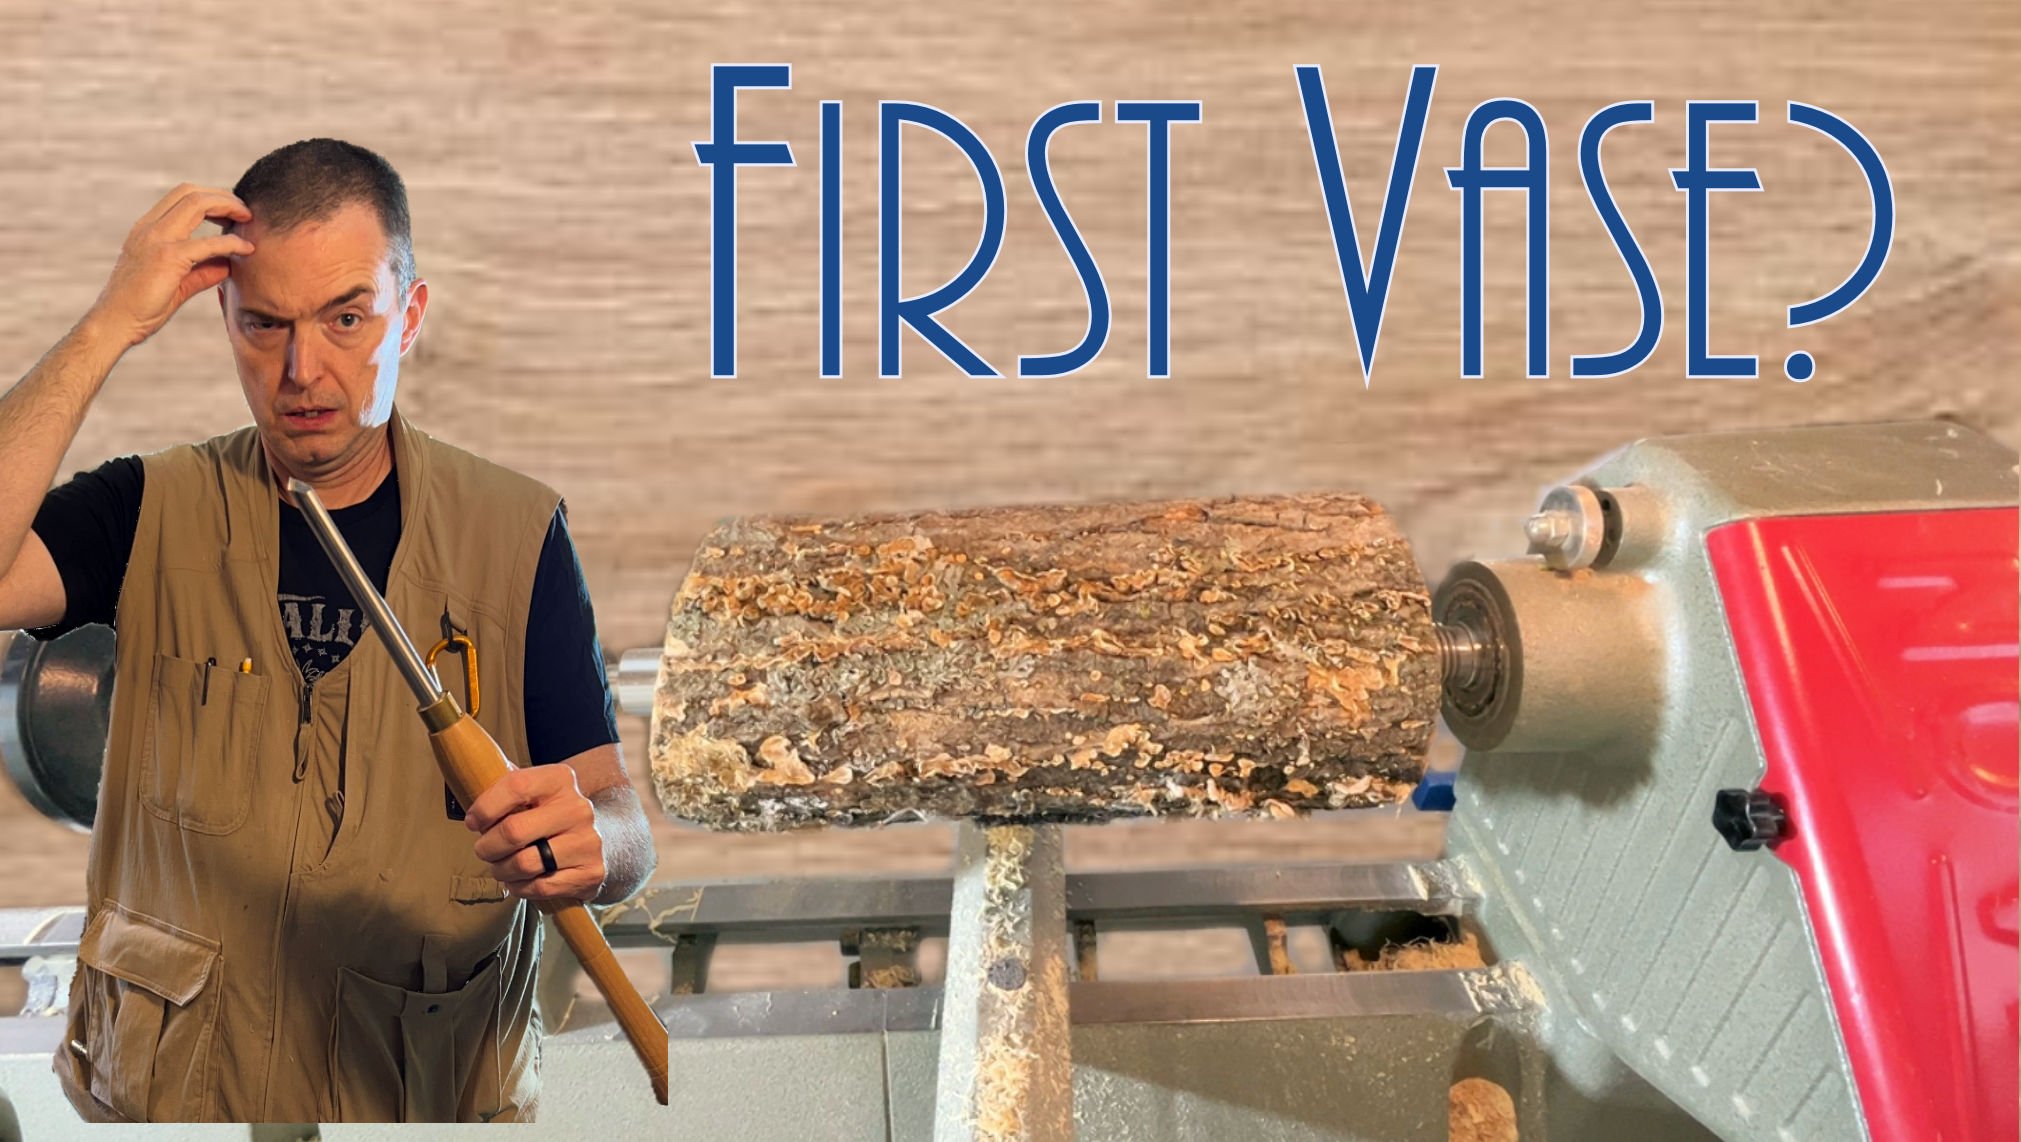
How to Start Woodturning - Your First Vase - Lesson 10
Hi there, I’m Sean, and welcome to Turning Stitches! We help woodturners of all skill levels learn the craft and begin creating fun projects faster. Today, we’ll be continuing to build on your faceplate turning skills by crafting an open-mouth vase. If you missed our last project, where we made a bowl, you can find it in Lesson 9 blog. Don’t forget to sign-up for our e-mail list so you will know when our new blogs and videos are posted!
Vases: A Fun Faceplate Project

Vases are a versatile and enjoyable project that you can display in your home, perfect for holding dry flowers or other décor. In this lesson, we won’t be using any glue – let’s dive straight into the turning process!
I’m starting with a small section of an ash log. This is an ideal project for smaller log sections. The first step is to get our blank round. Depending on your setup, you can either attach a faceplate with wood screws to one end of the log or use a scroll chuck to start between centers. If the ends of your workpiece aren’t square, it’s a good idea to begin between centers. Personally, I prefer using a faceplate for vases if I have enough material, even though I also own a chuck.
Shaping the Vase
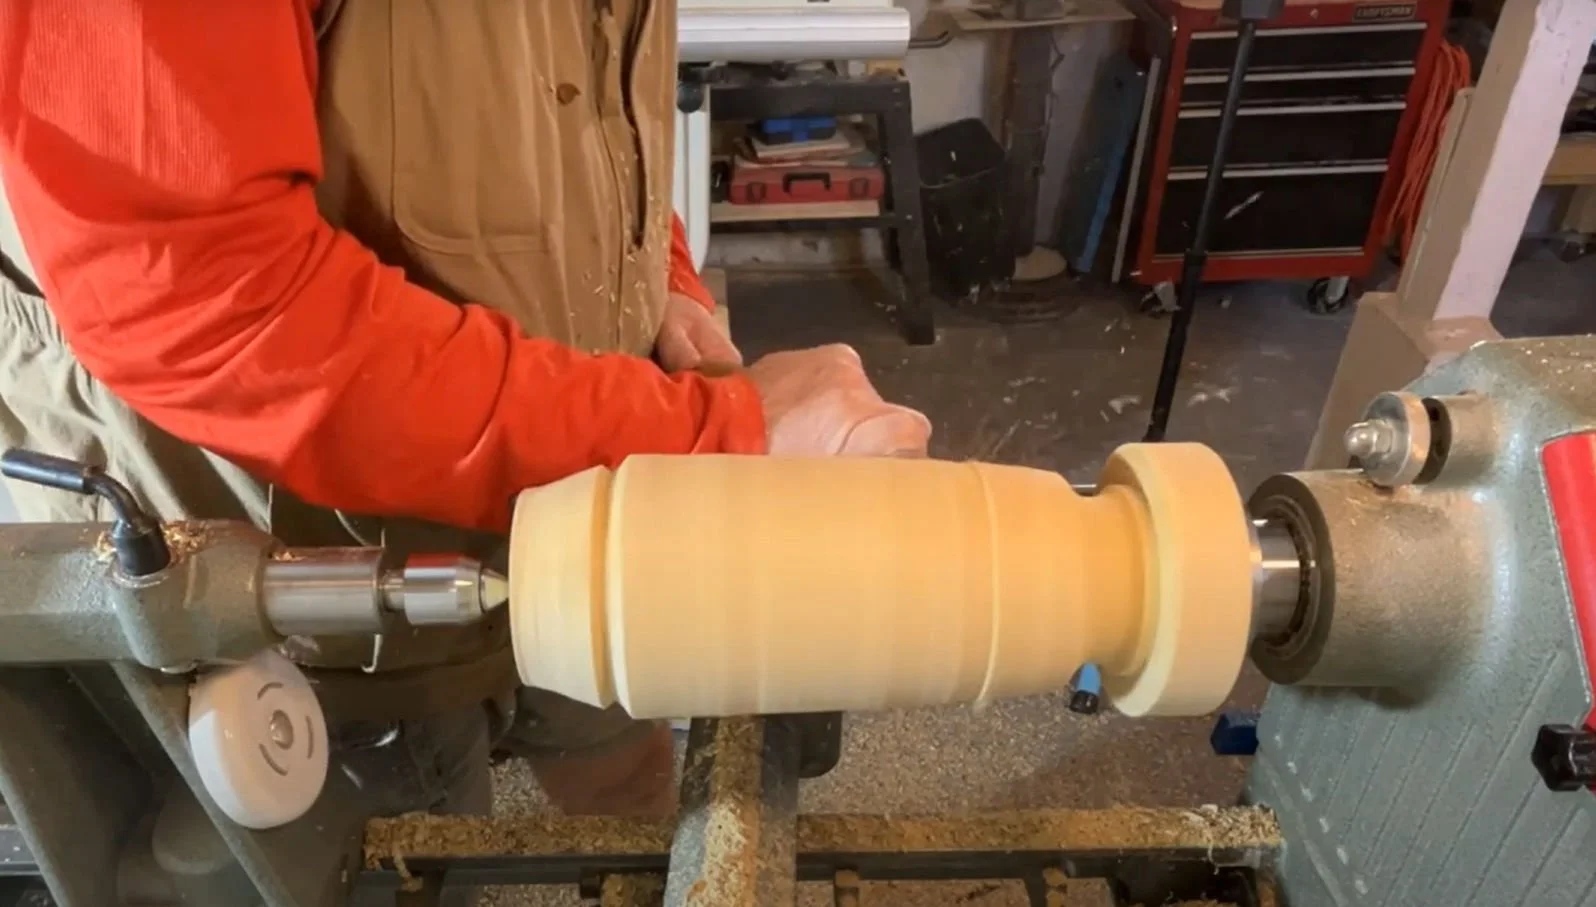
Now that our blank is round, we can measure our outside diameter and start planning the depth and bottom of the vase. Your depth will depend on the piece of wood you're working with and the tools you have for hollowing. Generally, you’ll want the vase to be slightly taller than it is wide – for example, a vase with a 4-inch diameter would work well with a depth of around 6 inches. Be sure to add an extra inch to your measurement to allow for the bottom.
I like my vases to be bottom-heavy so they don’t tip over easily, especially when filled with dry flowers. Use your parting tool to establish the bottom and diameter, and this will also help you visualize the taper of the vase’s exterior. Then, with your bowl gouge, shape the exterior by connecting the rim and the base. Once you’re happy with the shape, we’ll move on to hollowing.
Hollowing the Vase - Drilling
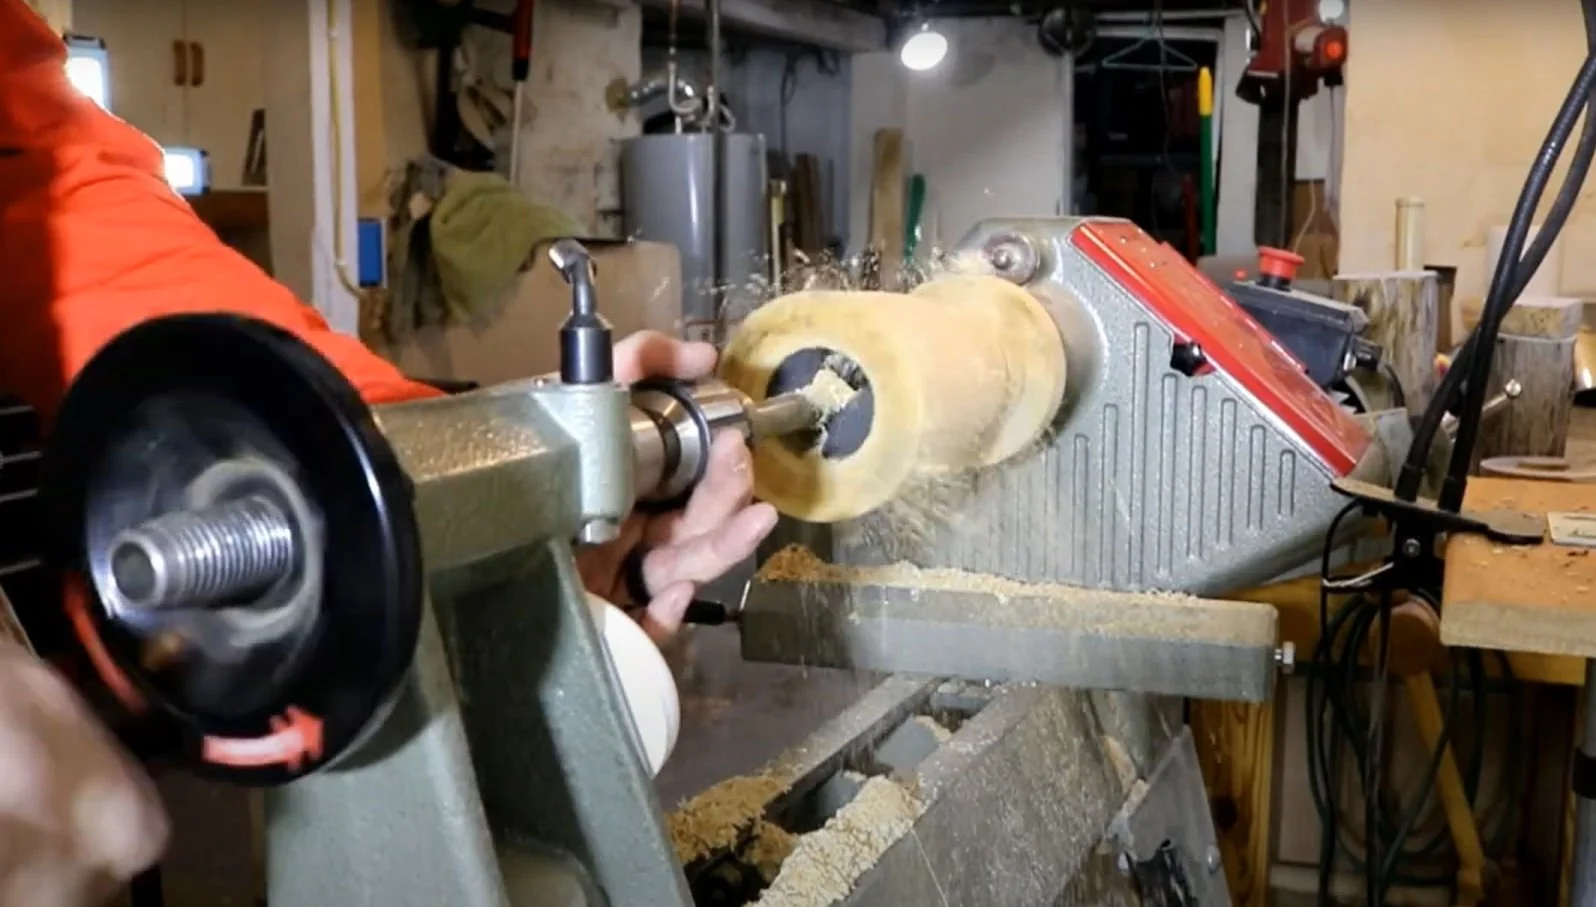
Hollowing is similar to turning bowls and boxes, so we’ll begin by drilling a depth hole. Using a long drill bit, drill (https://amzn.to/3WSbIAm) into the blank to establish your depth. I like using Forstner bits, as they allow for deep and wide cuts, maximizing the material removal.
Hollowing the Vase
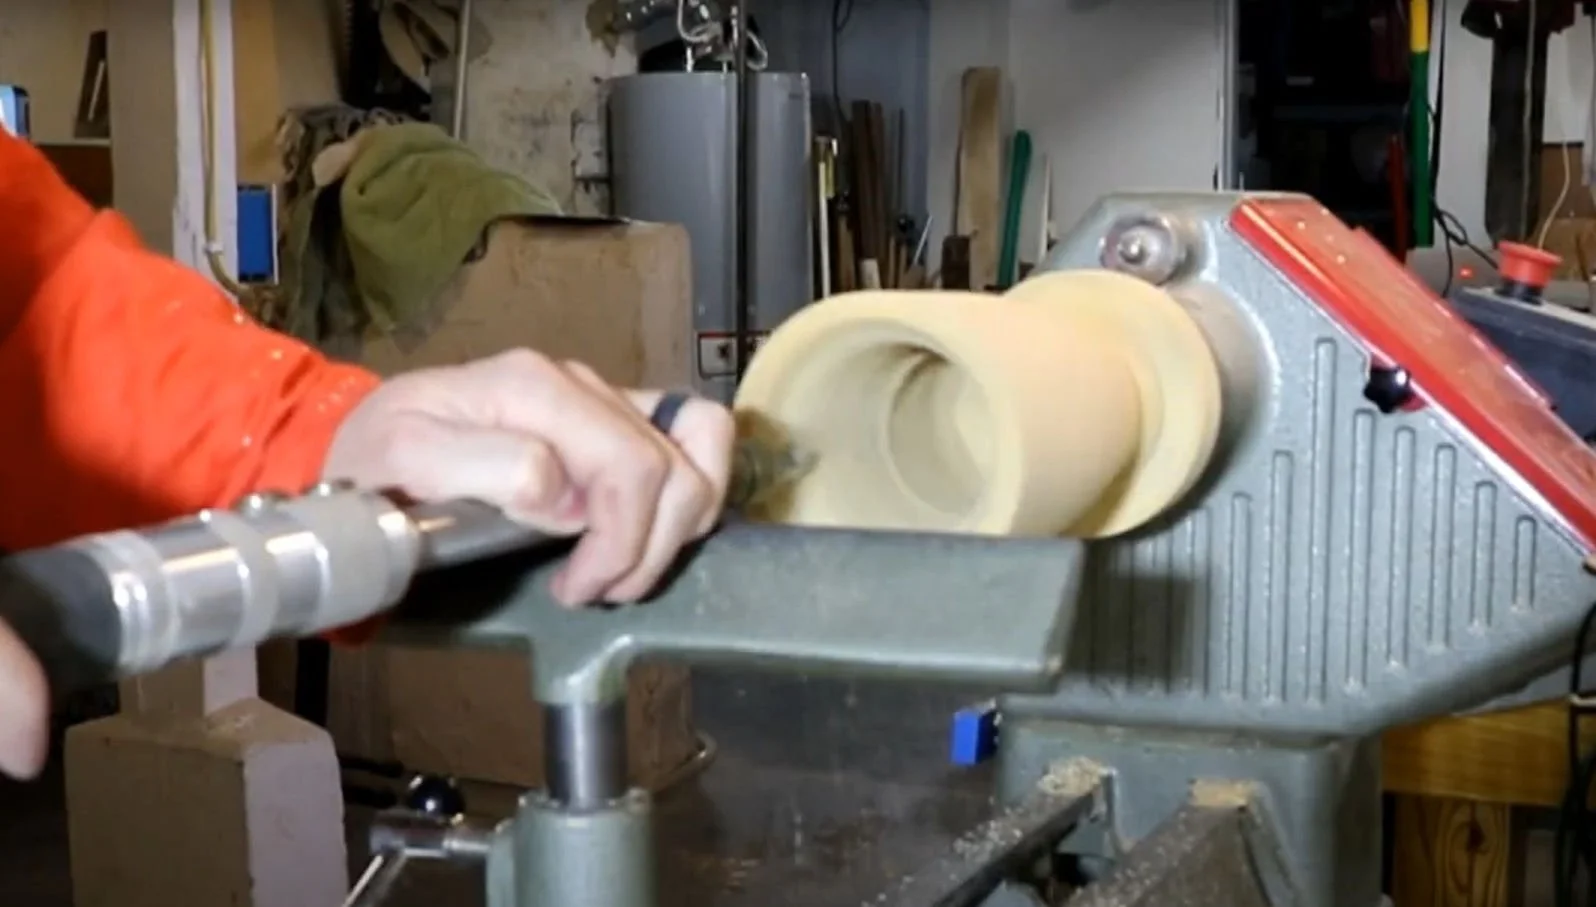
Once you've reached the limit of what you can drill, switch to carbide cutting tools (https://amzn.to/3YQlPXS) for the rest of the hollowing. For beginners, aim for a wall thickness of about ¼ inch. You don’t need to go ultra-thin—there are no extra points for paper-thin walls!
Finishing Your Vase
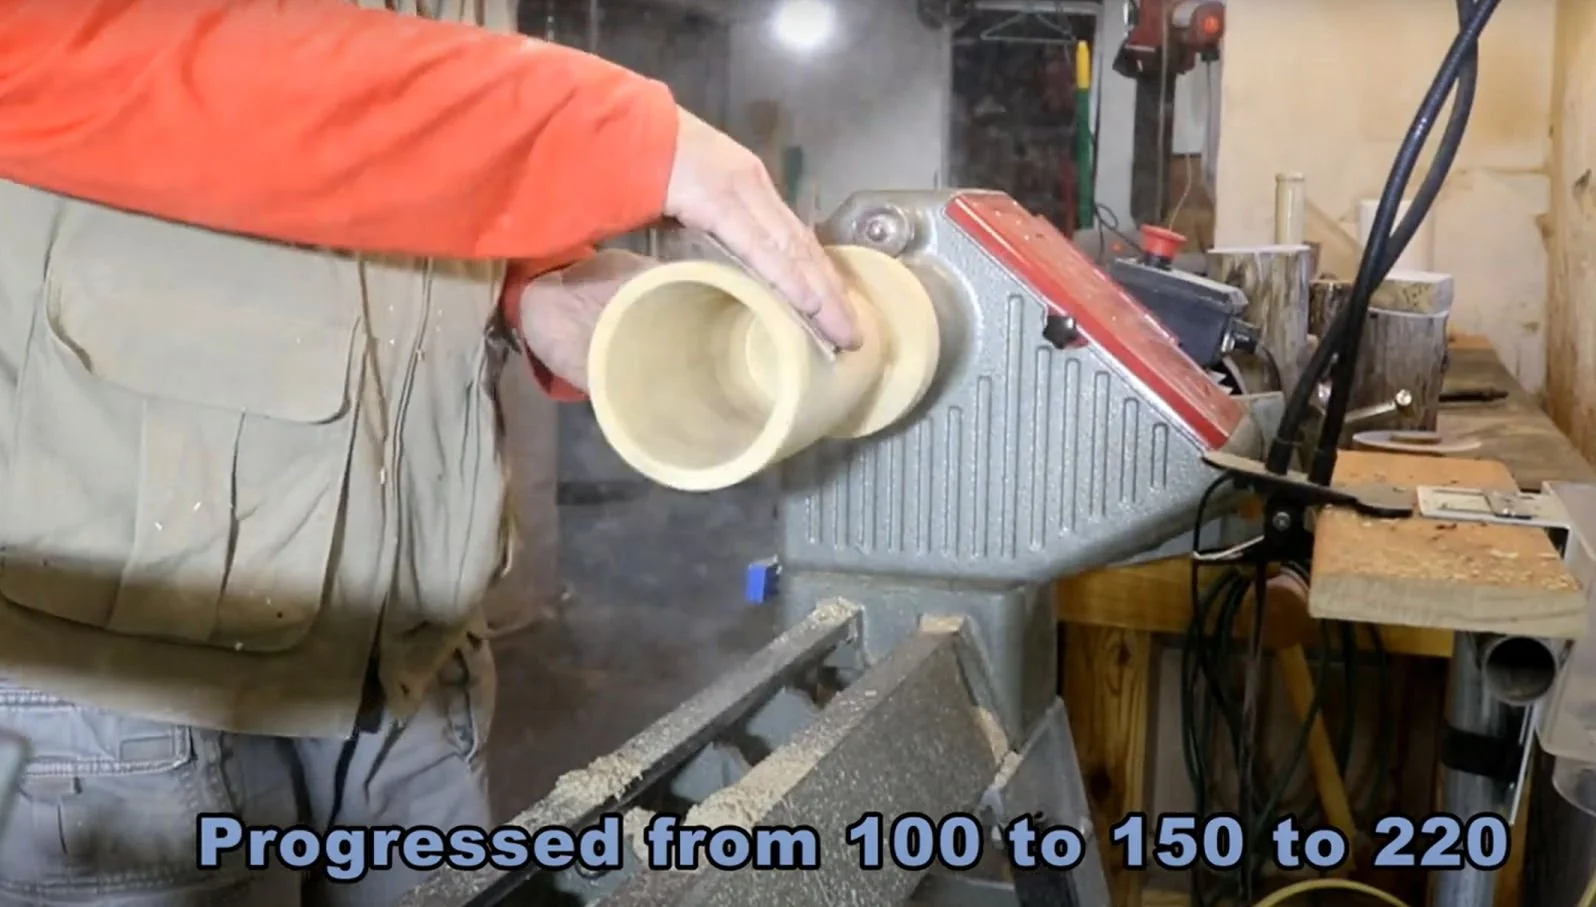
Once you're happy with the interior and exterior, it’s time to sand. Reduce your lathe’s speed and work through the grits, starting at 100 and going up to 220. If I’m going for a high-gloss finish, I’ll often sand the exterior with finer grits. The final step is to part off the vase from the lathe.
Congratulations!
You’ve completed Lesson 10 and created a beautiful open-mouth vase! Throughout our lesson series, you’ve been exposed to a variety of woodturning techniques and projects that you can now tackle on your lathe. Whether you’re turning bowls, boxes, or vases, the key is to keep practicing and finding what inspires you most.
If you missed any previous lessons, they’re all linked below and organized in a playlist on our channel. And don’t forget to subscribe so you can easily review these lessons after some practice! We’ll be covering more exciting woodturning topics soon, so stay tuned.
If there’s a specific project or topic you’d like to see, you can e-mail us at sfollis@turningstitches.com, or leave us a comment on social media or YouTube. We’re always eager to hear your ideas. Until then, happy turning, and we’ll see you in the next video!