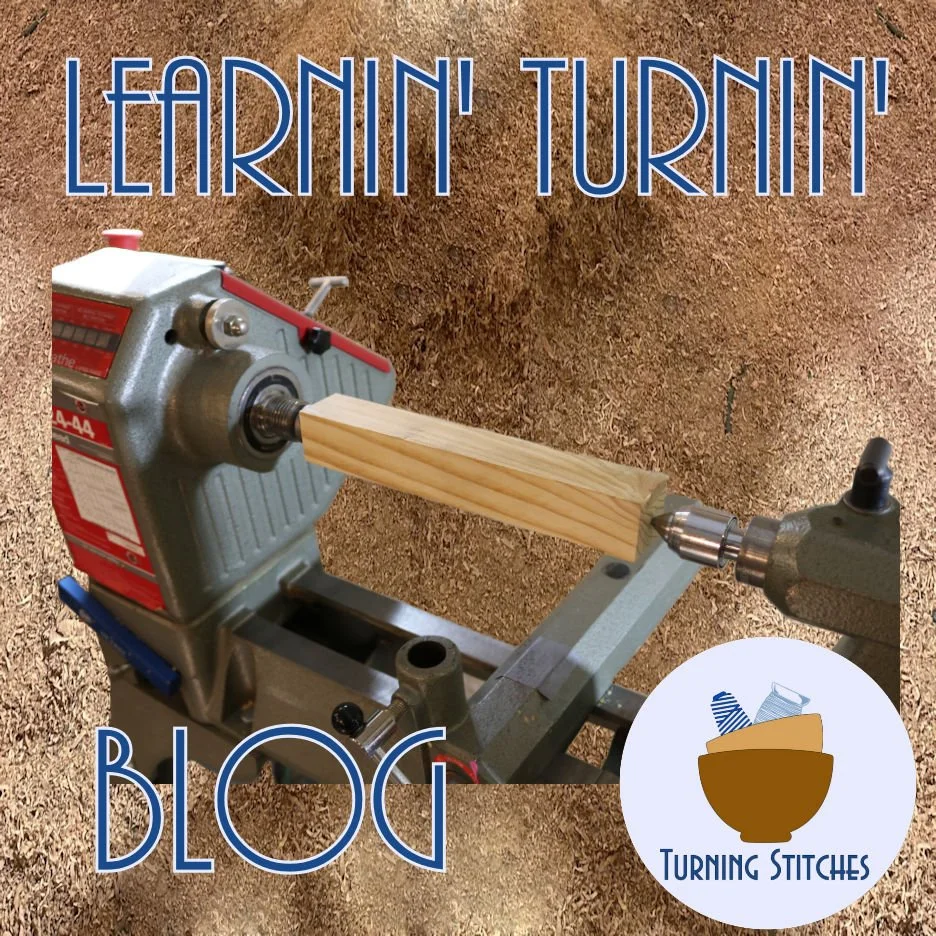

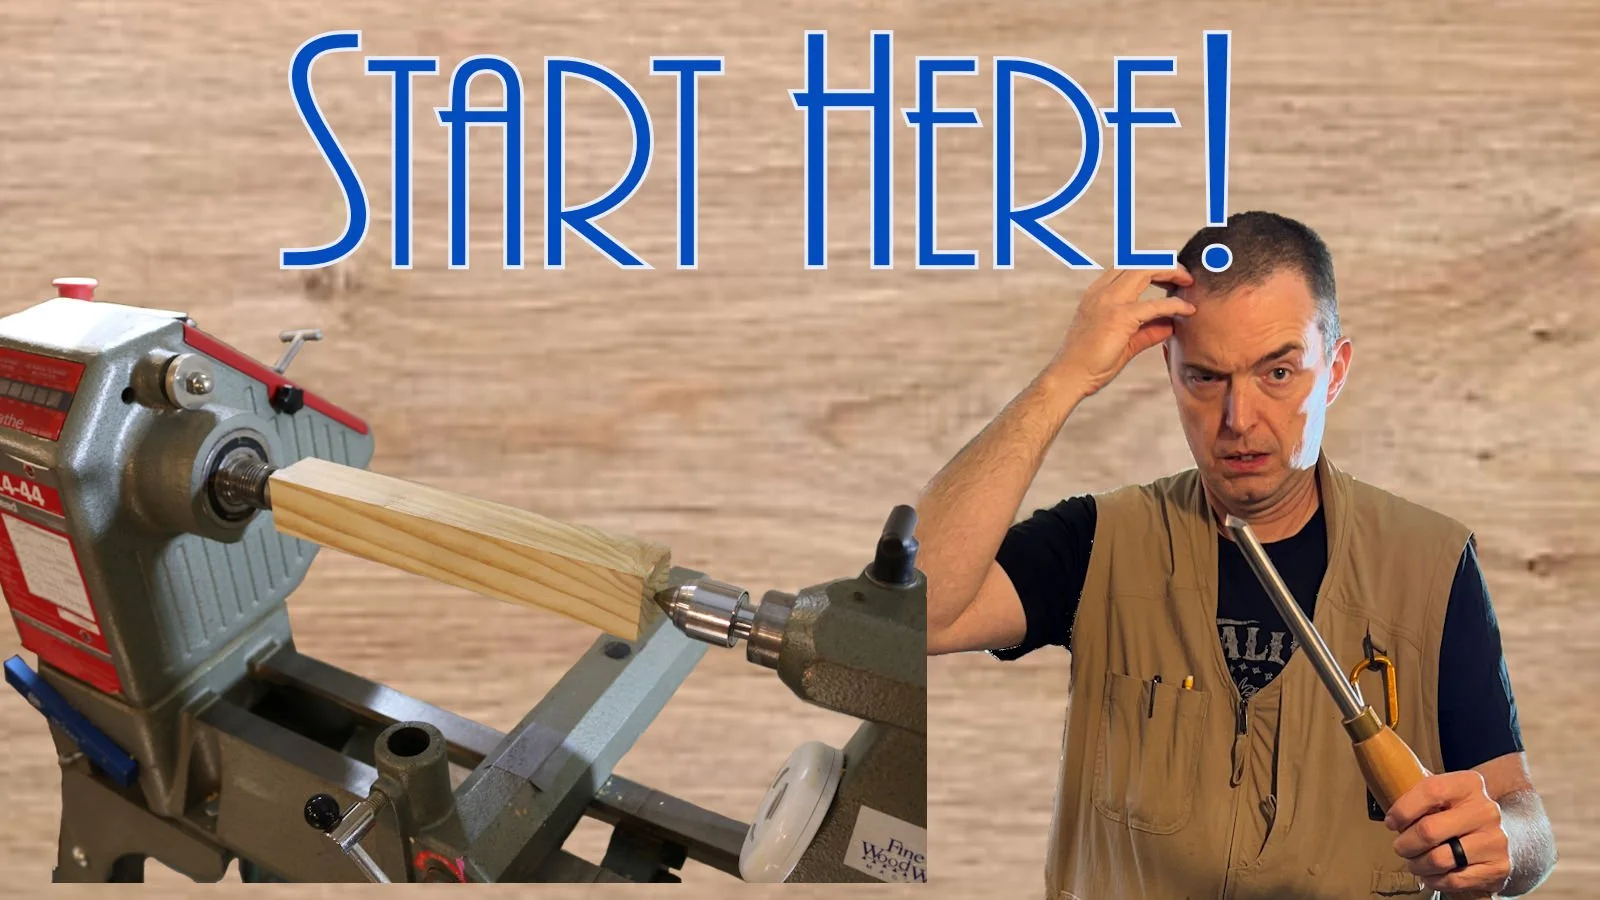
How to Start Woodturning - Lesson 1
Welcome to Turning Stitches, I'm Sean. Woodturning is one of my passions and I find it to be very addictive. I completely lose track of time when I'm working at my lathe and it's always my favorite thing to do.
I love sharing my passions with others so I'm creating a series of lessons for new wood turners, or people who are researching the hobby. These lessons can also help woodturners with some experience polish up on their fundamentals.
These lessons are designed to help you improve your skills, gain confidence woodturning and hopefully speed up the learning process so you can then begin making those projects you are dreaming of faster. I like to say, “we help woodturners learn the craft to begin creating fun projects faster!”
Series/Content Structure:
This series will contain 10 lessons. Each lesson will build upon the last lesson. We will also be creating some fun simple projects along the way. There are also videos on YouTube that correspond with each lesson. The videos will be at the bottom of each blog post.
The lessons are designed to be short so that you can take them to your workshop and watch them on your smartphone (or printed). This will allow you to work right along with the lessons on your lathe. We'll be adding a new lesson each week. Make sure you subscribe to our e-mail list so you will know when the new lessons are available.
Wood Lath Vocabulary
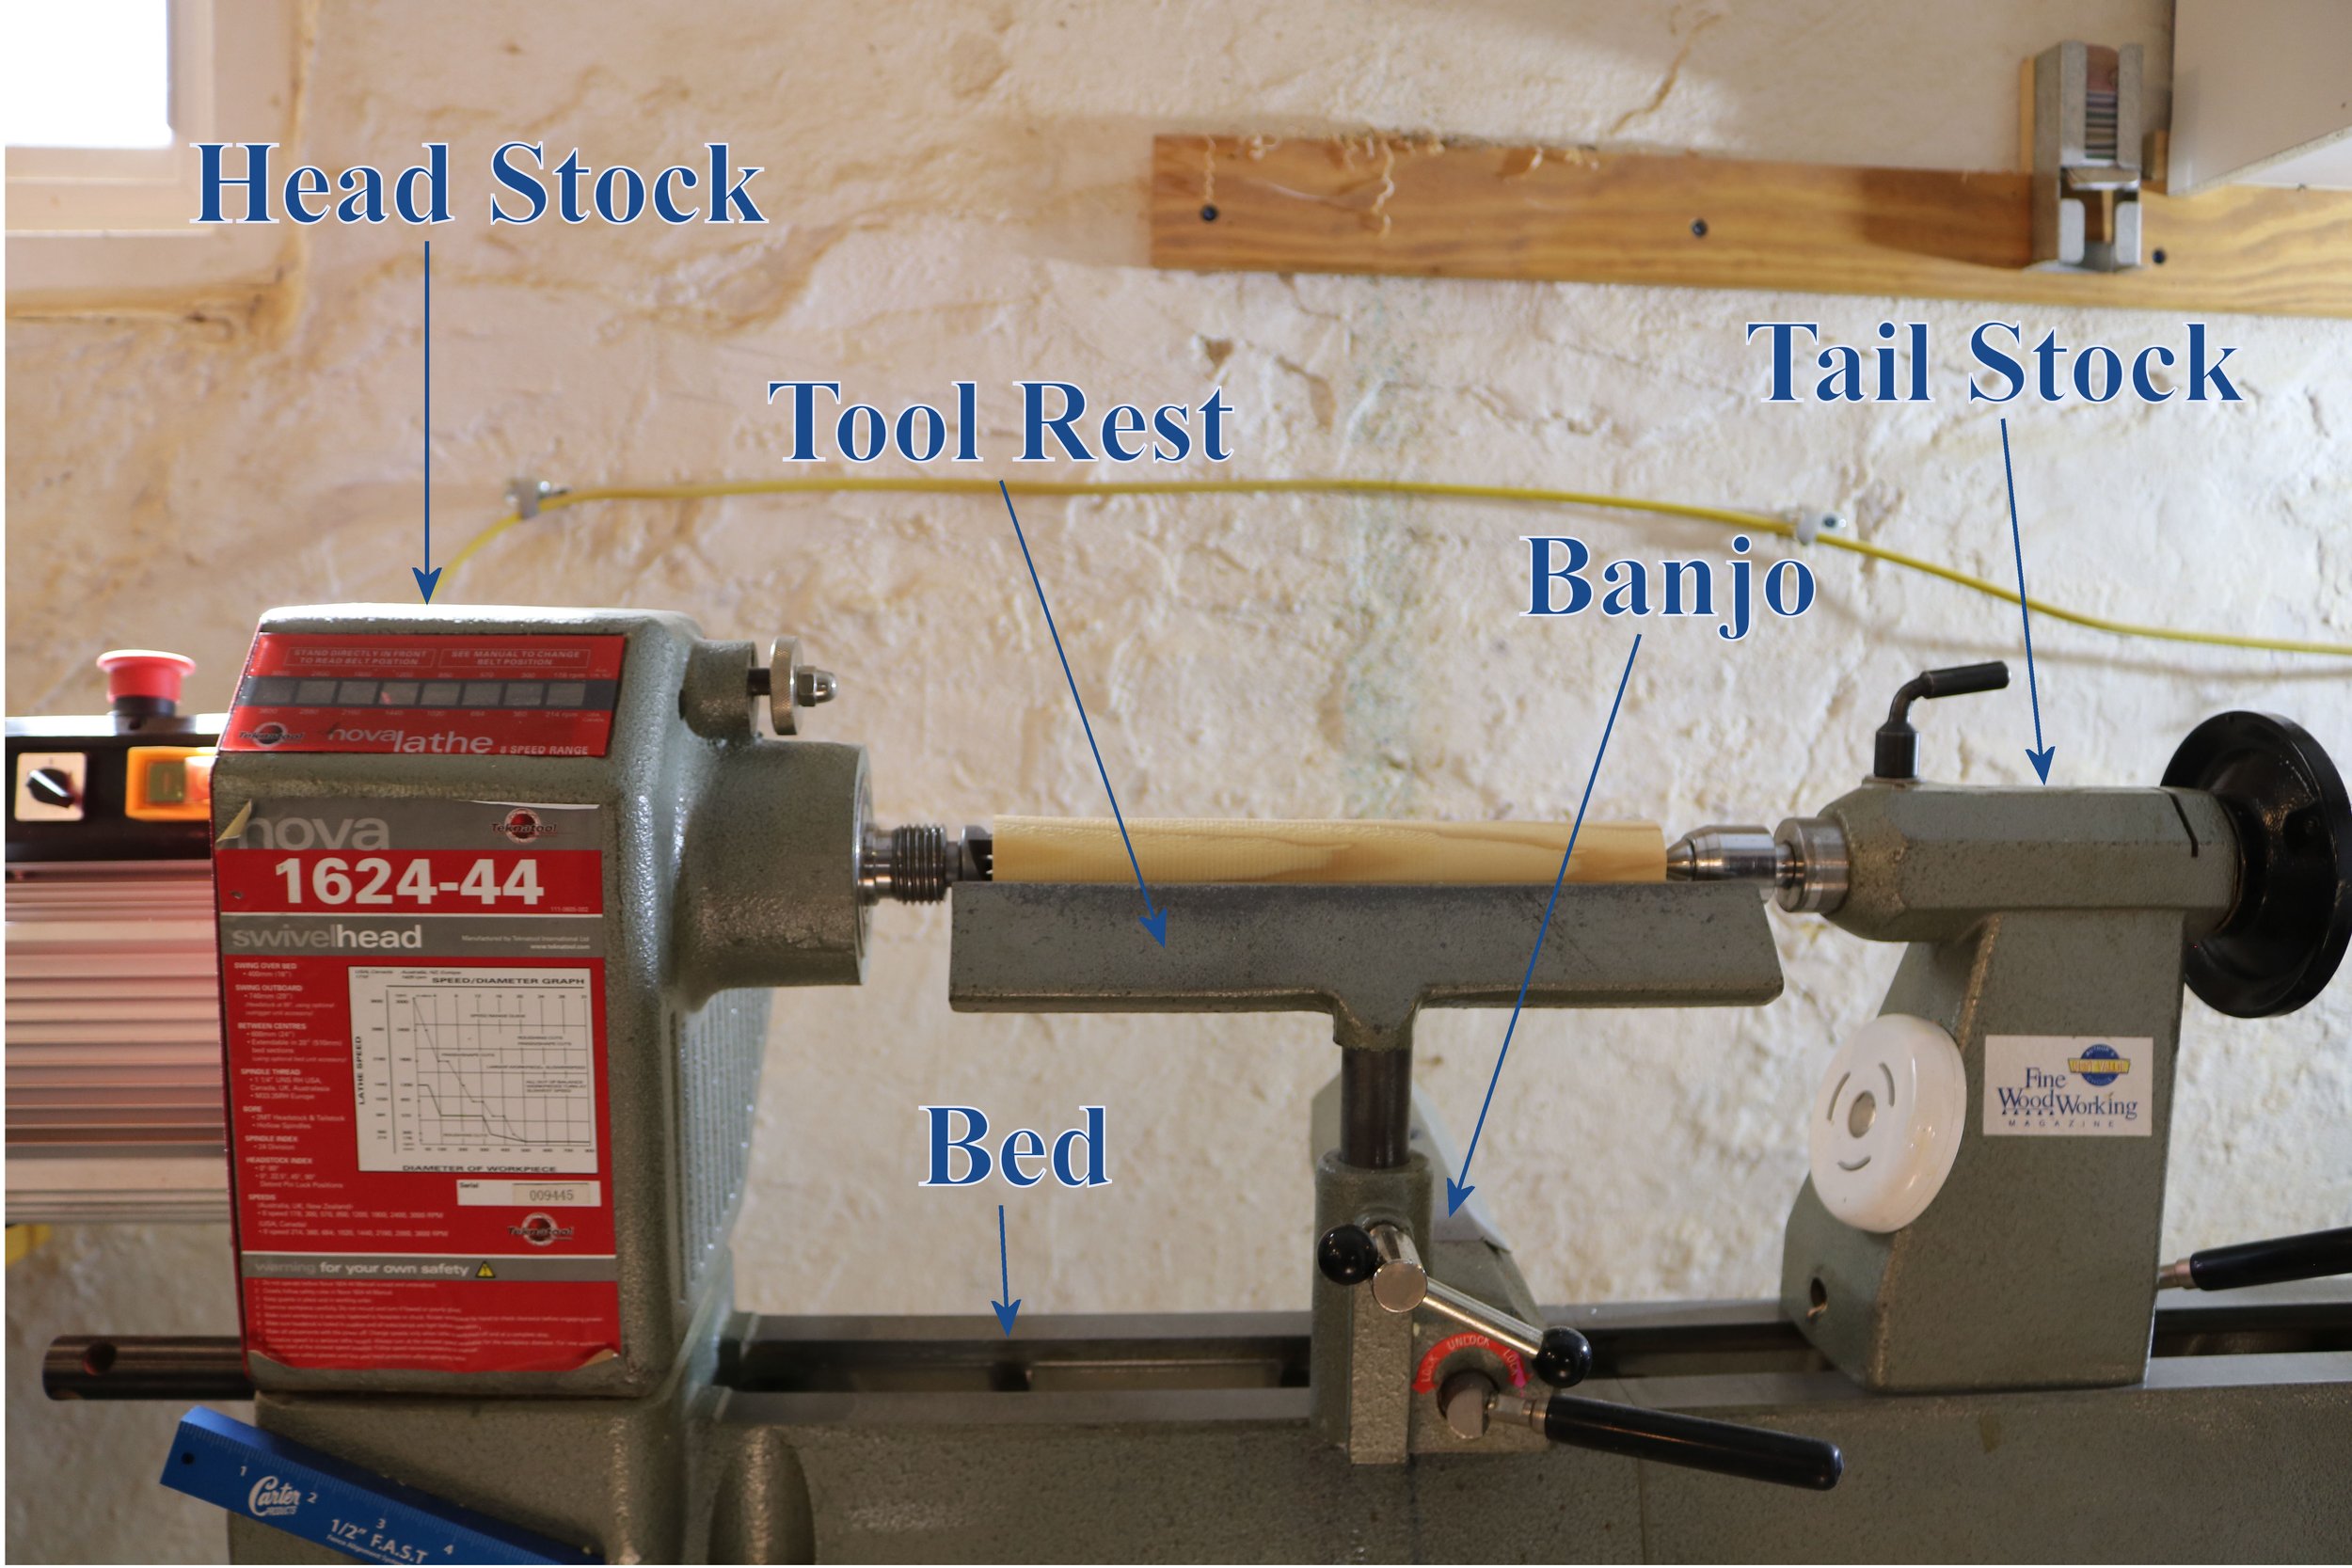
Vocabulary
Today we're going to be taking a square blank and we're just going to be making it round. We will start at the lathe going over the different components, so we all have a common vocabulary.
First is the headstock which is where the motor attaches to the to the lathe. This is where all the power comes from and today we're going to be using a drive spur when we're turning. At the other end of the lathe is the tail stock. The tail stock helps us put pressure from the end of it work piece and holds it on the lathe securely in between the head stock and tail stock (or between centers). In the tailstock normally we will be using a live center. This is the point that you'll drive or apply pressure to a blank with and the tip just spins freely.
Connecting the headstock and tailstock of the lathe is the is the bed or sometimes it's referred to as the bed weighs. In between our headstock and tail stock is also our tool rest and the tool rest is held in place by a banjo. Which we can move around and reposition all along the bed as we need to.
Woodturning Safety

Safety
Before we turn on the lathe, we want to make sure we're turning safely. We're going to be creating a lot of wood chips and shavings while we're turning so a face shield in my opinion is an absolute must. I also recommend using safety glasses along with the face shield because many times when I don't have the safety glasses on, I have gotten debris into my eyes which is no fun. Using both helps reduce this problem.
We also want to make sure we're protecting our lungs as much as possible too. The easiest way to do that is with a respirator or a high-quality dust mask. Here's a quick shot of what I look like most of the time when I'm turning. You don't have to use a full-face respirator like I prefer but I would find a high-quality mask that filters out fine particles. I would not recommend paper masks they just don't seal around your face all that well and when you don't have a nice tight seal around your face the masks really don't do much good.
We also want to make sure we don't have loose clothing or long loose hair that can get tangled up in any of the pieces as they're turning. I wear long sleeve shirts a lot, so I make sure I like to make sure that I have a cuff on a sweatshirt or T-shirts and if I'm wearing a button up shirt that I've got my sleeves buttoned. Most importantly I want to make sure you have a lot of fun turning and avoid injuries so you can be doing this for decades to come.
Woodturning Square to Round
Turning!
With all that out of the way let's get to the fun part. For this lesson we are going to take a couple pieces of a 2 by 4 and rip them down So they're 1.5 inches by 1.5 inches square and about 10 inches long the dimensions aren't super critical here. Hopefully you have some scraps you have laying around the shop. While you are cutting up 2x4’s cut up four to six of them, so you've got plenty to practice with.
First, we will find the center of each of these blanks. Normally I just take a straight edge from corner to corner mark a quick pencil line and then I use my drive spur to create a center punch. With both ends marked, I'll put the drive spur in the headstock and then just bring up the tail stock and align it with the mark we made previously. Then add a little pressure to the tail stock and tighten down the quill.
Next, I want to bring up the tool rest. I want to set the height where it's roughly in the center of the blank and we'll be able to adjust this if we need to. As we're getting the tool rest in place we do want to make sure that the blank turns freely and it doesn't hit the tool rest.
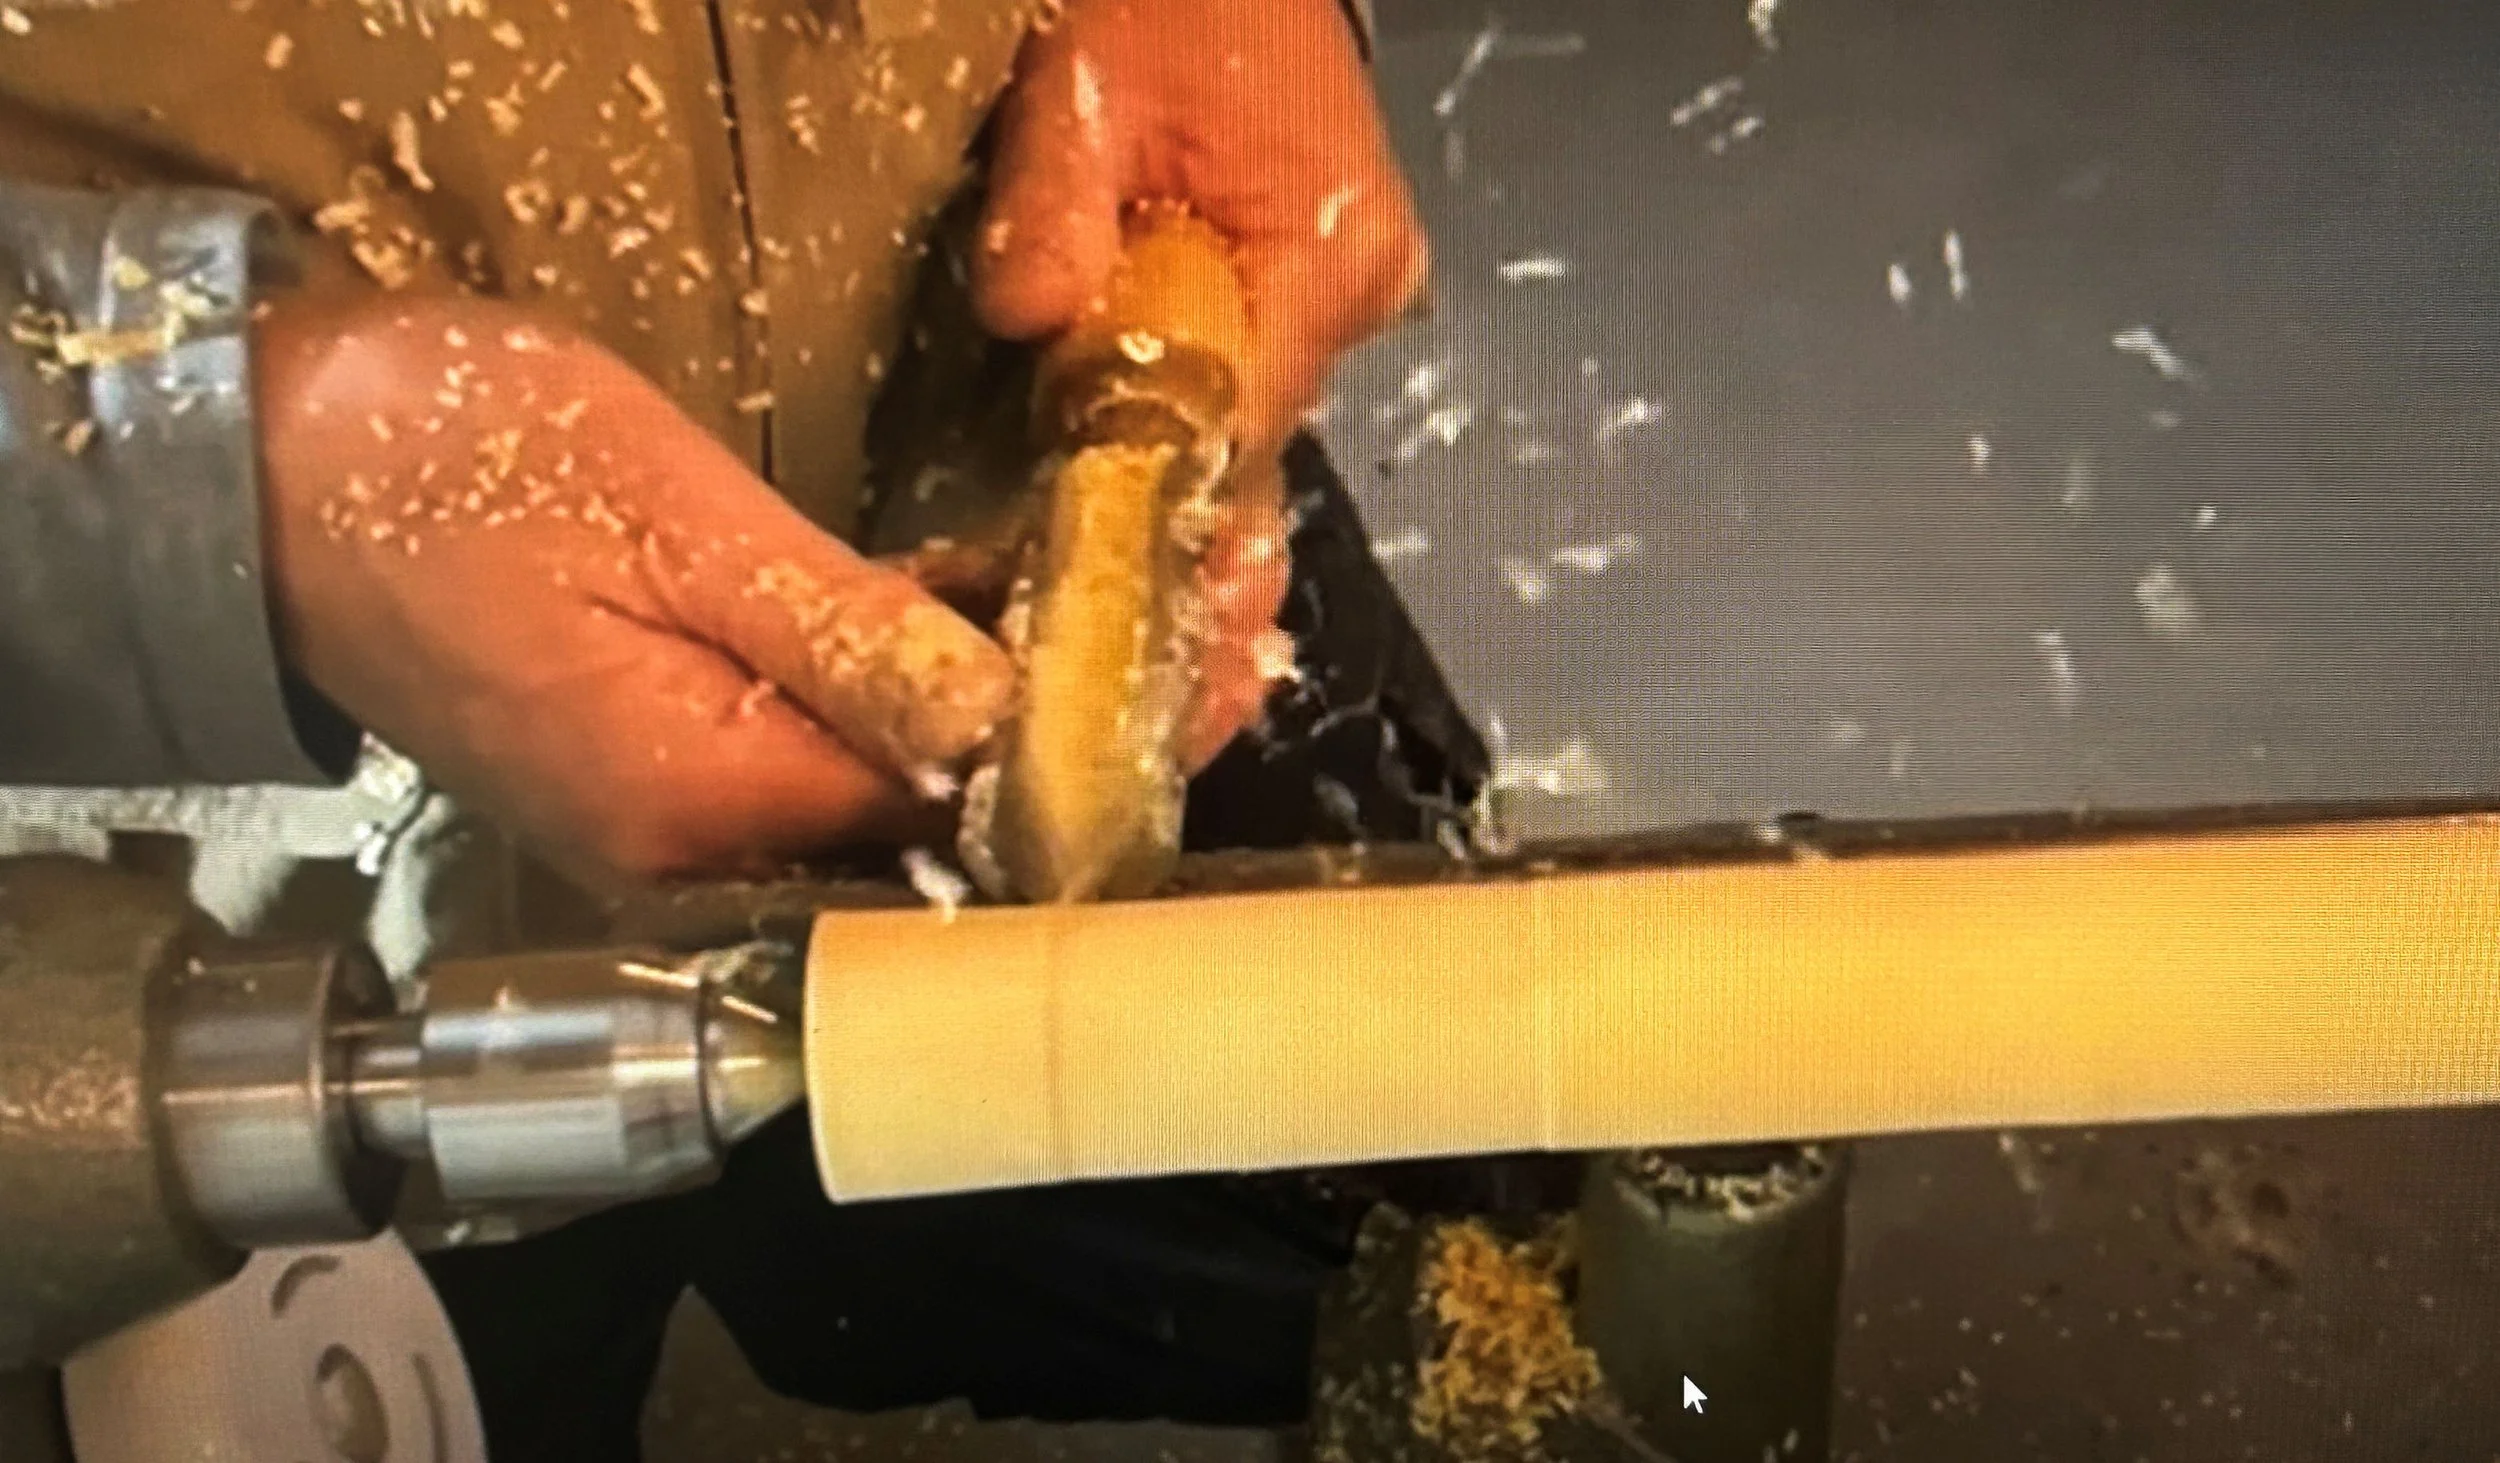
Turning with Spindle Roughing Gouge

Today we're going to be using a roughing gouge (https://amzn.to/3VZQa4n) to turn the blank from square to a round dowel, more or less. Now it's time to turn on the lathe. I've got the lathe set at about 600 RPMs. You want to set the speed where you're comfortable as it can get rather intimidating with the lathe running at higher speeds until you gain more confidence. So, start at whatever speed you're comfortable with.
To start cutting first I'm going to anchor the gouge on the tool rest just to the left of the blank where it's not quite cutting yet. Gently, I'm going to bring the gouge over just a little bit to where I start hearing it clicking. Basically, the blank is coming around hitting the backside of my roughing gouge. Very gently, I'm going to lift the handle with my bottom hand and that's going to engage the cutting edge. Once I start seeing some wood chips then I'm going to hold the gouge right there and I'm going begin moving down the rest to the right. Normally when I'm roughing stock like this I like to work from one end to the other. Just going back and forth almost like eating corn on the cob or something like that.
Another method of roughing is to start near the end of the work piece and just work right down to the end. You want to work from the larger diameter to the smaller diameter. Either method will get this round. Once I've got most of the corners off of the piece so I'm going to stop the lathe and turn up the speed to about 1500 RPMs. With the speed turned up I can cut a little faster and it'll cut a little smoother. Only increase the speed if you're comfortable with it. Now it’s just a matter of continuing to work this down until it is round.
Cylinder or Dowel
Once we've essentially got a dowel rod then let's try to make smooth cuts. To accomplish this, we want to make sure the bevel of our roughing gouge is in contact with the blank and just slow our pace just a little bit as we go across.
Congratulations! You have taken a square blank and now it's round. Now it's just a matter of practice, practice and more practice. Find a diameter that you like try to get a consistent all the way across. Then start over and keep making it smaller and smaller and smaller until the blank is flexing too much or maybe you're not comfortable or maybe you break it. And if you made several of these blanks, I would do the same work through the same process with each one of them. The more you do the better you'll get.
Sneak Peak
Now that we've dulled your tools here in lesson 1, we're going to tackle sharpening next. Make sure you subscribe e-mail list so you will know when the next lesson is out.
Some of the links on this page are affiliate links, meaning, at no additional cost to you, I may earn a commission if you click through and make a purchase.