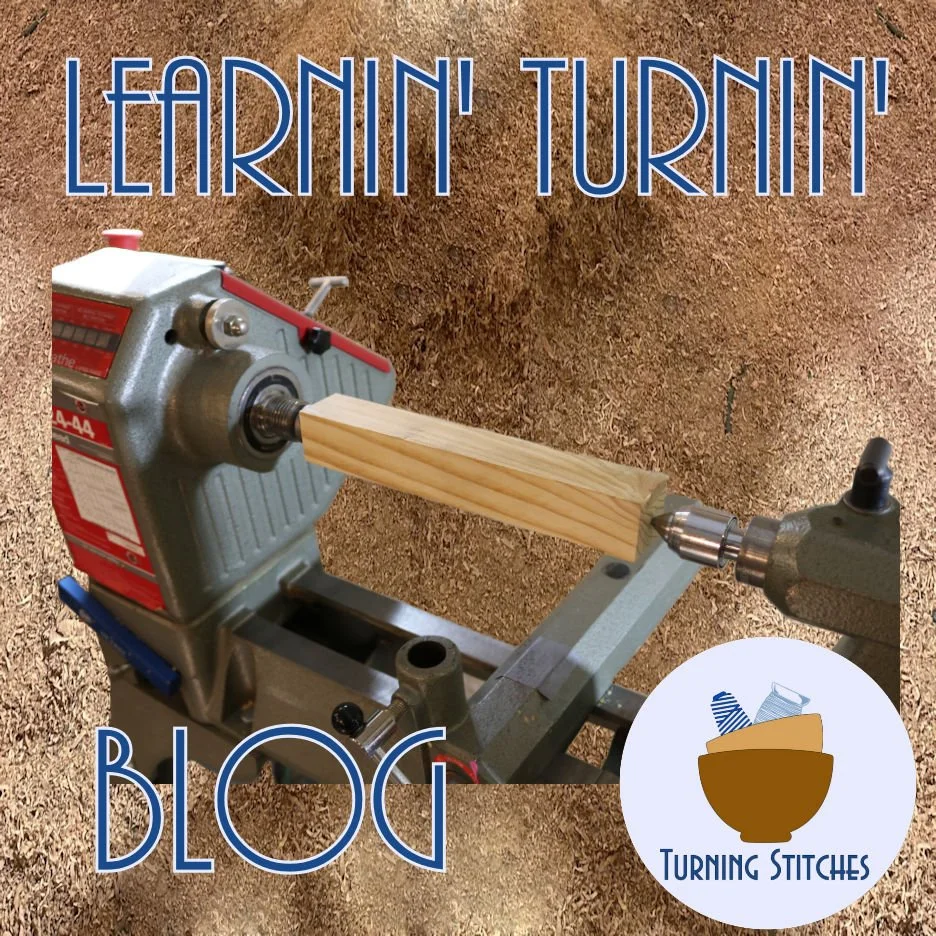

How to Sharpen Woodturning Tools-Lesson 2
Welcome to Turning Stitches! I’m Sean, and I’m thrilled to share my passion for woodturning with you. Woodturning is an incredibly addictive hobby for me—I often lose track of time while working at my lathe, and it’s always my favorite thing to do. Sharing this passion with others is immensely rewarding, which is why I’ve created this series of lessons for woodturners of all levels. Whether you’re new to the hobby, looking to polish your skills, or just researching woodturning, these lessons are designed to help you improve, gain confidence, and speed up your learning process. As I like to say, “We help woodturners learn the craft to begin creating fun projects faster!”
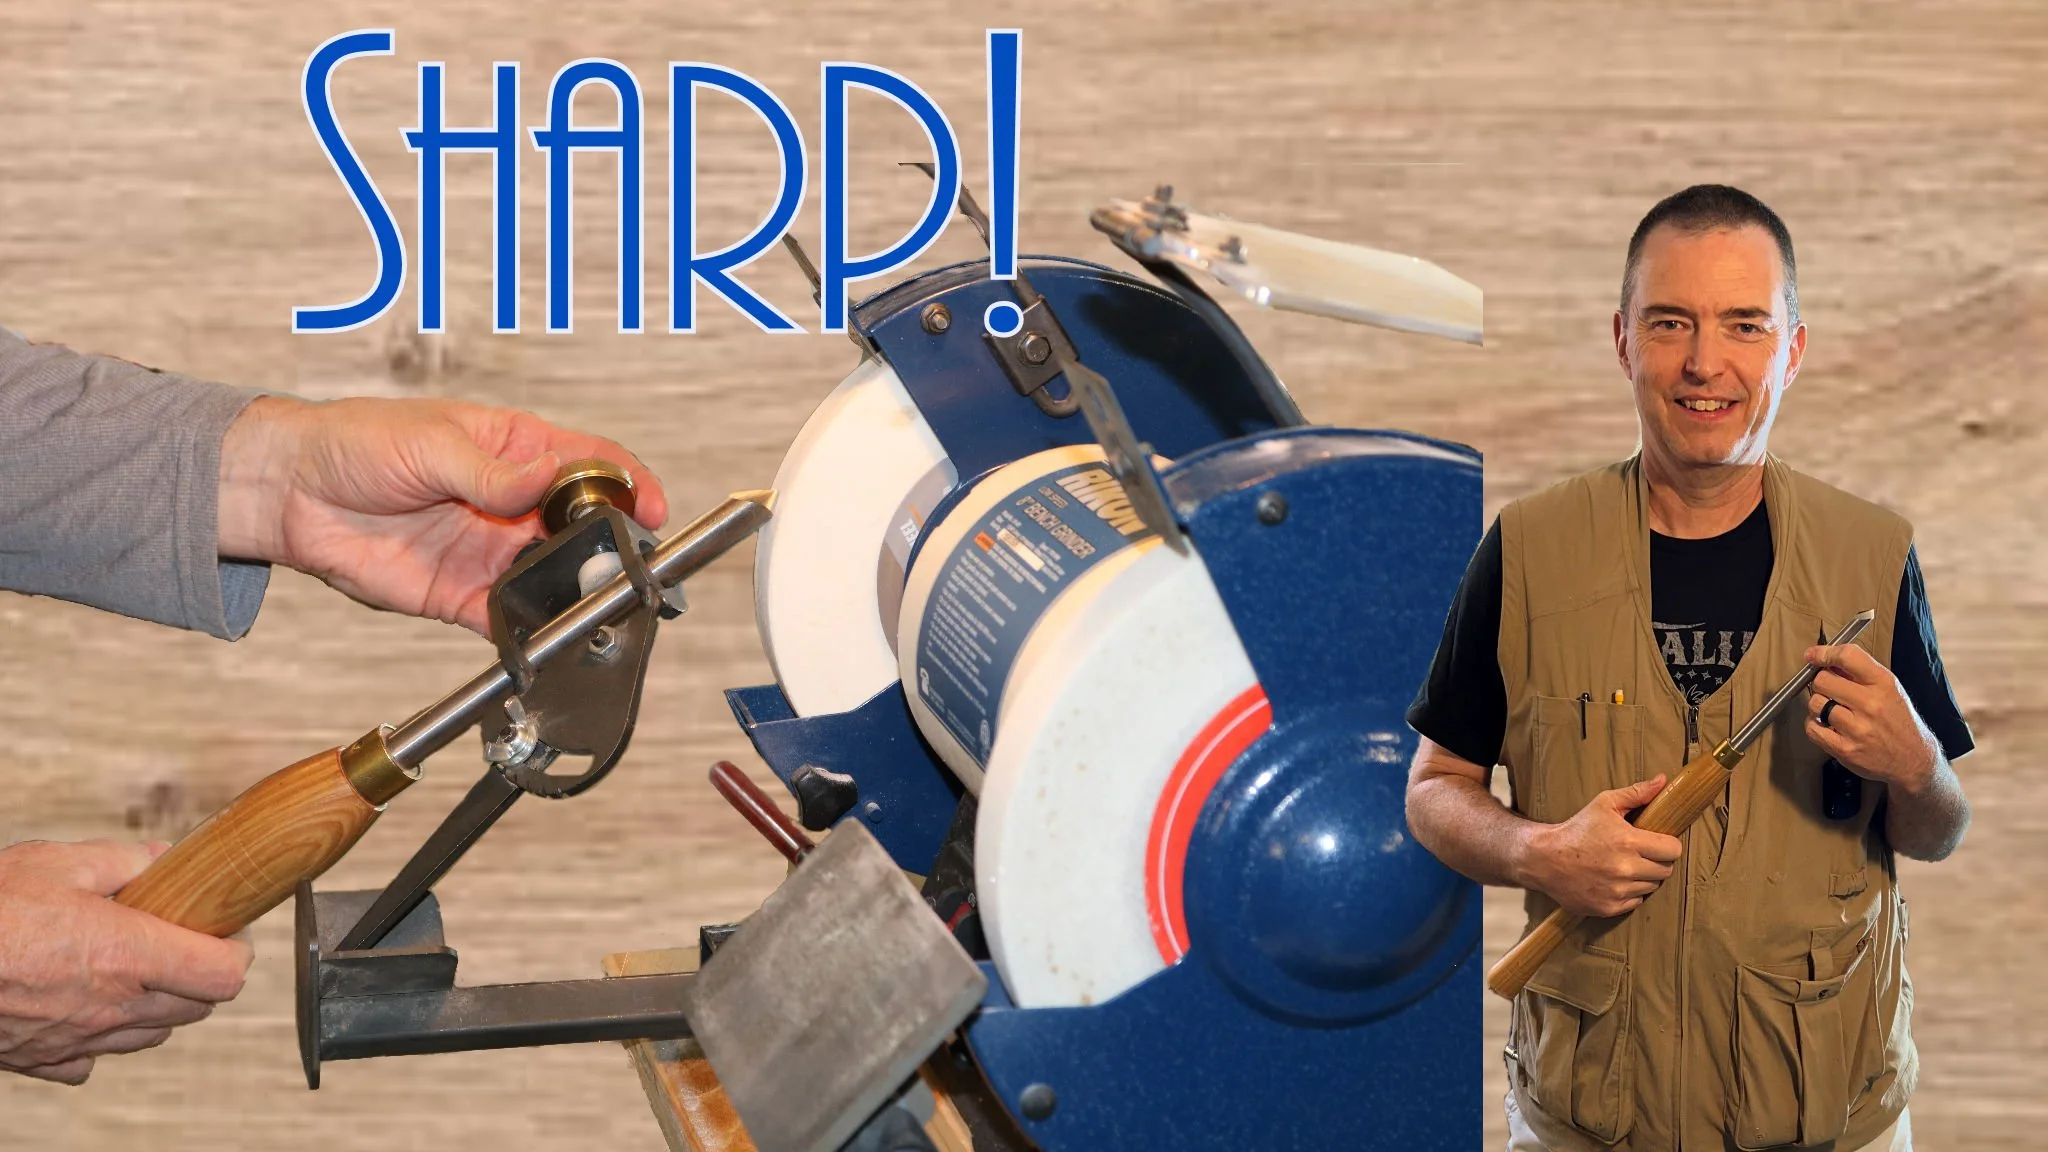
Lesson 2: Sharpening
Woodturning is much more enjoyable with sharp tools! Since we dulled your Roughing Gouge in lesson 1, let’s sharpen it so we can get back to work. Make sure you subscribe to our blog to easily follow this series of lessons. As we learn woodturning, we are mastering two distinct skills: turning wood at the lathe and sharpening our tools with a grinder or similar machine.
Grinder Set-up
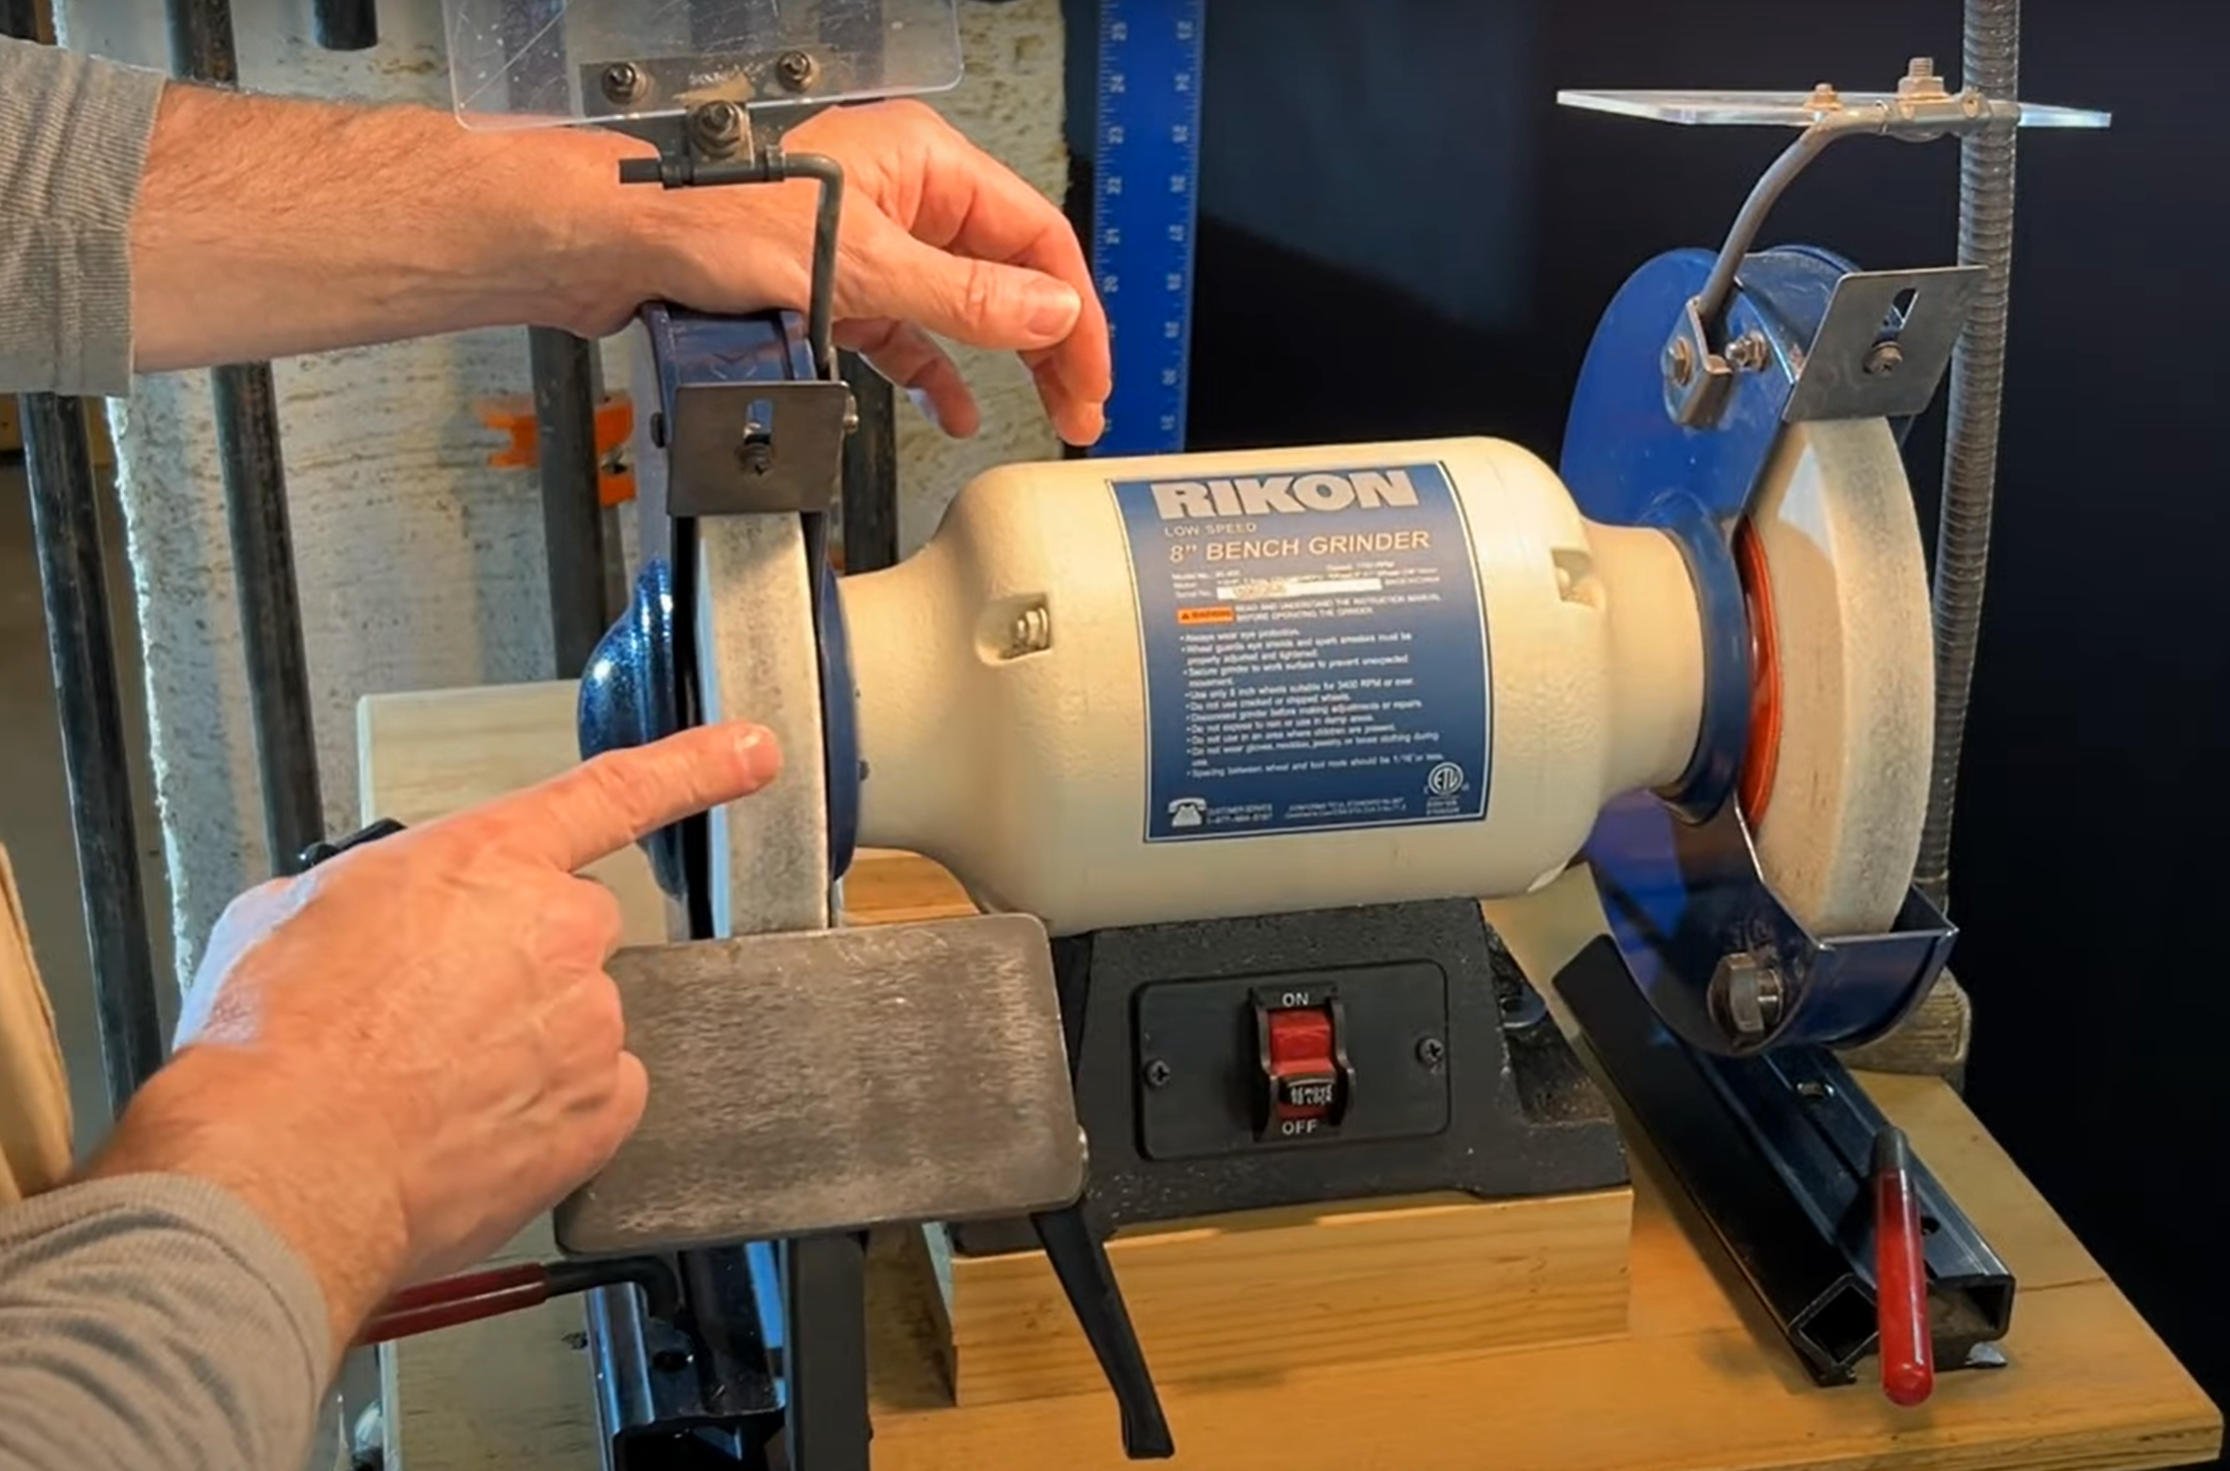
Let’s start with my grinder setup. While there are other machines you can use, such as the Tormek water stone system or the Pro Edge Deluxe System by Robert Sorby (a belt sanding system), I found a grinder to be a more approachable and cost-effective method when I began my woodturning journey. Here are a few tips if you are researching grinders:
Slow Speed or Variable Speed Grinder: My Rikon Slow Speed Grinder (https://amzn.to/4brA2wV) runs at a single speed of 1,750 RPM, which helps prevent overheating your tools while sharpening. If you have a variable speed grinder, reduce the RPMs to a similar speed (1,700 to 2,000).
Grinder Size: Preferably, you want an 8-inch grinder instead of a 6-inch grinder.
Grinding Wheels: Use Aluminum Oxide grinding wheels (often white, light blue, or pink) – (https://amzn.to/3xqq3ub & https://amzn.to/4coCea8). Avoid the gray grinding wheels included in many bench grinders.
A nice upgrade for your grinder could be CBN Wheels (https://amzn.to/4cjxPF5). These are steel or aluminum wheels encrusted with Cubic Boron Nitride granules, similar to a diamond stone. They are durable, well-balanced, and do not require dressing, though they are expensive.
Sharpening Spindle Roughing Gouge
Today, we will sharpen several tools, starting with the Roughing Gouge (https://amzn.to/3VZQa4n) we dulled in lesson 1. Here’s how:
Polish the Flute: Use an abrasive pad (Scotch Brite), fine sandpaper, or steel wool to polish the flute.
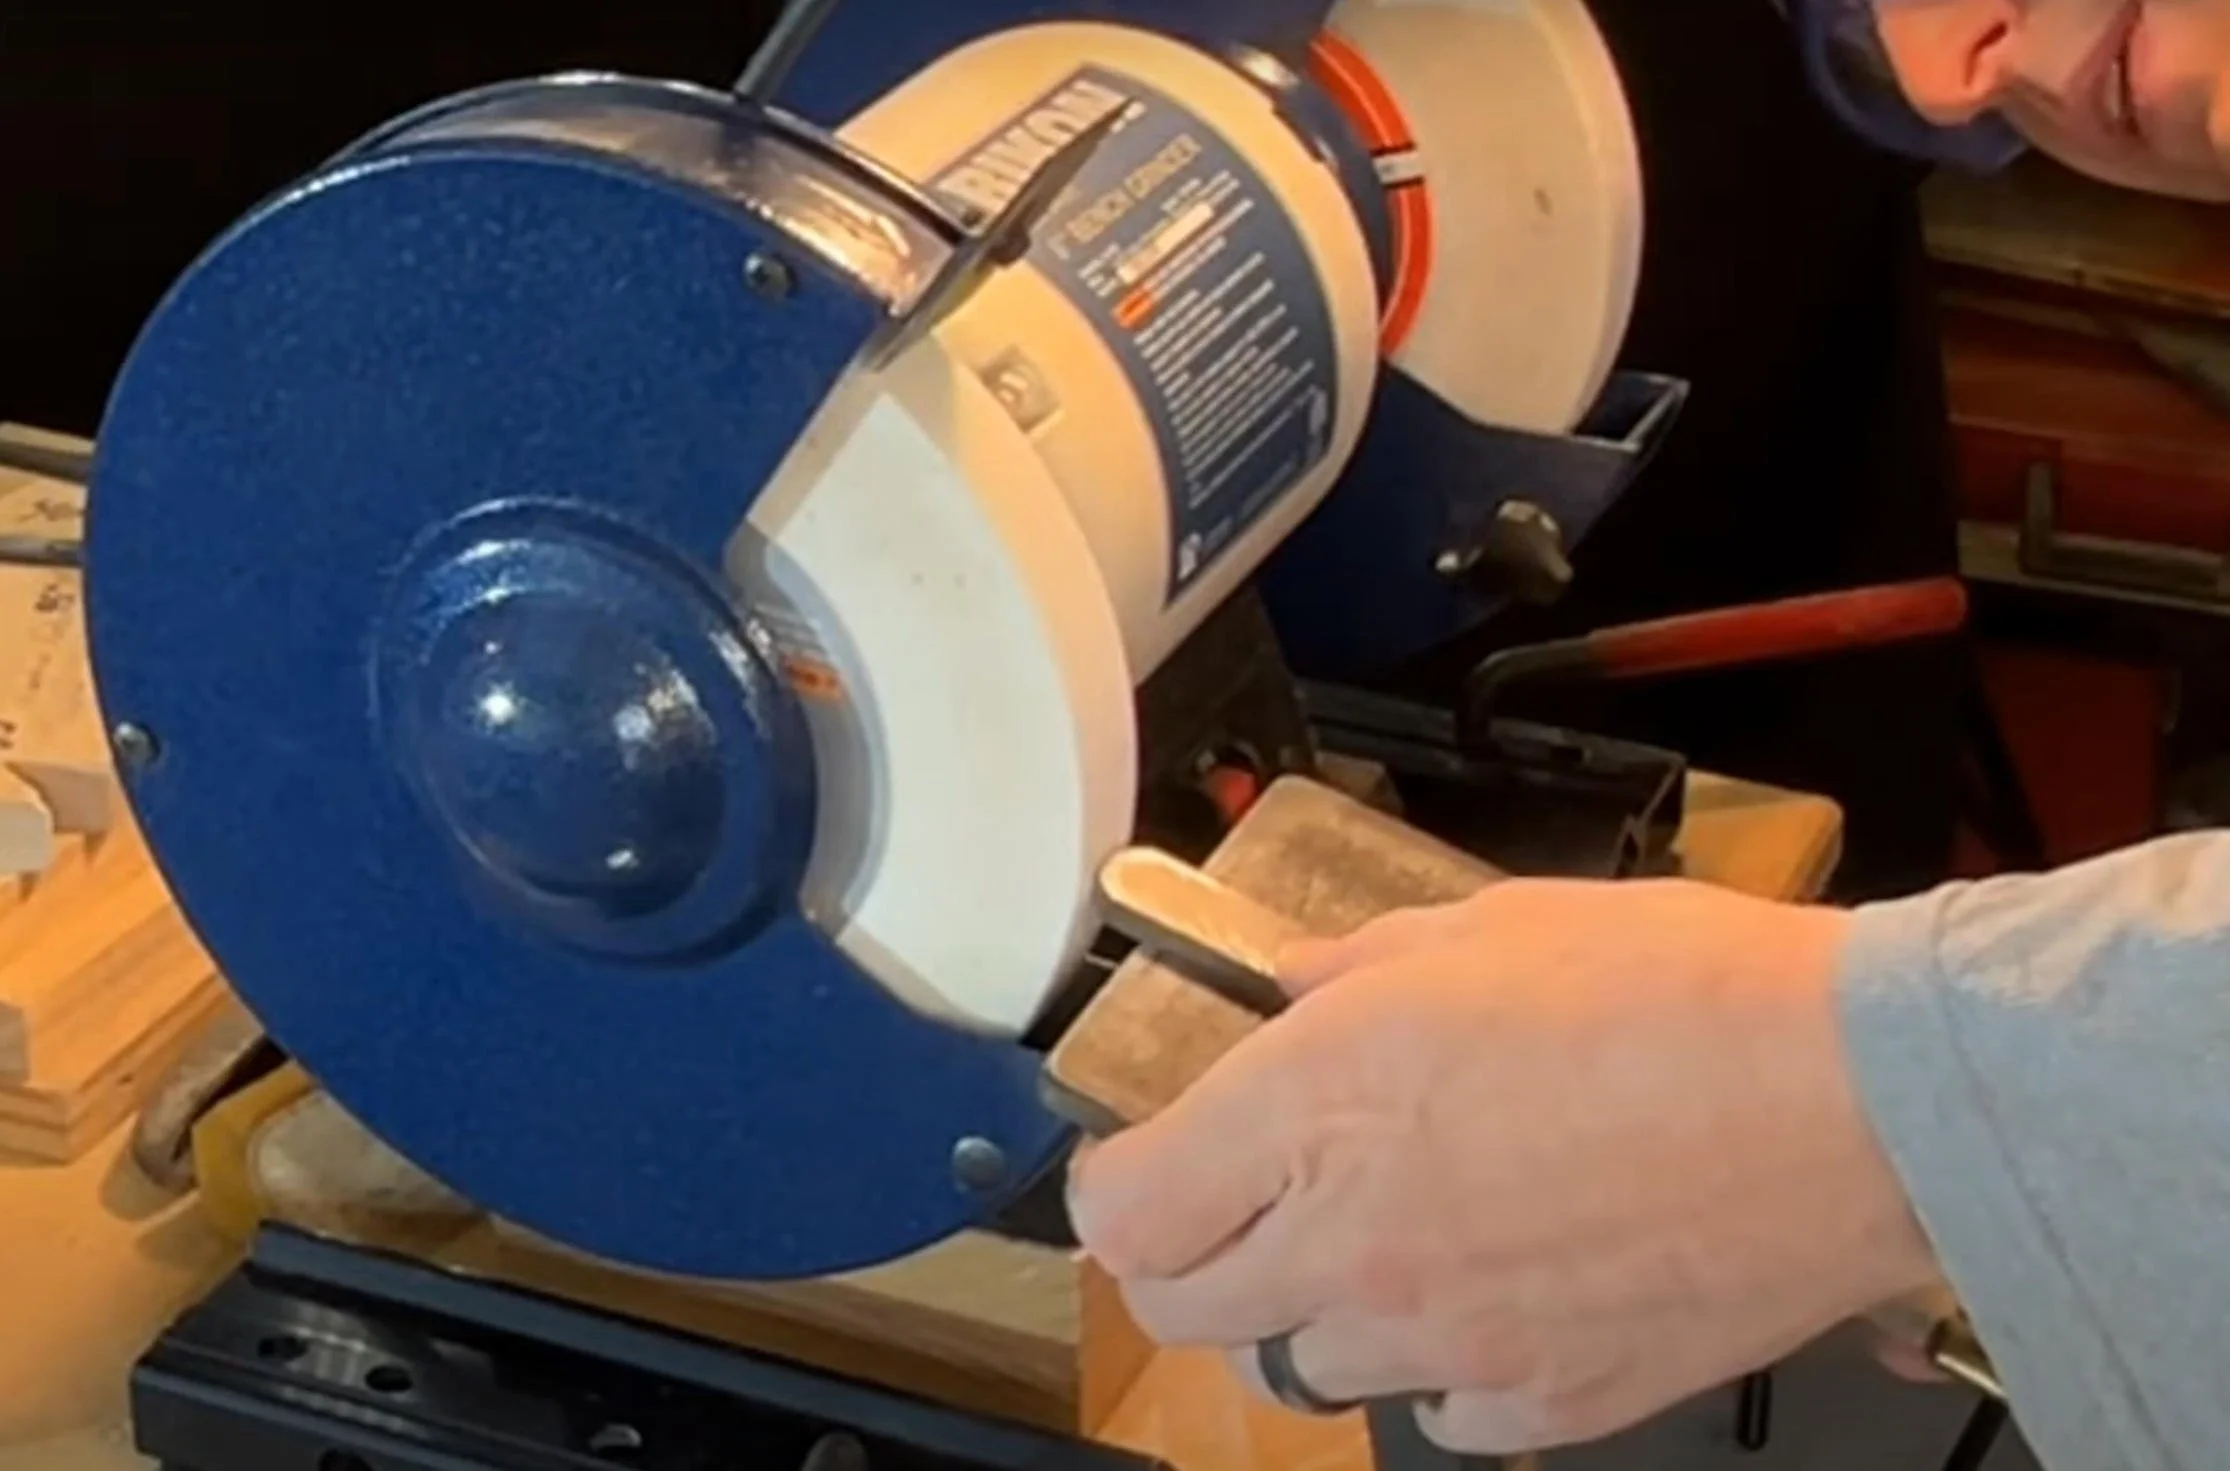
Set the Tool Rest/Platform: Use a set-up block or anchor the bevel on the wheel, bring the platform in place, and lock it down.
Sharpen: Turn on the grinder, let it get up to speed, then rotate from one side to the other, keeping the cutting edge perpendicular to the grinding wheel.
Sharpening Scraper
Next, we’ll sharpen a scraper using a similar process.
Remove burr: any remaining burr by briefly sanding the top on a sharpening stone or diamond stone.
Set the Tool Rest/Platform: anchor the bevel on the wheel, bring the platform in place, and lock it down.
Sharpen: Turn on the grinder, and gently rotate the edge from one side to the other to create a new burr.
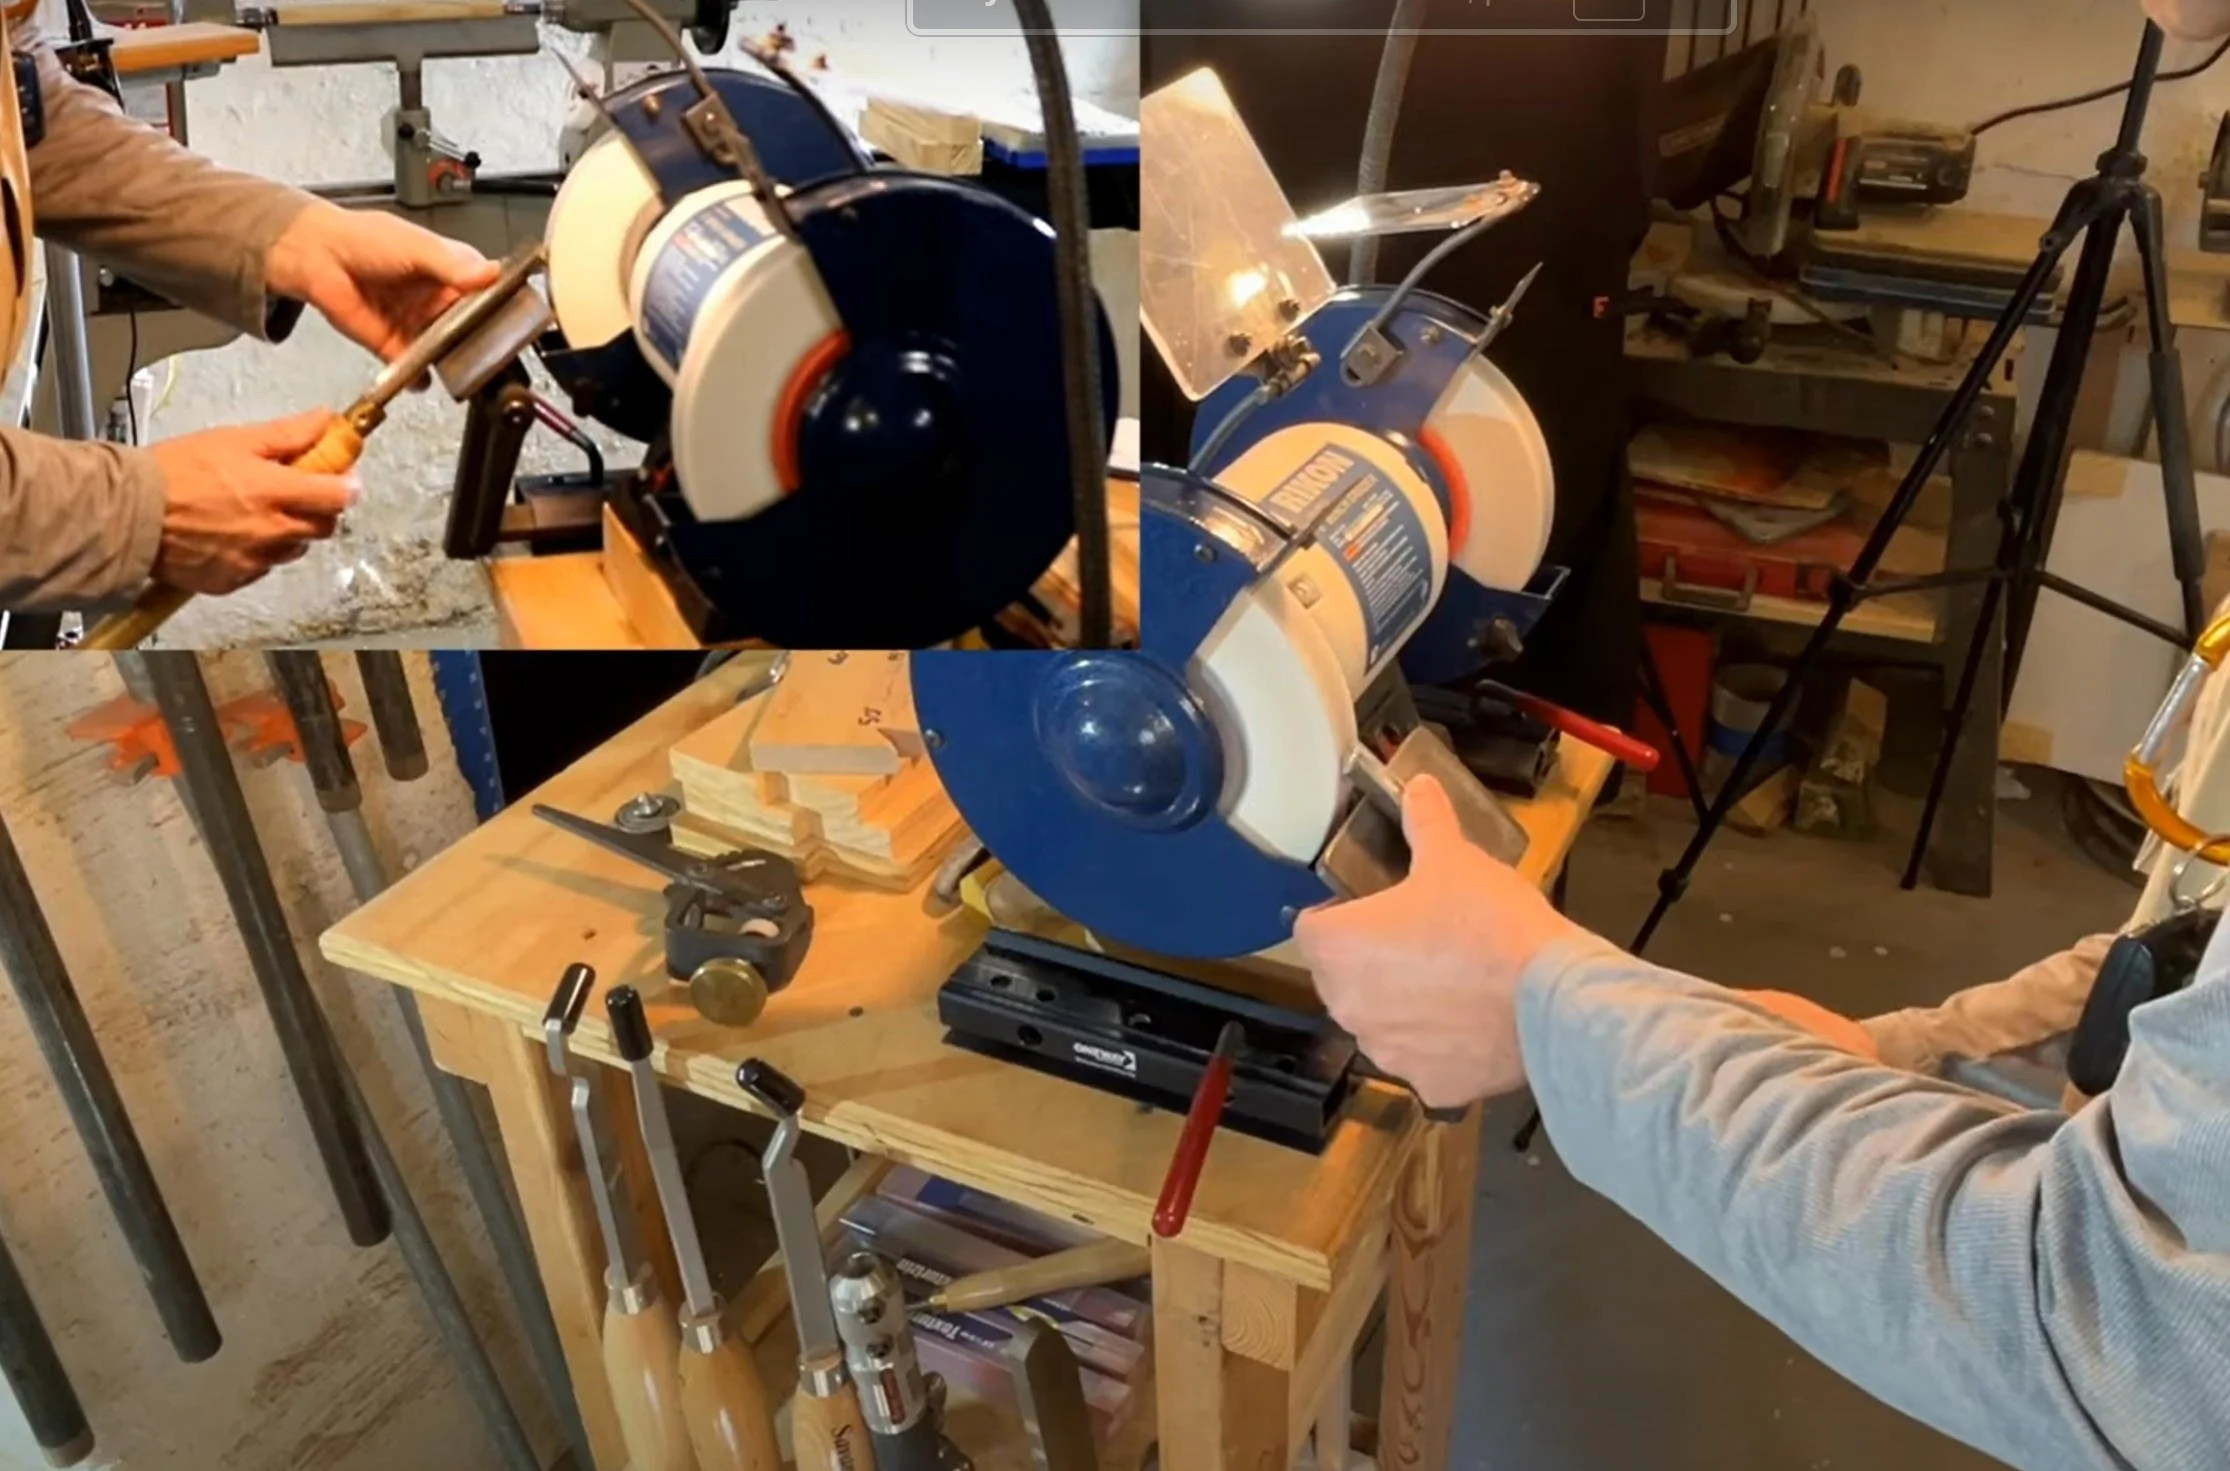
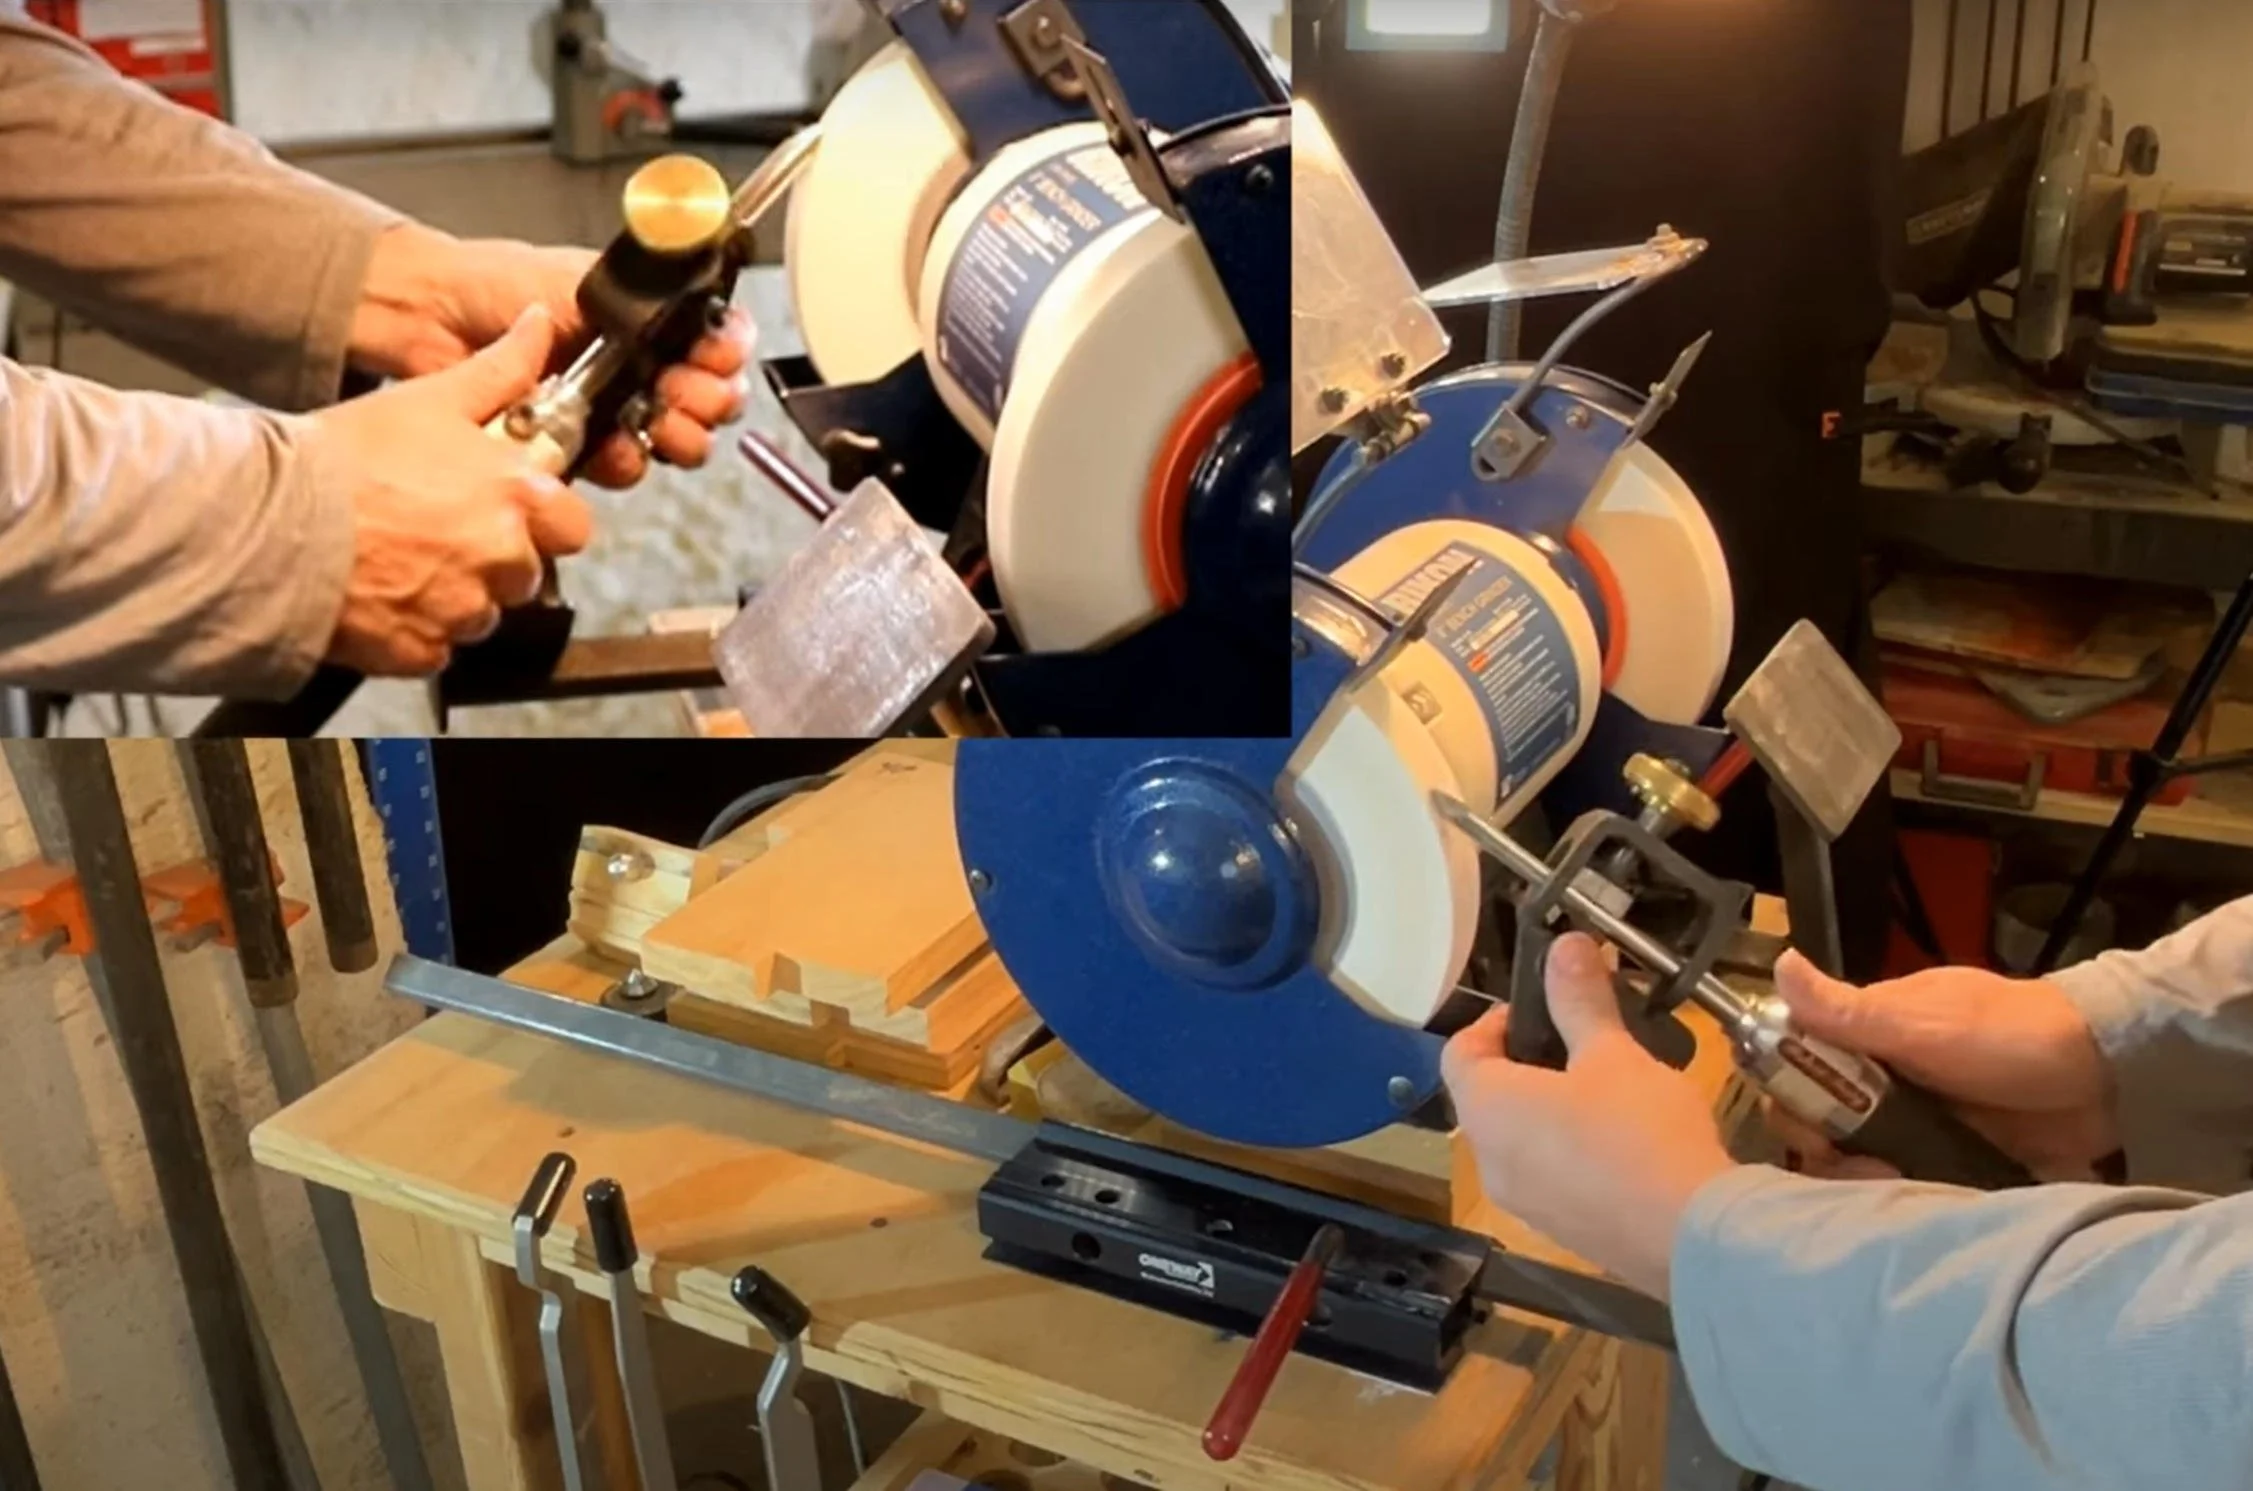
One Way Wolverine Jig
I use the One-way Wolverine jig (https://amzn.to/3VEFJSx) setup on my grinder, which provides consistent results quickly and speeds up the learning curve of sharpening. I also use set-up blocks for even more consistency. I found detailed instructions for these set-up blocks in a Sharpening Book published by the American Association of Woodturners (AAW- https://www.woodturner.org/). Joining the AAW offers many resources for all woodturners, including local chapters and clubs with regular in-person meetings and live demonstrations.
Sharpening Spindle Gouge
Here’s how I sharpen a spindle gouge (https://amzn.to/3VZQa4n):
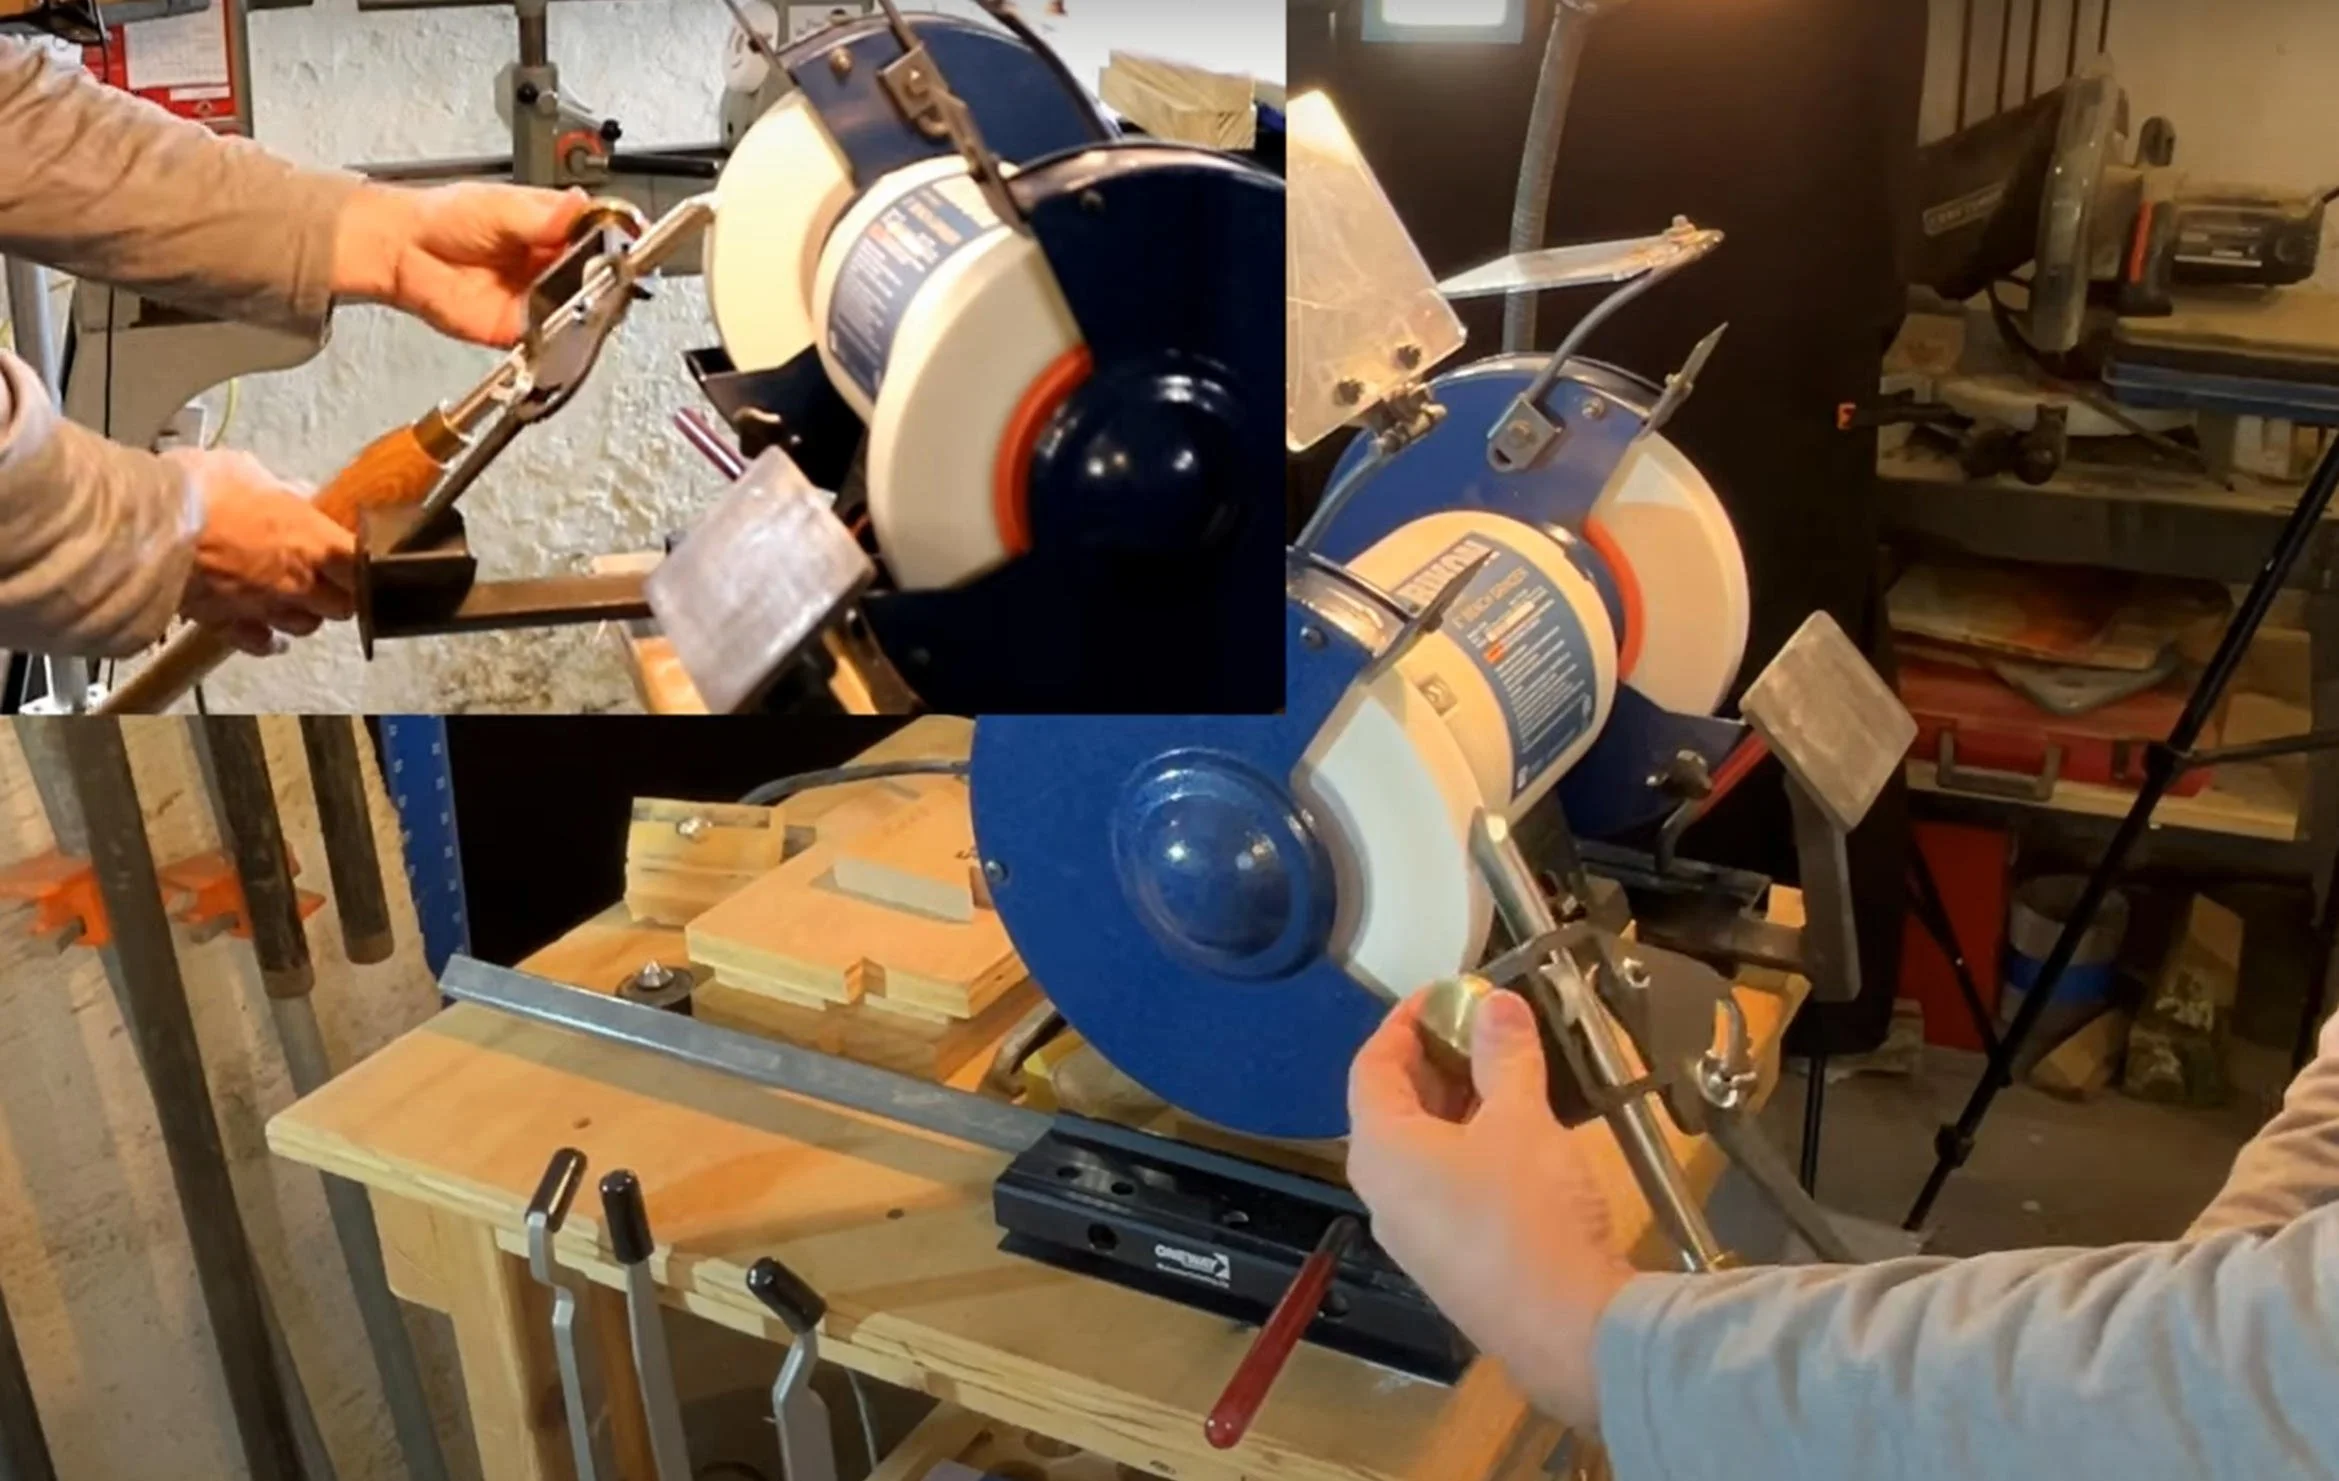
Insert the gouge into the Vari-grind jig.
Use a 2-inch deep hole on my grinding bench to set the gouge depth.
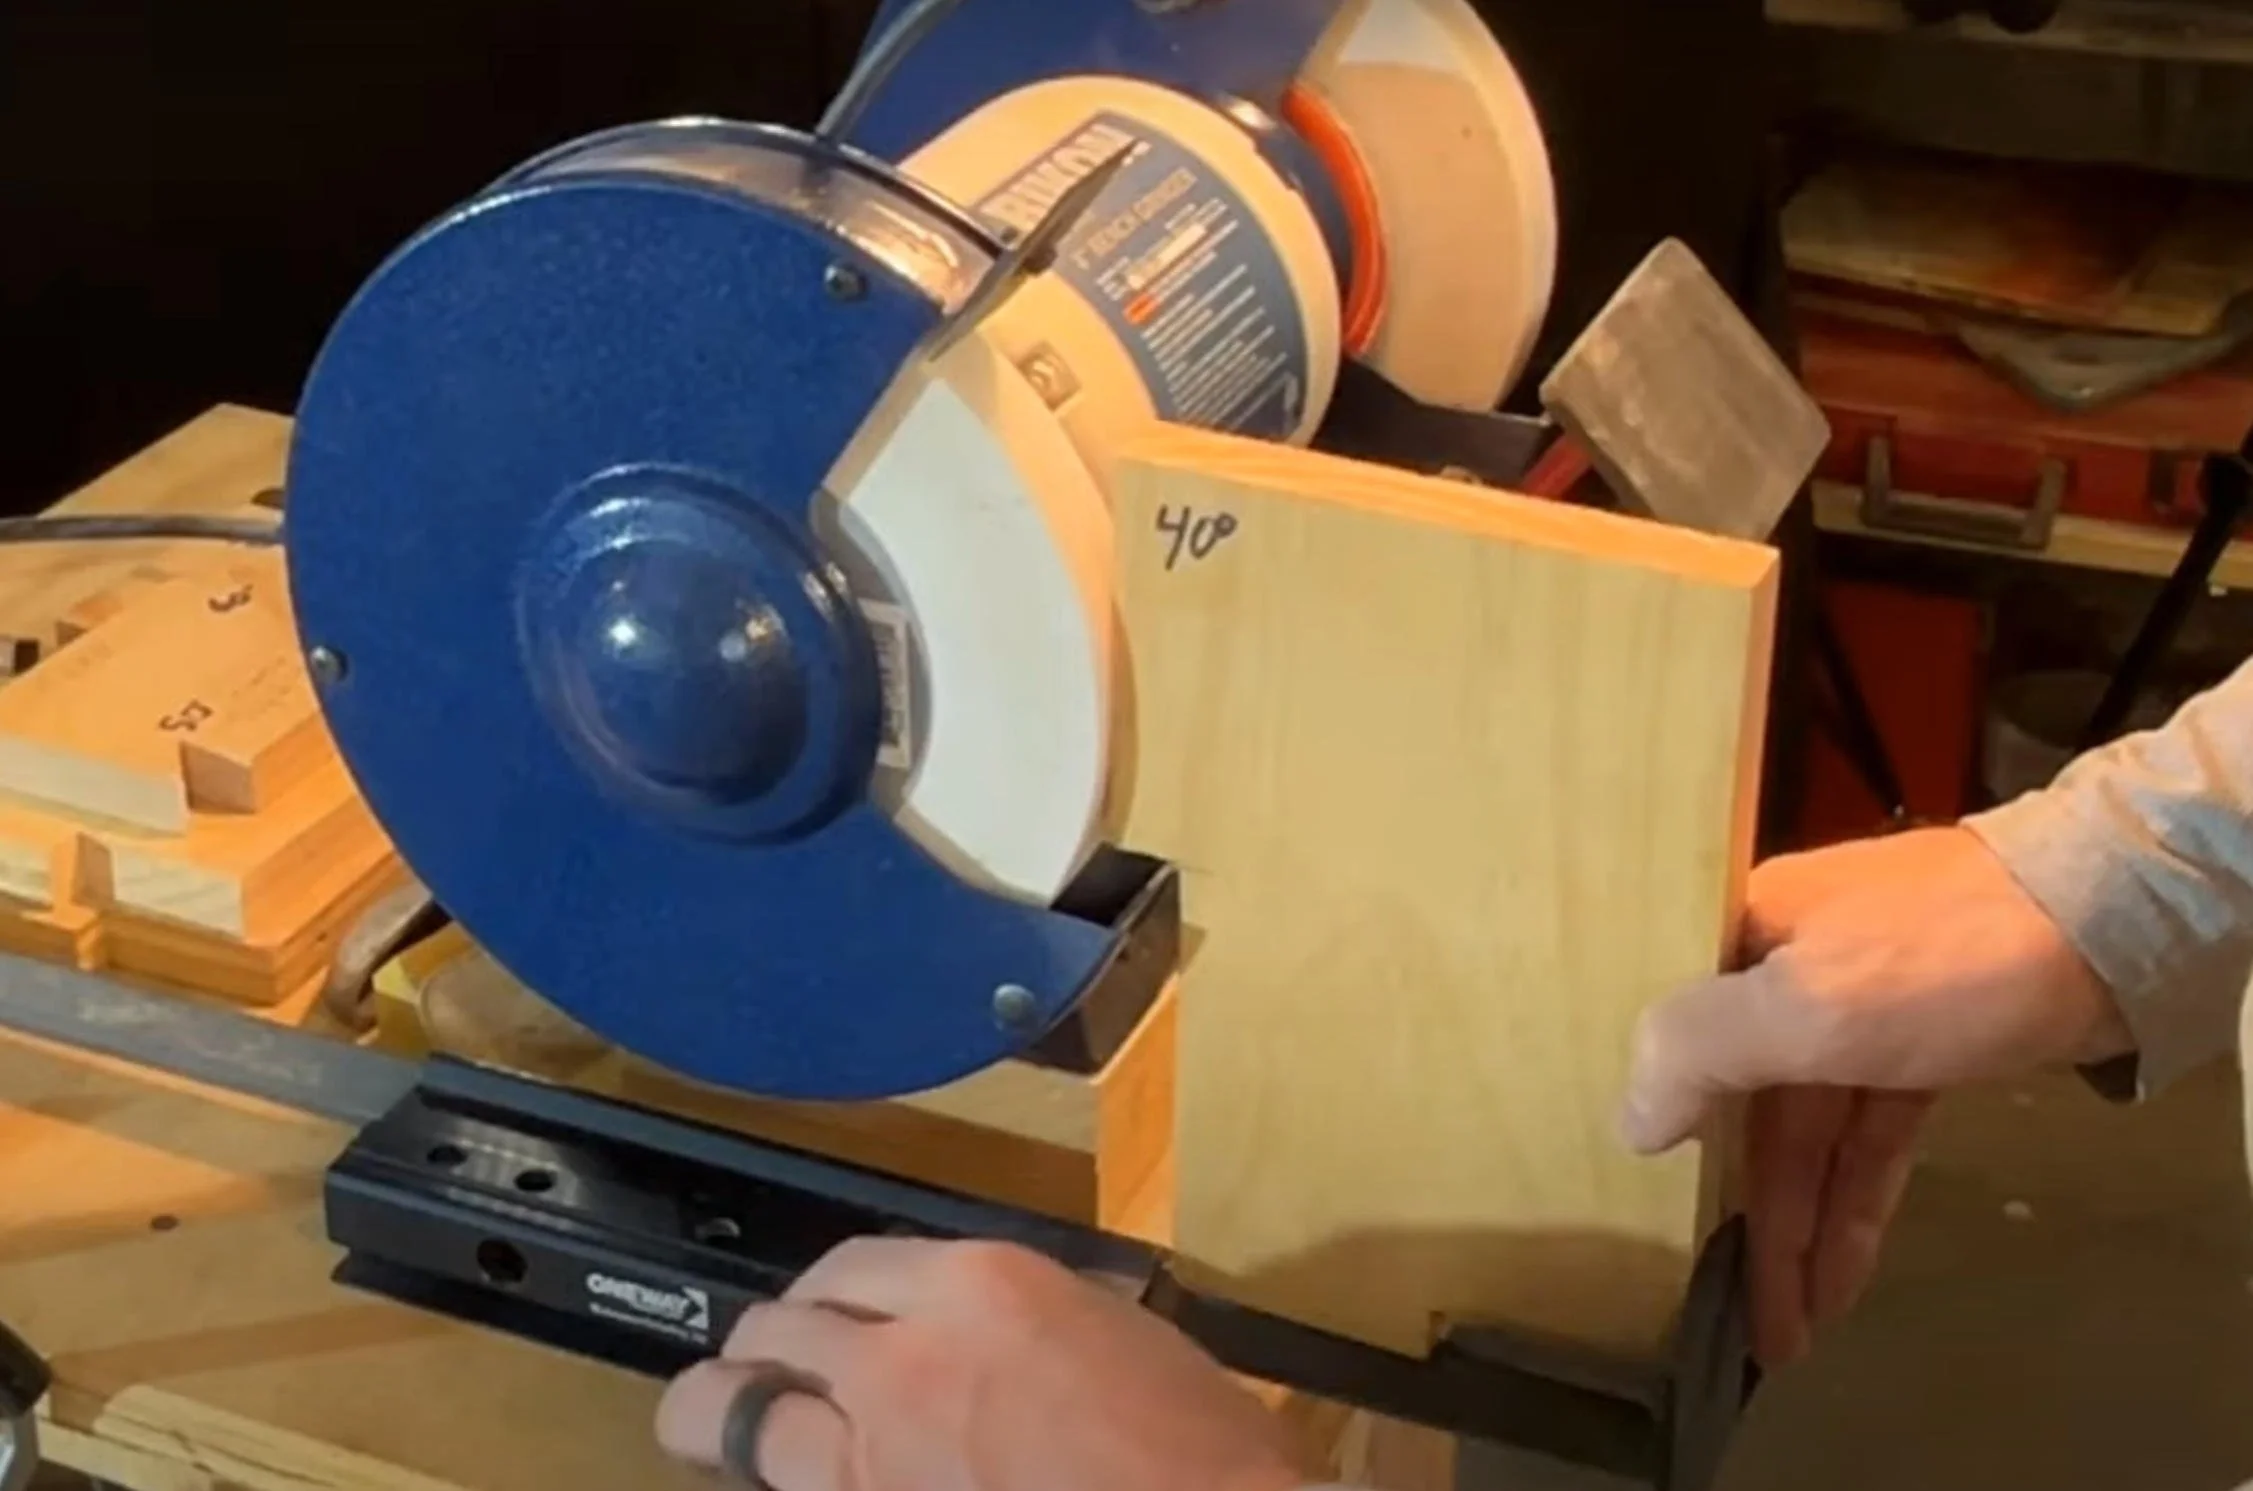
Set the arm distance with a set-up block for a 40-degree bevel angle.
Bring the grinder up to speed and rotate from one side to the other, being careful not to take off too much material from the tip.
Sharpening Bowl Gouge
I follow the same process for bowl gouges, adjusting only the bevel angle. This method works for fingernail grinds and other shapes on your bowl gouges.
Sneak Peek
Now that we’ve sharpened our spindle gouge, we are ready to turn beads and coves in our next lesson. Make sure you sign up for our e-mail list so you don’t miss lesson 3. I’m looking forward to seeing you in the next lesson!
Some of the links on this page are affiliate links, meaning, at no additional cost to you, I may earn a commission if you click through and make a purchase.