
Why Do We Turn Bowls Twice? A Guide to Rough Turning Green Wood
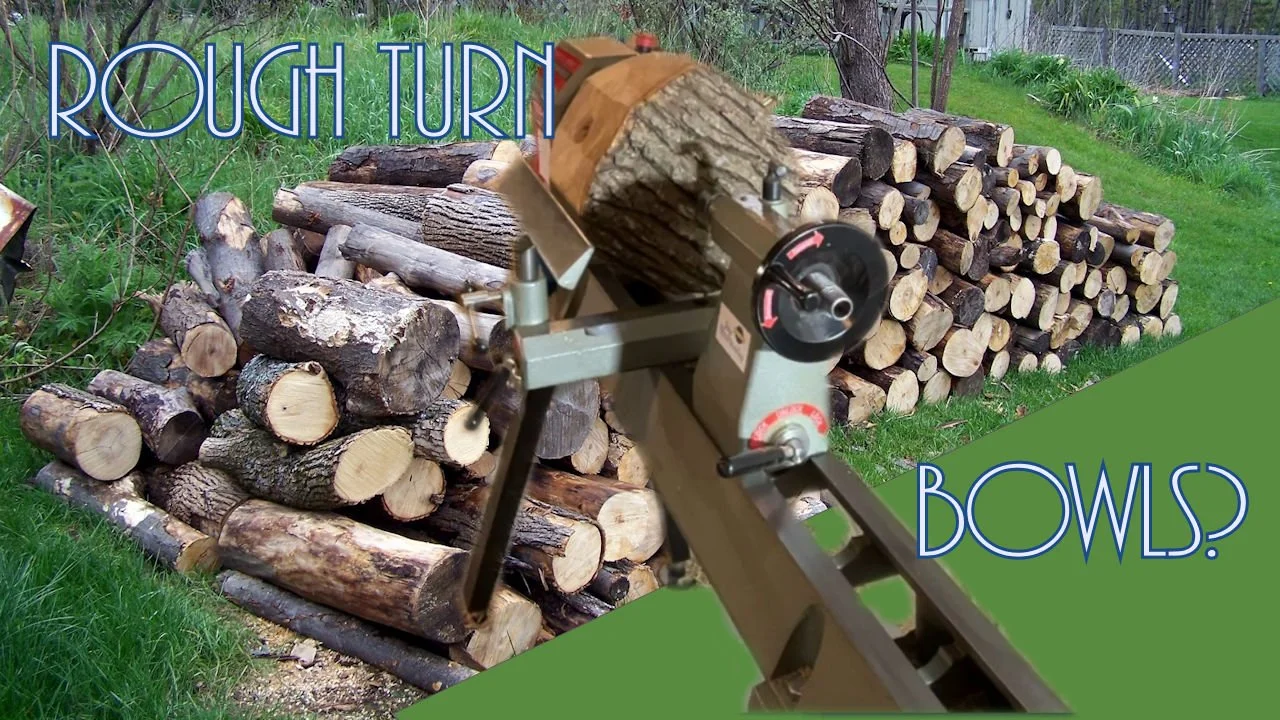
Have you ever wondered why woodturners often turn bowls twice when working with freshly cut, “green” logs? Today, we'll explore this essential step in woodturning and take you through the rough turning process. This first stage is crucial for creating a bowl that’s sturdy, crack-free, and ready for its final shape down the line.
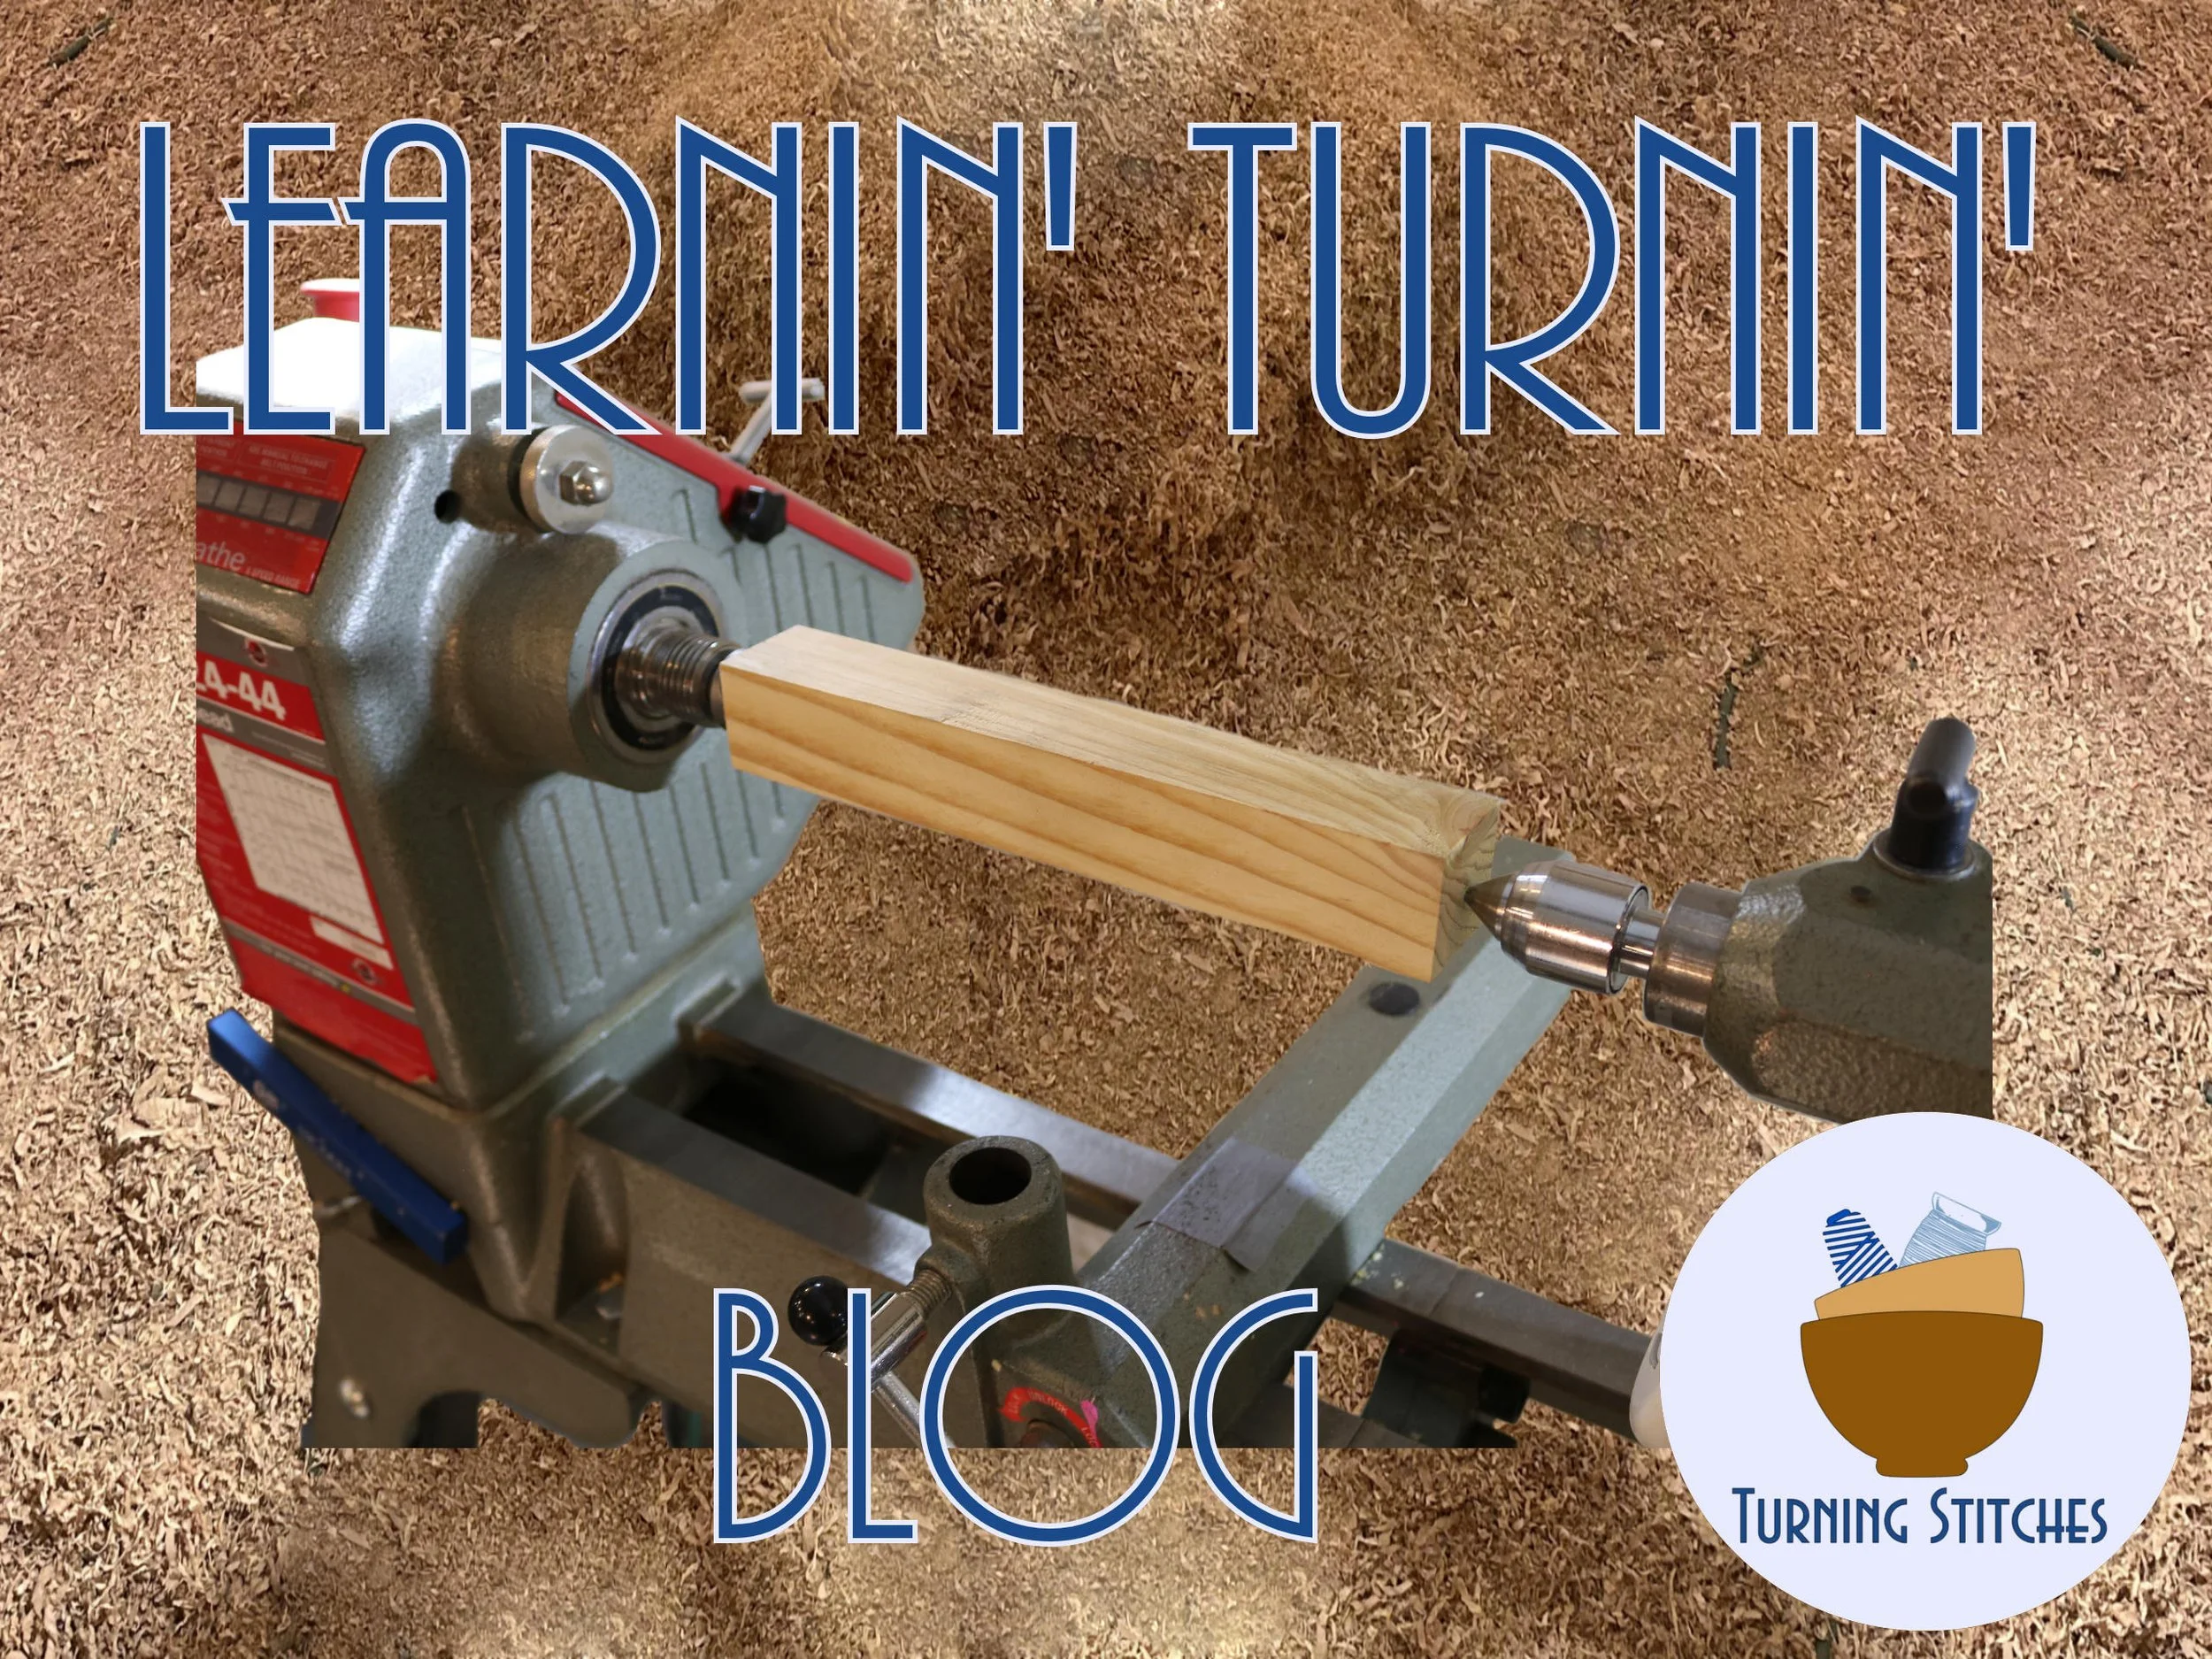
Welcome to Turning Stitches!
I’m Sean, and here at Turning Stitches, we’re dedicated to helping woodturners learn the craft and make fun projects faster! Today’s project is all about rough turning a bowl, an initial step that leaves the bowl with thicker walls and prepares it for months of drying. After it’s fully dry, we’ll reattach it to the lathe to complete the final turning. The purpose of this rough turning process is to control drying and minimize cracking by allowing the bowl to dry evenly over time.
Step 1: Mounting the Blank

We begin with a section of a green log mounted on the lathe. For this, I use a wormwood screw mounted in a scroll chuck. After drilling a pilot hole in the center, I screw the blank onto the wormwood screw. Alternatively, a faceplate can be used for mounting, which provides extra security, especially if the blank is prone to stripping out at the center.
Step 2: Sharpening the Tools
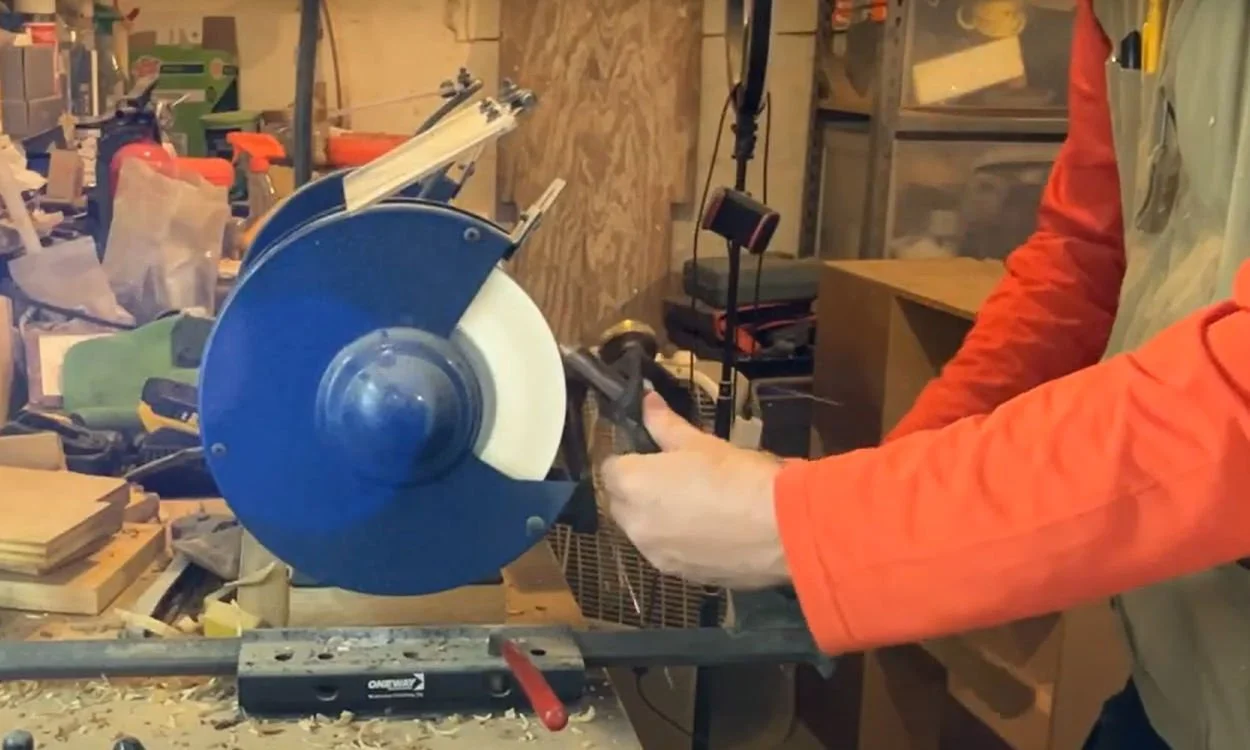
A successful turning project relies on sharp tools, so I start at the sharpening station. I recommend using jigs for consistent, fast sharpening. My primary tool for this project is a half-inch bowl gouge, perfect for most roughing tasks. Starting with sharp edges makes turning more efficient and smoother from the start.
Step 3: Preparing the Bowl’s Exterior
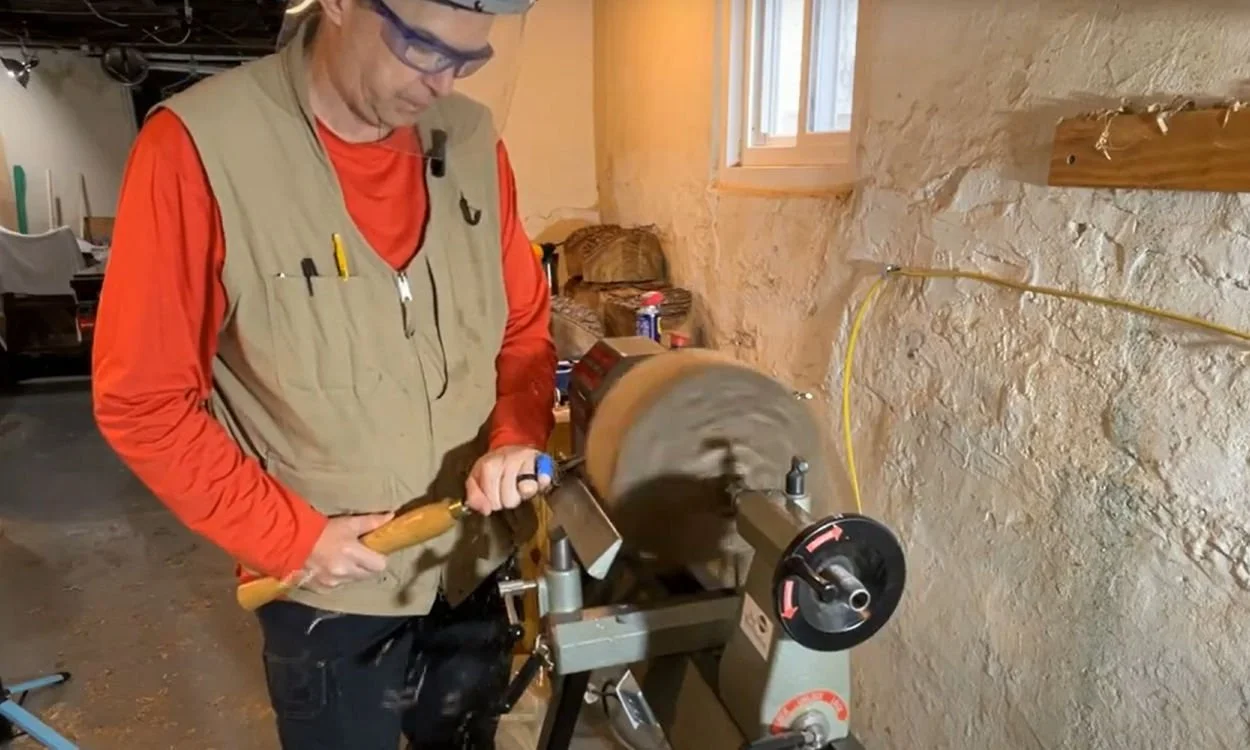
With the blank mounted and the gouge sharpened, we begin roughing out the exterior. I start at a lower speed, around 600 RPM, and slowly increase as the blank rounds out. My first objective is to remove the bark from the base and get down to solid wood. This helps me create a clean, stable foundation for shaping. I use the tailstock to add support, especially when dealing with the unevenness of the raw blank. Once the bark is off, I make marks for my chuck jaws, allowing me to shape a tenon at the bottom of the bowl. This tenon will be used to hold the bowl securely in place for the final turning.
Step 4: Shaping the Bowl’s Sides
Once the tenon is set, I work on the overall shape of the bowl. For this particular project, I’m aiming for a specific size, so I mark out my intended diameter, leaving extra thickness to account for future drying and reshaping. Starting from the top of the bowl, I gradually work my way down, ensuring the bowl’s size and shape meet the intended specifications.
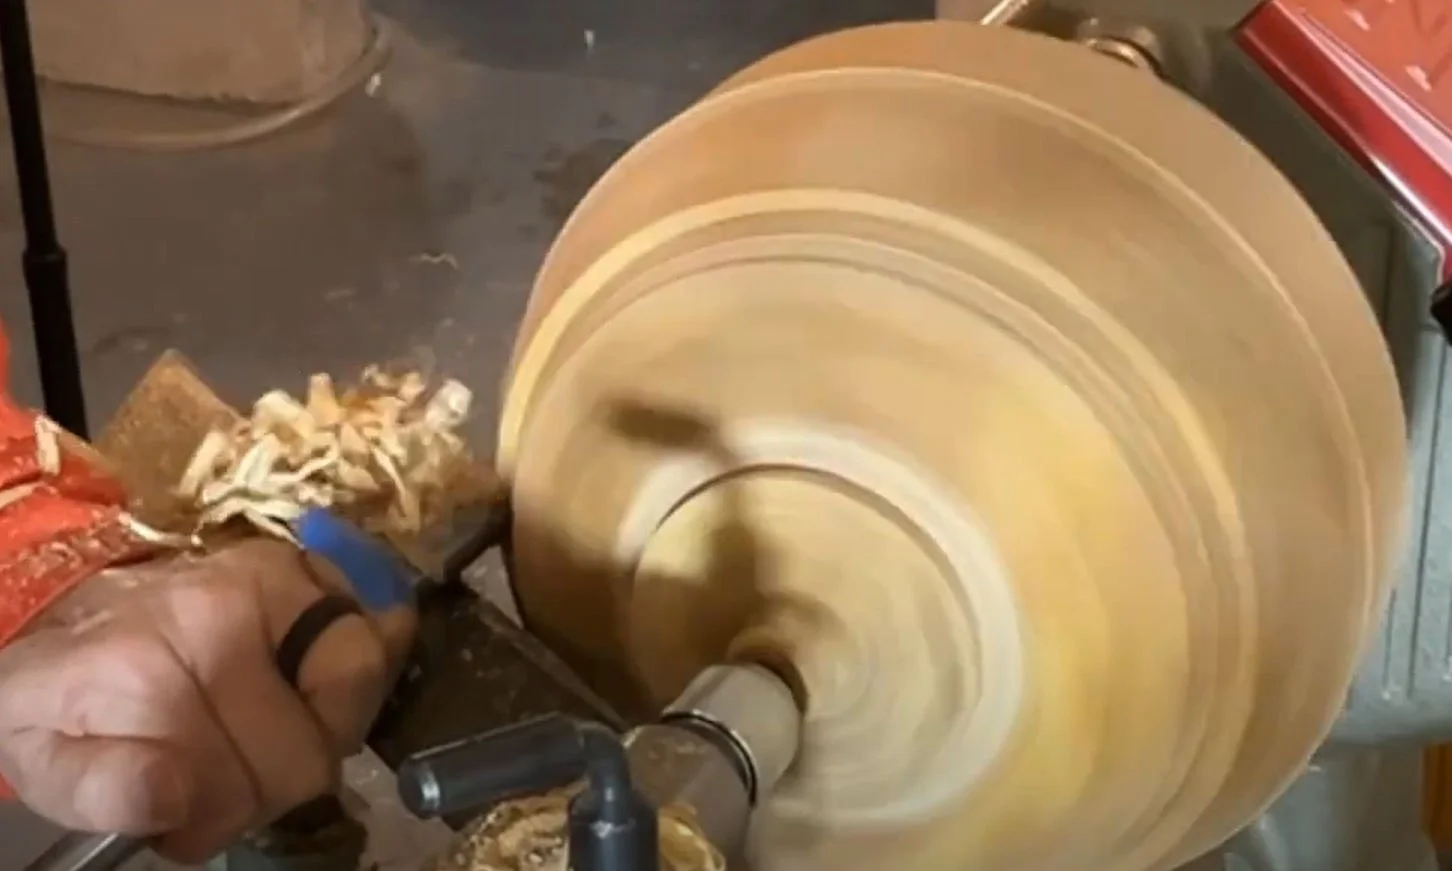
Step 5: Hollowing Out the Interior
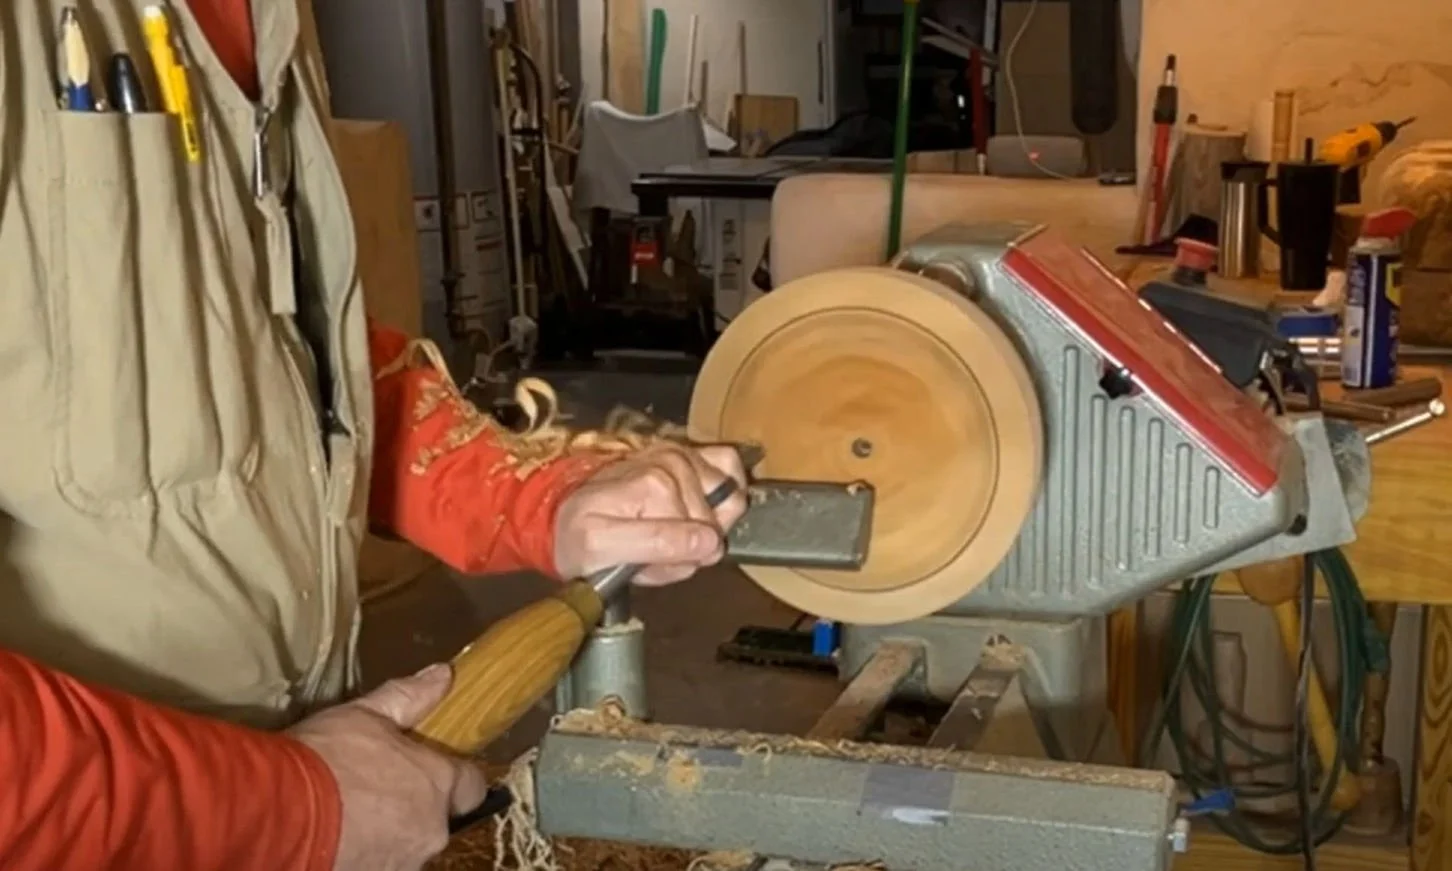
Next, I focus on hollowing out the bowl. Even in this rough turning stage, I like to drill a depth hole. This provides a depth guide and helps me maintain a consistent wall thickness. Using a long drill bit, I set my depth by attaching a piece of tape at the desired level.
For the hollowing process, I start by removing excess material, roughly an inch, to eliminate the pith (the center part of the log) and get down to solid wood. This makes for a more stable final product. Throughout, I monitor the wall thickness to ensure even drying later. My bowl gouge does most of the work, and I follow up with a bowl scraper for refining cuts and smoothing out tool marks.
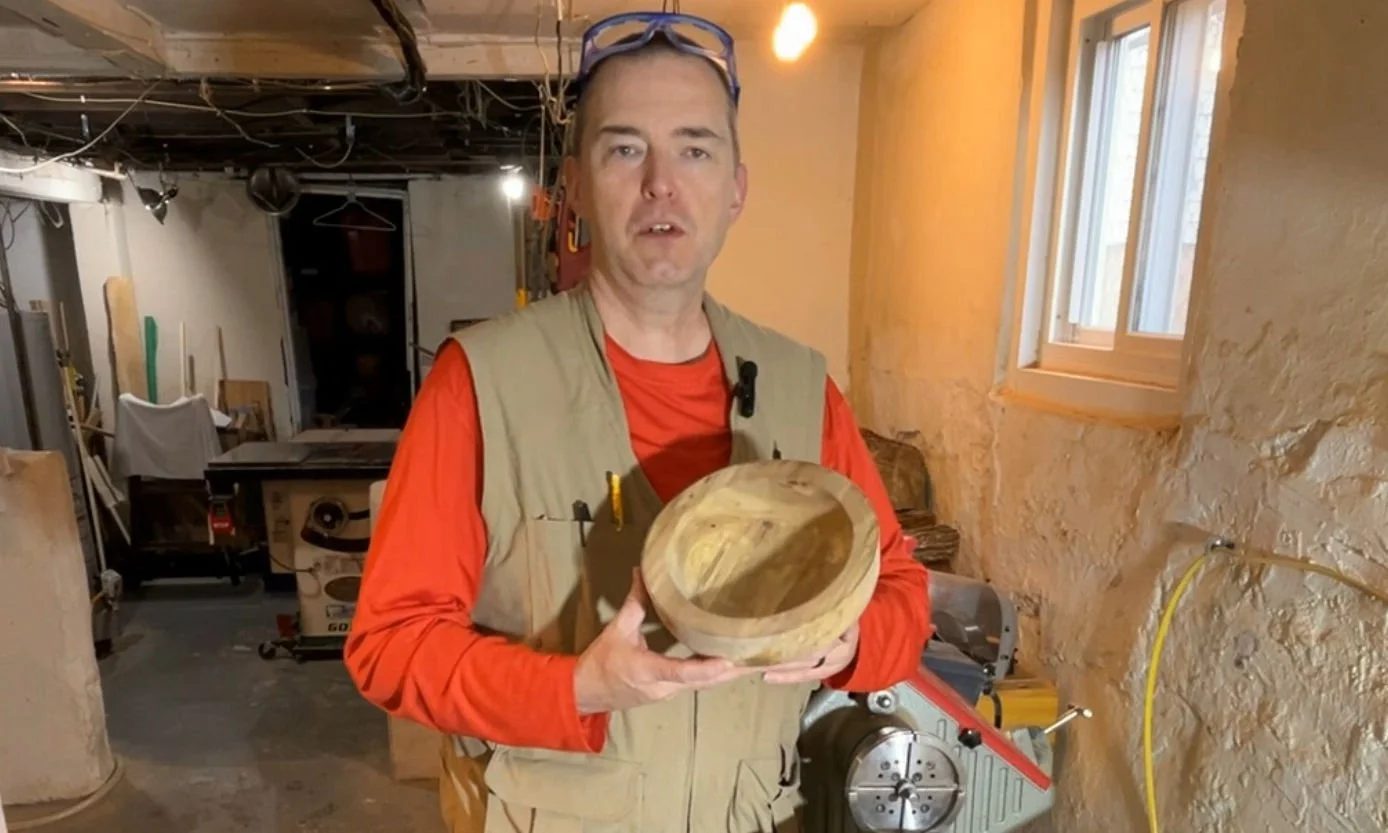
Ready to Dry
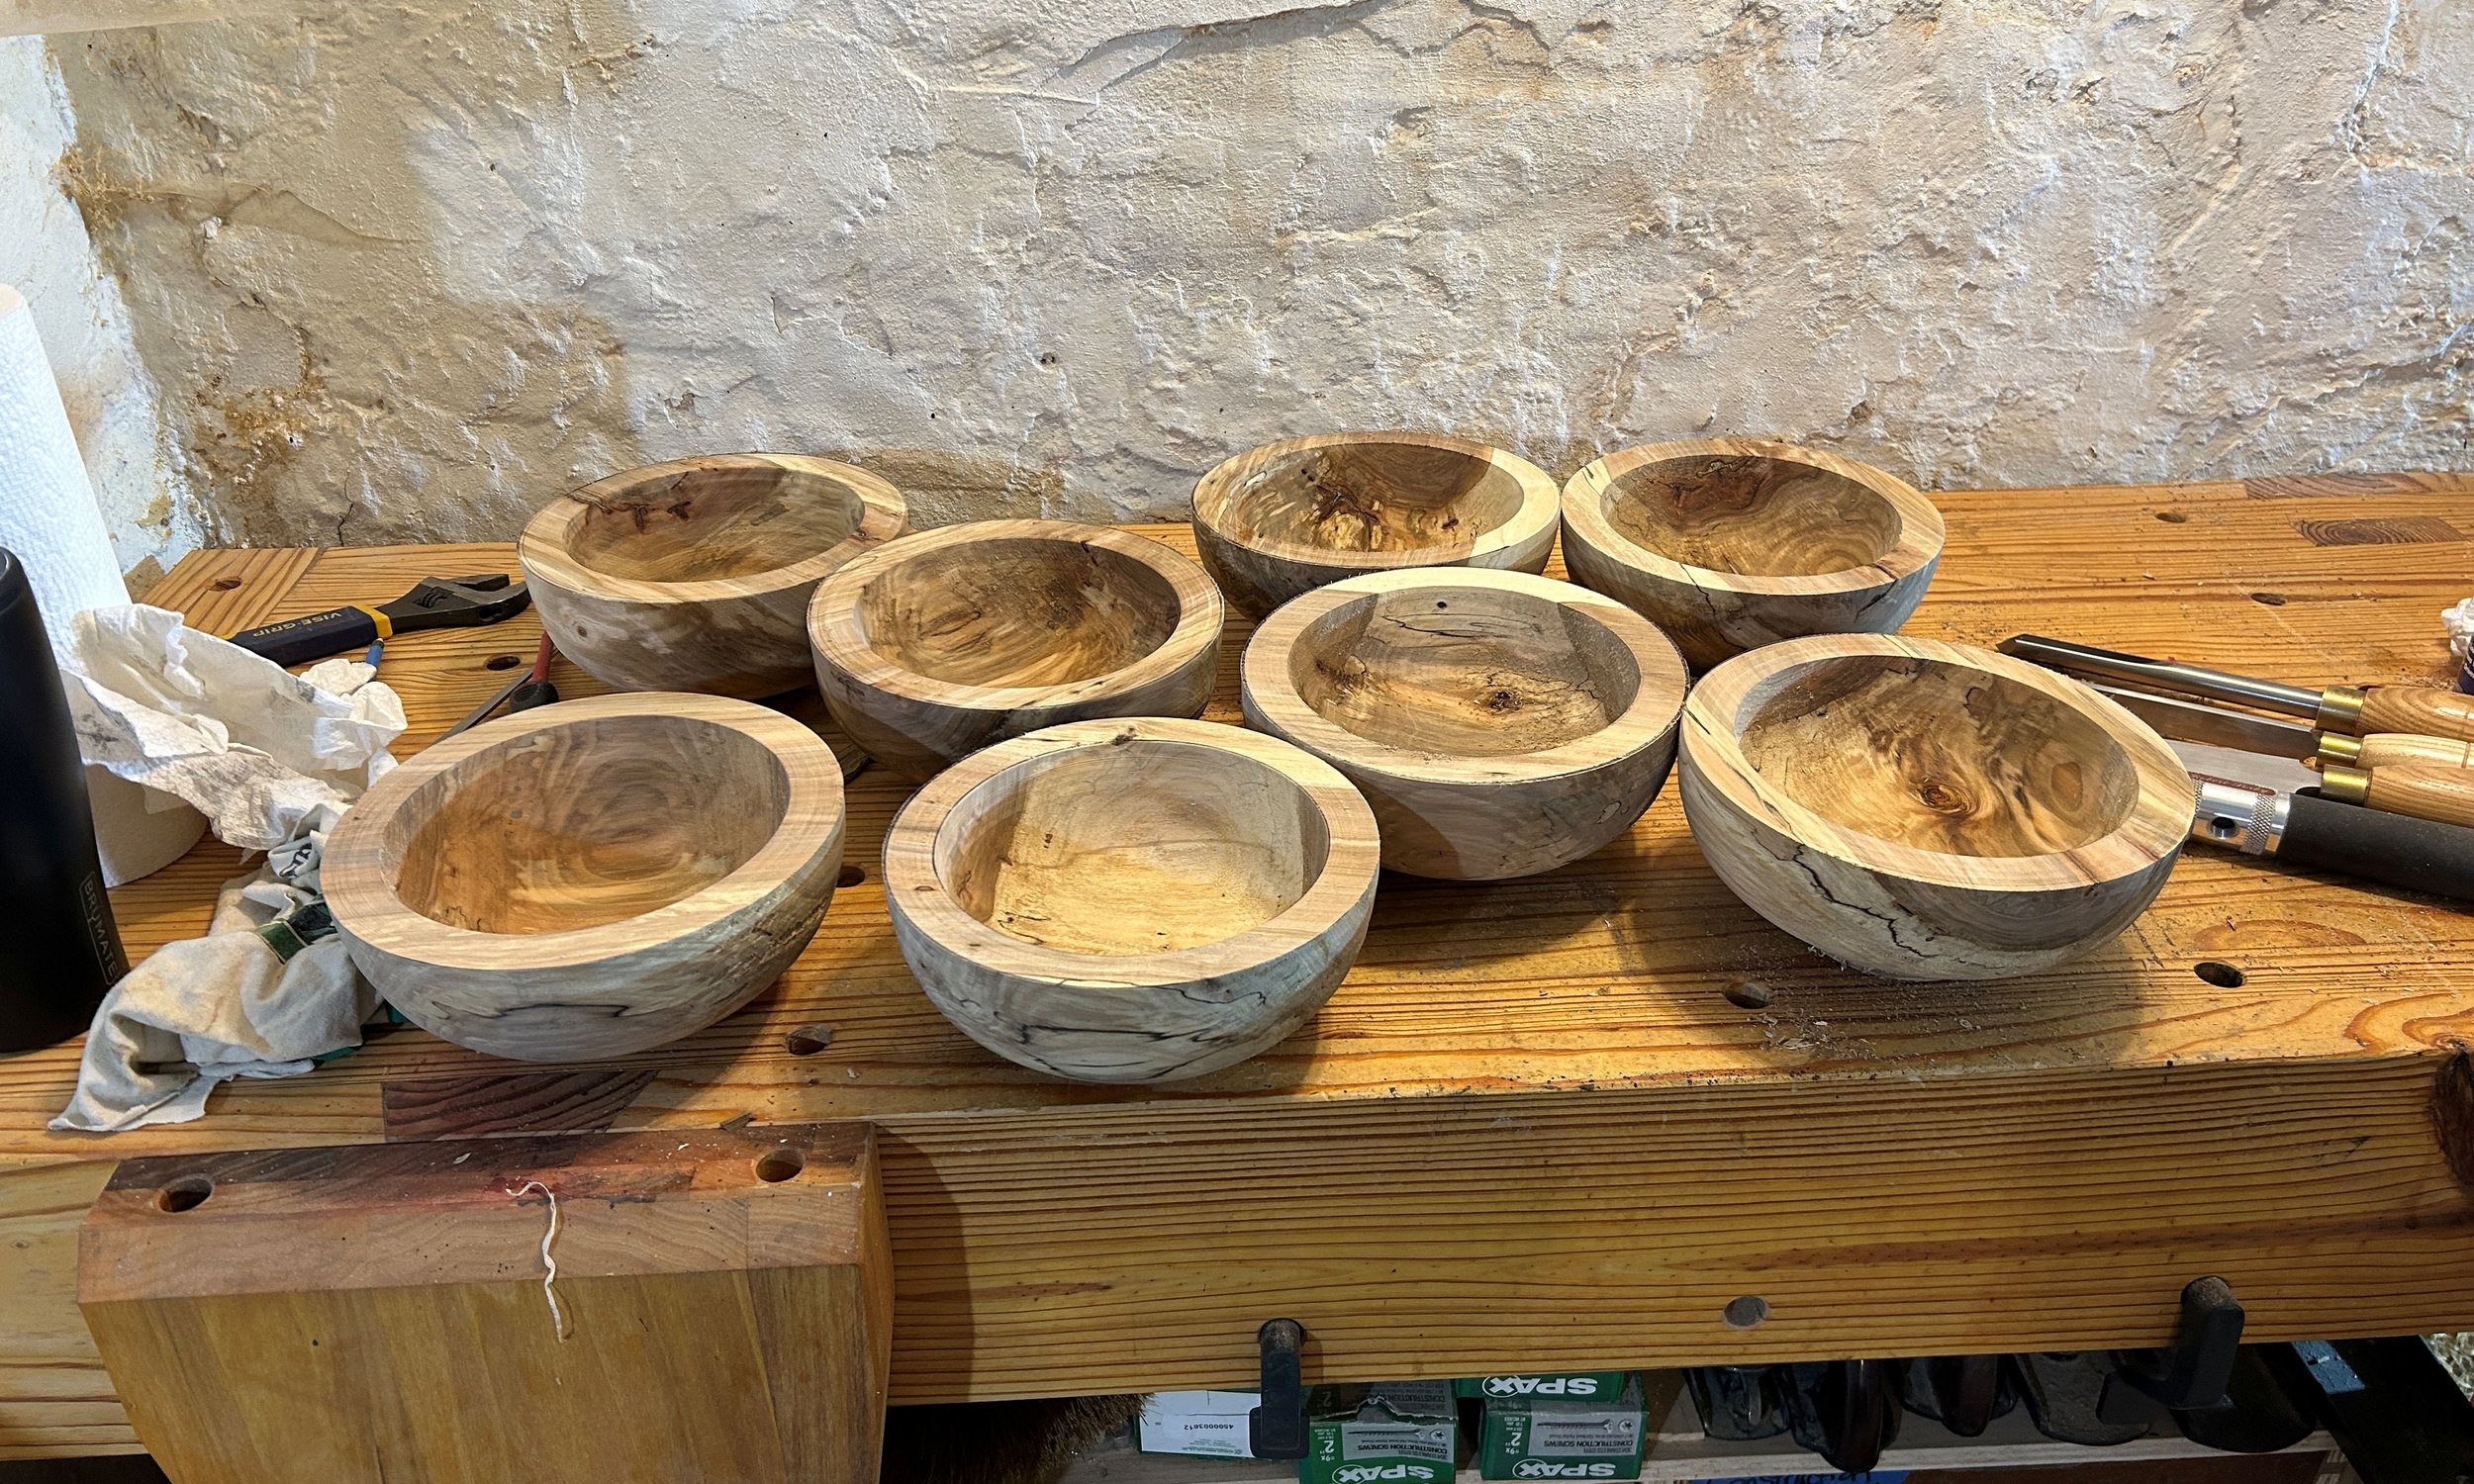
After completing the rough shaping, I carefully remove the bowl from the lathe. It now has thicker walls and is ready to sit and dry for several months. This waiting period is crucial, allowing the wood to dry and settle into its final form, reducing the risk of warping or cracking when I revisit it for final shaping.
Final Thoughts
Rough turning bowls from green wood is an essential step that adds durability and quality to the finished piece. This two-step process lets the wood dry and stabilize before applying the final shape and finish. With patience and the right technique, rough turning sets you up for a beautiful, long-lasting bowl.
Happy turning, and stay tuned for more woodturning tips and projects from Turning Stitches!
Links to Tools Used Today:
Some of the links on this page are affiliate links, meaning, at no additional cost to you, I may earn a commission if you click through and make a purchase.
Robert Sorby ½ Bowl Gouge - https://lddy.no/1krr2
Hamlet by HT ½ Bowl Gouge - https://lddy.no/1krr4
Hamlet by HT ⅜ Bowl Scraper - https://lddy.no/1kslx
Nova Supernova 2 Chuck - https://amzn.to/3YE1eG6
Nova Big Jaw Bundle - https://amzn.to/4fIG7Yn