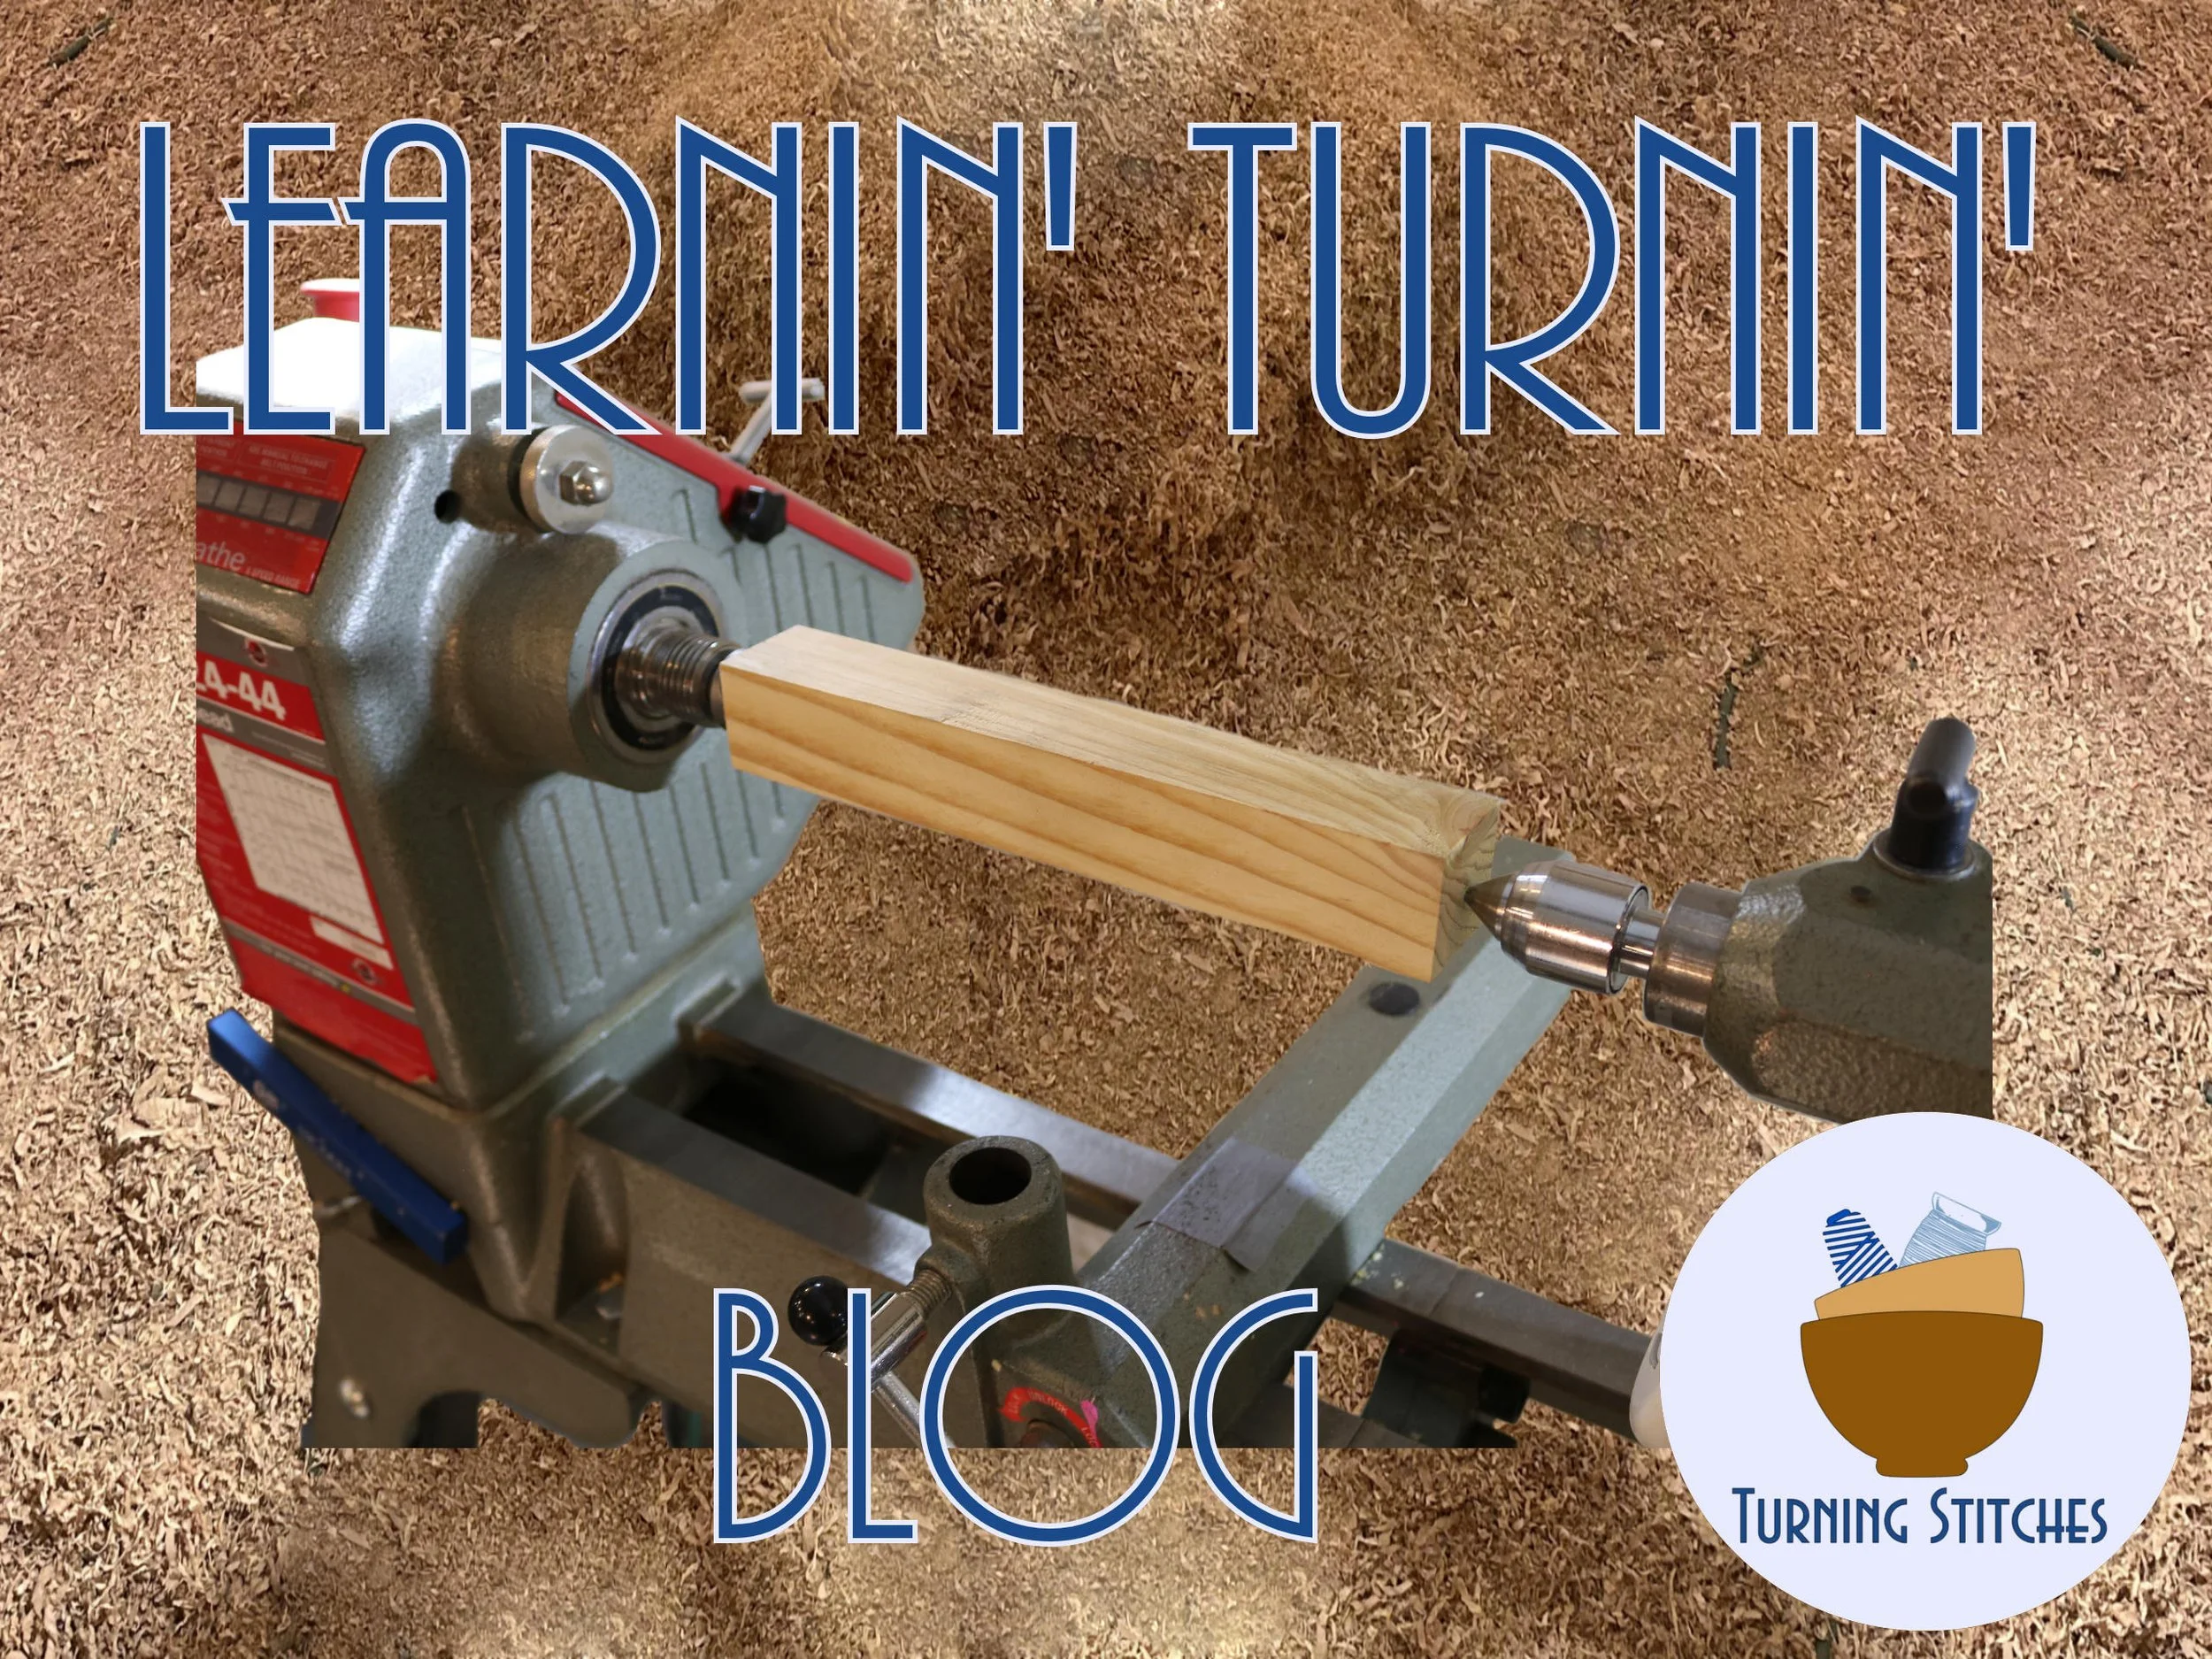

How to Start Woodturning - Turning a Garden Dibble - Lesson 5
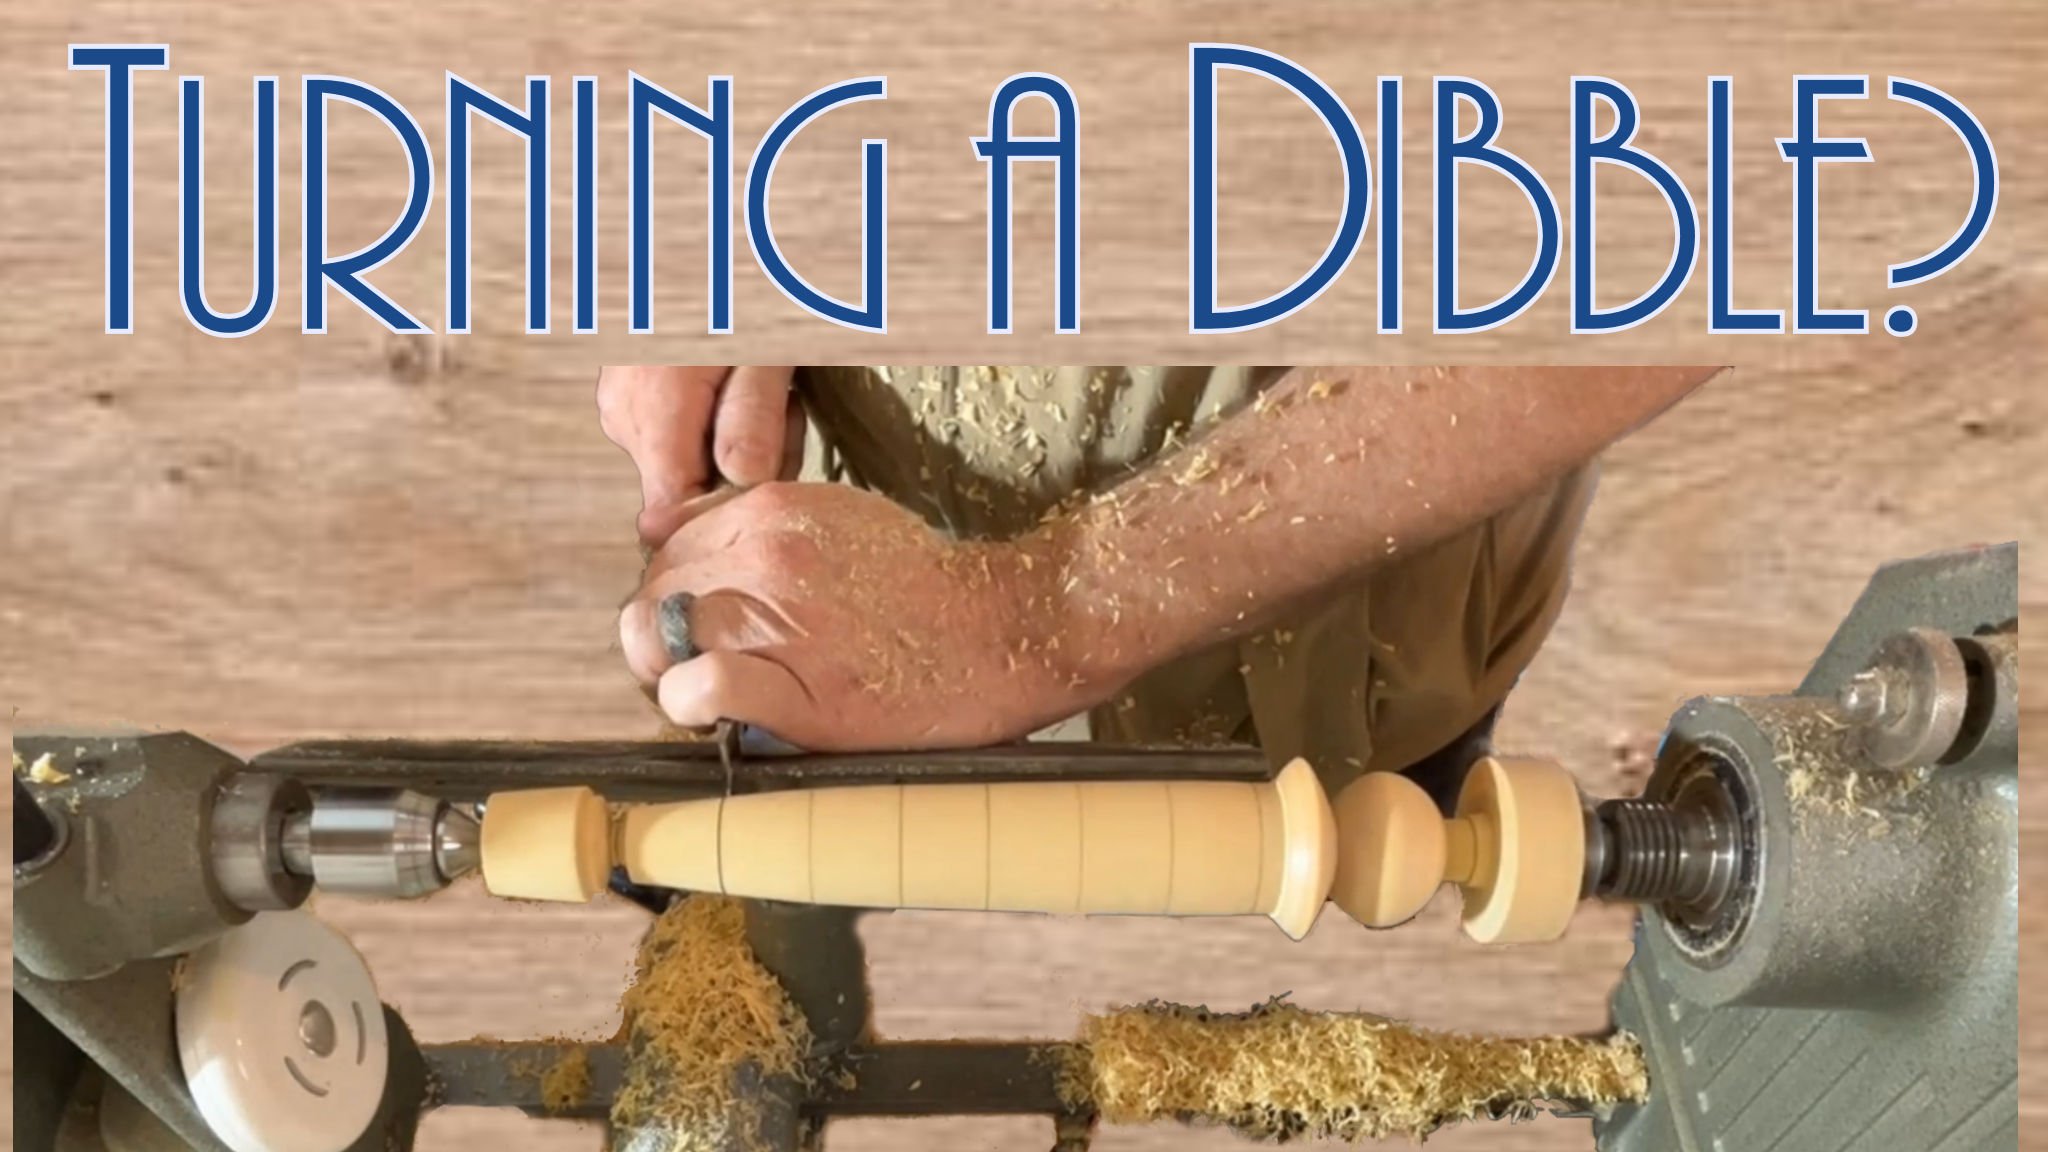
Welcome to Turning Stitches! I'm Sean, and our mission is to help woodturners learn the craft to start creating fun projects faster. In our previous lesson, we covered some basic shaping by creating a mallet. If you missed that, you can catch up on Lesson 4 [here]. Today, we’ll be adding to those skills by crafting a useful tool for your garden: a Garden Dibble.
What is a Garden Dibble?
A Garden Dibble (or Dibbler) is a fantastic tool for planting seeds in your garden or bulbs in your flower beds. Let’s dive in and create one together.
Materials and Preparations
For this project, you should have a turning blank ready. My blank is roughly 2.125 x 2.125 inches and 12 inches long, but your blank can be a different size depending on what material you have on hand. We'll start by turning this into a cylinder using our roughing gouge, similar to what we did in Lesson 1. For this project, I'm setting the lathe to 1,500 RPMs.
Marking Out Measurements
This design was created by Michael Hamilton-Clark and published in Woodturning FUNdamentals in November 2020. You can find the article linked through the American Association of Woodturners. We have several measurements for this project, so creating a story stick will save time. Here’s a quick guide:
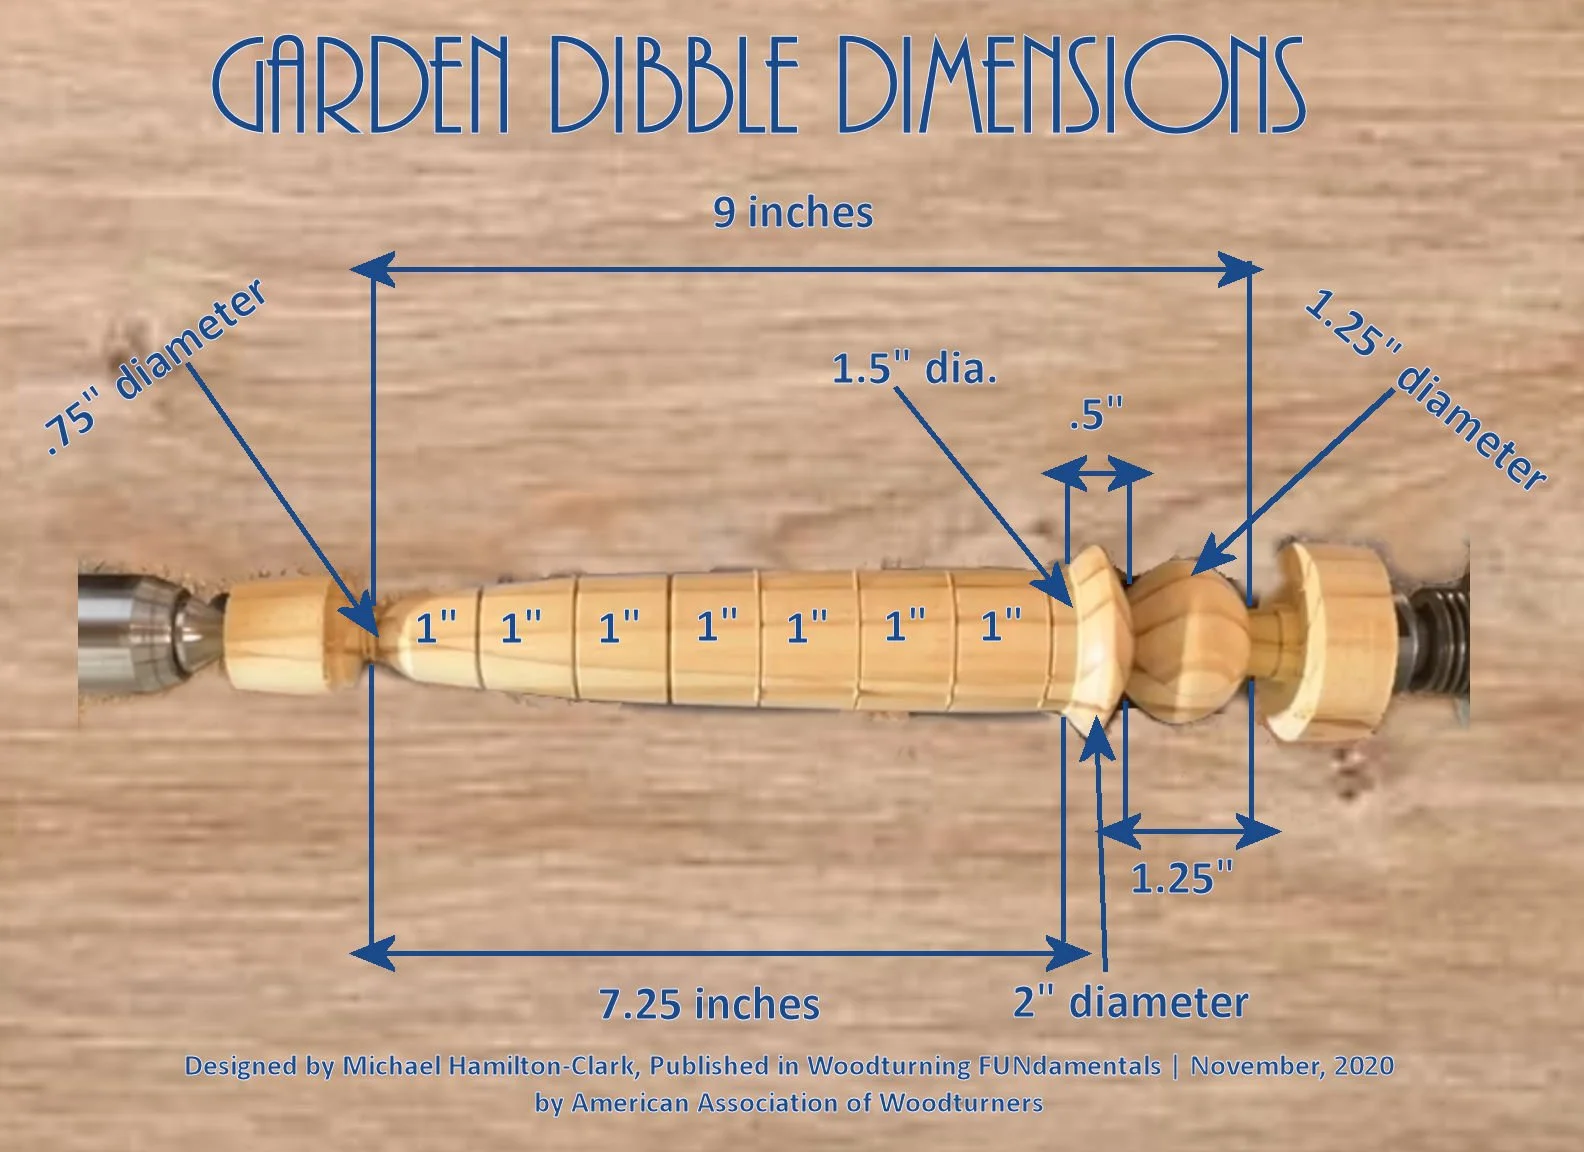
From the headstock, make a mark ¾ to 1 inch from the end.
Add a second mark about 9 inches from the first – this will be the bottom of the dibble.
Measure 7.25 inches from the end – this is the bottom of the dibble handle.
Measure ½ inch from that mark, which will be the bottom of the ball handle.
Make marks at 1-inch increments all the way to the handle – there should be 7 marks.
Now, gently turn the cylinder by hand to extend the marks all the way around.
Creating the Dibble

Use your parting tool (https://amzn.to/3xAqJwT) to establish the top of the handle, the bottom of the dibble (.75 inches), and the top of the shaft (1.5 inches).
Next, we’ll start removing the waste material. This is an excellent project to familiarize yourself with a skew chisel (https://amzn.to/4d5nOve). If you don't have a skew chisel or don't want to use it, you can clear this with your roughing gouge (https://amzn.to/3VZQa4n), spindle gouge (https://amzn.to/3zPSIJO), or even a bowl gouge (https://amzn.to/3SmN0p0). The goal is to create a gradual taper from 1.5 inches at the handle to .75 inches at the end.
Shape the Handle
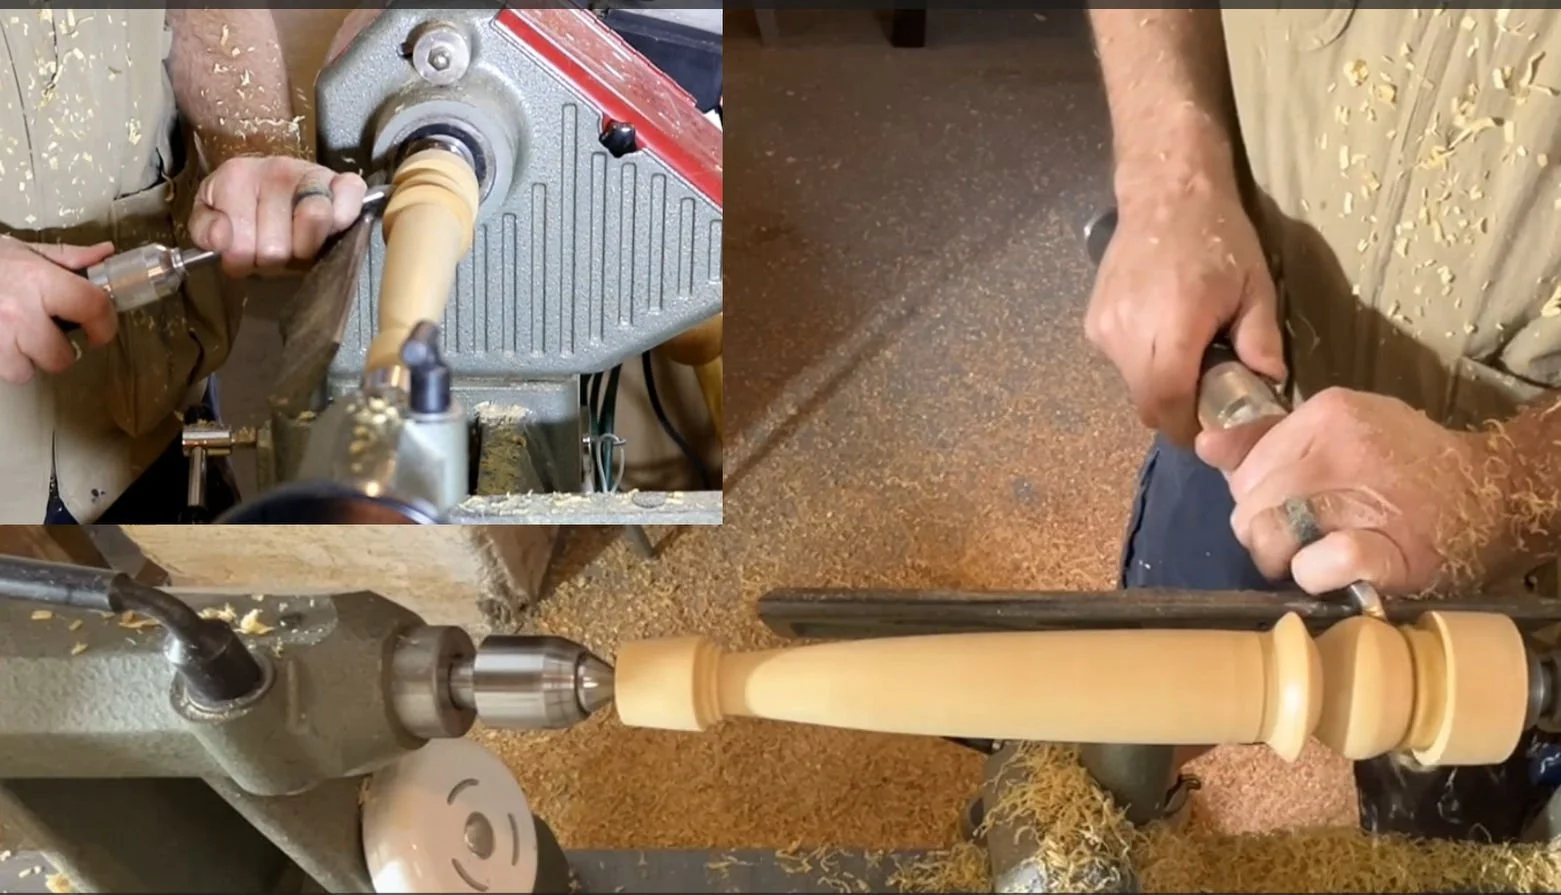
With the shaft established, we'll move on to the handle. Create a pencil line at the midpoint to help shape the coves toward the ball handle and shaft. Create a small cove to the right to join the shaft, making a few passes. Then, create a cove to the left, towards the bottom of the handle ball. Roll beads to the right toward the cove and to the left toward the end. Use your parting tool to reduce the diameter at the top and create more space, forming the basic ball shape. Work it down to about 1.25 inches at the widest point, adjusting until it looks balanced and pleasing to the eye.
Adding Measurement Lines
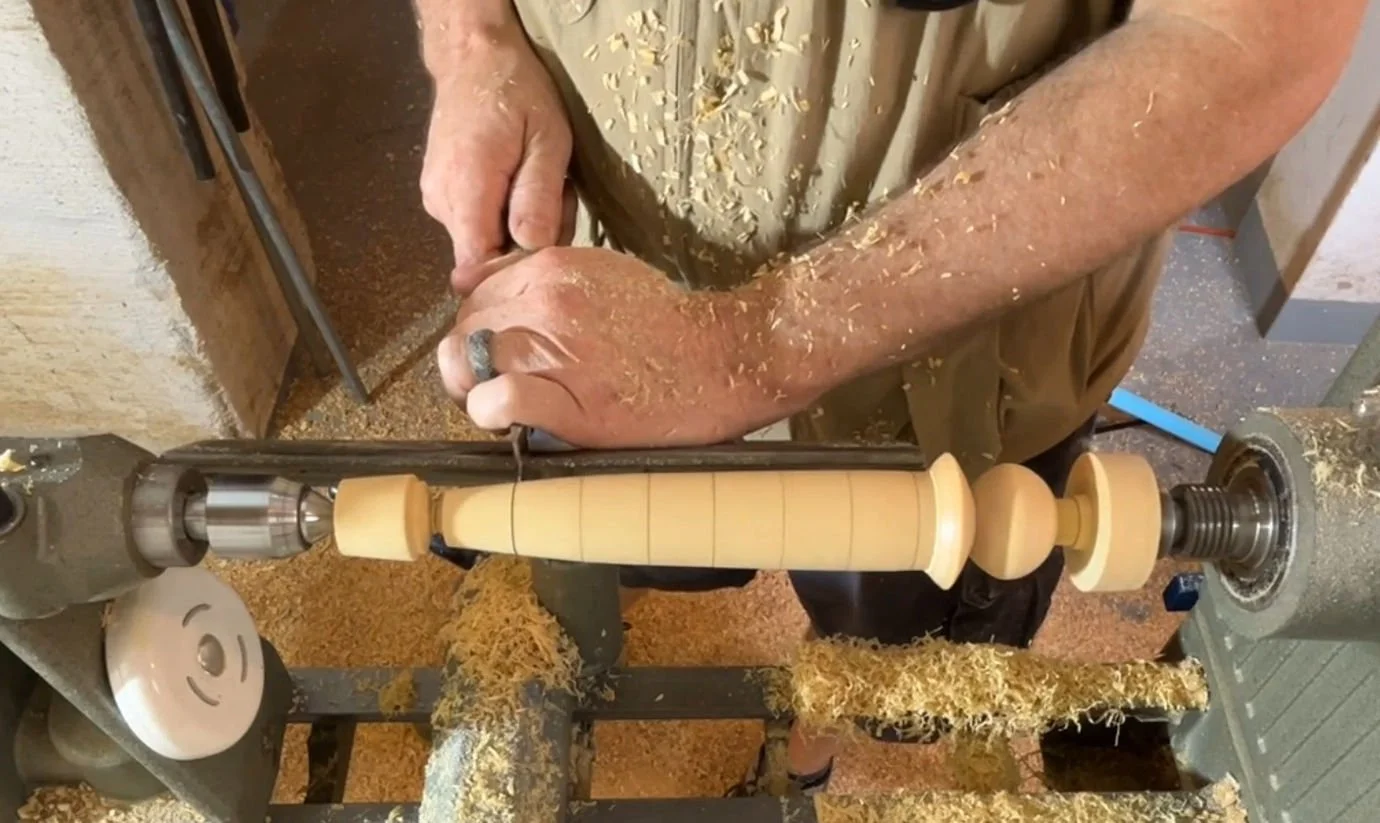
Use the story stick to mark the 1-inch increments on the shaft. Cut V-notches with your skew chisel or point tool scraper (https://amzn.to/4dnhFe8).
Finishing Touches
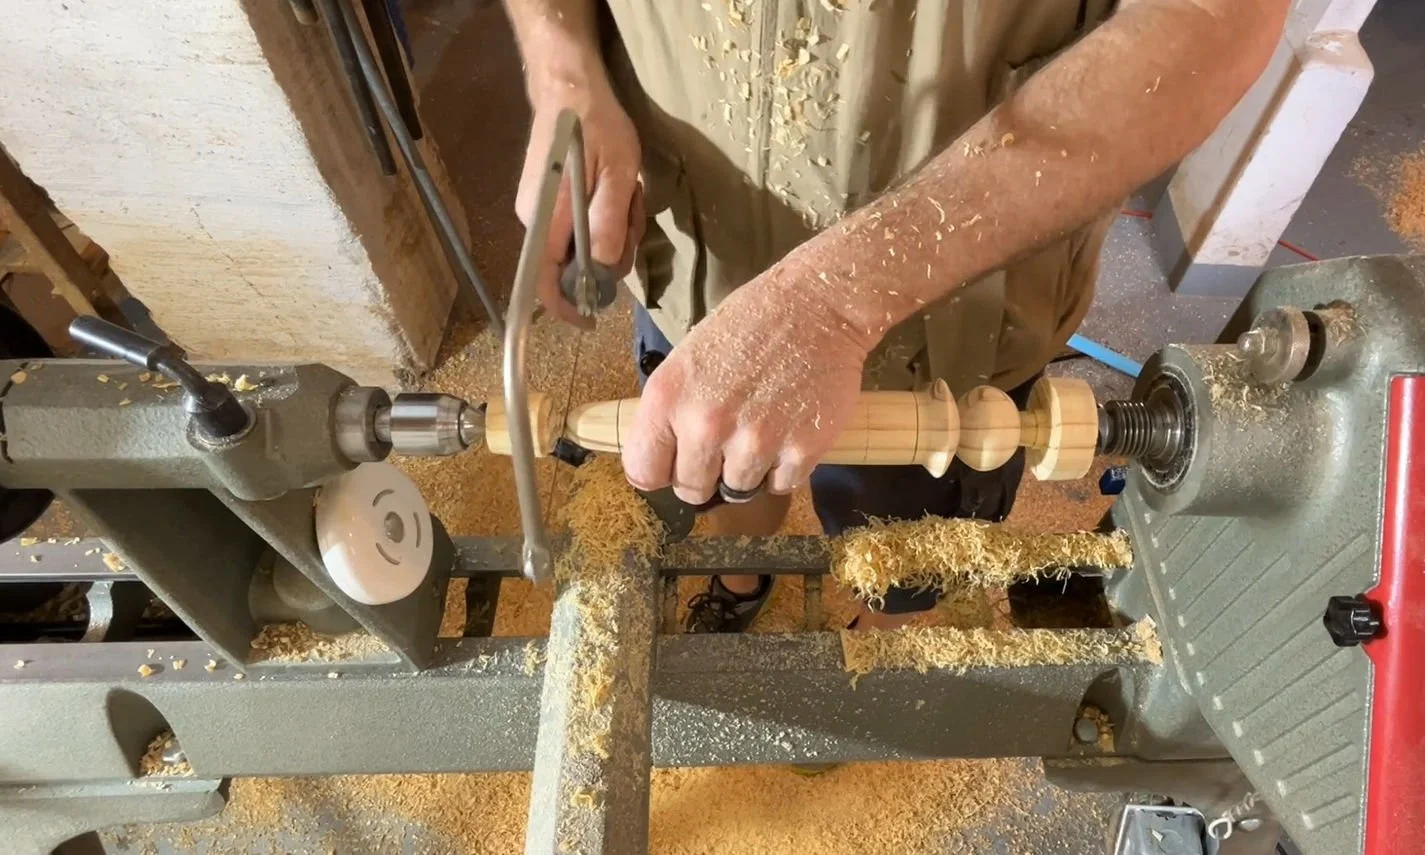
Refining the Tip
Reduce the diameter of the waste with a parting tool and roll a bead toward the end to create a round tip. If your cuts are smooth, sanding might not be necessary since this is a garden tool. However, you can sand if you prefer.
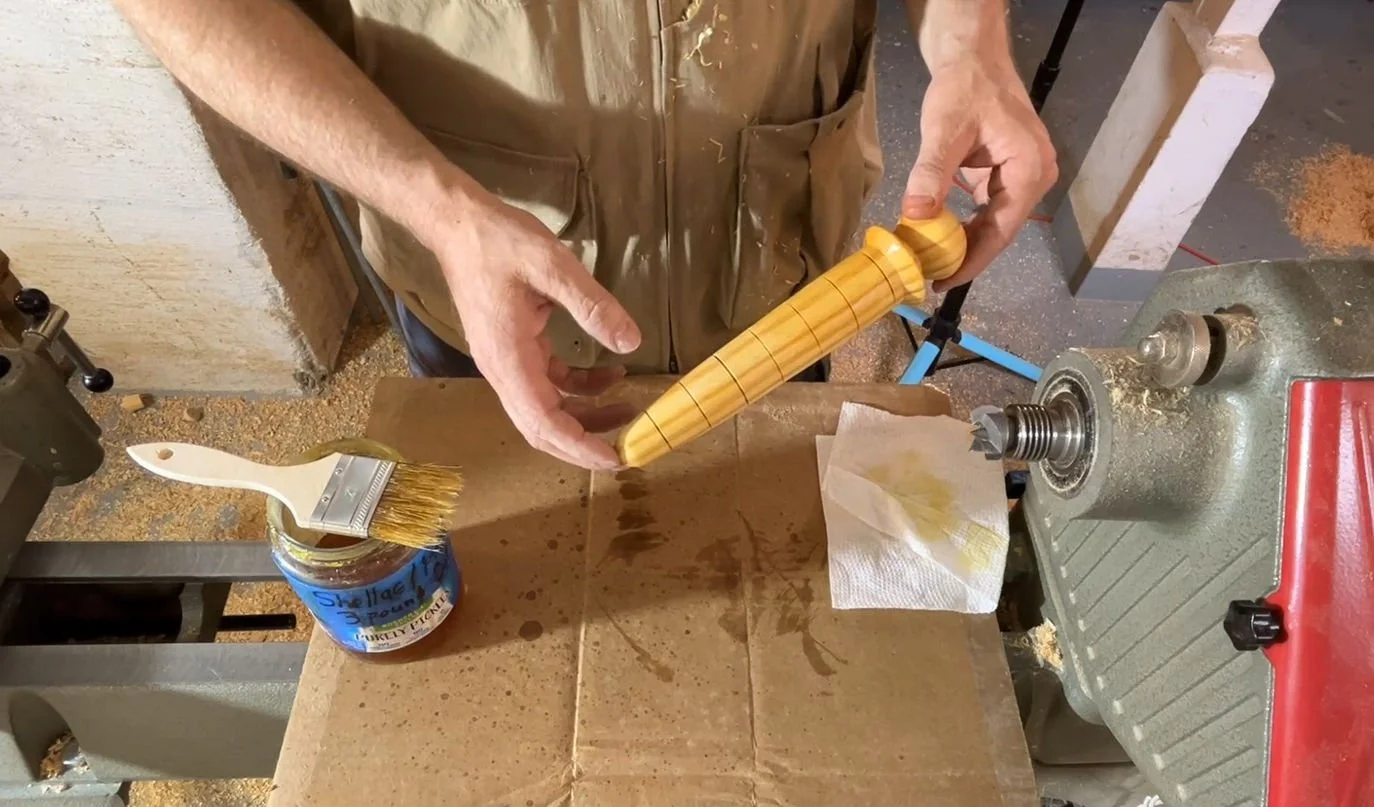
Part off the ends and touch them up with a power sander. You can add a finish like mineral oil or shellac, but since this is a garden tool, it might not be necessary. I’m opting for a quick coat of shellac.
Keep Practicing!
You can make more of these and give them as gifts to the gardening enthusiasts in your life.
Homework
In our next lesson, we will be creating more complex shapes by making candlestick holders for your home. You’ll need a blank that is 2x2 inches and 10 to 12 inches long.
Make sure you sign for our e-mails, so you know when Lesson 6 is posted. Looking forward to seeing you in the next lesson!
Some of the links on this page are affiliate links, meaning, at no additional cost to you, I may earn a commission if you click through and make a purchase.