
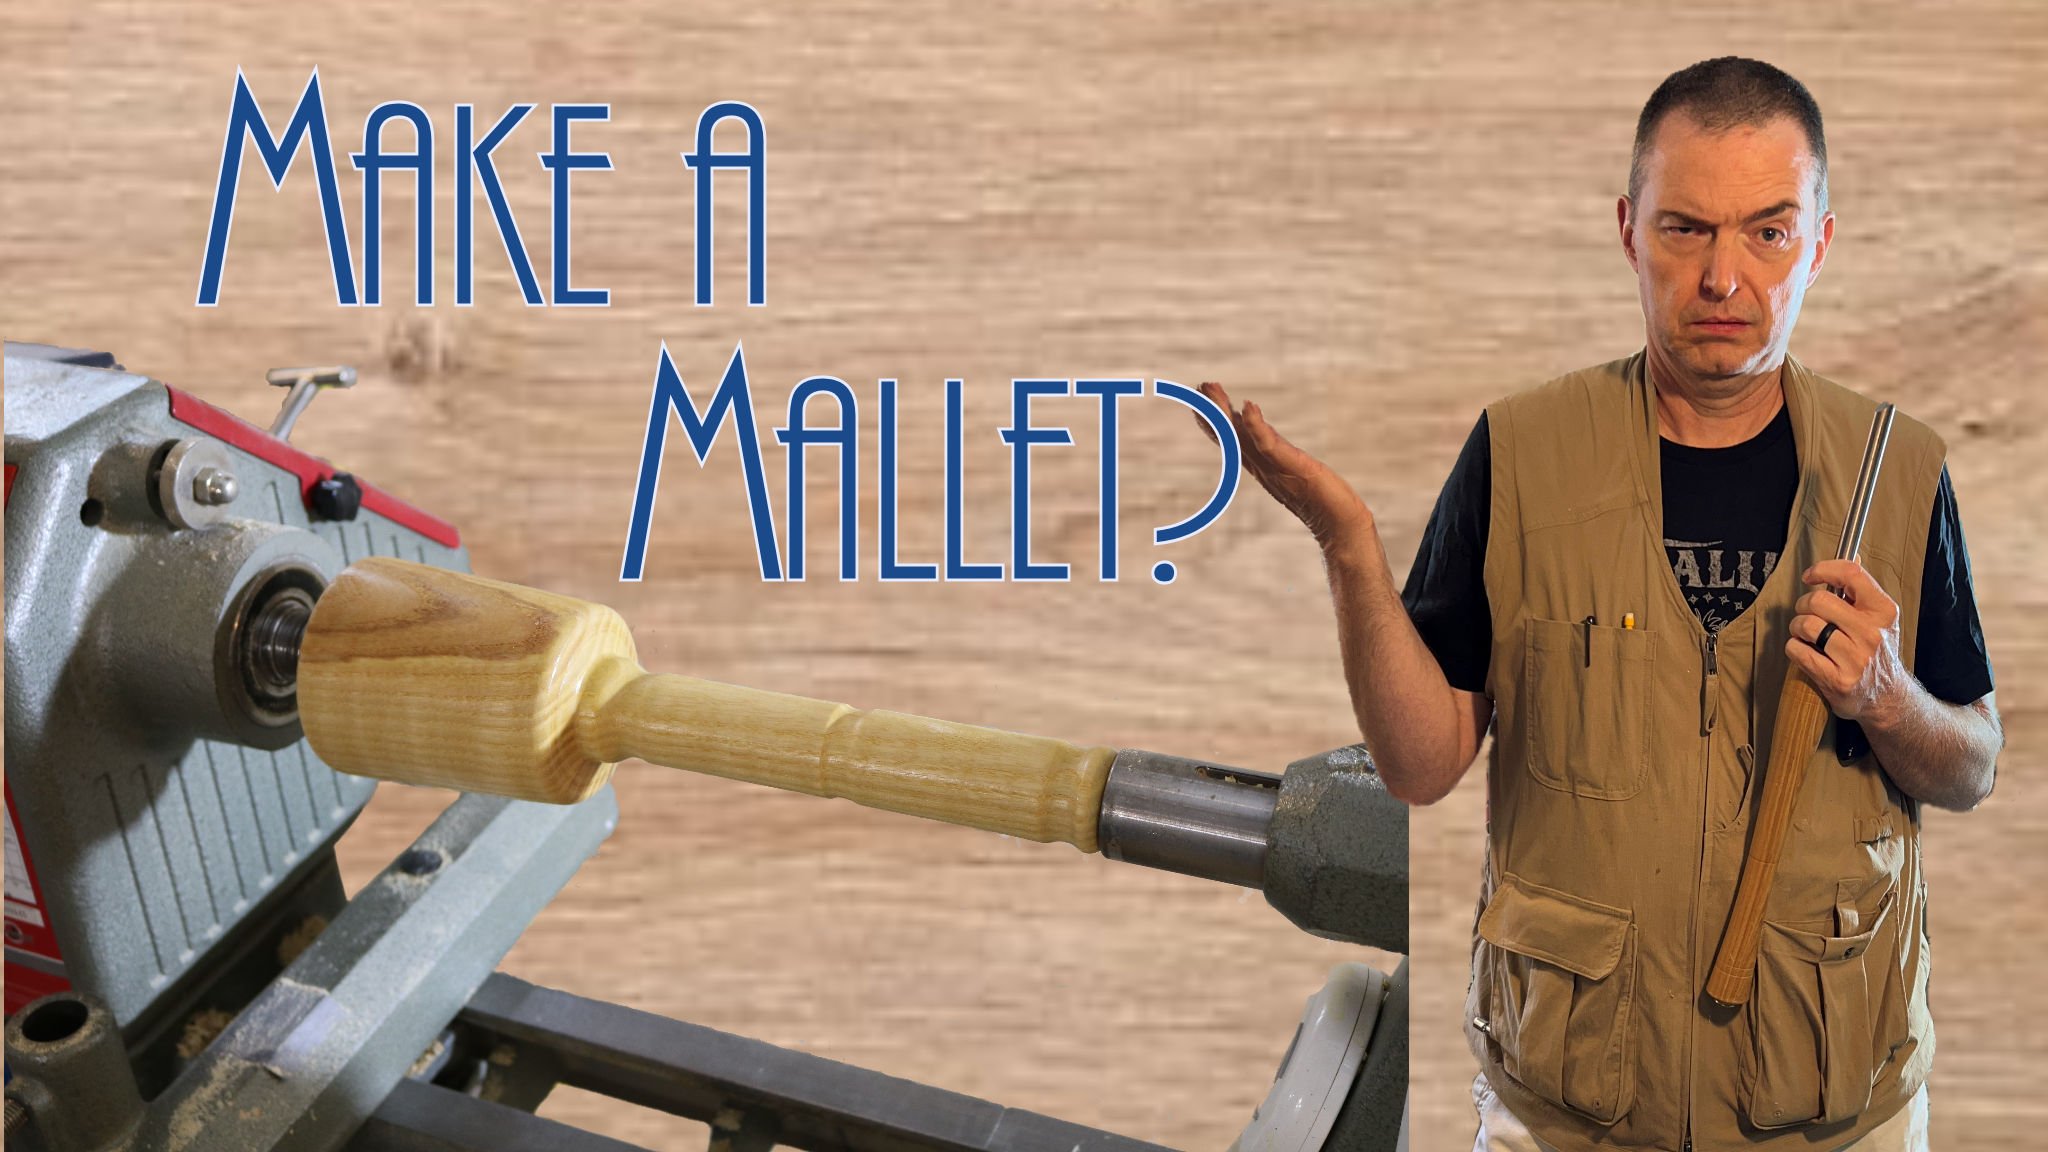
How to Start Woodturning - Making a Custom Mallet - Lesson 4
Welcome to Turning Stitches! I'm Sean, and here we help woodturners learn the craft to begin creating fun projects faster. Now that we have mastered some basic shaping techniques, let’s put it all together into a useful project for your shop. If you missed our lesson on shaping beads and coves (Lesson 3), you can find it here: (https://www.turningstitches.com/s/stories/learnin-turnin-blog-coves-beads-lesson3).
Make sure to sign up for our e-mail list and follow us on social media so you don't miss any of our upcoming lessons.
Mallets are essential tools around the lathe, perfect for creating a center punch on blanks when turning between centers. Let's dive into the process of crafting your own mallet.
Preparing the Blank
For this project, you should have prepared a blank as your homework from Lesson 3. My blank is roughly 4 x 4 inches and 14 inches long. Your blank can vary in size based on the material you have available.
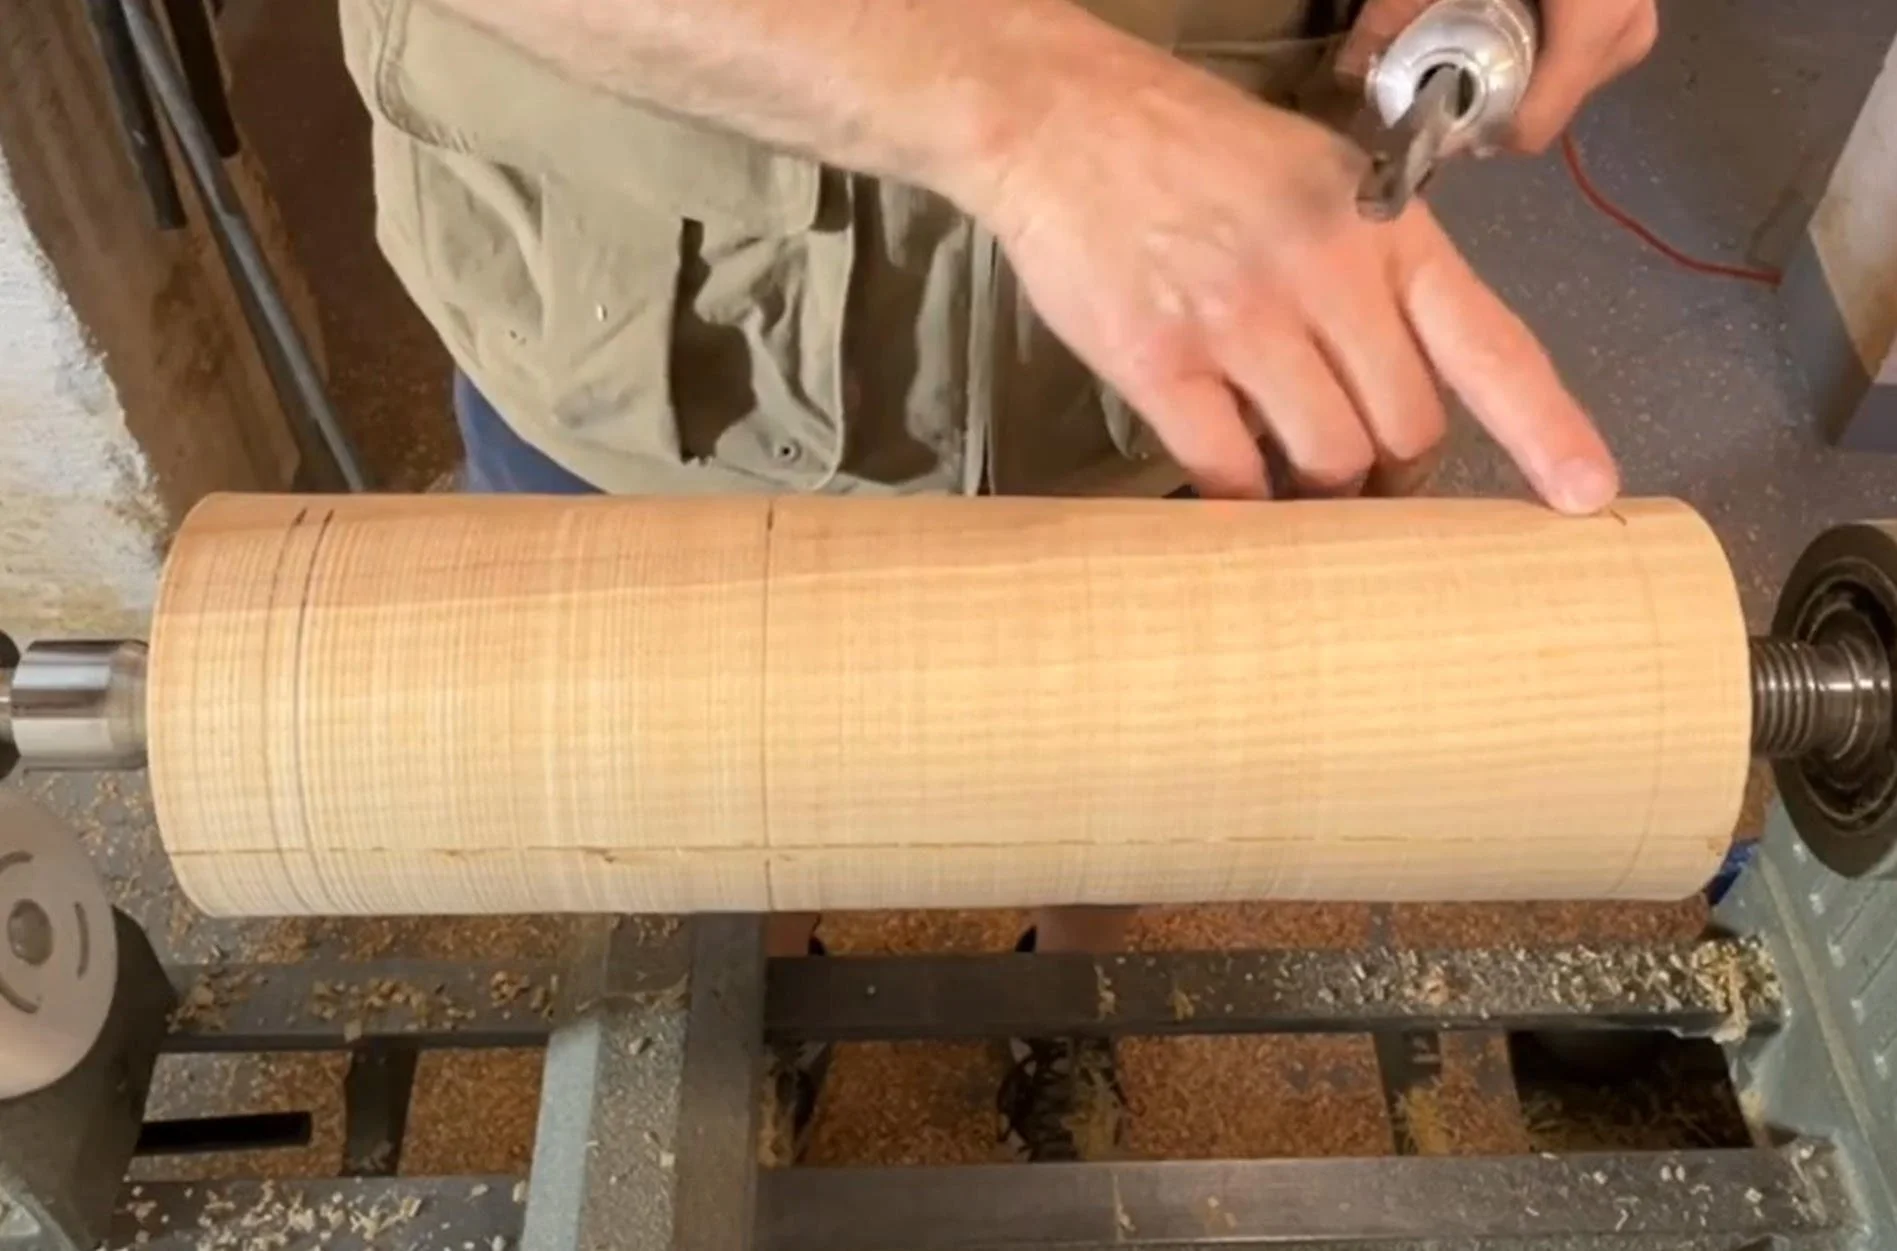
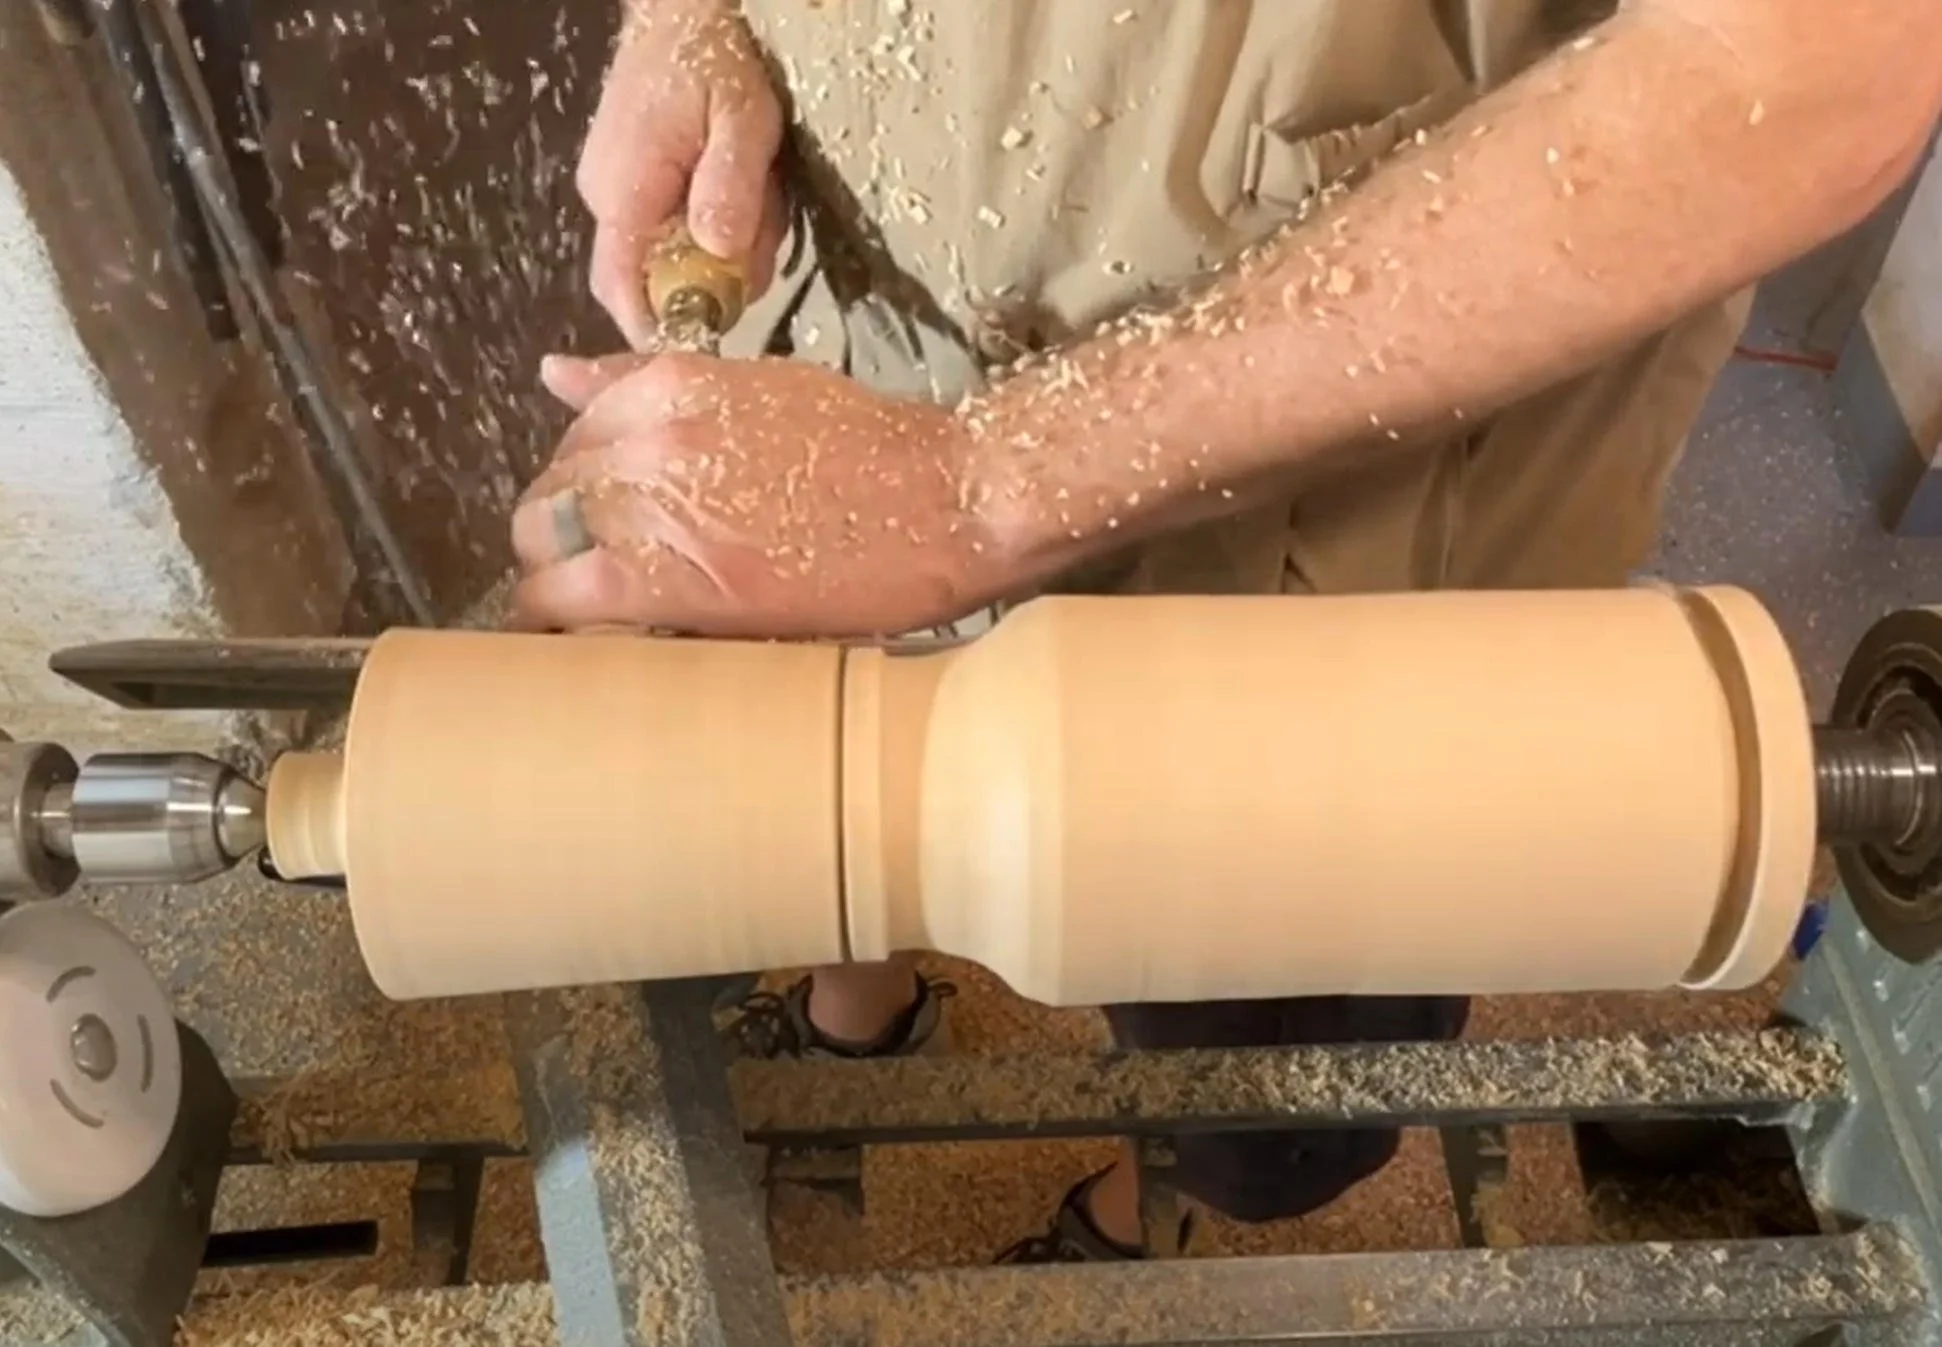
Creating a Cylinder:
Start by creating a cylinder using your roughing gouge (https://amzn.to/3VZQa4n), similar to what we did in Lesson 1.
Tip: You may want to cut off the hard edges at a 45-degree angle using a table saw or band saw, but you can also turn these away on the lathe.
Set your lathe to around 600 RPM to start.
Marking Measurements:
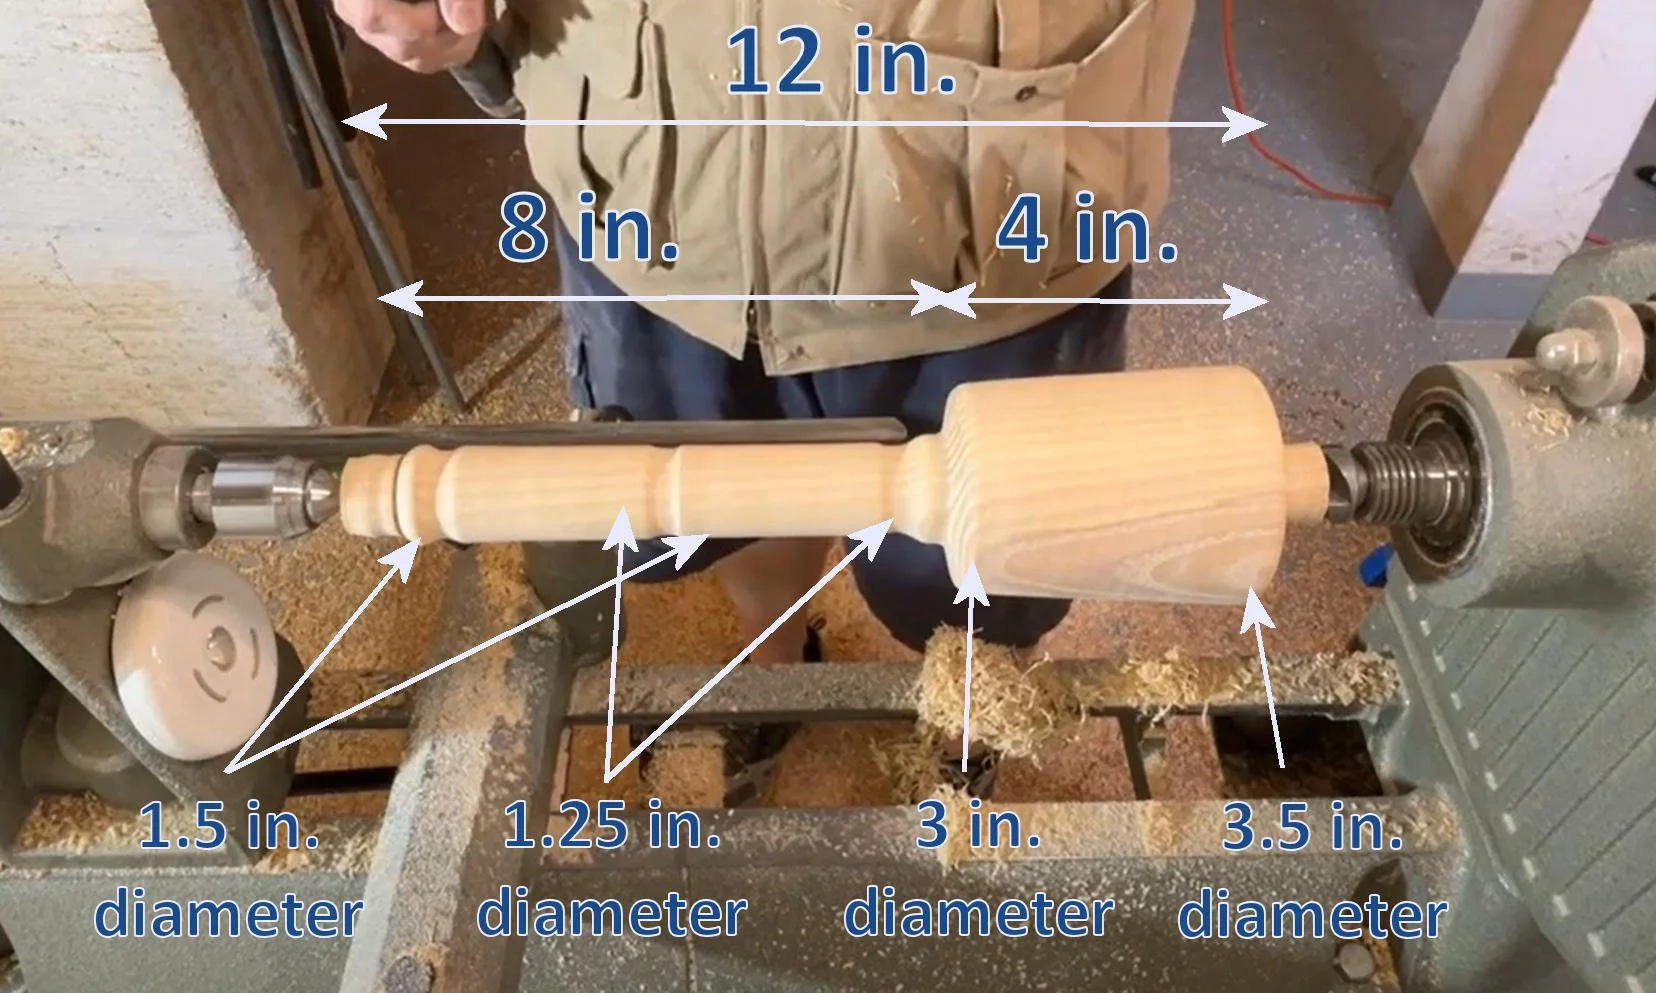
From the tailstock end, mark ¾ to 1 inch from the end.
Add a second mark ¼ inch from the first one—this will be the top of the mallet.
Measure 4 inches from the second mark for the bottom of the mallet.
Measure 12 inches from the second mark for the end of the handle.
Gently turn the cylinder by hand to extend the marks all the way around.
Use your parting tool (https://amzn.to/3xAqJwT) to establish each of these lines.
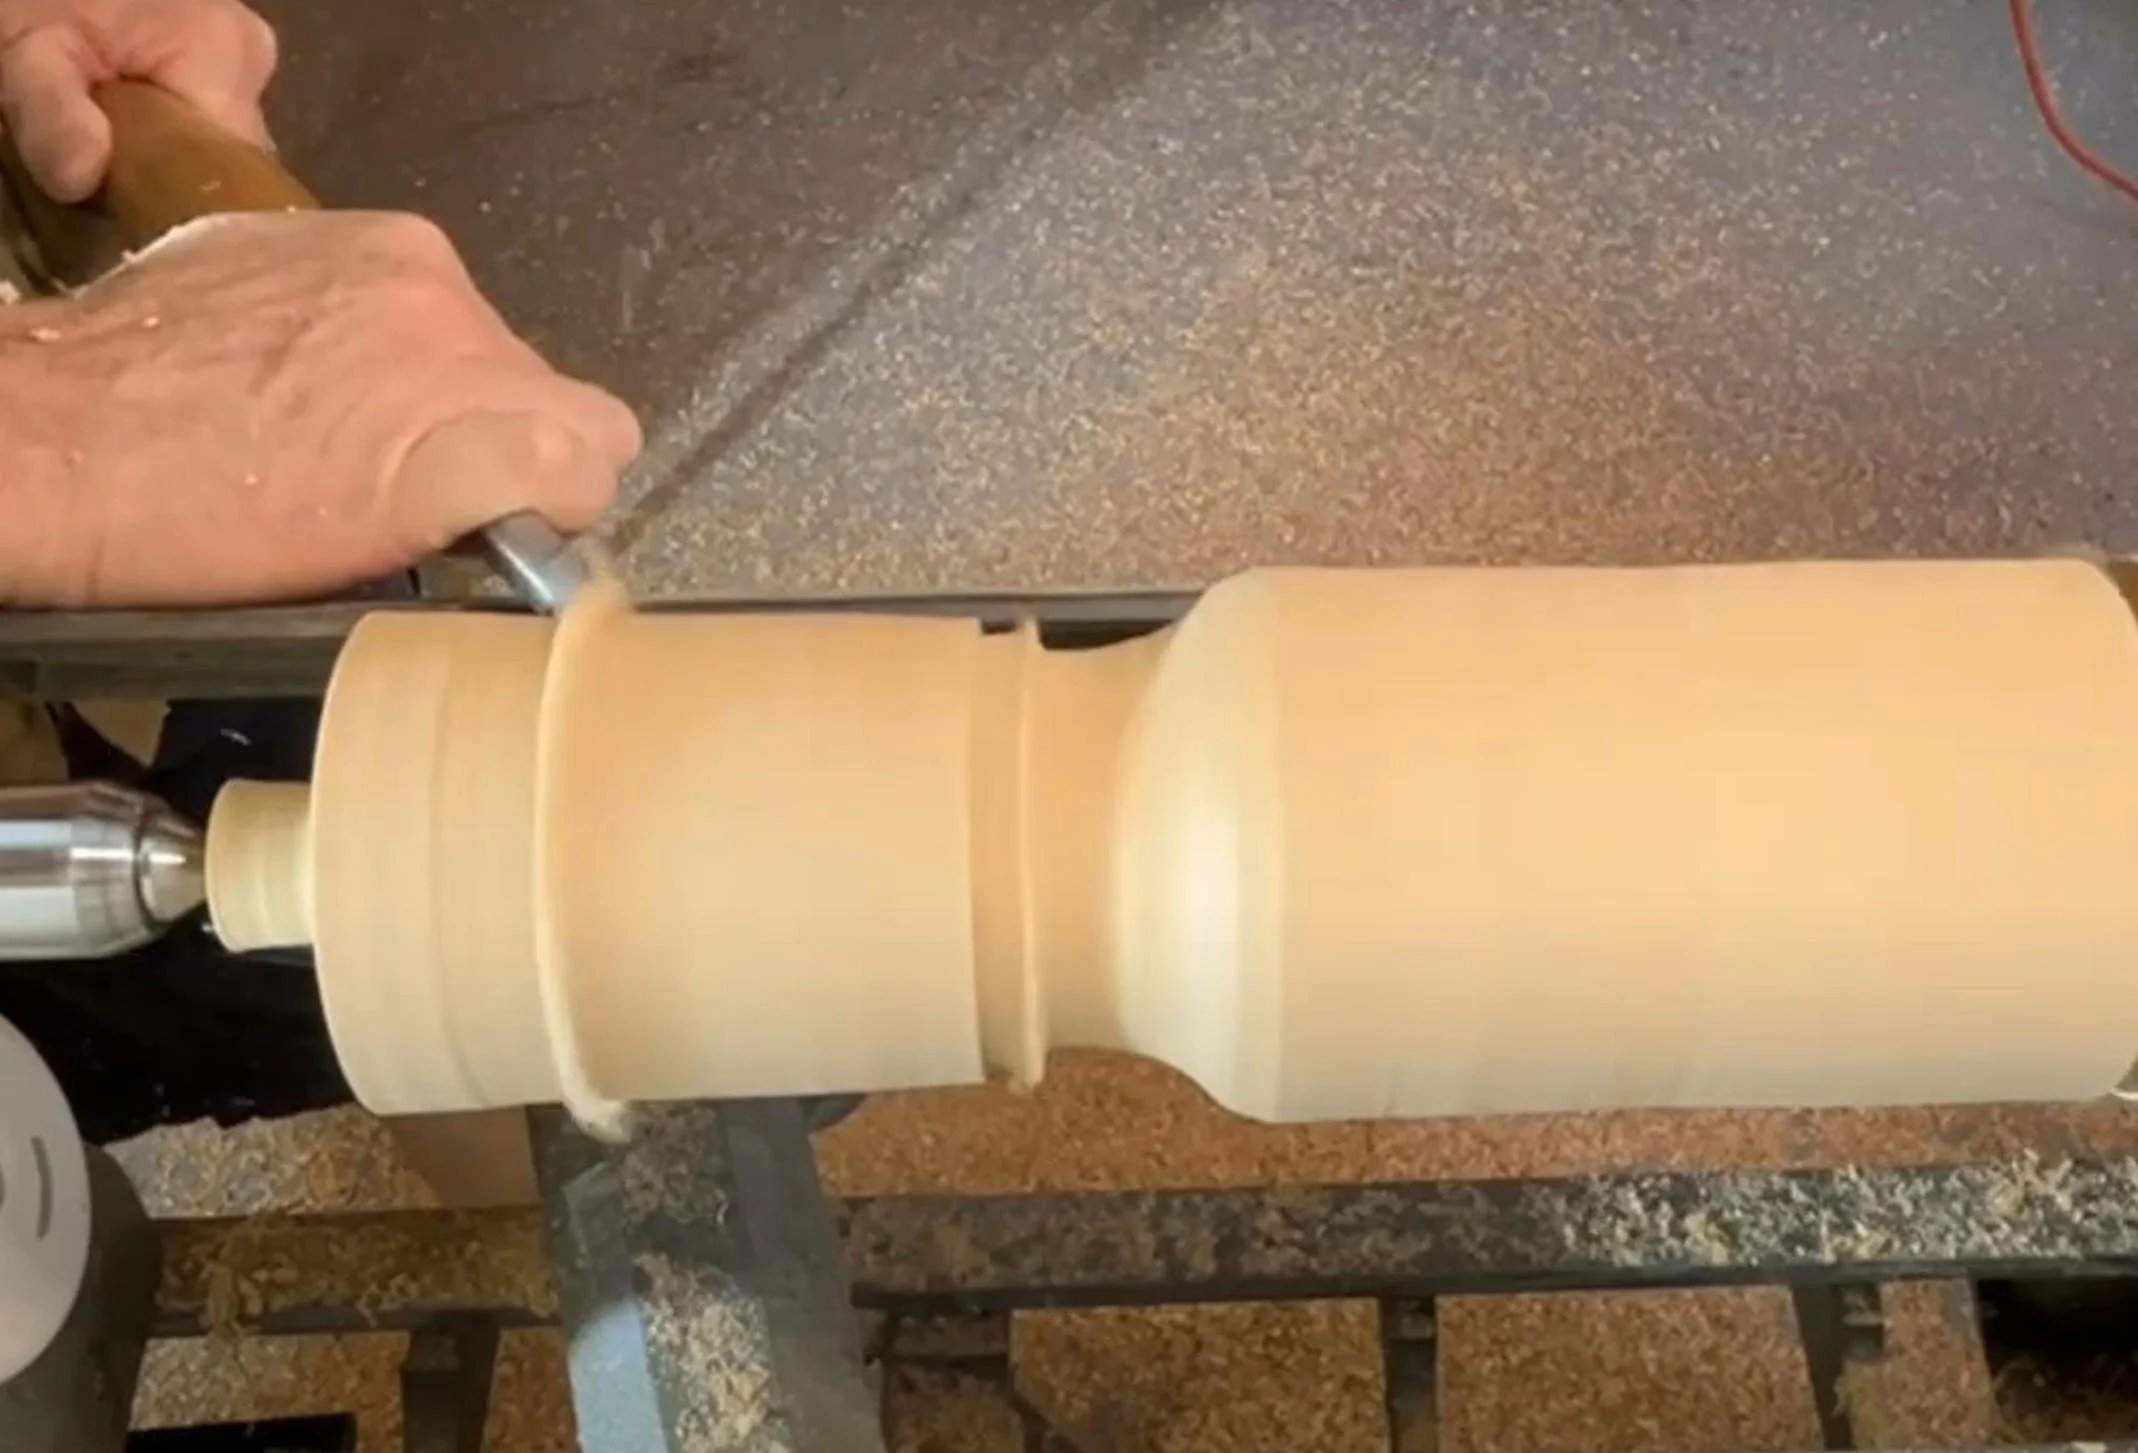
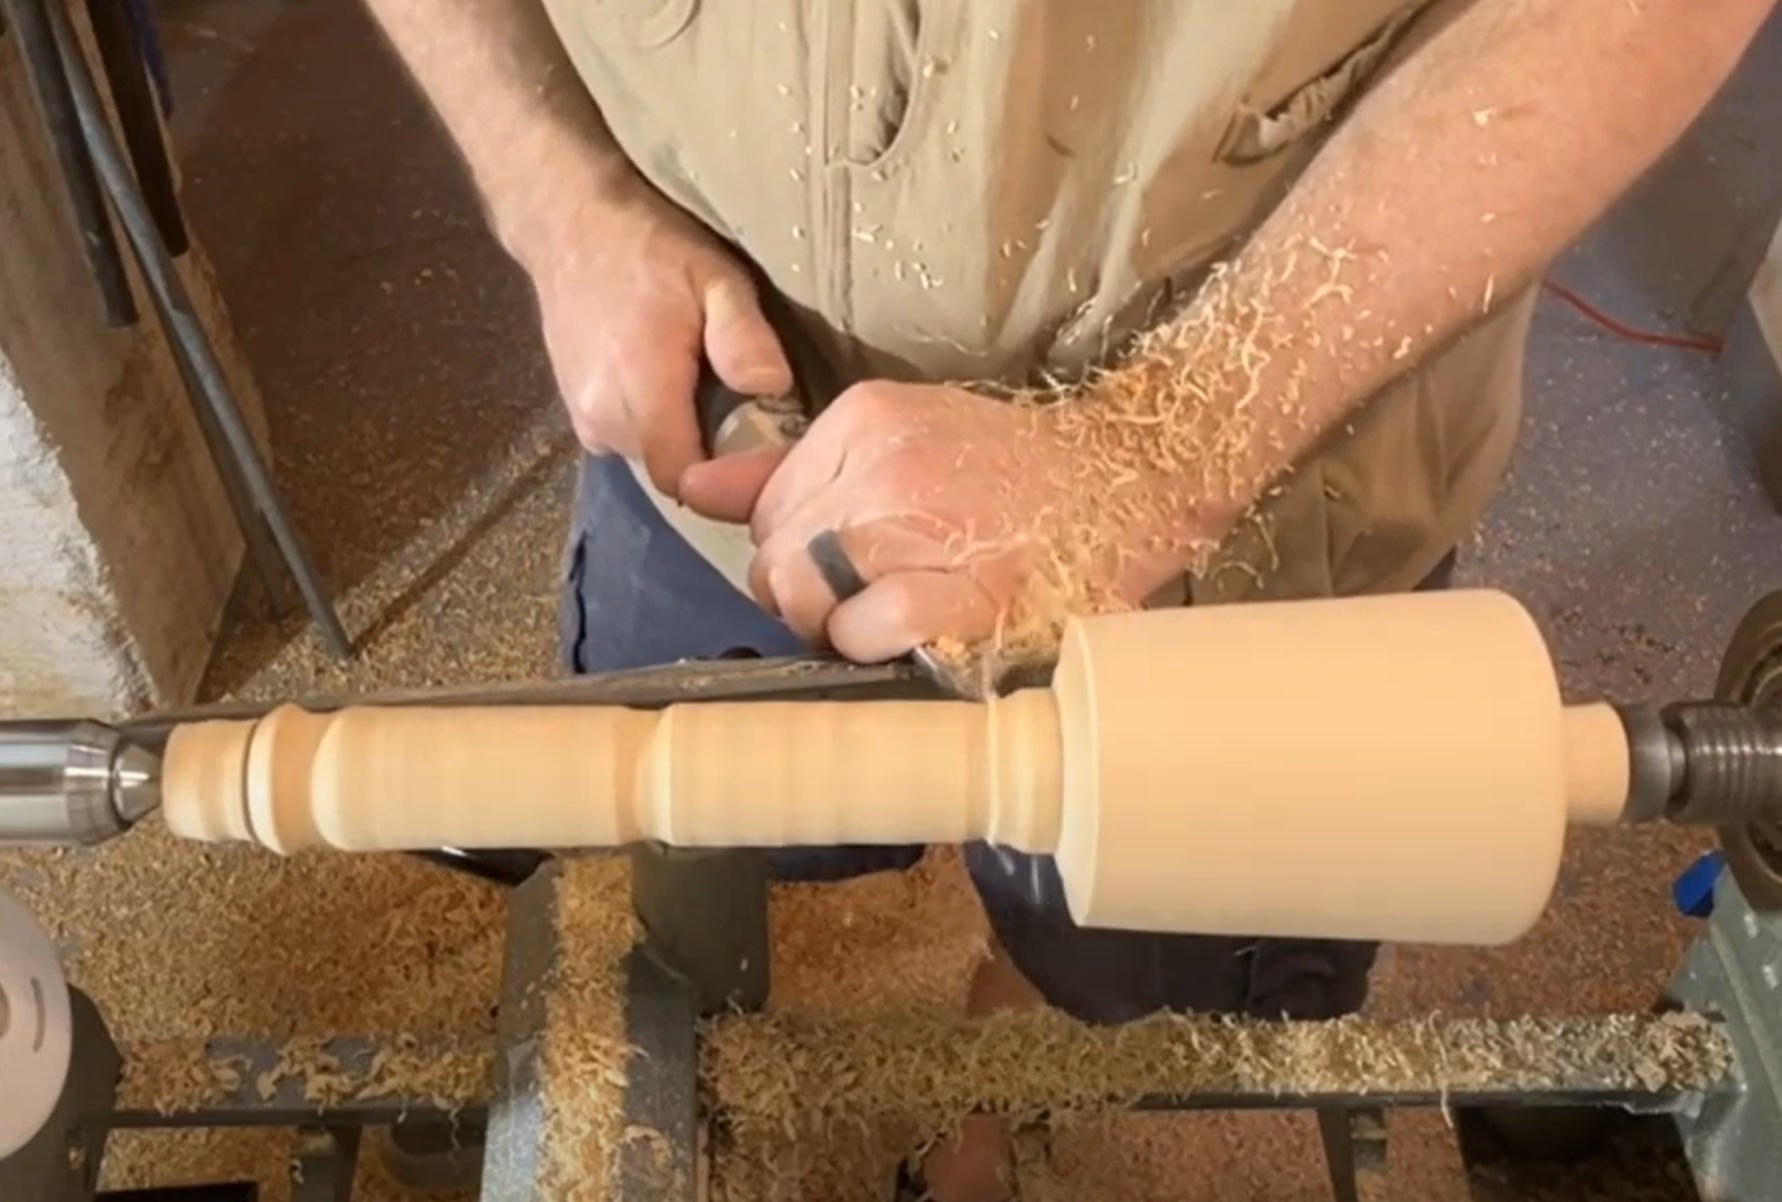
Begin Shaping the Mallet
Removing Waste Material:
Using a ½ inch bowl gouge (https://amzn.to/3SmN0p0) (my favorite tool), start removing waste material.
Begin at the top of the mallet, leaving about an inch of material at the tailstock to flip the piece later.
Work towards the bottom of the mallet head, clearing waste where the handle will be.
Establish the shape of the mallet head, aiming for about 3.5 inches in diameter at the top and 3 inches at the bottom.
Set two pairs of calipers slightly wider than these target measurements to guide your process.
From the top, create a gradual taper downwards, using the bevel of the bowl gouge.
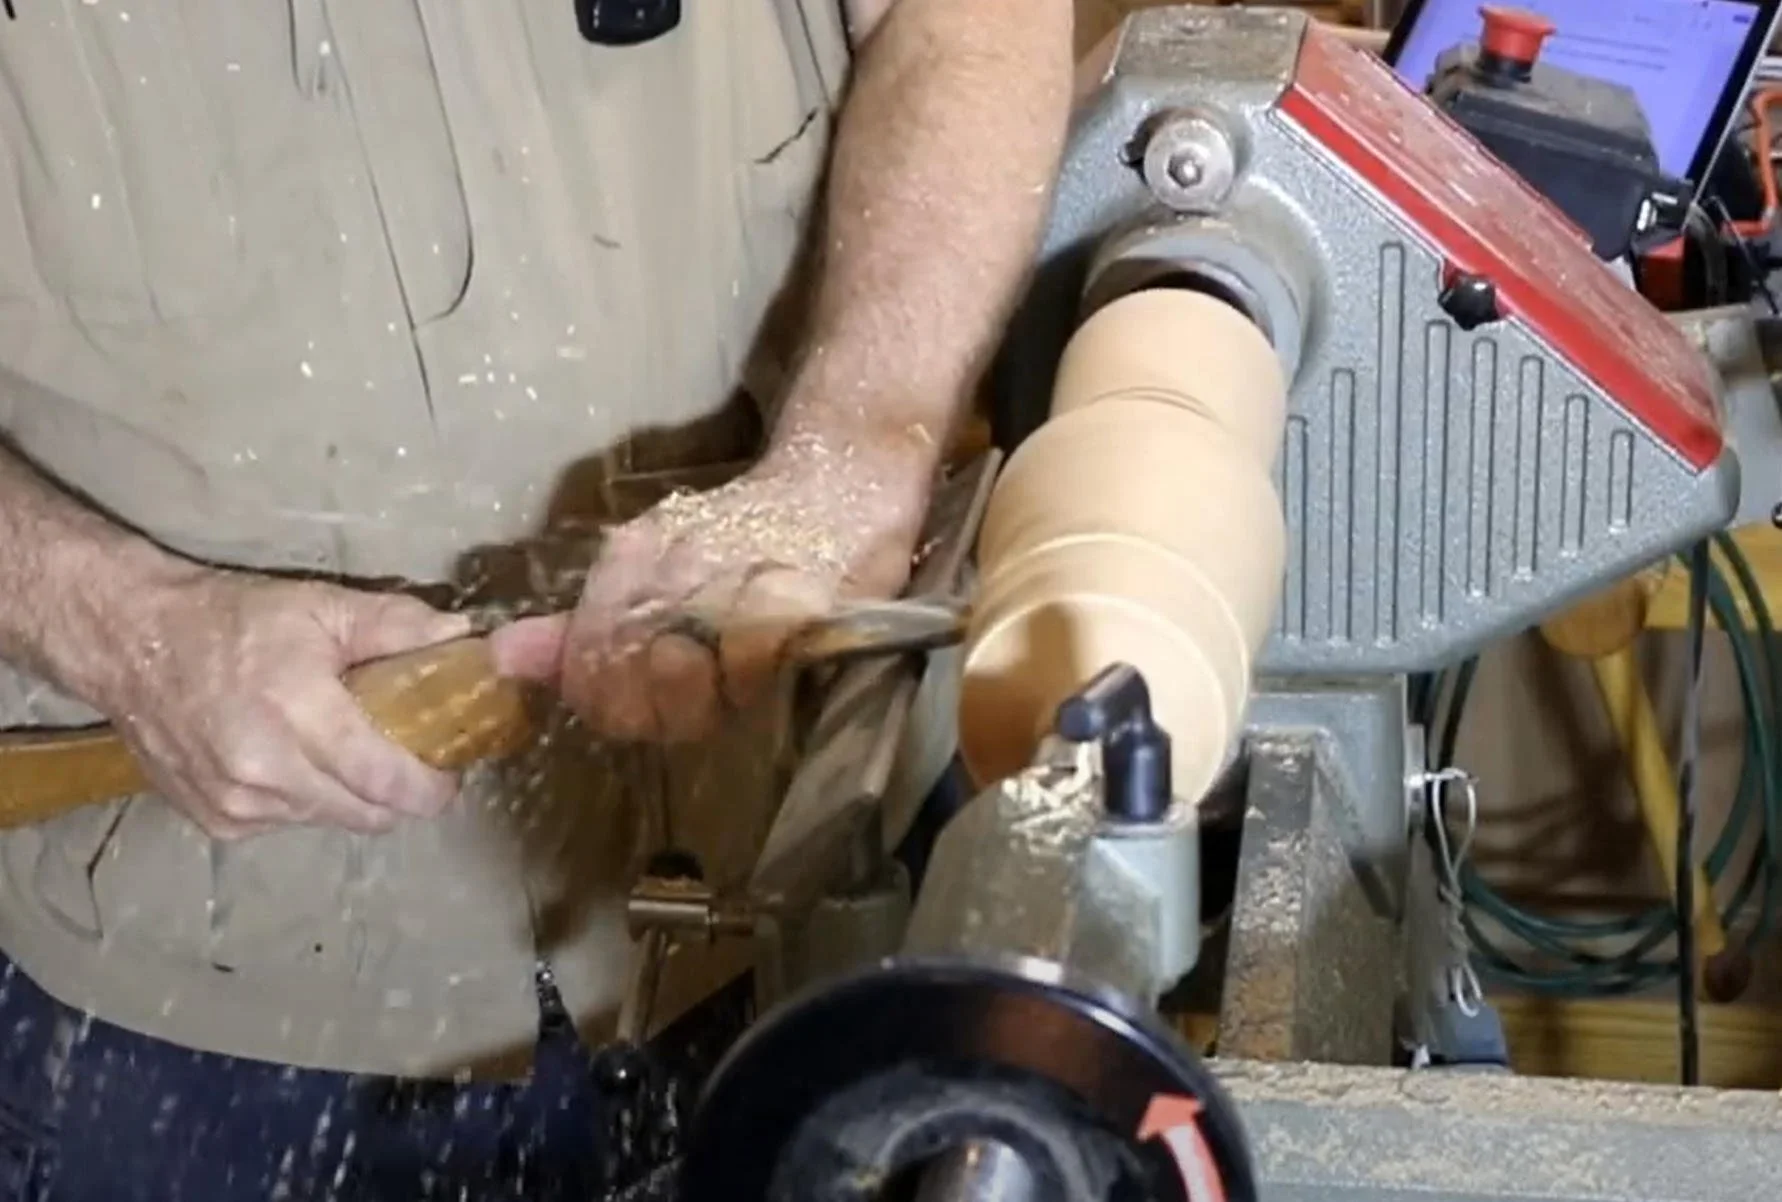
Finalizing the Mallet Head:
Once the diameters are close, round over the edge and create a slight dome at the top.
Use a sharp scraper (https://amzn.to/4diMkJI) to clean off tool marks and smooth out the taper.
Flip the piece so the top of the mallet is at the headstock.
Confirm the length of the handle, aiming for a 12-inch tool length. Adjust as necessary for your material.
Crafting the Handle
Shaping the Handle:
Clear out all the waste material to form the handle.
Aim for a maximum handle diameter of 1.5 inches, using calipers for precision.
Work from the end of the handle towards the mallet head.
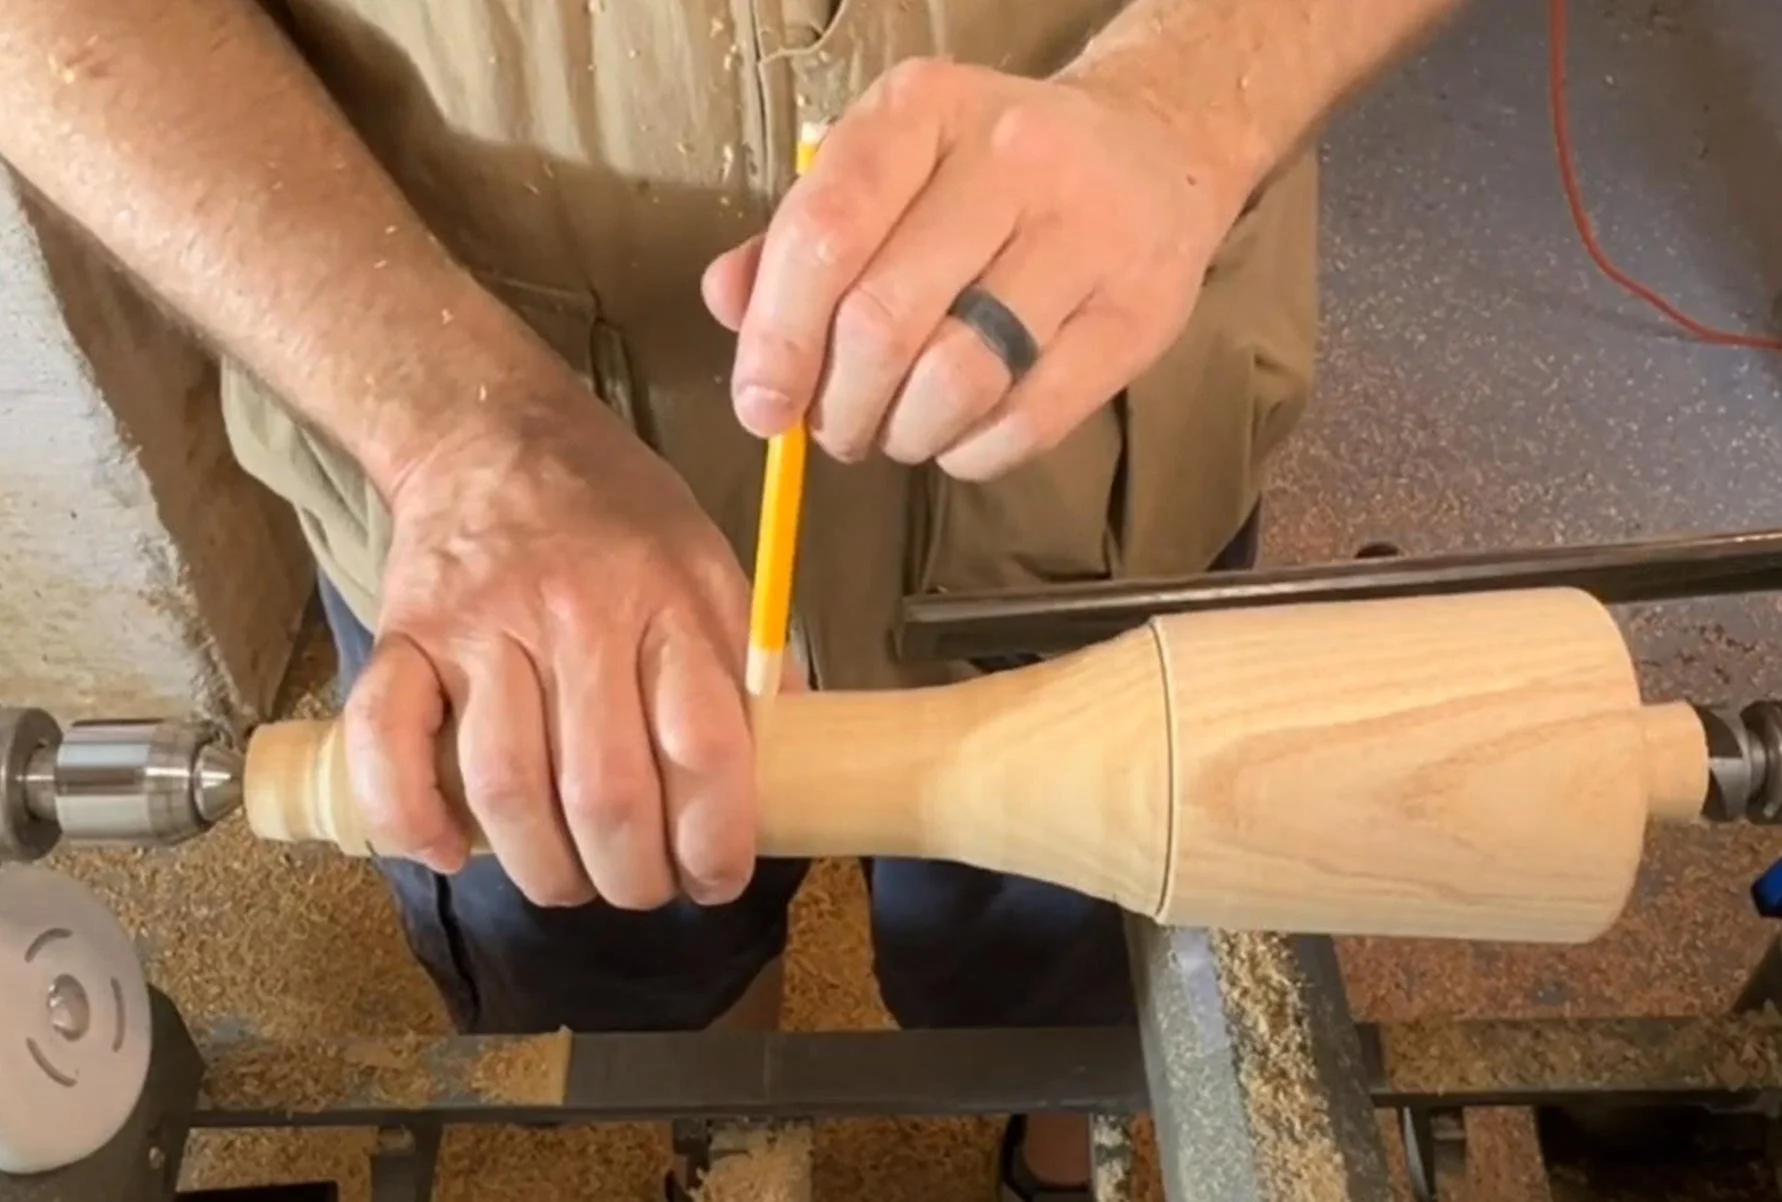
Finalize Handle Shape
Measure some of your favorite tool handles for comfort and adjust the diameter as needed.
Mark spots where your hand grips the handle and create small coves with your detail spindle gouge (https://amzn.to/3zPSIJOf) for your index and pinky fingers to improve grip.
Creating the Taper:
Shape the handle with a slight taper from around 1.5 inches to 1.25 inches.
Create this taper from the end to your finger marks, and again from there to the mallet head.
Finishing Touches
Sanding:
Slow down the lathe to about 325 RPMs for sanding. This helps reduce heat and prevents paper clogging.
I prefer to run my lathe in reverse for better dust collection, but it's optional. Ensure you use a good dust mask or respirator.
Start with 100 grit sandpaper, then progress through 120, 150, to 220 grit. For heavy tool marks, begin with 80 grit.
Increasing lathe speed with 80 or 100 grit can also help remove tool marks quickly.
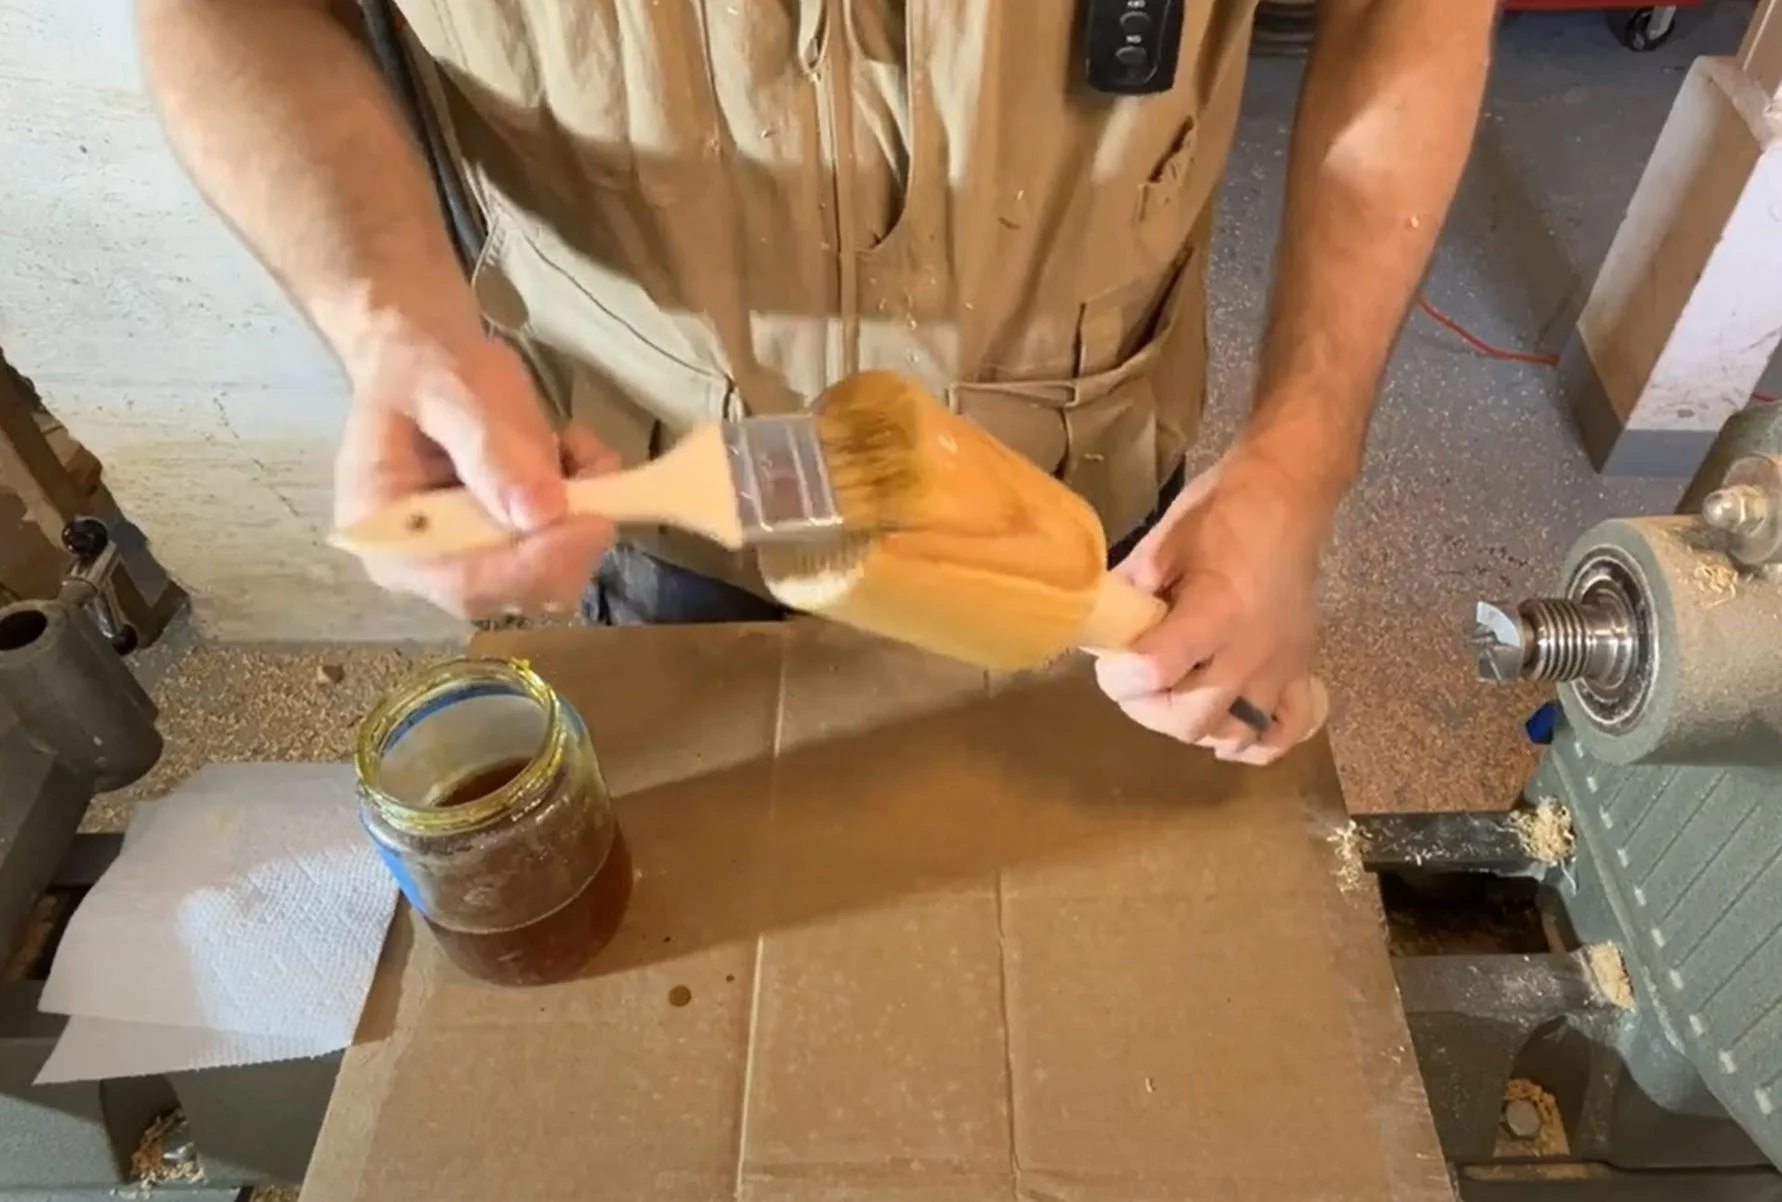
Applying Finish:
Add your favorite finish to the mallet. I prefer using shellac (3-pound cut) as it is quick and easy to apply.
Keep Practicing!
Congratulations, your mallet is now complete! Keep practicing, and in our next lesson, we will make a garden tool called a dibbler.
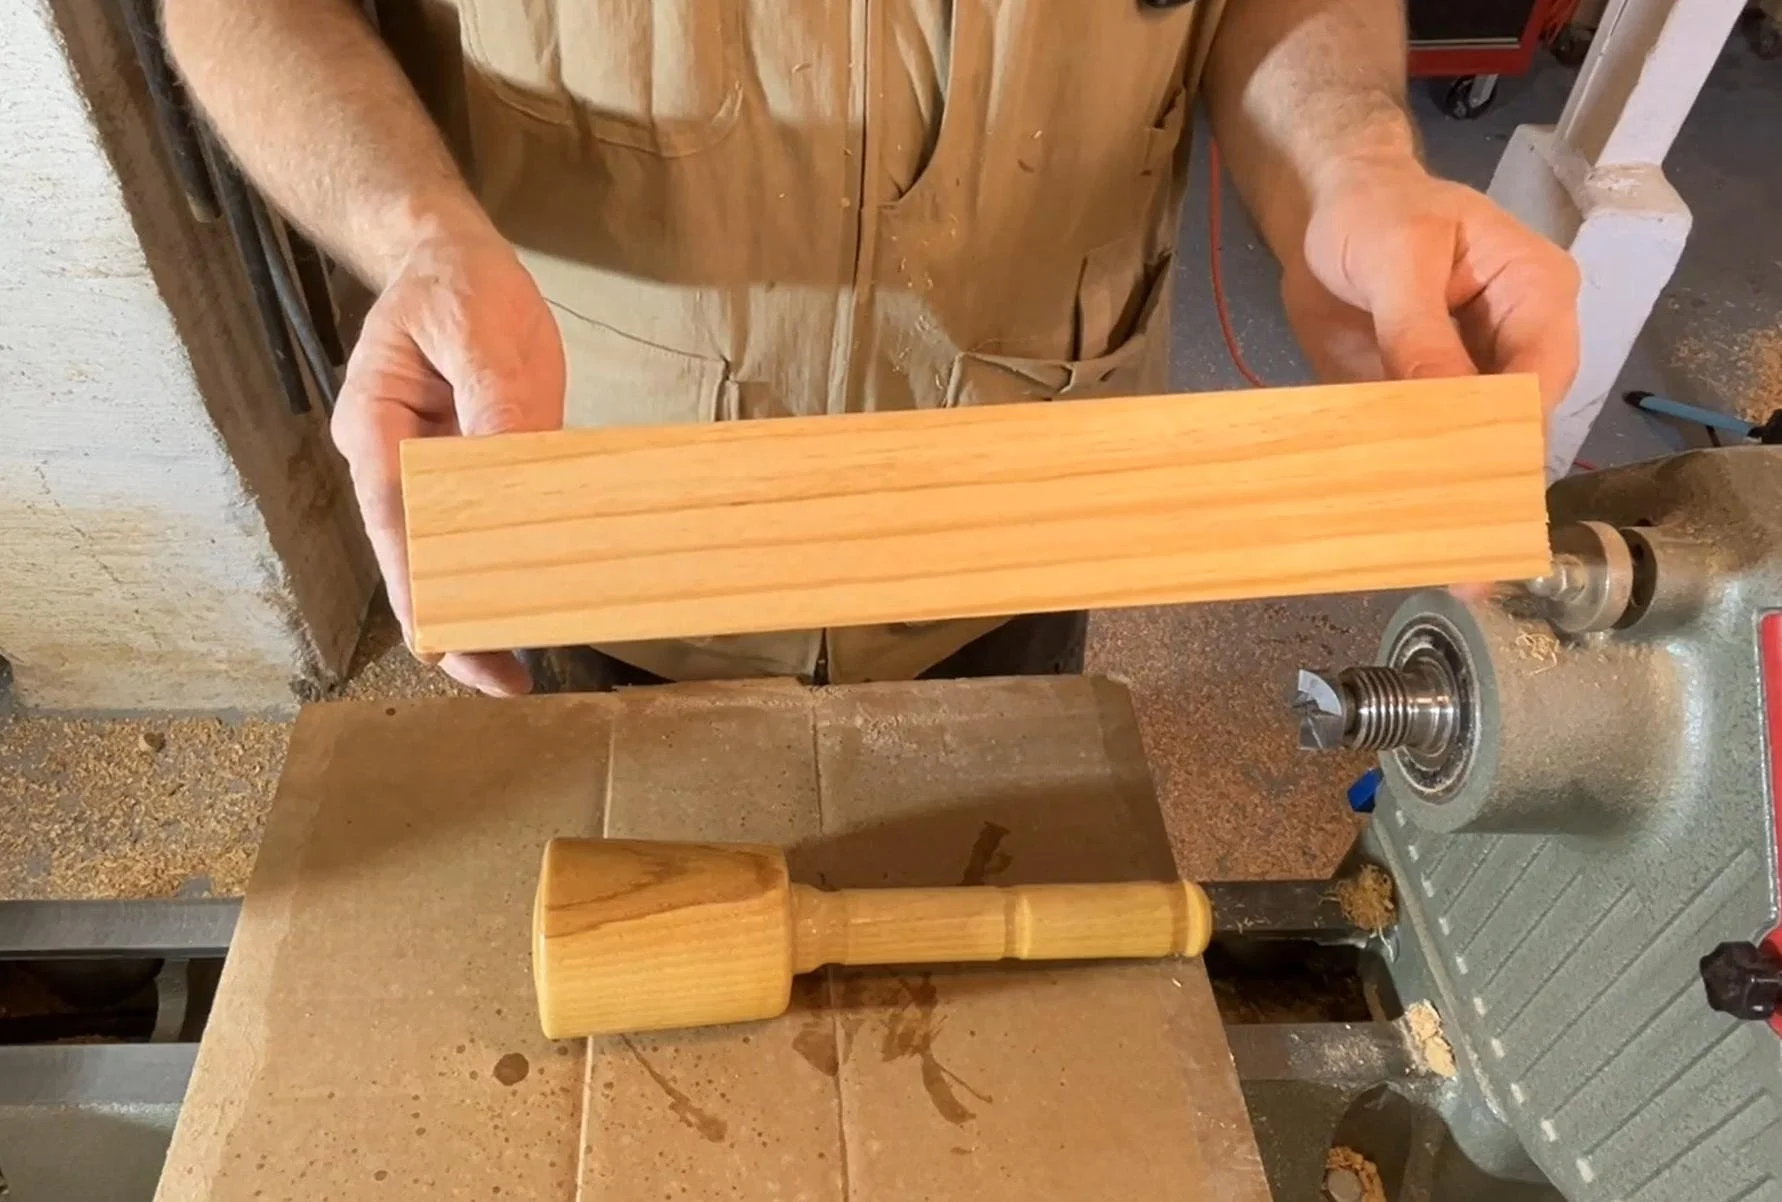
Homework
For this project, you will need a blank that is 2 x 2 inches and 10 to 12 inches long.
Make sure to sign up for our e-mail list and follow us on social media so you know when Lesson 5 is out. I’m looking forward to seeing you in the next lesson!
Some of the links on this page are affiliate links, meaning, at no additional cost to you, I may earn a commission if you click through and make a purchase.