
How to Start Woodturning - Turning Candle Stick Holders - Lesson 6
Welcome to Turning Stitches! I'm Sean, and I'm here to help you enhance your woodturning skills so you can start creating exciting projects more quickly. If you've been following along, you've already made a mallet and a garden dibble, so let's take those spindle turning skills a step further with a more intricate project: a pair of candlestick holders.
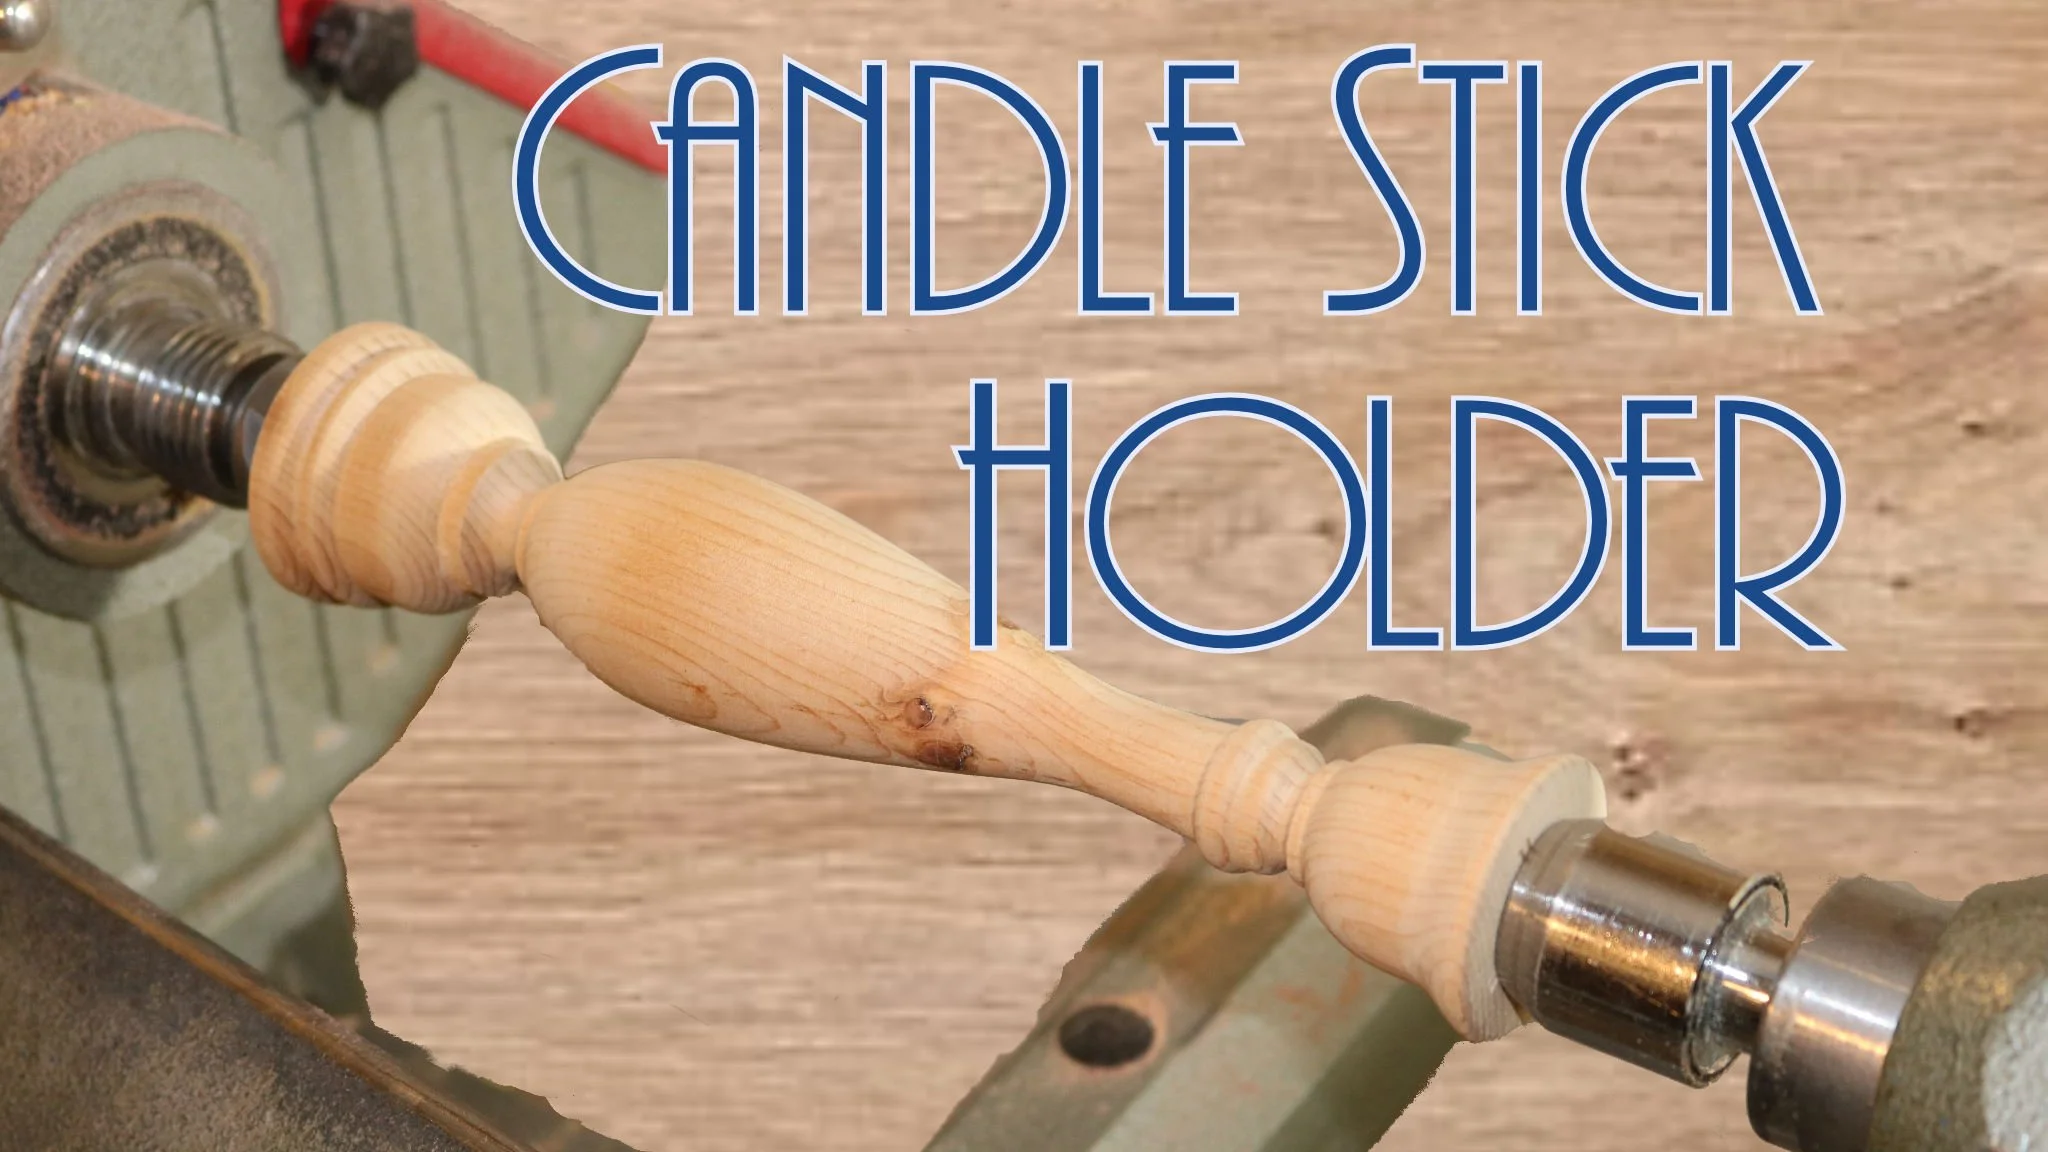
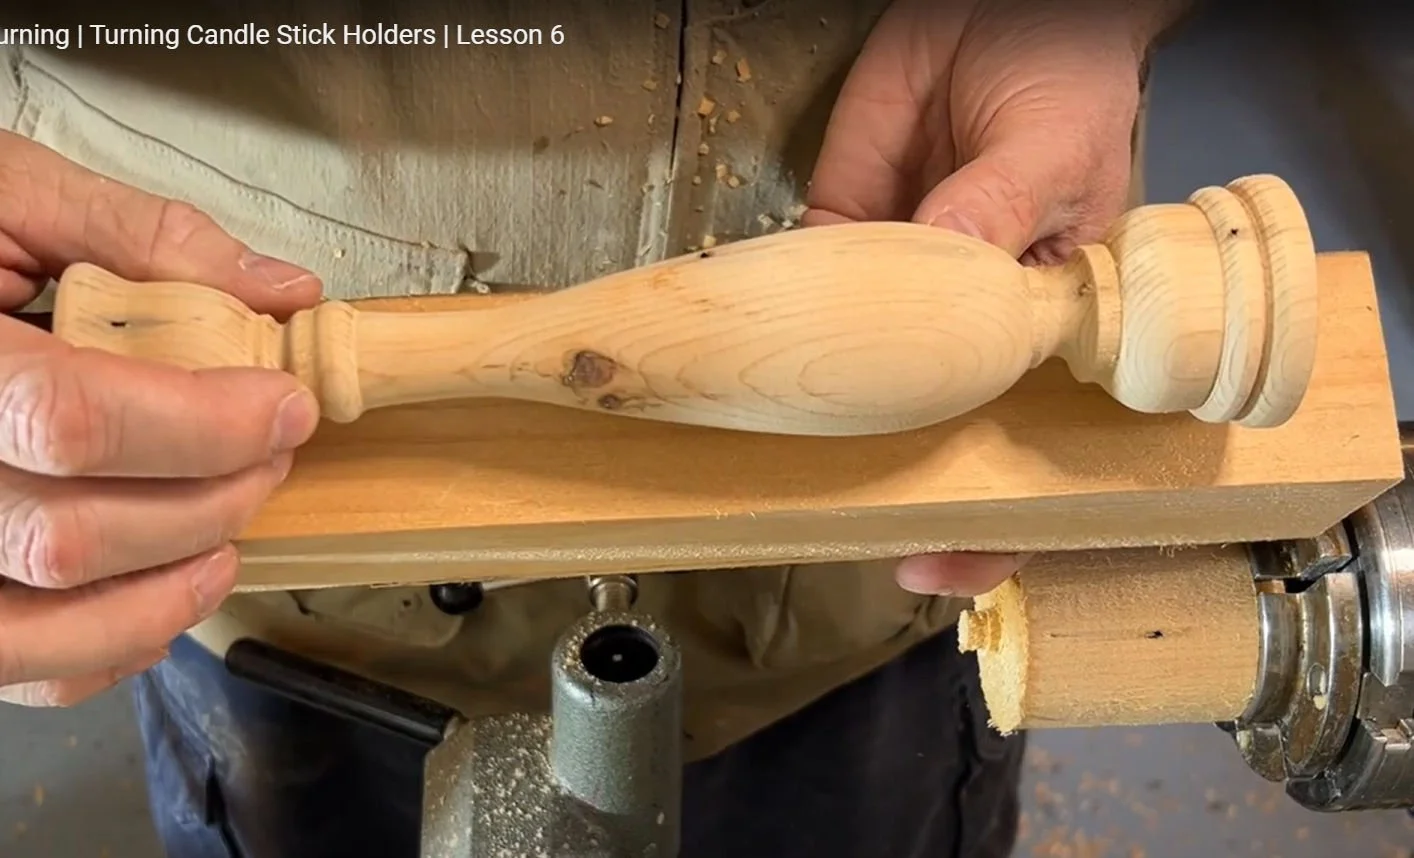
Candlestick holders are a fantastic way to showcase your woodturning abilities while adding a touch of handmade elegance to your home décor. Today, we'll create a pair of holders for taper candles. I’ll guide you through every step, from shaping the wood blank to drilling the hole for the candle.
Preparing Your Materials
For this project, I’m using a wood blank that’s roughly 2 x 2 inches and 12 inches long. Your blank size can vary depending on the material you have available. We’ll begin by turning the blank into a cylinder using a roughing gouge (https://amzn.to/3VZQa4n)—just as we did in Lesson 1. I’m cranking up the speed to 1,500 RPMs to get started.
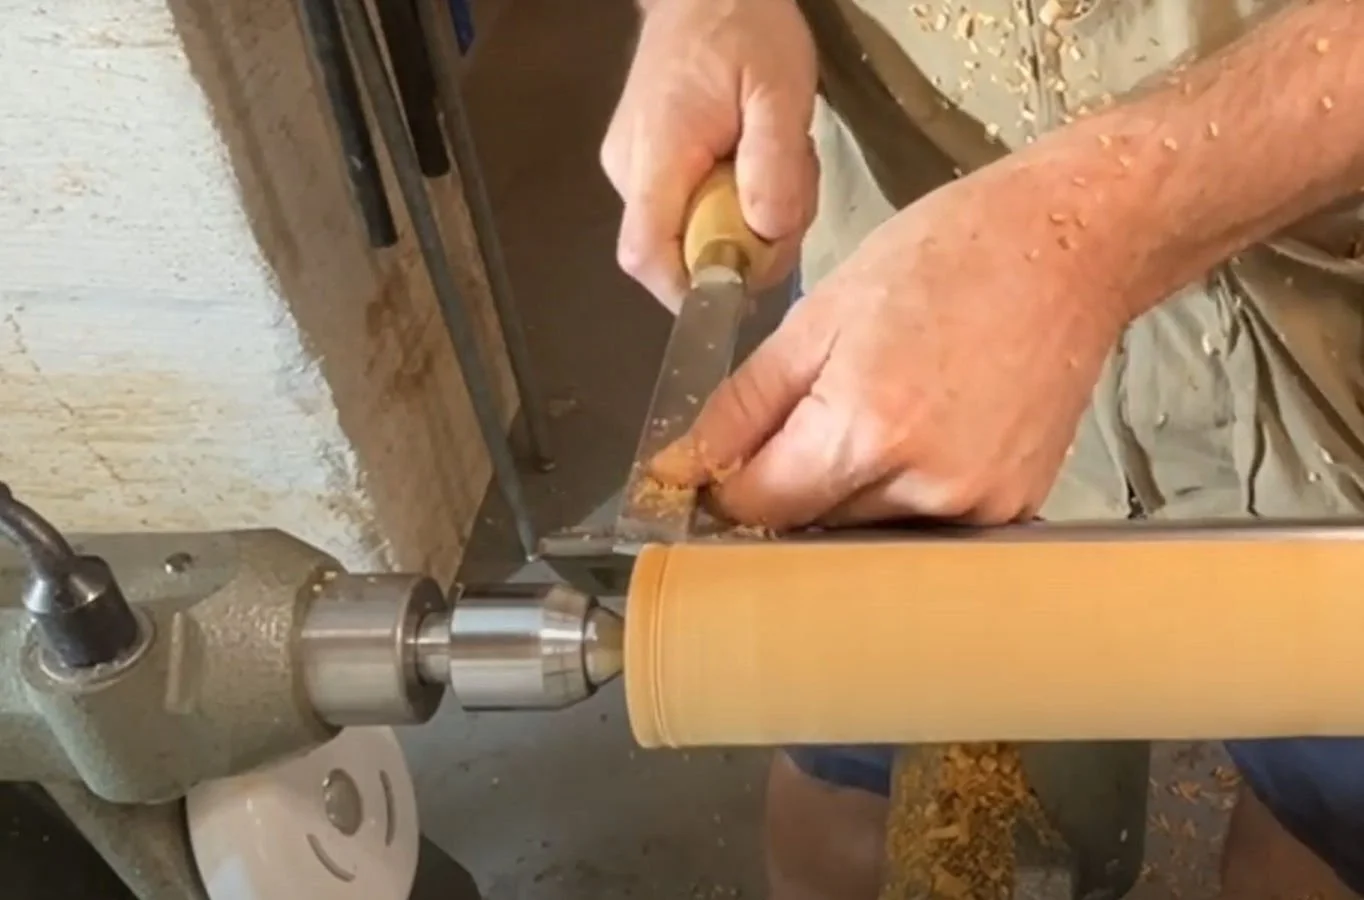
Once your cylinder is ready, it’s time to create a tenon at the tailstock end. This tenon will be useful later when we drill the hole for the candle using a four-jaw chuck. If you don’t have a chuck, you can skip this step. After forming the tenon, flip the workpiece end to end.
Creating a Story Stick for Precision
This candlestick holder design is inspired by a pair we have at home, so there are quite a few measurements involved. To ensure accuracy, I recommend making a story stick—a simple tool that allows you to transfer measurements directly to your workpiece. Cardboard works well for this.
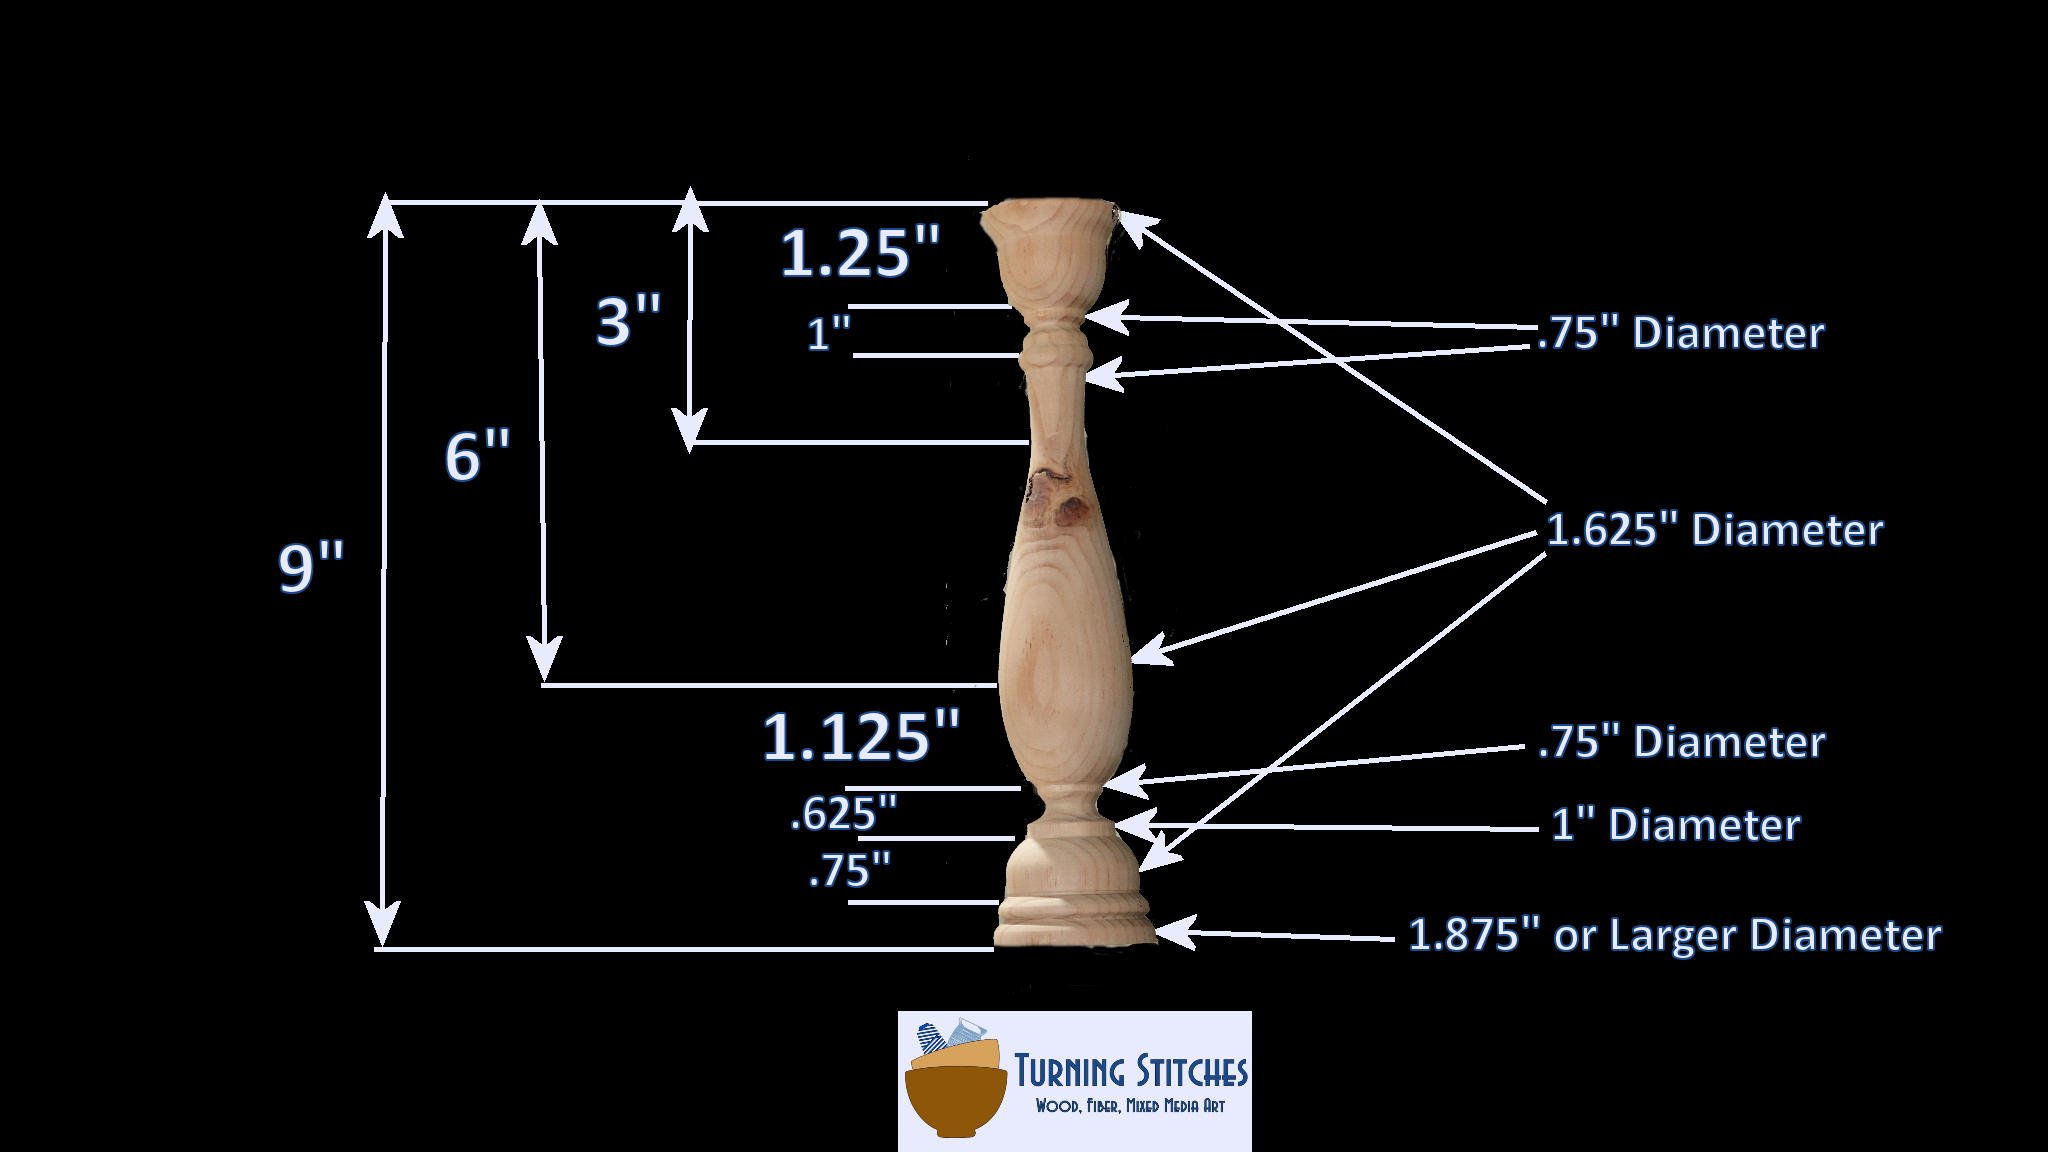
Here are the measurements you’ll need:
Mark ¼ inch from the tailstock end.
Add a second mark 1¼ inches from the tailstock end.
Measure ½ inch from the second line for the third mark.
Measure another ½ inch from the third line for the fourth mark.
From the tailstock end, make a mark at 3 inches, and another at 6 inches.
From the 6-inch mark, add another mark at 1⅛ inches.
Add a mark ⅝ inch from the seventh mark.
Make another mark ¾ inch away from the eighth mark.
From the ninth mark, add a mark ¼ inch away.
Finally, mark 9 inches from the tailstock—this will be the bottom of your candlestick holder.
Take a moment to transfer these measurements to your story stick and use it to re-mark your workpiece.
Shaping the Candlestick Holder - Top
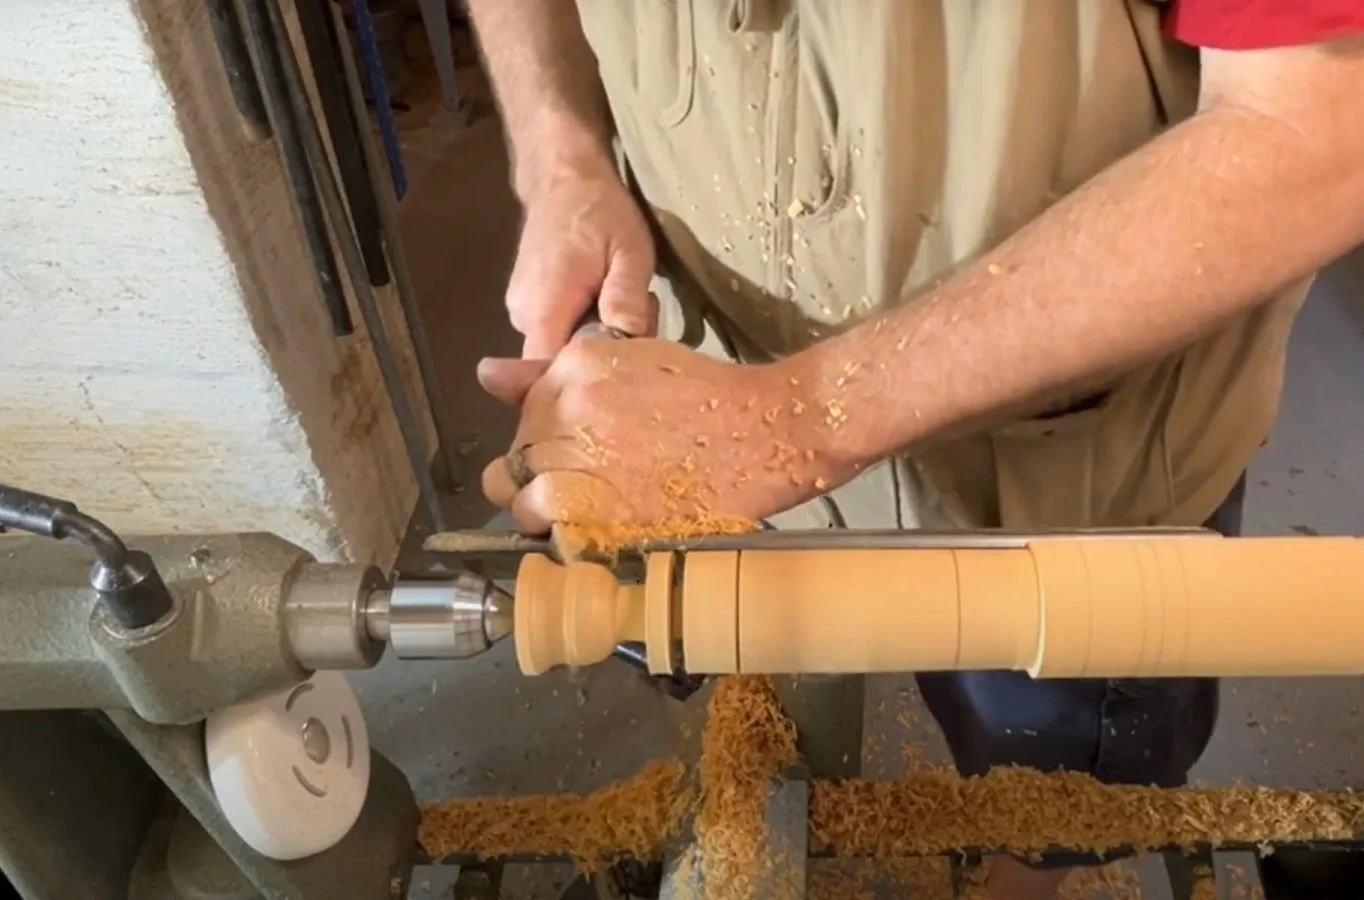
Now, we’ll begin shaping the candlestick holder. Start by using your skew chisel (https://amzn.to/4d5nOve) or spindle gouge (https://amzn.to/3zPSIJO) to reduce the cylinder to our major diameter of 1⅝ inches, stopping about 1½ inches from the bottom.
Next, establish all the critical elements:
Use your parting tool (https://amzn.to/3xAqJwT) to create fillets about ¾ inch in diameter at lines 2, 3, and 4.
Use your skew chisel to create V notches at lines 5 and 6. Be gentle with the notch at line 6 to preserve the major diameter.
Starting from the tailstock end, shape the top of the candlestick holder. The goal is to create a tulip or flower shape by carving a slight cove just in from the end and rolling it into a bead that connects to the top of the first fillet. Next, cut a narrow cove between the first two fillets, removing some of the fillet shoulders in the process. To finish the top, roll a bead between the 2nd and 3rd fillets.
Shaping the Candlestick Holder - Taper & Bottom
To shape the taper, start near the top at the 3rd fillet. Cut a cove down to our minor diameter of ⅝ inch where our V notch is and taper down toward the minor diameter. Then, roll a bead from the major diameter to the 4th fillet.
For the base, use your parting tool to create a 5th fillet with a 1-inch diameter at line 8. Cut a narrow cove between the 4th and 5th fillets. From the 9th mark, create a flat spot at our major diameter of 1⅝ inches, then roll a bead into the 5th fillet. Use your skew chisel to cut a V notch at the 10th line and a deeper V notch at the 11th line, which will be the bottom of the candlestick holder. Roll beads from the bottom into the V notch and again into the longer bead at the maximum diameter.
Finishing Touches
With the shaping complete, it’s time to refine the cuts. Sand the candlestick holder, starting with 100-grit sandpaper and progressing to 220-grit for a smooth finish.
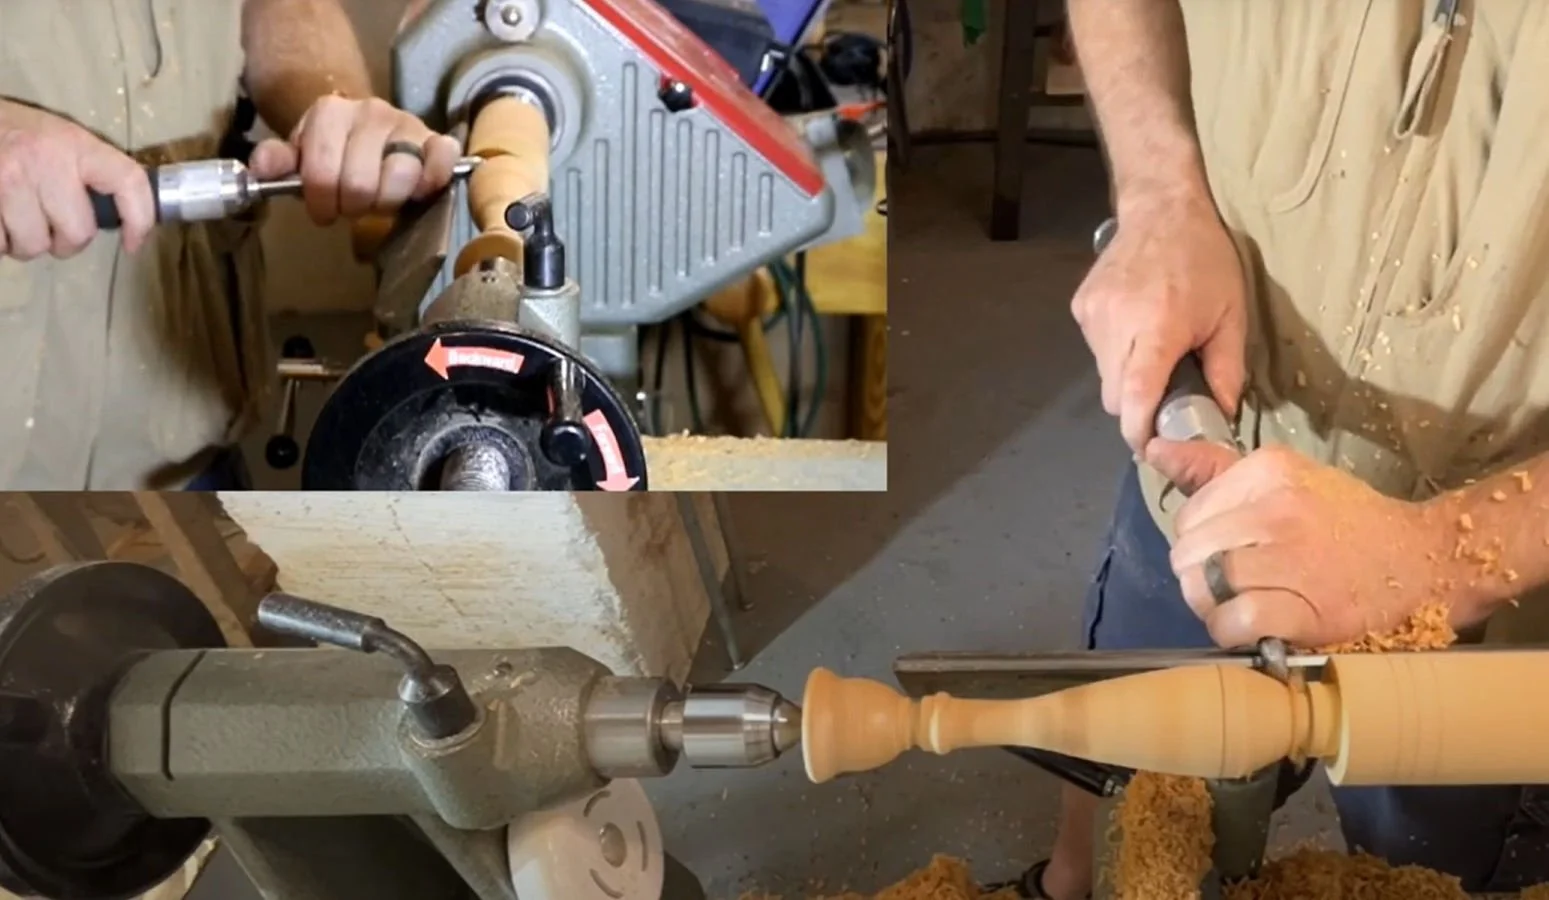
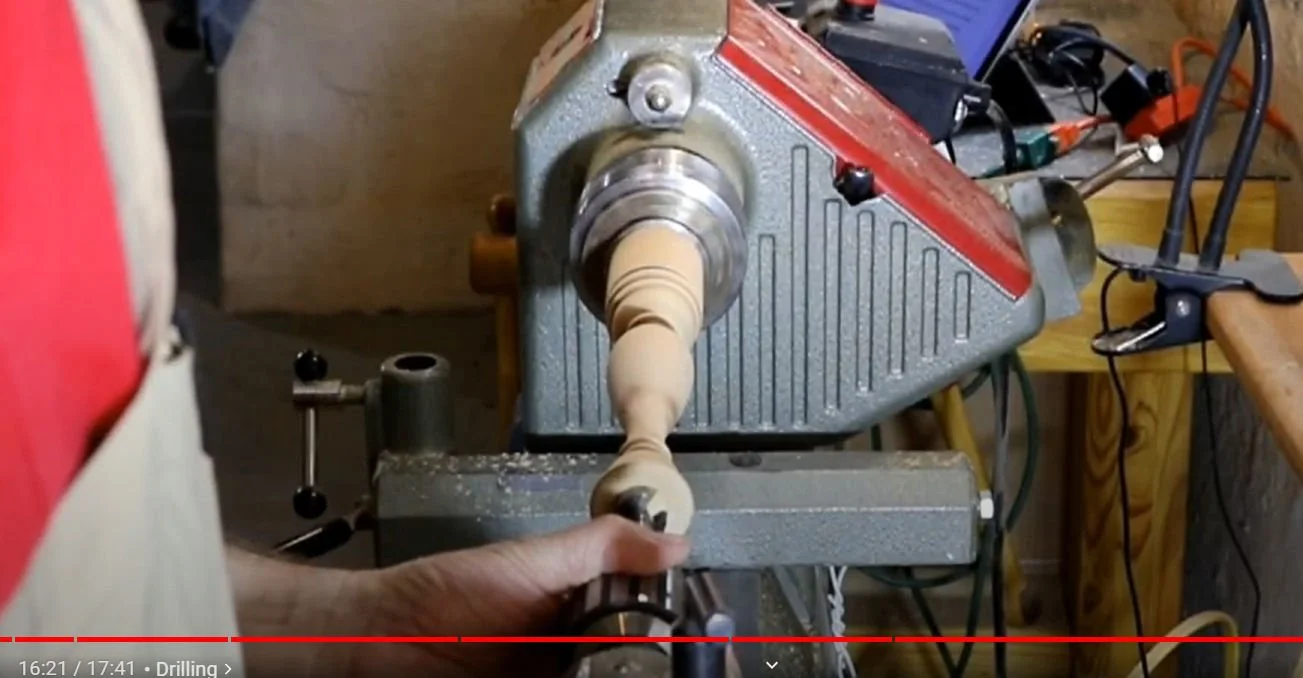
Next, we need to drill a hole at the top for the candle to sit in. I recommend using taper cups (https://amzn.to/46FjpgG) to ensure a consistent fit for the candle. For this, you’ll need a ⅞ inch hole that’s at least ¾ inch deep. Use your four-jaw chuck (https://amzn.to/3YE1eG6) to hold the workpiece at the lathe and a drill chuck in the tailstock for drilling. Lower the lathe speed to around 300 RPMs, then drill the hole with a ⅞ inch Forstner bit. If you don’t have a four-jaw chuck or drill chuck, no worries—you can drill the hole at a drill press or even with a battery drill, just be sure to drill as straight as possible.
The Challenge: Creating a Matching Pair
Now that you’ve completed one candlestick holder, it’s time to challenge yourself by making a second one. The true test of your woodturning skills is creating a matching pair.
In our next lesson, we’ll dive into faceplate turning. For this, try to have a board that’s 1½ inches thick and about 3 inches square, as well as another that’s 1½ inches thick and 5 inches square. Make sure you sign up for our e-mails so you’ll know when Lesson 7 is released. I’m excited to see you in the next lesson!
Some of the links on this page are affiliate links, meaning, at no additional cost to you, I may earn a commission if you click through and make a purchase.