
How to Turn Basic Shapes (Coves and Beads)-Lesson 3
Welcome to Turning Stitches, I'm Sean. Our mission is to help woodturners learn the craft and begin creating fun projects faster. Let’s have some fun with our sharp tools! If you missed our lesson on sharpening tools, you can catch up with Lesson 2 (https://www.turningstitches.com/s/stories/learnin-turnin-blog-sharpening-lesson2). Make sure you subscribe to our e-mail so you won't miss any new lessons.
Lesson 3: Beads and Coves
We're back at the lathe with our cylinder leftover from Lesson 1. Today, we’ll be working with scrap 2x4’s about 10 inches long. If you need to cut more of these at your table saw, make several so you'll have plenty to practice with.
Setting Up the Lathe
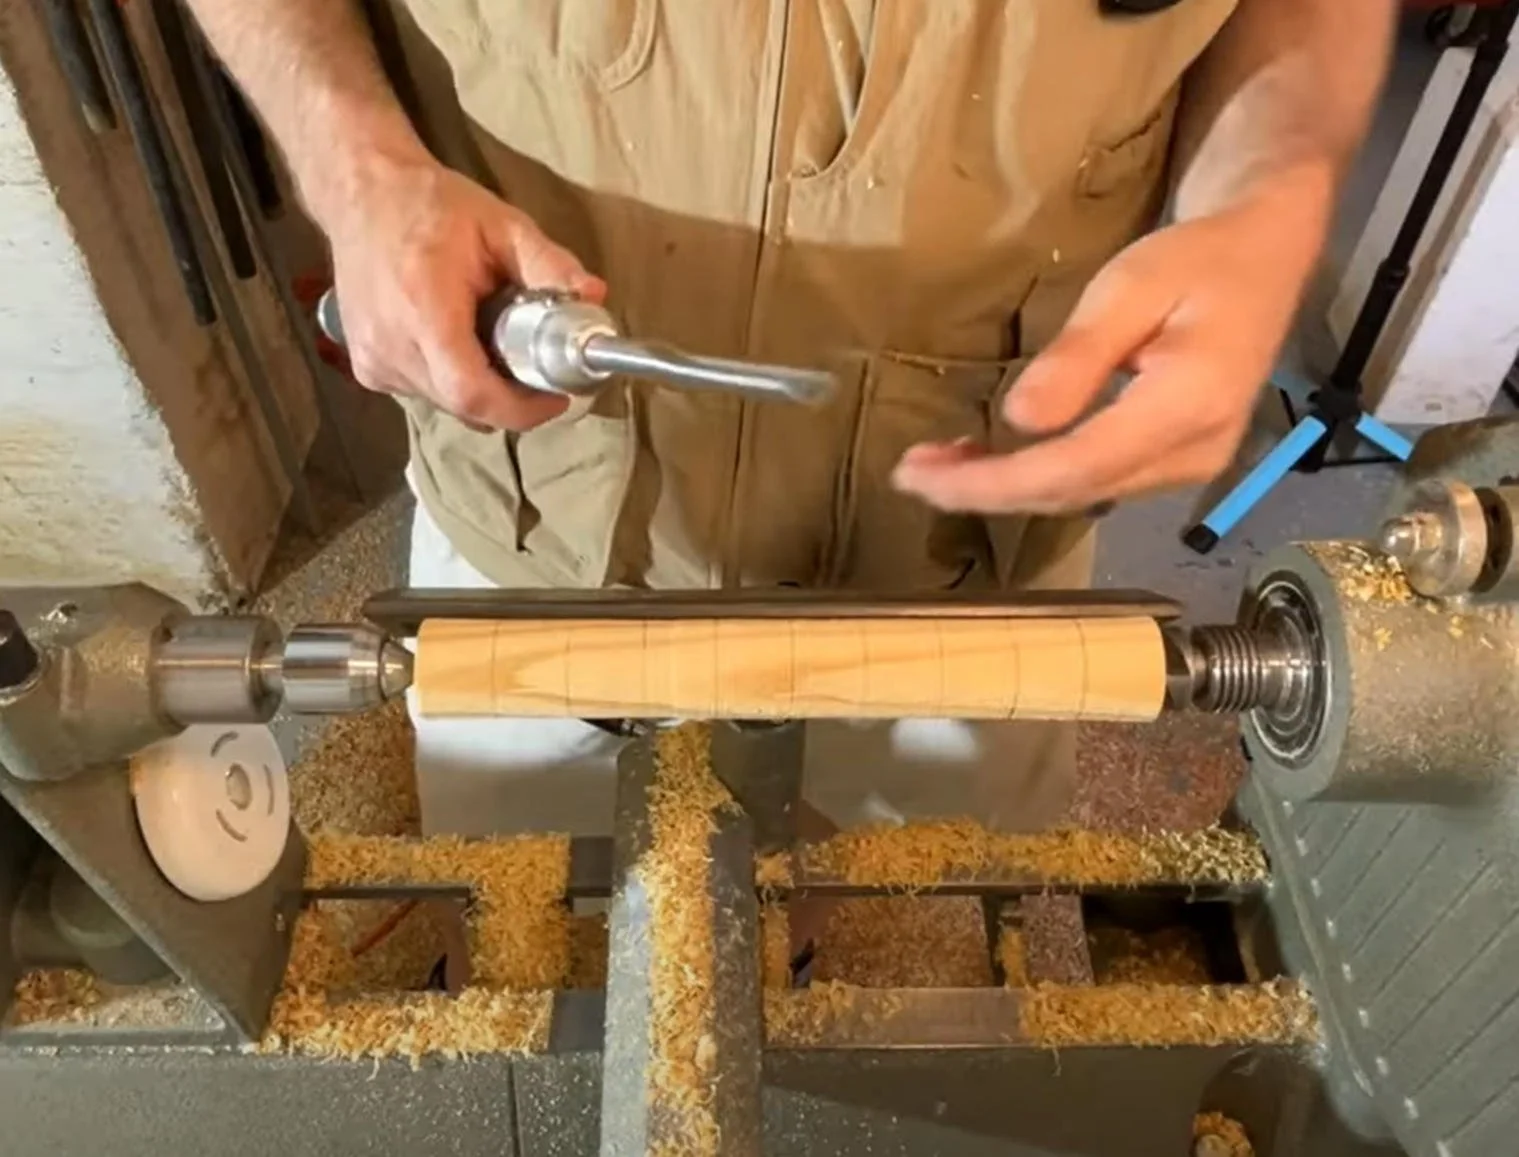
1. Mount the Cylinder: Place your cylinder or dowel between centers on the lathe.
2. Adjust Speed: Turn on the lathe at a speed between 1,000 to 1,500 RPM. I’m working at 1,500 RPM, but adjust to your comfort zone.
3. Mark Lines: Use a pencil to mark lines about 1 inch apart along the cylinder.
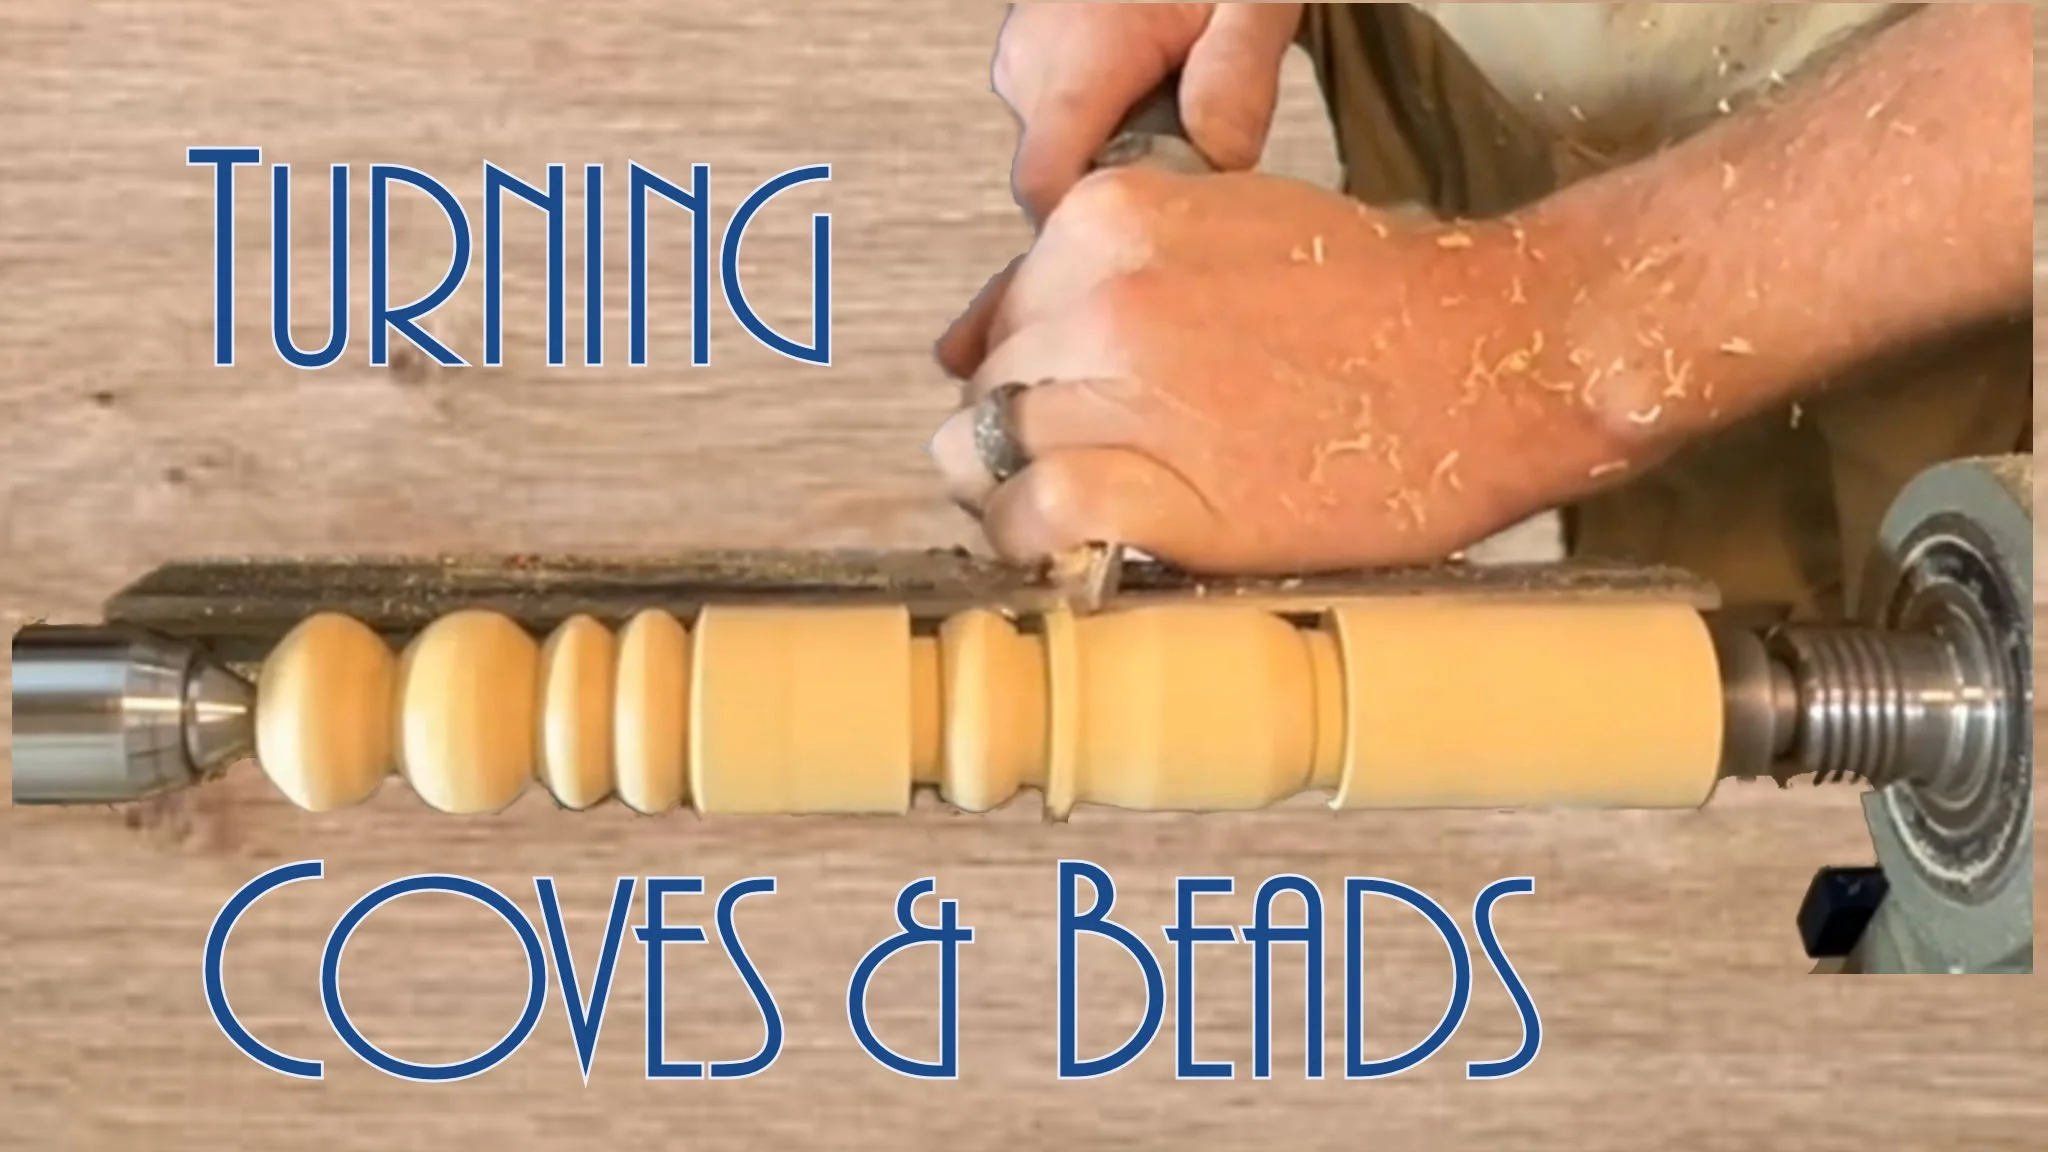
Cutting Coves
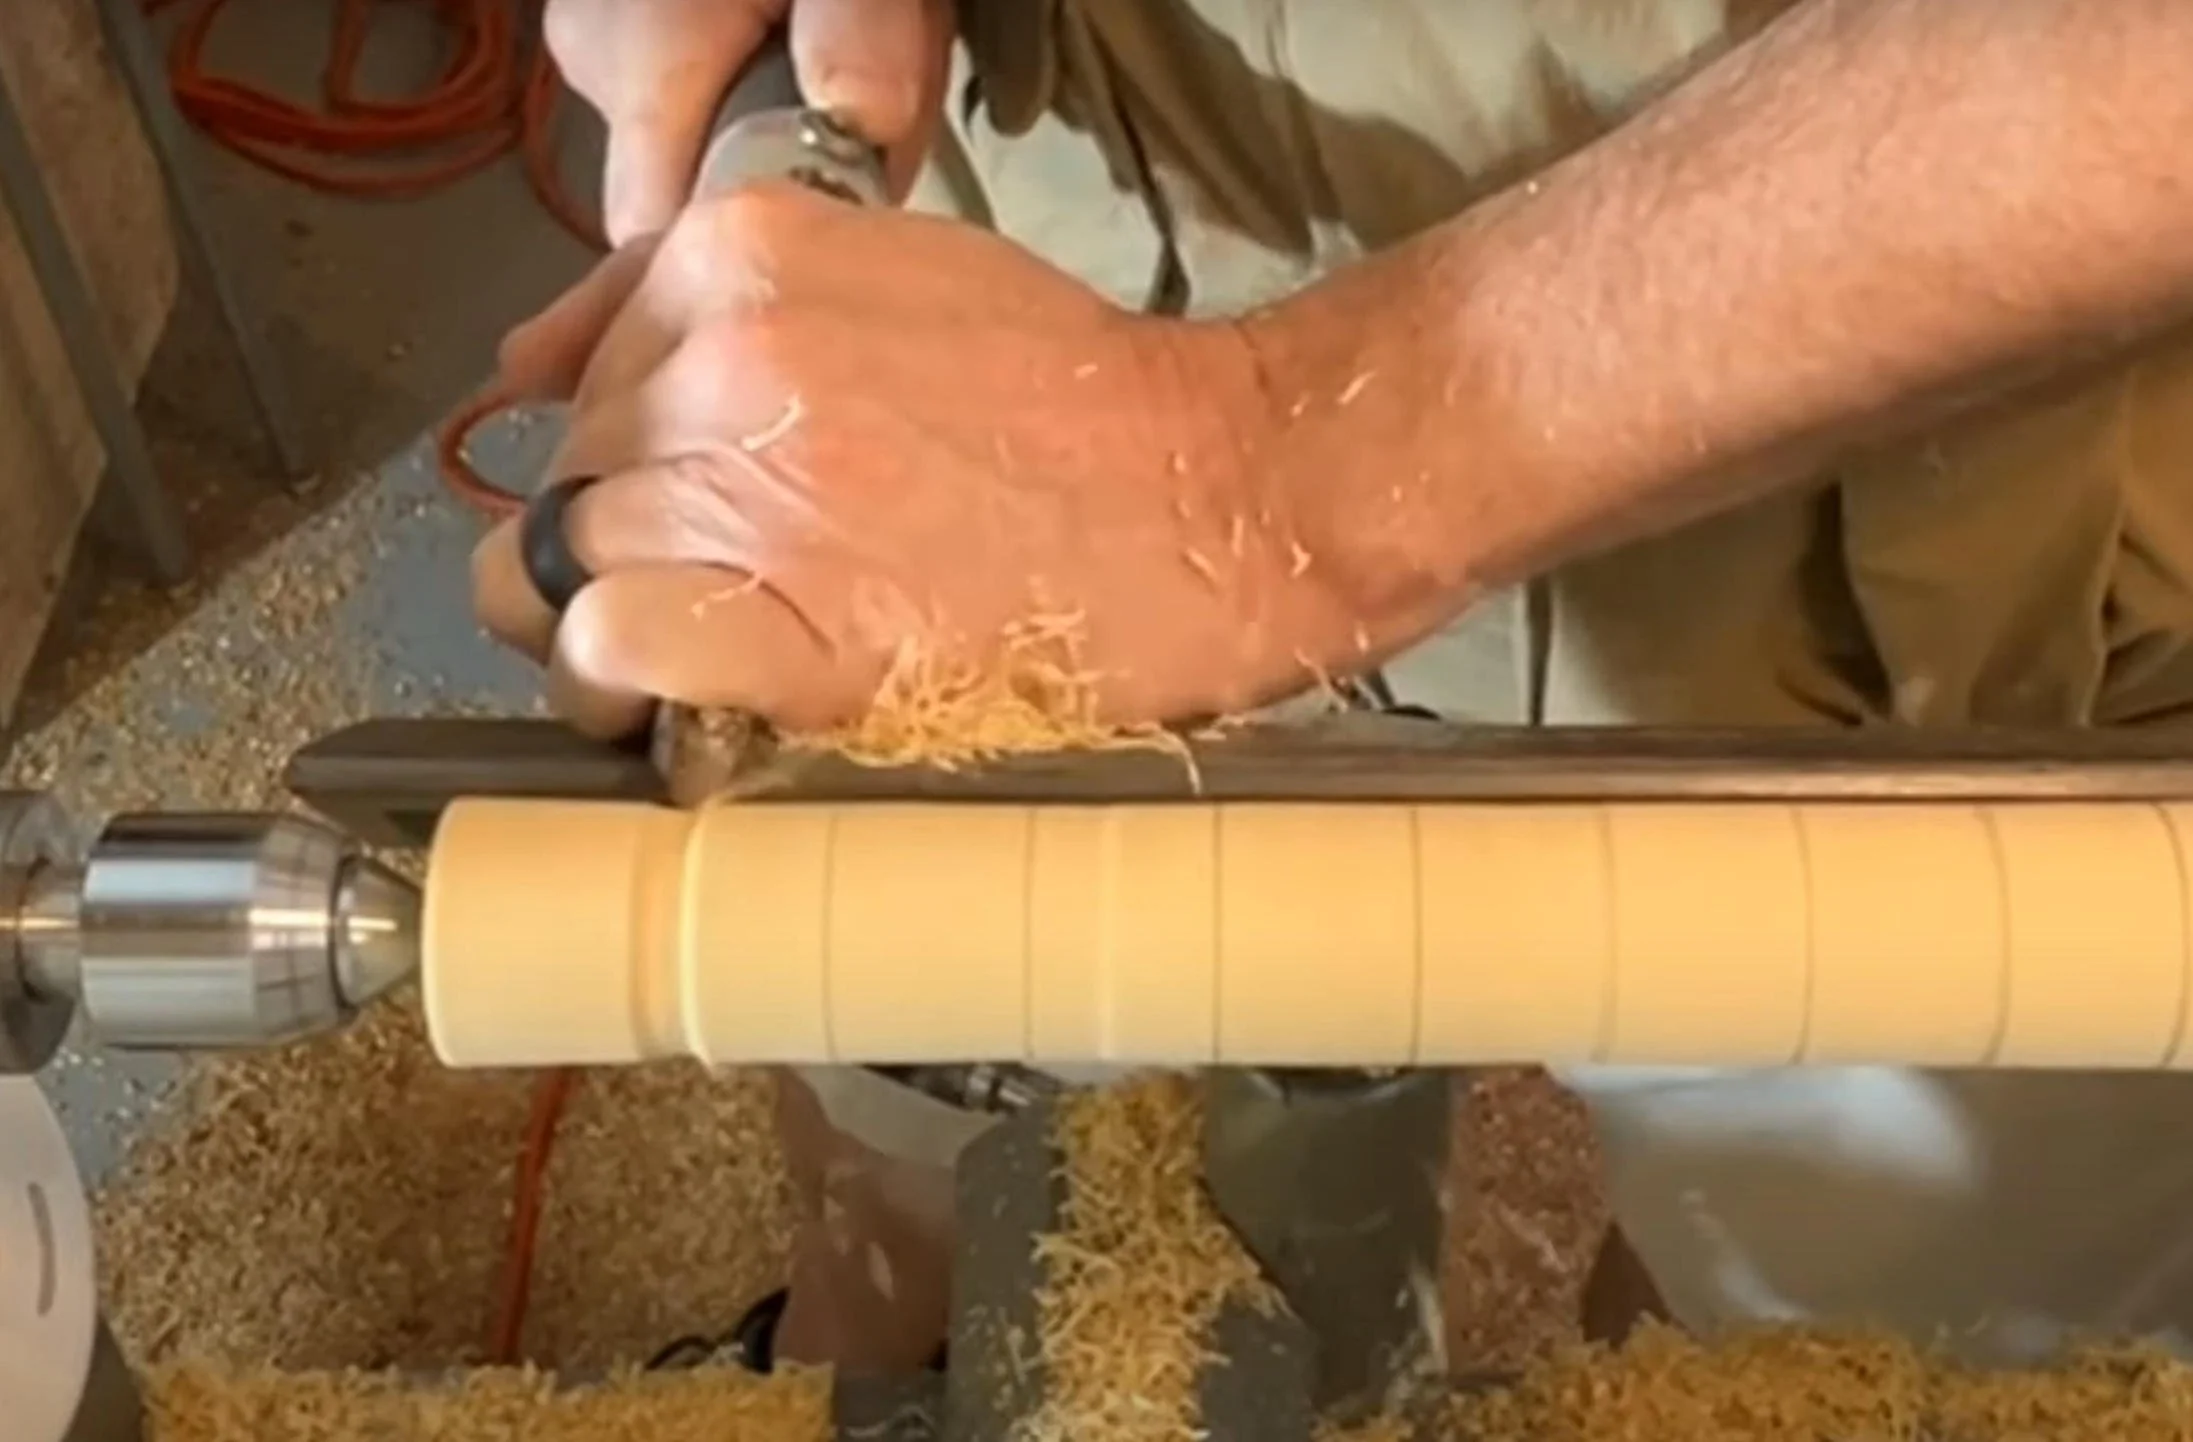
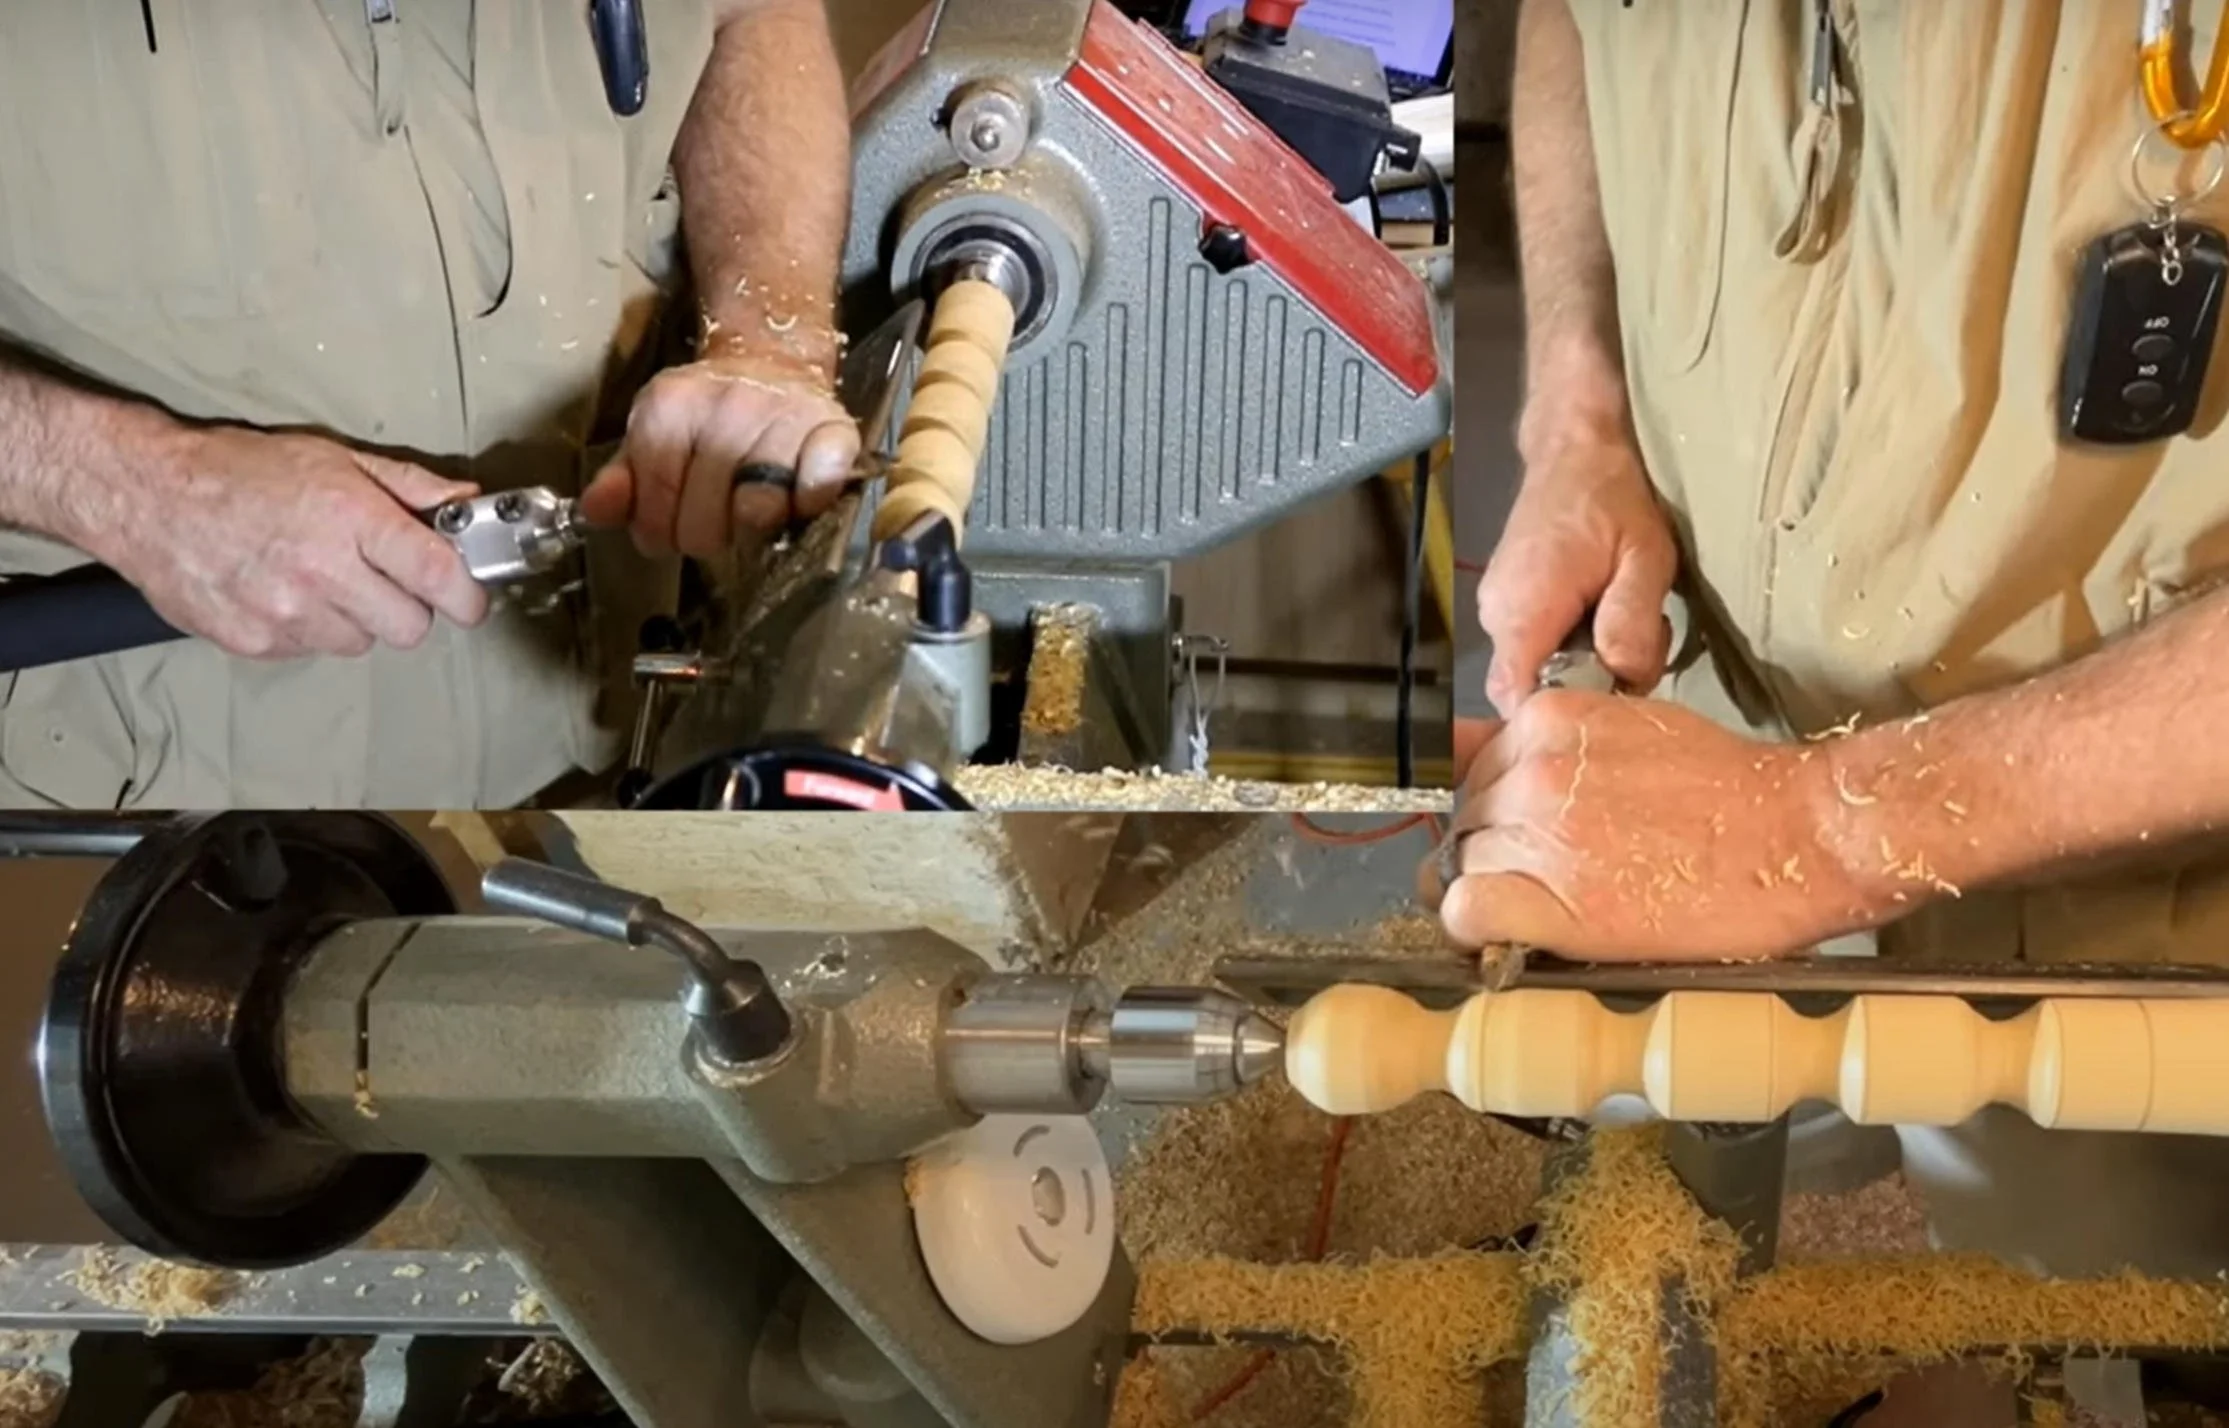
1. Positioning the Spindle Gouge: With the spindle gouge https://amzn.to/3zPSIJO flute up, gently lift the handle until you start getting a shaving along the left side of the flute.
2. Making the Cut: Slice down to the left about ½ inch. Move to the next line and repeat, slicing down to the right.
3. Forming the Coves: Work from the larger diameter to the smaller diameter, cutting each cove ½ at a time. Remember, do not cut uphill!
Creating Beads
1. Positioning the Spindle Gouge: Start at the center of the flat spot between coves with the flute up. Gently lift the handle to pick up a shaving.
2. Rolling the Bead: Roll to the left down into the cove, then come back to center and roll to the right.
3. Repeating the Process: Continue this process along the entire piece, working from larger to smaller diameters.
Cutting Beads Closer Together (Challenge 2)
1. Starting Fresh: Begin with a clean cylinder and add a few pencil lines. First line about 1 inch from the end, then a couple lines about ½ inch apart.
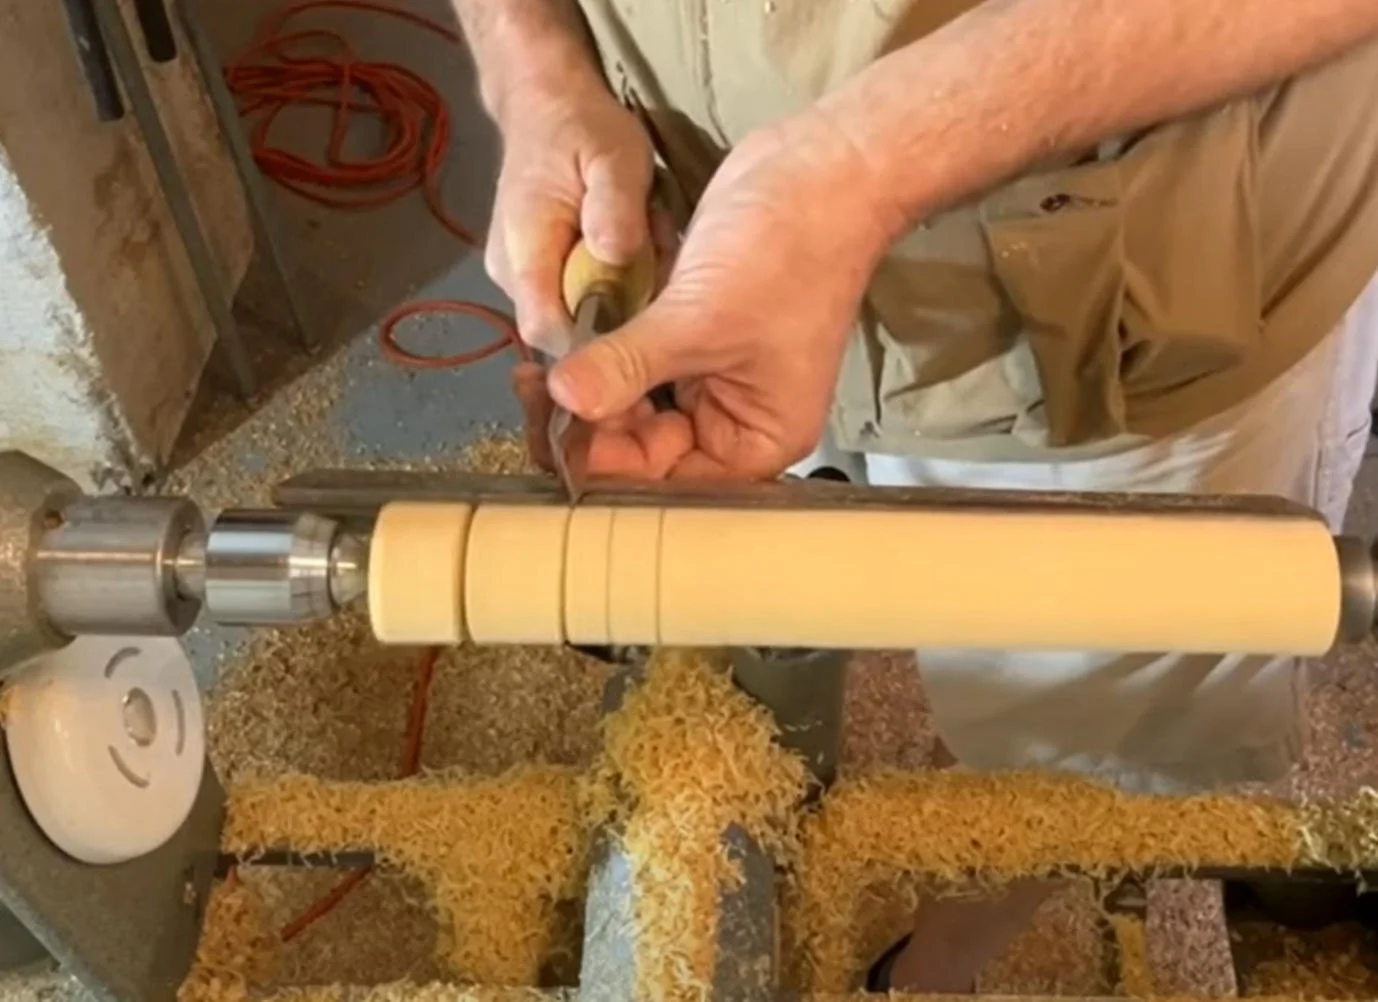
2. Making V-Notches: Use a skew chisel https://amzn.to/4d5nOve to make a “V” notch, or if you don’t have one, use a parting tool to make the initial cut.
3. Rolling the Beads: Roll your beads, working ½ at a time into the “V” notch or parting tool cut.
Combining Shapes (Challenge 3)
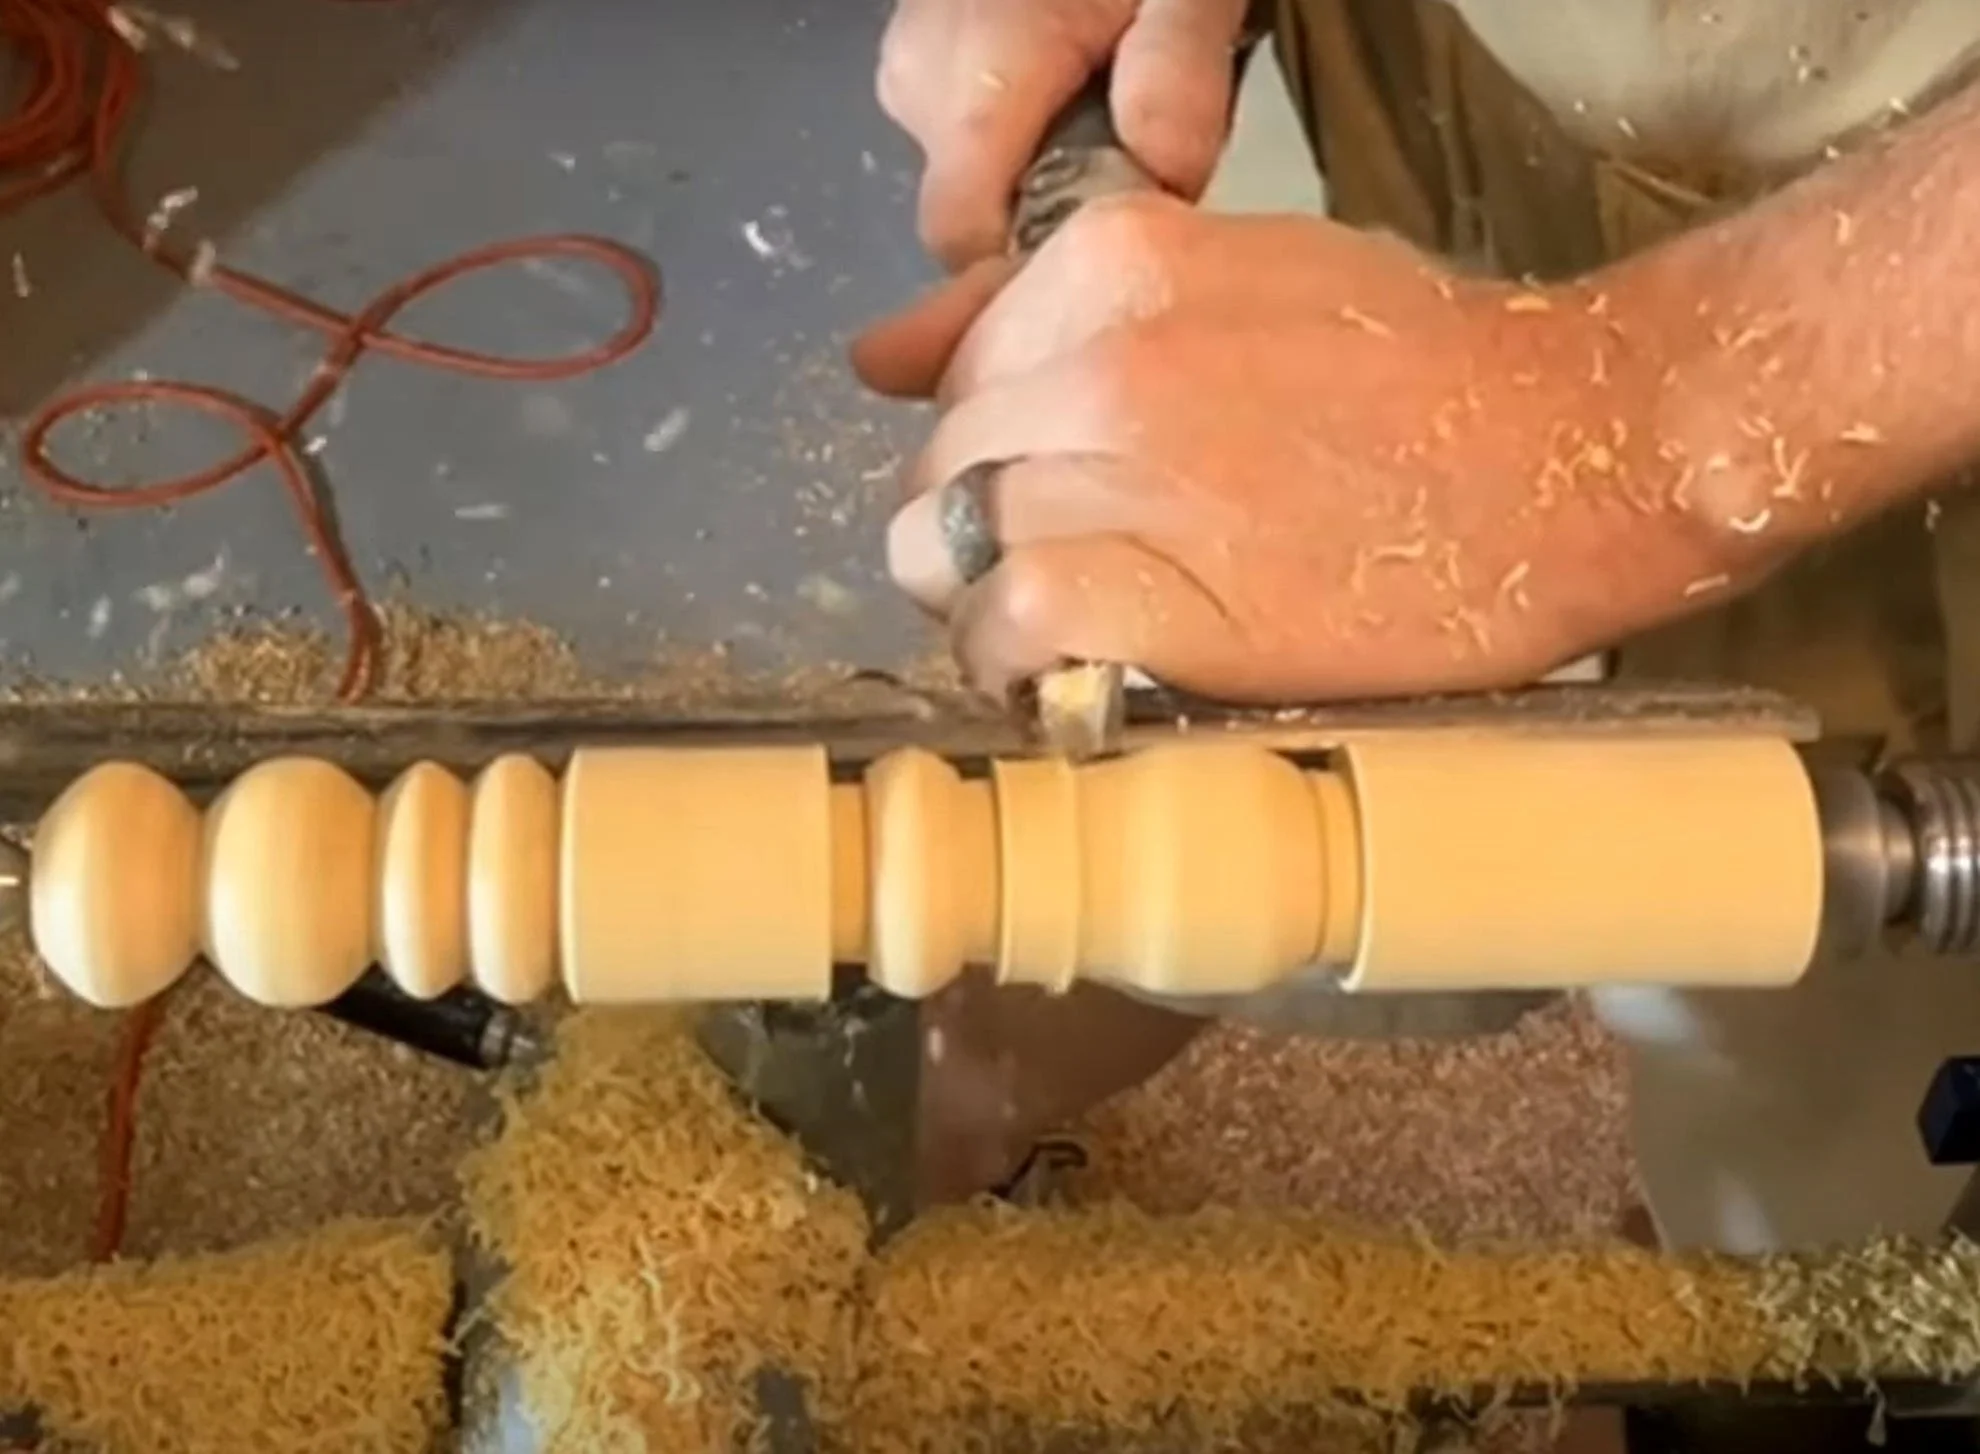
1. Marking Lines: Mark a line, then add a second line ¼ inch to the left, a third line ½ inch from there, and a fourth line 2 inches to the left.
2. Cutting In: Use your parting tool https://amzn.to/3xAqJwT to cut in, leaving about a 1-inch diameter between the first two lines, to the left of the third line, and to the left of the fourth line.
3. Rolling Beads and Cutting Coves: Roll a bead between the first two parting tool cuts, roll ½ a bead to the left at the fourth line, then cut a long cove from the half bead to the parting tool cut at the other bead. Aim to undercut the parting tool cut, leaving a fillet between the bead and the cove.
Practice Makes Perfect
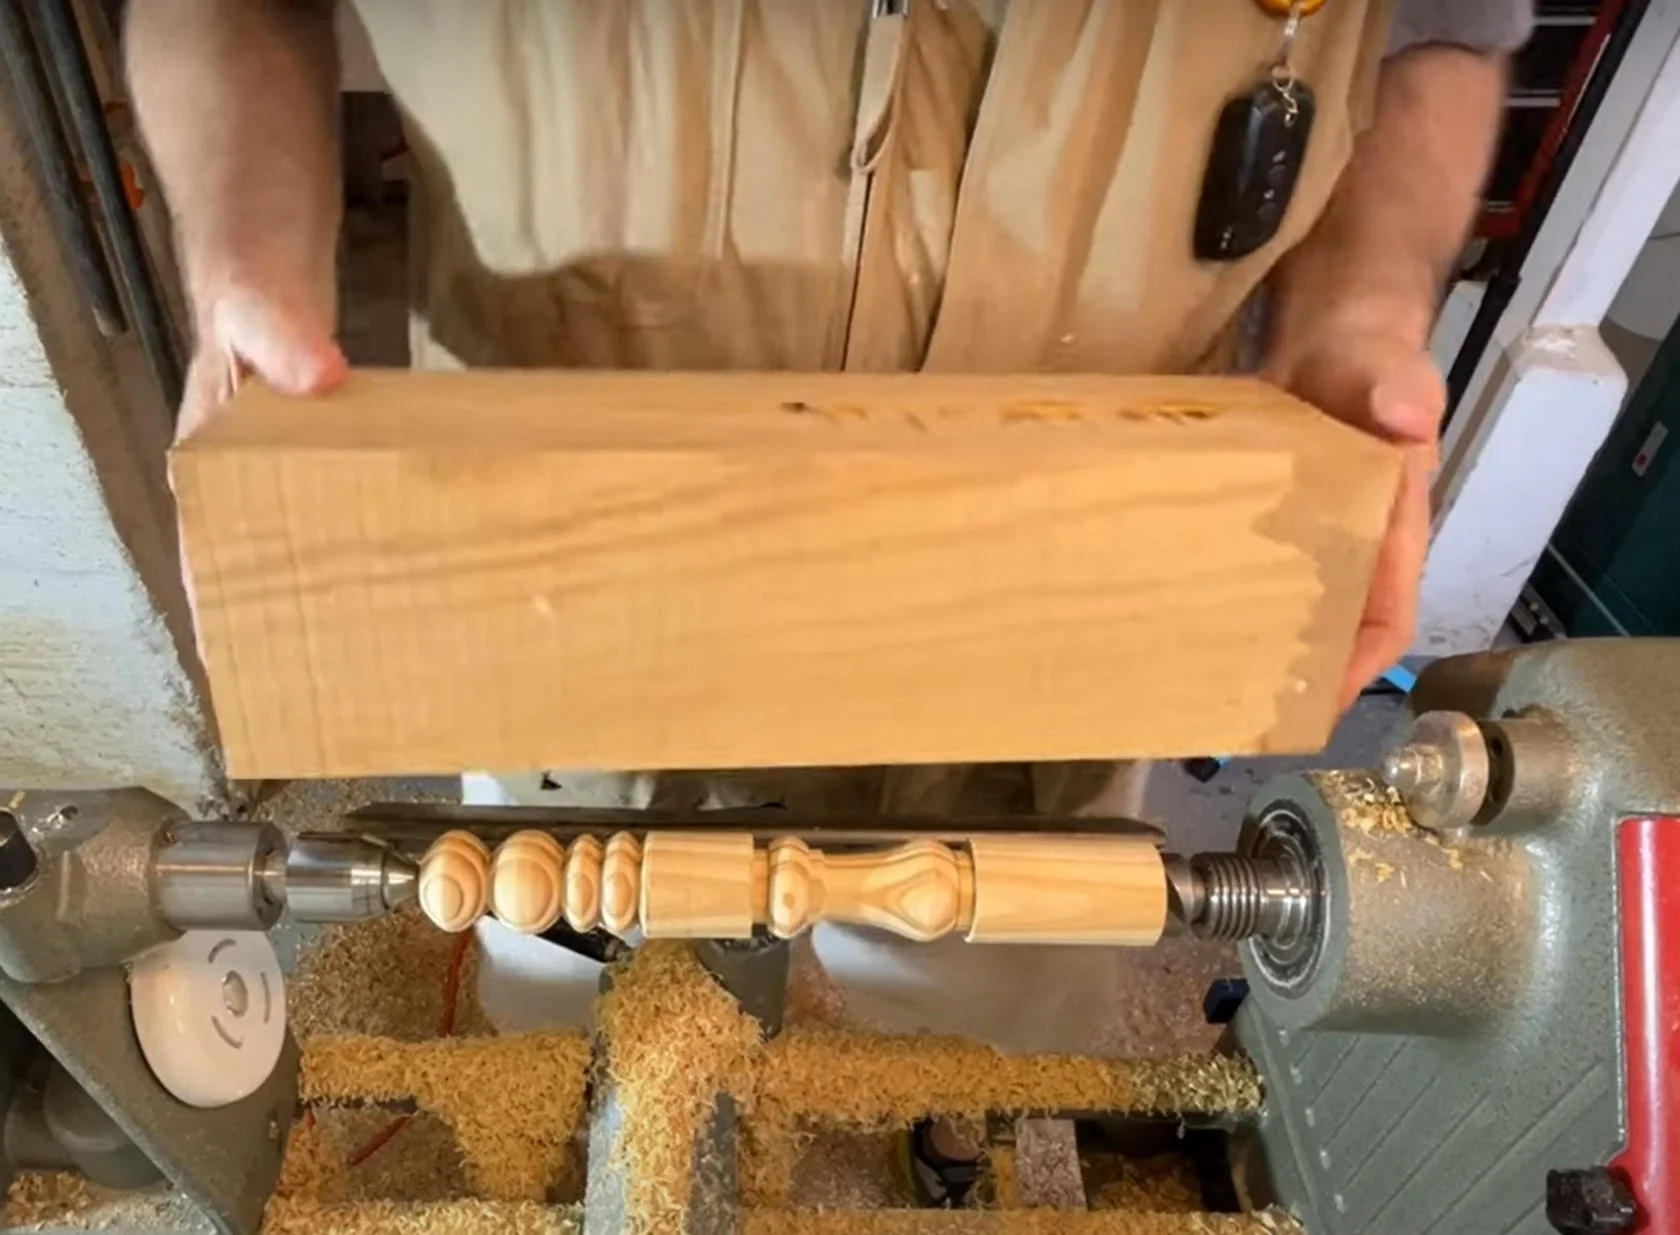
Now it’s time to practice, practice, practice! Clear your beads and coves and try again. In our next lesson, we will put together the skills from Lessons 1, 2, and 3 by creating a mallet for your shop. Here's a little homework before next week:
Homework Assignment: Glue together a blank that is 3x3 up to 4x4 and about 12 to 14 inches long. Use scraps you have in your shop, and hard wood (oak, ash, maple, hickory, etc.) is preferred.
Make sure you are subscribed the e-mail list so you will know when Lesson 4 is out. I’m looking forward to seeing you in the next lesson!
Some of the links on this page are affiliate links, meaning, at no additional cost to you, I may earn a commission if you click through and make a purchase.