
How to Mount a Bowl Blank: 3 Mistakes That Make Bowl Turning Harder
Hi there, I’m Sean, and welcome to Turning Stitches!
We help woodturners learn the craft so they can begin making fun projects faster.
Have you ever mounted a bowl blank, turned on the lathe, and immediately thought, Whoa...this doesn't feel right?
Maybe the blank is wobbling. The lathe is vibrating. Your cuts feel rough. Or the whole thing just feels a little more terrifying than you expected.
When you're learning to turn bowls, it's easy to assume the problem is your technique. Maybe you're holding the bowl gouge wrong, presenting it incorrectly, or you simply haven't developed enough skill yet.
But sometimes the problem starts before you ever make the first cut.
How you prepare your bowl blank, how securely you mount it, and how fast you initially spin it can make a huge difference in how the bowl behaves on the lathe.
Let's look at three things that can make bowl turning much easier from the start.
Prefer to watch? In this video, I walk through these three beginner bowl-turning mistakes and show why getting the setup right makes such a big difference at the lathe.
1. Start With a Good Bowl Blank
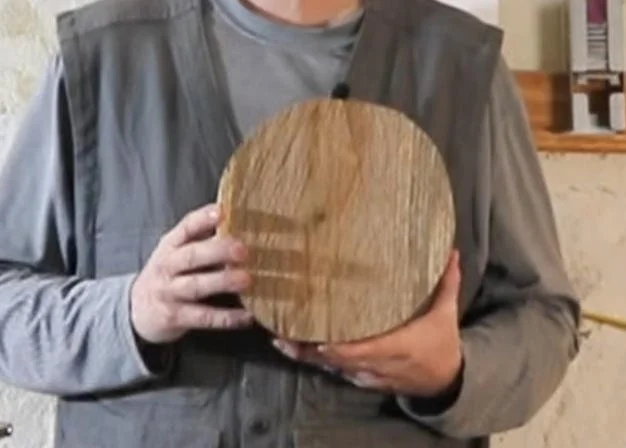
One of the easiest mistakes to make when you're first learning is grabbing just about any chunk of wood that looks like you could make a bowl out of it.
I've certainly been guilty of looking at a piece of firewood and thinking, There's a bowl in there somewhere!
And there probably is—but that doesn't necessarily mean it's the best blank to learn with.
How the blank is cut and the direction the grain runs can make a big difference in how the wood behaves while you're turning it.
Pay attention to the grain direction and take a good look at the condition of the wood before mounting it.
Cracks are particularly important.
Remember, you're about to spin this piece of wood on a lathe. A crack that's already present has the opportunity to open farther as the blank spins.
That's one reason I recommend beginning with a solid, beginner-friendly bowl blank. You'll have plenty of opportunities later to turn challenging pieces of wood!
When you're learning, give yourself every advantage you can.
A good blank lets you concentrate on learning to use the tools rather than fighting the wood.
2. Give the Bowl Blank Solid Support
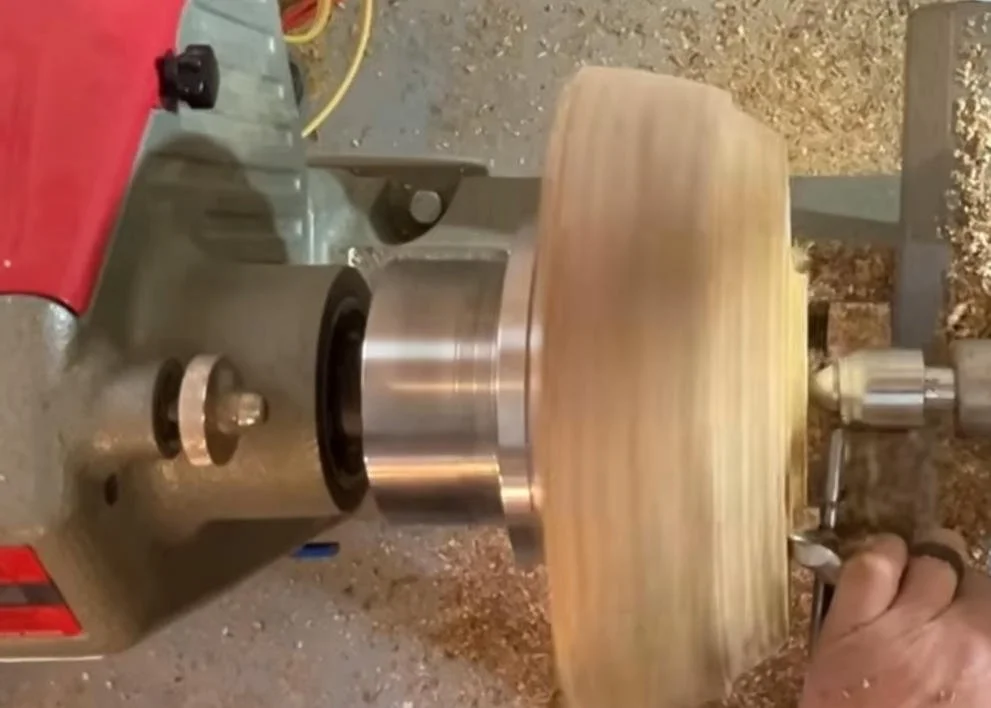
Once we have a good blank, we need to attach it securely to the lathe.
And this is another area that can get confusing pretty quickly.
You'll hear woodturners talk about faceplates, worm screws, turning between centers, tenons, recesses and scroll chucks.
There are lots of ways to hold a bowl.
But when you're beginning, the important thing isn't memorizing every mounting method.
It's understanding one basic principle:
The bowl blank needs solid support while you're shaping it.
If the mounting isn't solid, the blank may vibrate or wobble. That makes your cuts more difficult to control and can increase the likelihood of getting a catch.
If you're using a scroll chuck, pay particular attention to your tenon.
A tenon that's too small for the workpiece—or isn't shaped properly for your chuck jaws—can create a much weaker connection than you intended.
When the mounting is right, you'll notice the difference.
The lathe runs smoother, your cuts feel more controlled, and turning becomes much more enjoyable.
3. Slow Down the Lathe
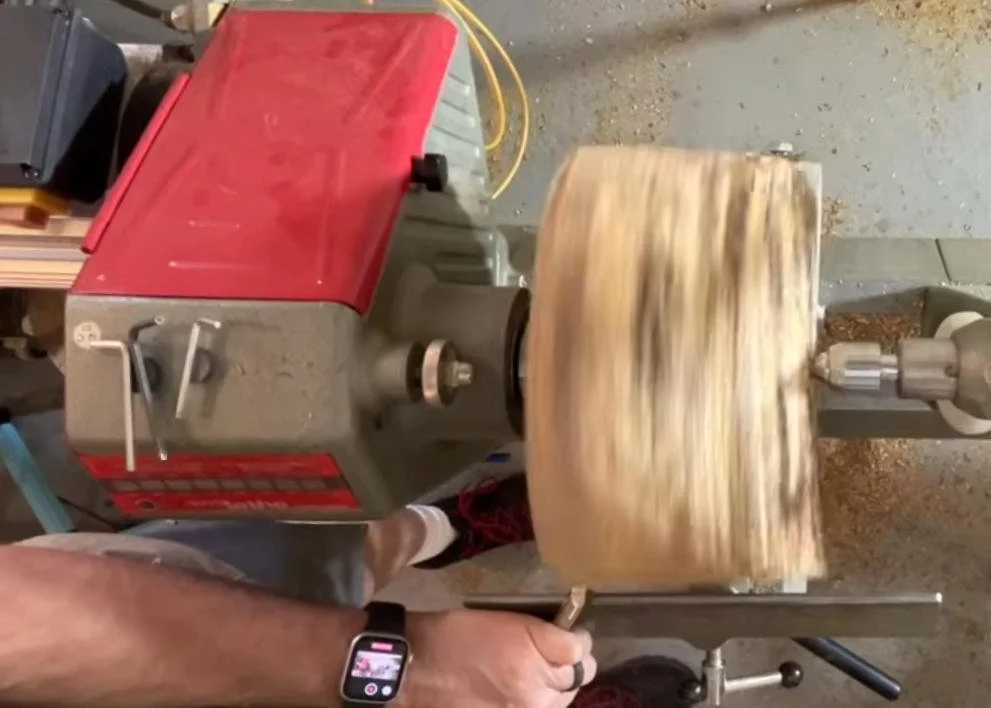
Okay, we've selected a good blank and mounted it securely.
There's one more thing that can make that first cut unnecessarily exciting:
Too much speed!
A rough bowl blank usually isn't perfectly round or perfectly balanced.
If you start the lathe too fast, that imbalance can make the entire machine vibrate and shake. Sometimes it can feel like your lathe wants to walk across the shop floor!
That's a pretty good indication that we need to slow things down.
When I'm starting with an unbalanced blank, I want the lathe running slowly—sometimes as slow as the machine will comfortably go.
Then, as I remove the high spots and get the blank round, I can gradually increase the speed.
Don't worry about finding some magical RPM number.
Pay attention to what the lathe and the blank are telling you.
If the machine is vibrating excessively, slow it down.
As the blank becomes round and balanced, everything starts feeling much smoother and more controlled.
When Everything Starts to Click
This is where bowl turning can really change for a beginning woodturner.
You have a good blank.
It's mounted securely.
Your lathe speed is under control.
Suddenly, your cuts become more predictable. Instead of feeling like you're fighting the bowl, you can concentrate on learning how to use your tools.
And that's an important lesson:
When something doesn't feel right at the lathe, don't automatically assume your turning technique is the problem.
Sometimes you need to stop and look at your setup.
Before You Start Your Next Bowl...
Here's a quick checklist to run through before turning on the lathe:
Is my bowl blank solid and free from concerning cracks?
Do I understand how the grain is oriented?
Is the blank securely mounted?
If I'm using a tenon, does it properly fit my chuck jaws?
Is my starting speed appropriate for an unbalanced blank?
Does everything feel secure before I begin cutting?
It only takes a few moments, but getting these fundamentals right can save you a lot of frustration later.
Keep Turning!
If you're new to bowl turning, don't get discouraged when things feel a little rough at first.
Every woodturner goes through that stage where the lathe can feel intimidating, the blank doesn't behave the way you expect, and you're trying to figure out exactly what's going wrong.
Start with the fundamentals: a good blank, solid mounting, and controlled lathe speed.
Once those pieces fall into place, everything else begins to get easier—and a whole lot more fun.
If you'd like to continue learning, we have a series of free bowl-turning lessons on the Turning Stitches YouTube channel that walks through the bowl-turning process step by step.
And if you're looking for a more structured path, our complete Bowl Turning Course takes a deeper dive into the entire process—from selecting and mounting your blank through rough turning, shaping, sanding and finishing.
Until next time, happy turning!