
How to Start Woodturning - Turning a Penny Plate or Small Saucer - Lesson 7
Welcome to Turning Stitches, where we help woodturners learn the craft to start creating fun projects faster! I’m Sean, and today, we’re going to build on your skills by transitioning to faceplate turning.
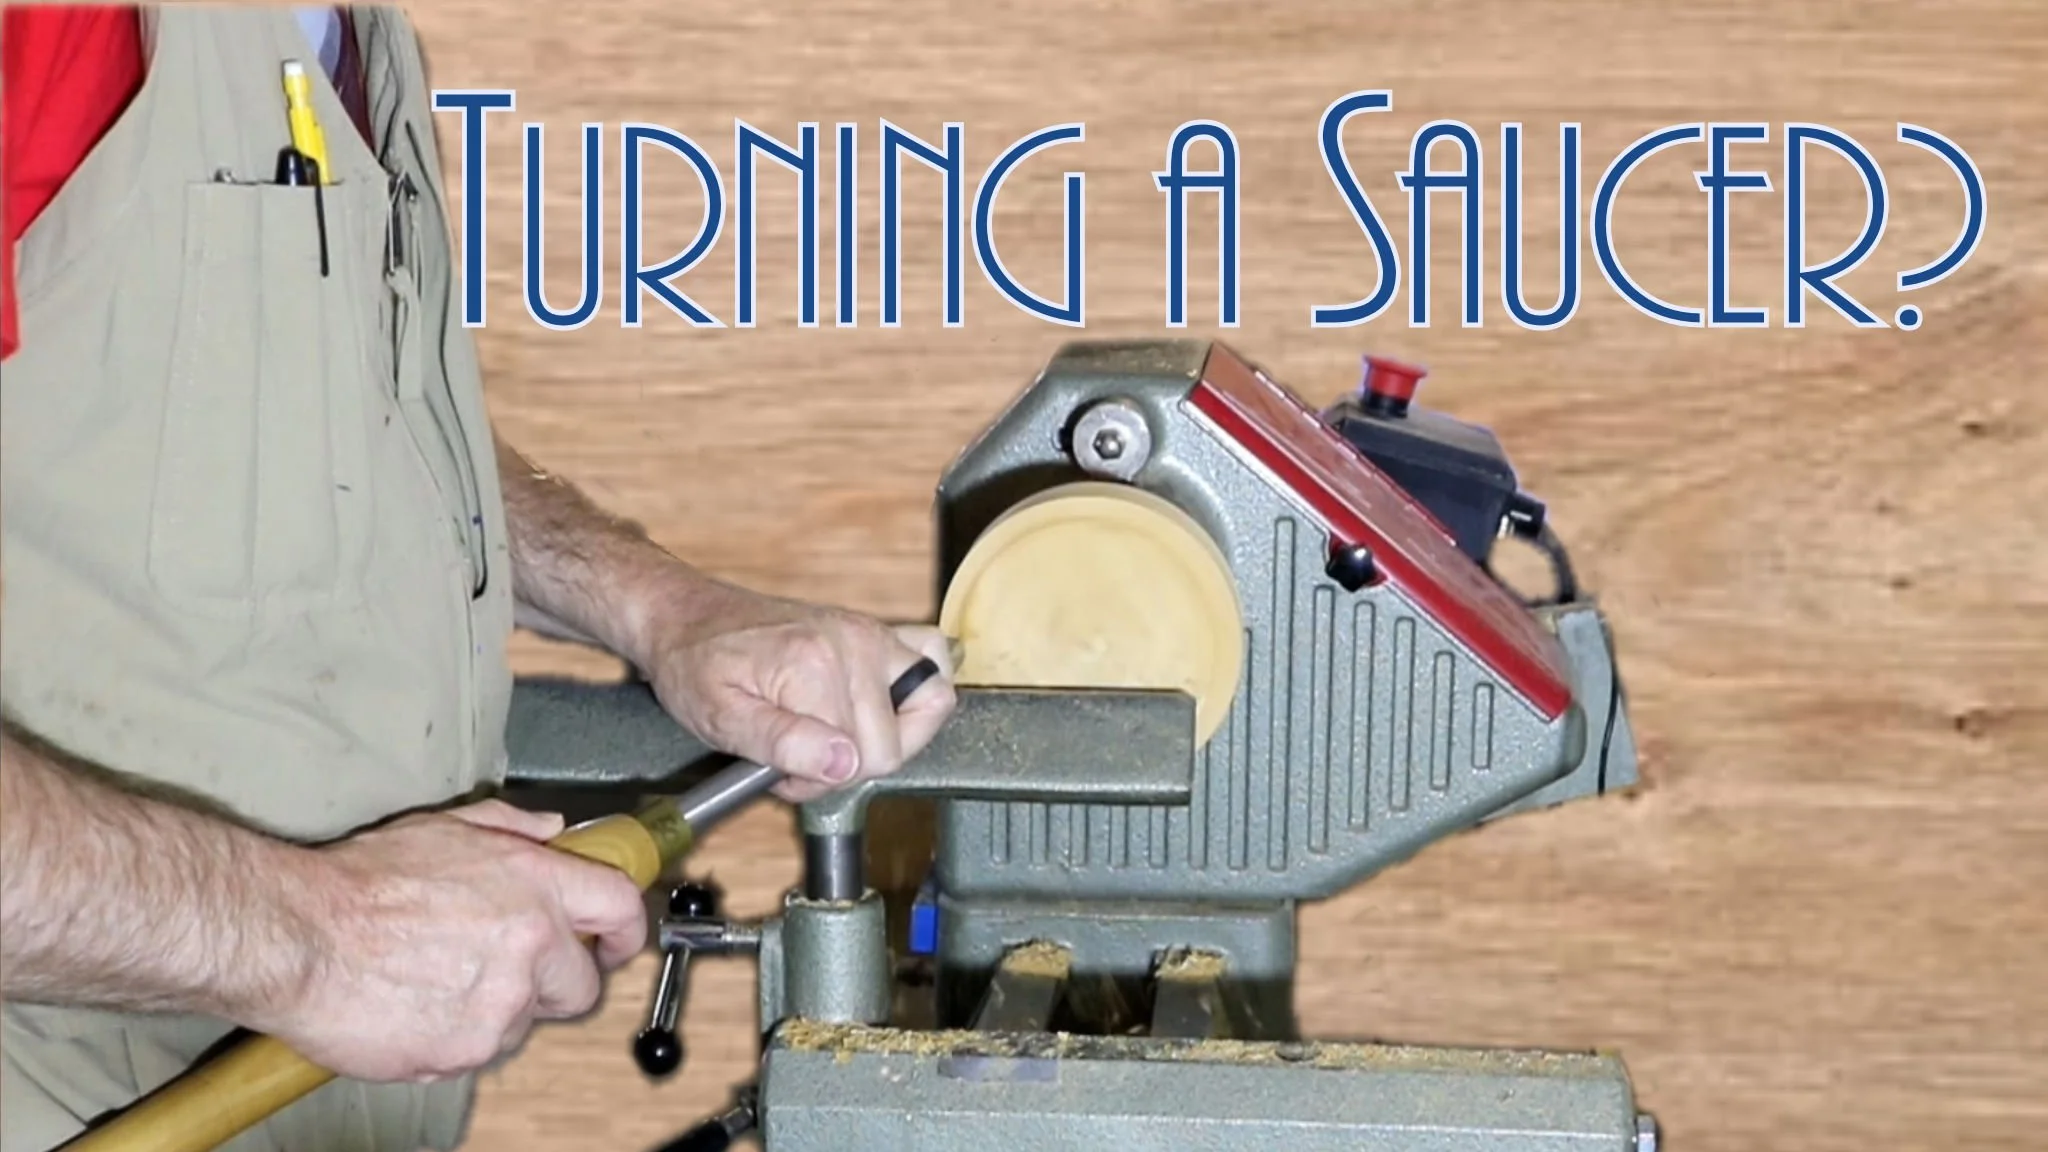
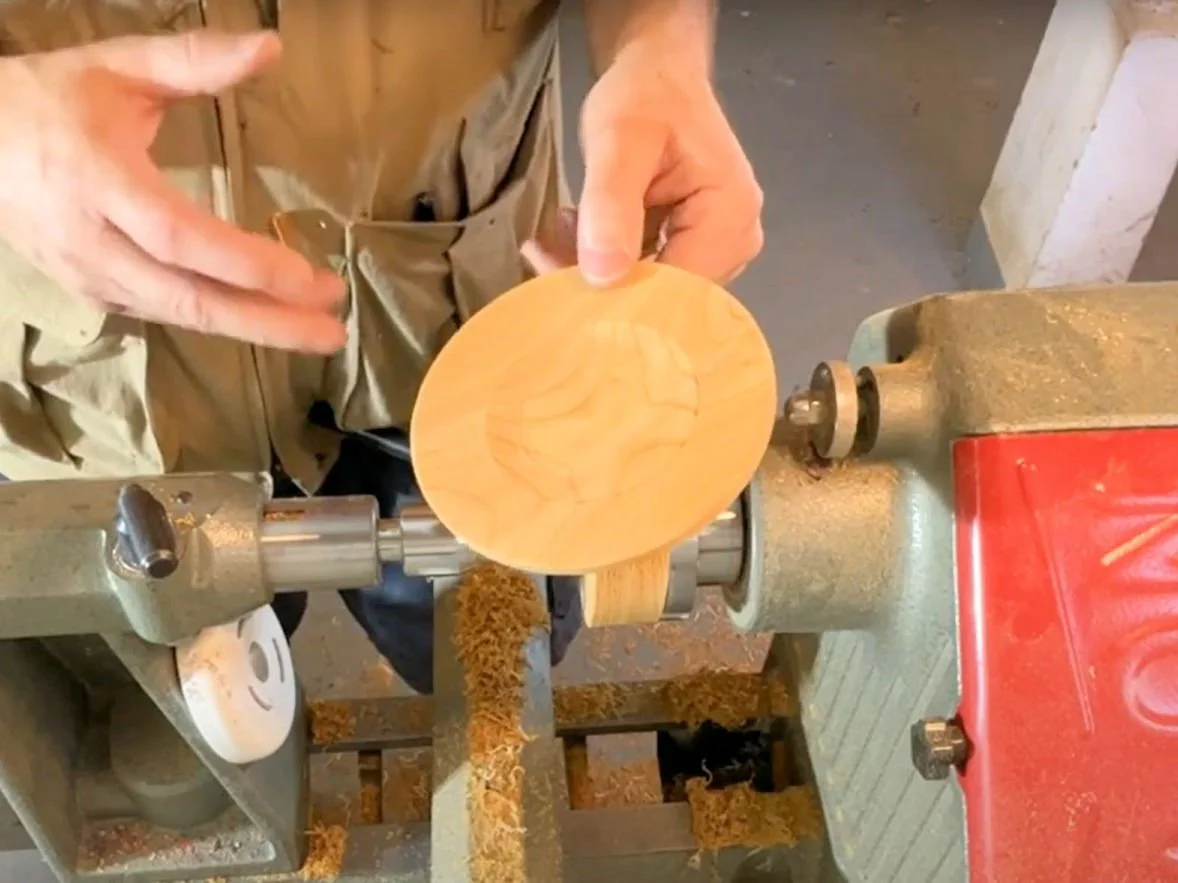
In this lesson, we’re focusing on creating a penny plate—a small dish that's perfect for unloading your pockets at the end of the day. These simple shapes are a great way to begin faceplate turning, offering a straightforward project to help you hone your skills.
Let's get started by heading to the workbench to prepare everything for the lathe. As we dive into our woodturning journey, it's common not to have all the tools we might like, so I’ll show you how to turn this project with just a faceplate and how to complete it with a four-jaw scroll chuck.
Preparing Your Materials
At the workbench, we'll begin by gluing a waste block to our workpiece. For this project, I’m using a small blank that’s 3x3 inches and 1½ inches thick for the waste block, and a 5x5 inch blank that’s also 1½ inches thick for the workpiece. Your blanks can be different sizes depending on the material you have on hand.
Start by finding the center of each piece and punching it. Next, use a compass to draw a circle from the center point. Before gluing the pieces together, I recommend roughing out these circles on the band saw to make the initial turning more efficient. You can also cut off the sharp corners with a table saw or miter saw, similar to what we did in Lesson 4 with our mallet blank.
With the blanks roughly rounded, it’s time to glue them together. Apply wood glue between the layers, adding a piece of paper to make it easier to separate them later if needed. Clamp the pieces and let the glue dry. Once dry, attach the faceplate to the waste block using wood screws. Align the crosshairs with the screw holes for proper alignment.
Moving to the Lathe
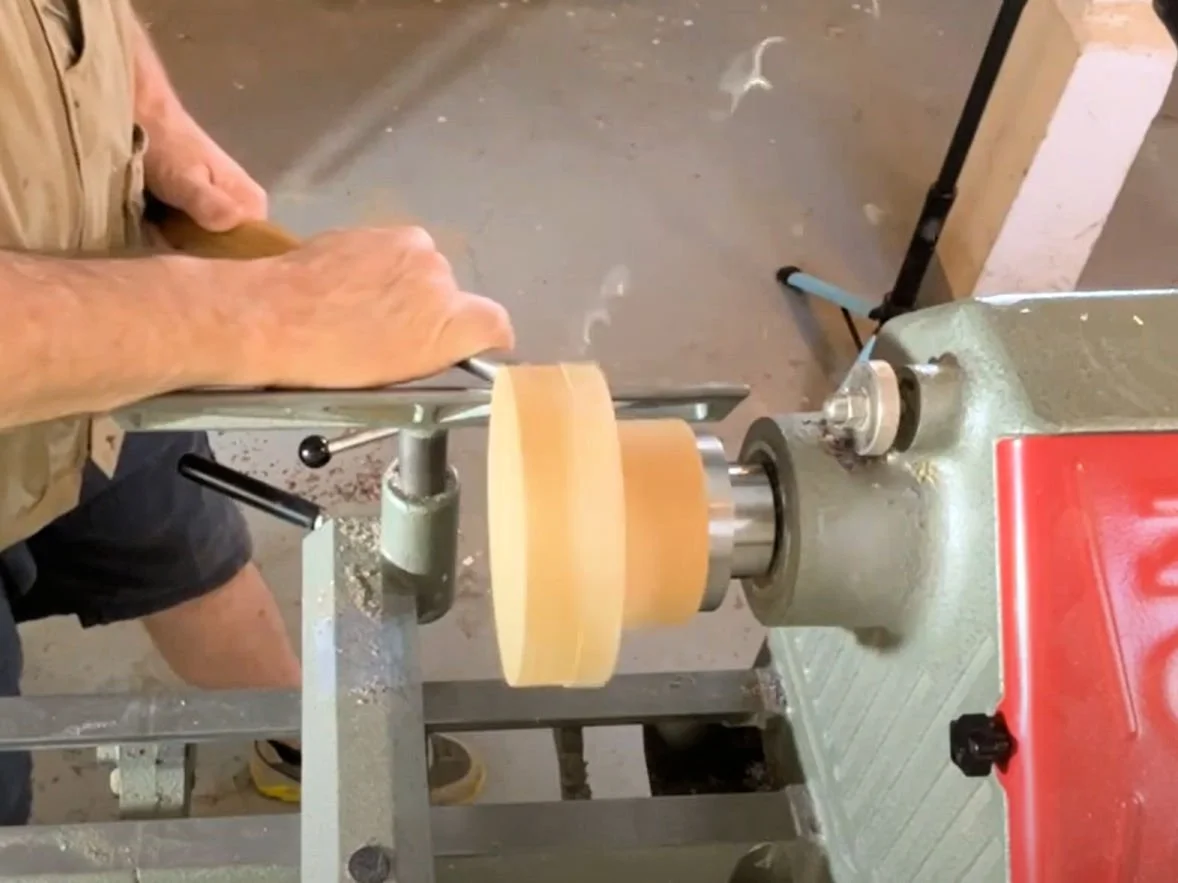
Now we’re ready to head to the lathe. Mount the faceplate to the headstock and turn on the lathe at around 1,000 RPMs. Generally, faceplate turning is done at lower speeds, so we’ll be working around this range. For most of this project, we’ll be using bowl gouges (https://amzn.to/3SmN0p0). Our first step is to get the outside diameter of the plate round, and once that’s achieved, we’ll flatten the face.
Using a Scroll Chuck
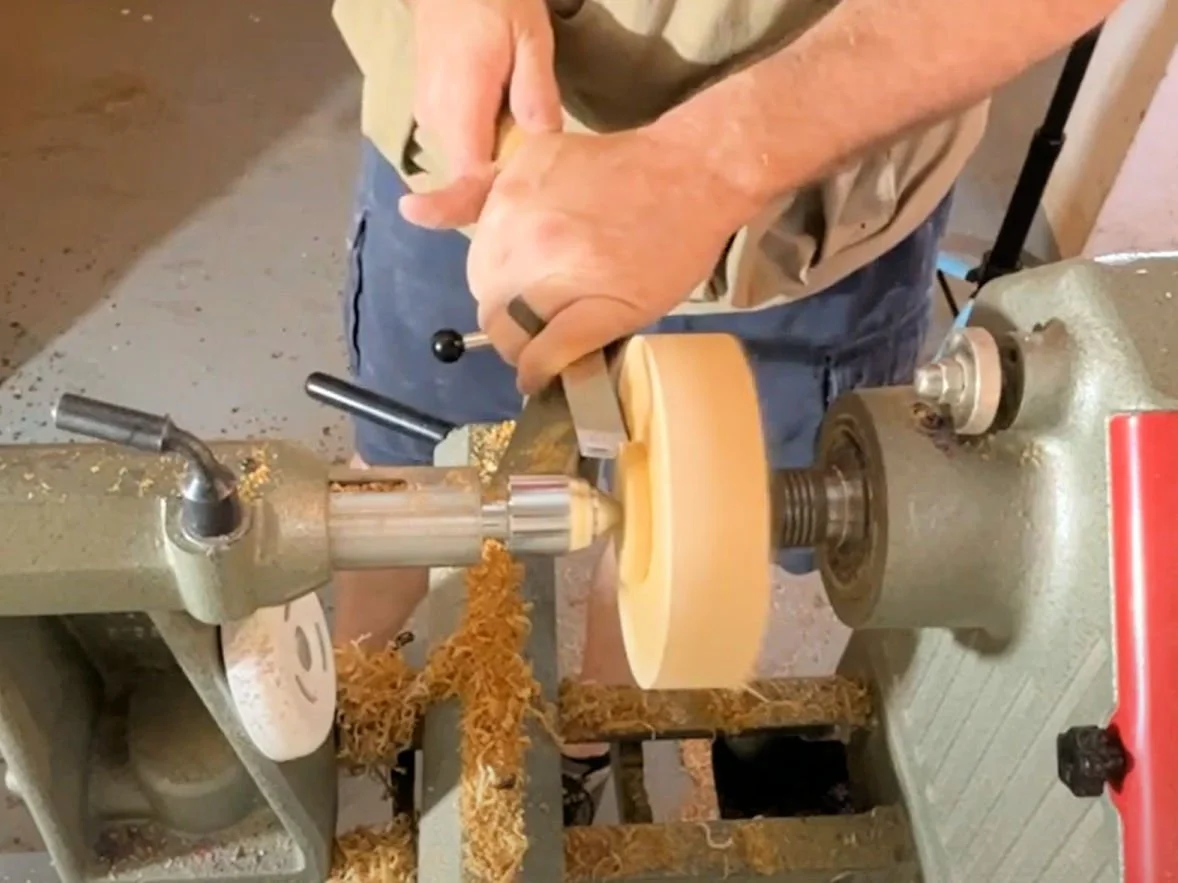
To use a scroll chuck (https://amzn.to/3YE1eG6), we need to create a tenon that the chuck can grab onto. Start by mounting the blank between centers and rounding the outside diameter. Mark about 1 inch from the center point and connect the circle—this will be our tenon.
Turn the lathe back on and cut in at the pencil line. You can work from the center out or from the outside in to remove about ¼ inch of material. I use the bevel of my skew chisel (https://amzn.to/4d5nOve) to cut a dovetail shape on the tenon to match my chuck jaws. Ensure the face is flat right next to the tenon so the workpiece will mount securely on the scroll chuck.
Now mount the workpiece in the scroll chuck, and from here, the turning process is similar to using the faceplate.
Shaping the Well of the Plate
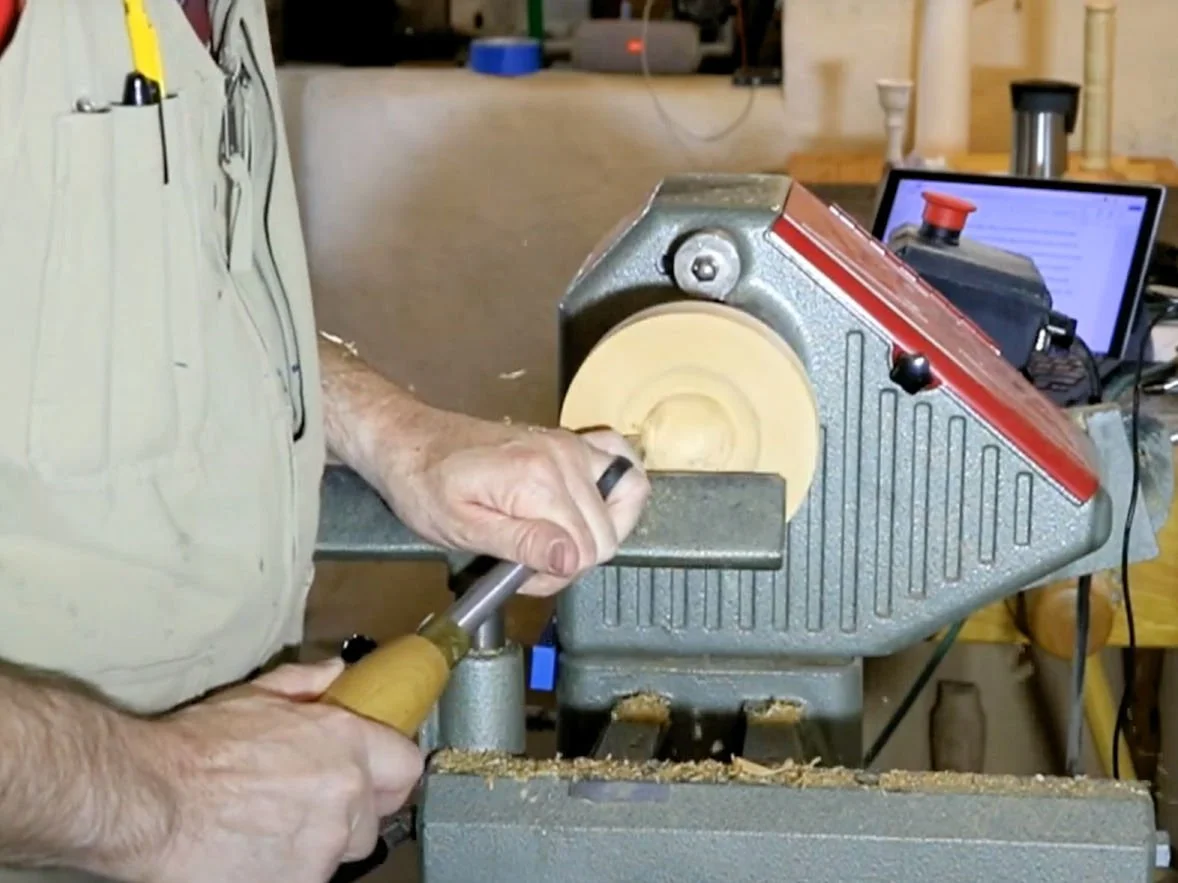
Create a small taper from the outside edge to the center of the plate. Measure about 1 inch from the outside edge of the plate, mark it, and connect the circle. At the pencil line, cut in and move toward the center to create a shallow dish. Once satisfied, use a depth gauge to mark the depth, then transfer that depth to the outside edge of the plate. Mark about 3/8 of an inch on the plate and connect that line on the outside diameter—this will be the bottom of the plate.
Shaping the Base of the Plate
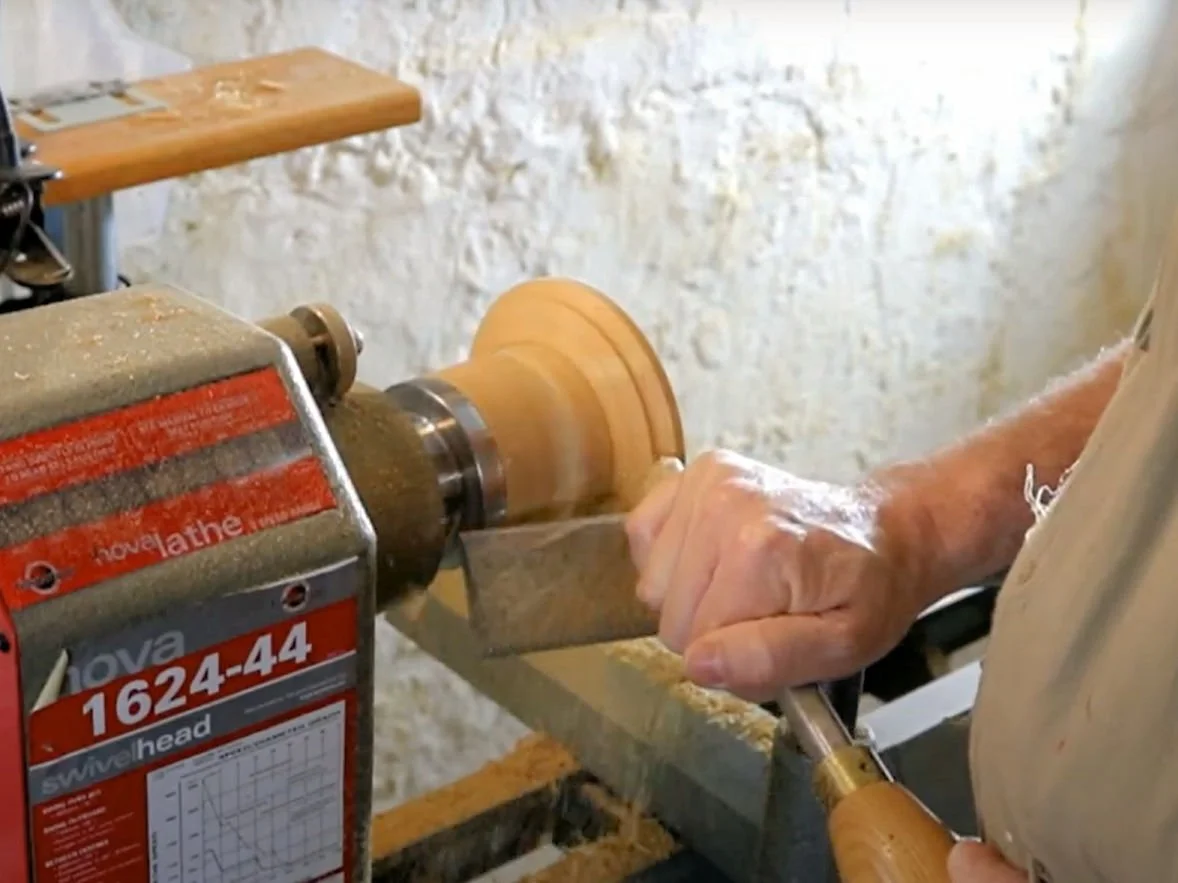
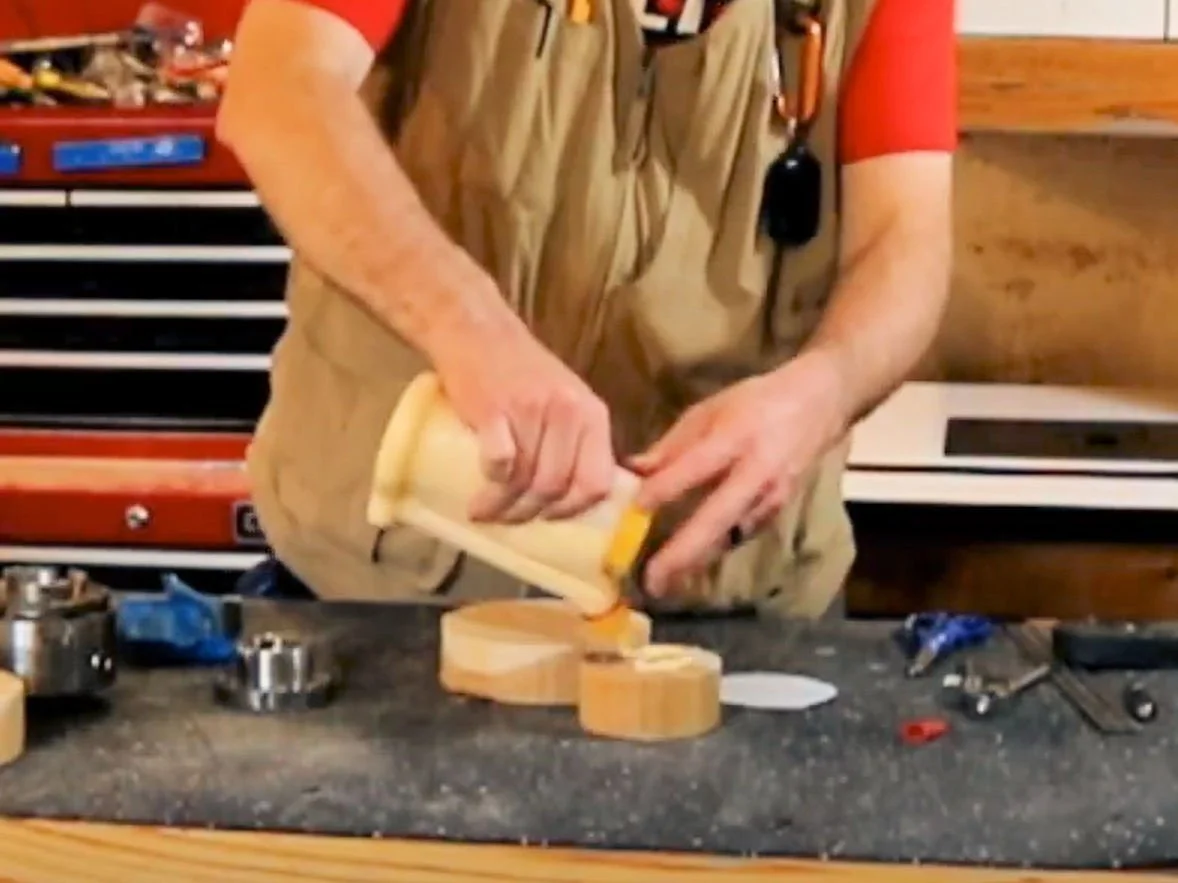
Shift your tool rest to the backside of the plate (tailstock side) and work away the waste material below the pencil line. Aim for a bottom roughly 3 inches in diameter, similar to our waste block. Finish shaping the bottom of the plate, and when satisfied with the shape, it’s time to sand and cut the piece off the waste block.
If you’re using a scroll chuck, you can cut the piece off if you have room or reverse-mount the plate using a waste block and the tailstock to remove the tenon.
Keep Practicing!
Penny plates are perfect for storing keys, change, or just emptying your pockets. They make great gifts, especially for the men in your life, so consider making several!
In our next lesson, we’ll continue exploring faceplate turning by creating a small lidded box or salt cellar. For this project, you’ll need some stock that’s 3 to 4 inches in diameter and 4 to 6 inches long—small tree branches work well for this. Make sure you’re signed up for our e-mail list so you’ll know when Lesson 8 is released.
I look forward to seeing you in the next lesson!
Some of the links on this page are affiliate links, meaning, at no additional cost to you, I may earn a commission if you click through and make a purchase.