
How to Start Woodturning - Turning Salt Cellar or Lidded Box - Lesson 8
Welcome to Turning Stitches! I’m Sean, your guide on this exciting journey into the world of woodturning. Our mission is simple: to help woodturners of all levels learn the craft and start creating fun projects faster. If you’re eager to enhance your faceplate turning skills, you’re in the right place. Today, we’re diving into a project that’s both functional and aesthetically pleasing—a small lidded box or salt cellar.
If you missed our first faceplate project, the penny plate from Lesson 7, don’t worry! You can catch up here: Learnin' Turnin' BLOG | Turning a Penny Plate or Saucer | Lesson 7 | Turning Stitches. Make sure to sign up for our e-mails so you won’t miss any of our upcoming lessons.
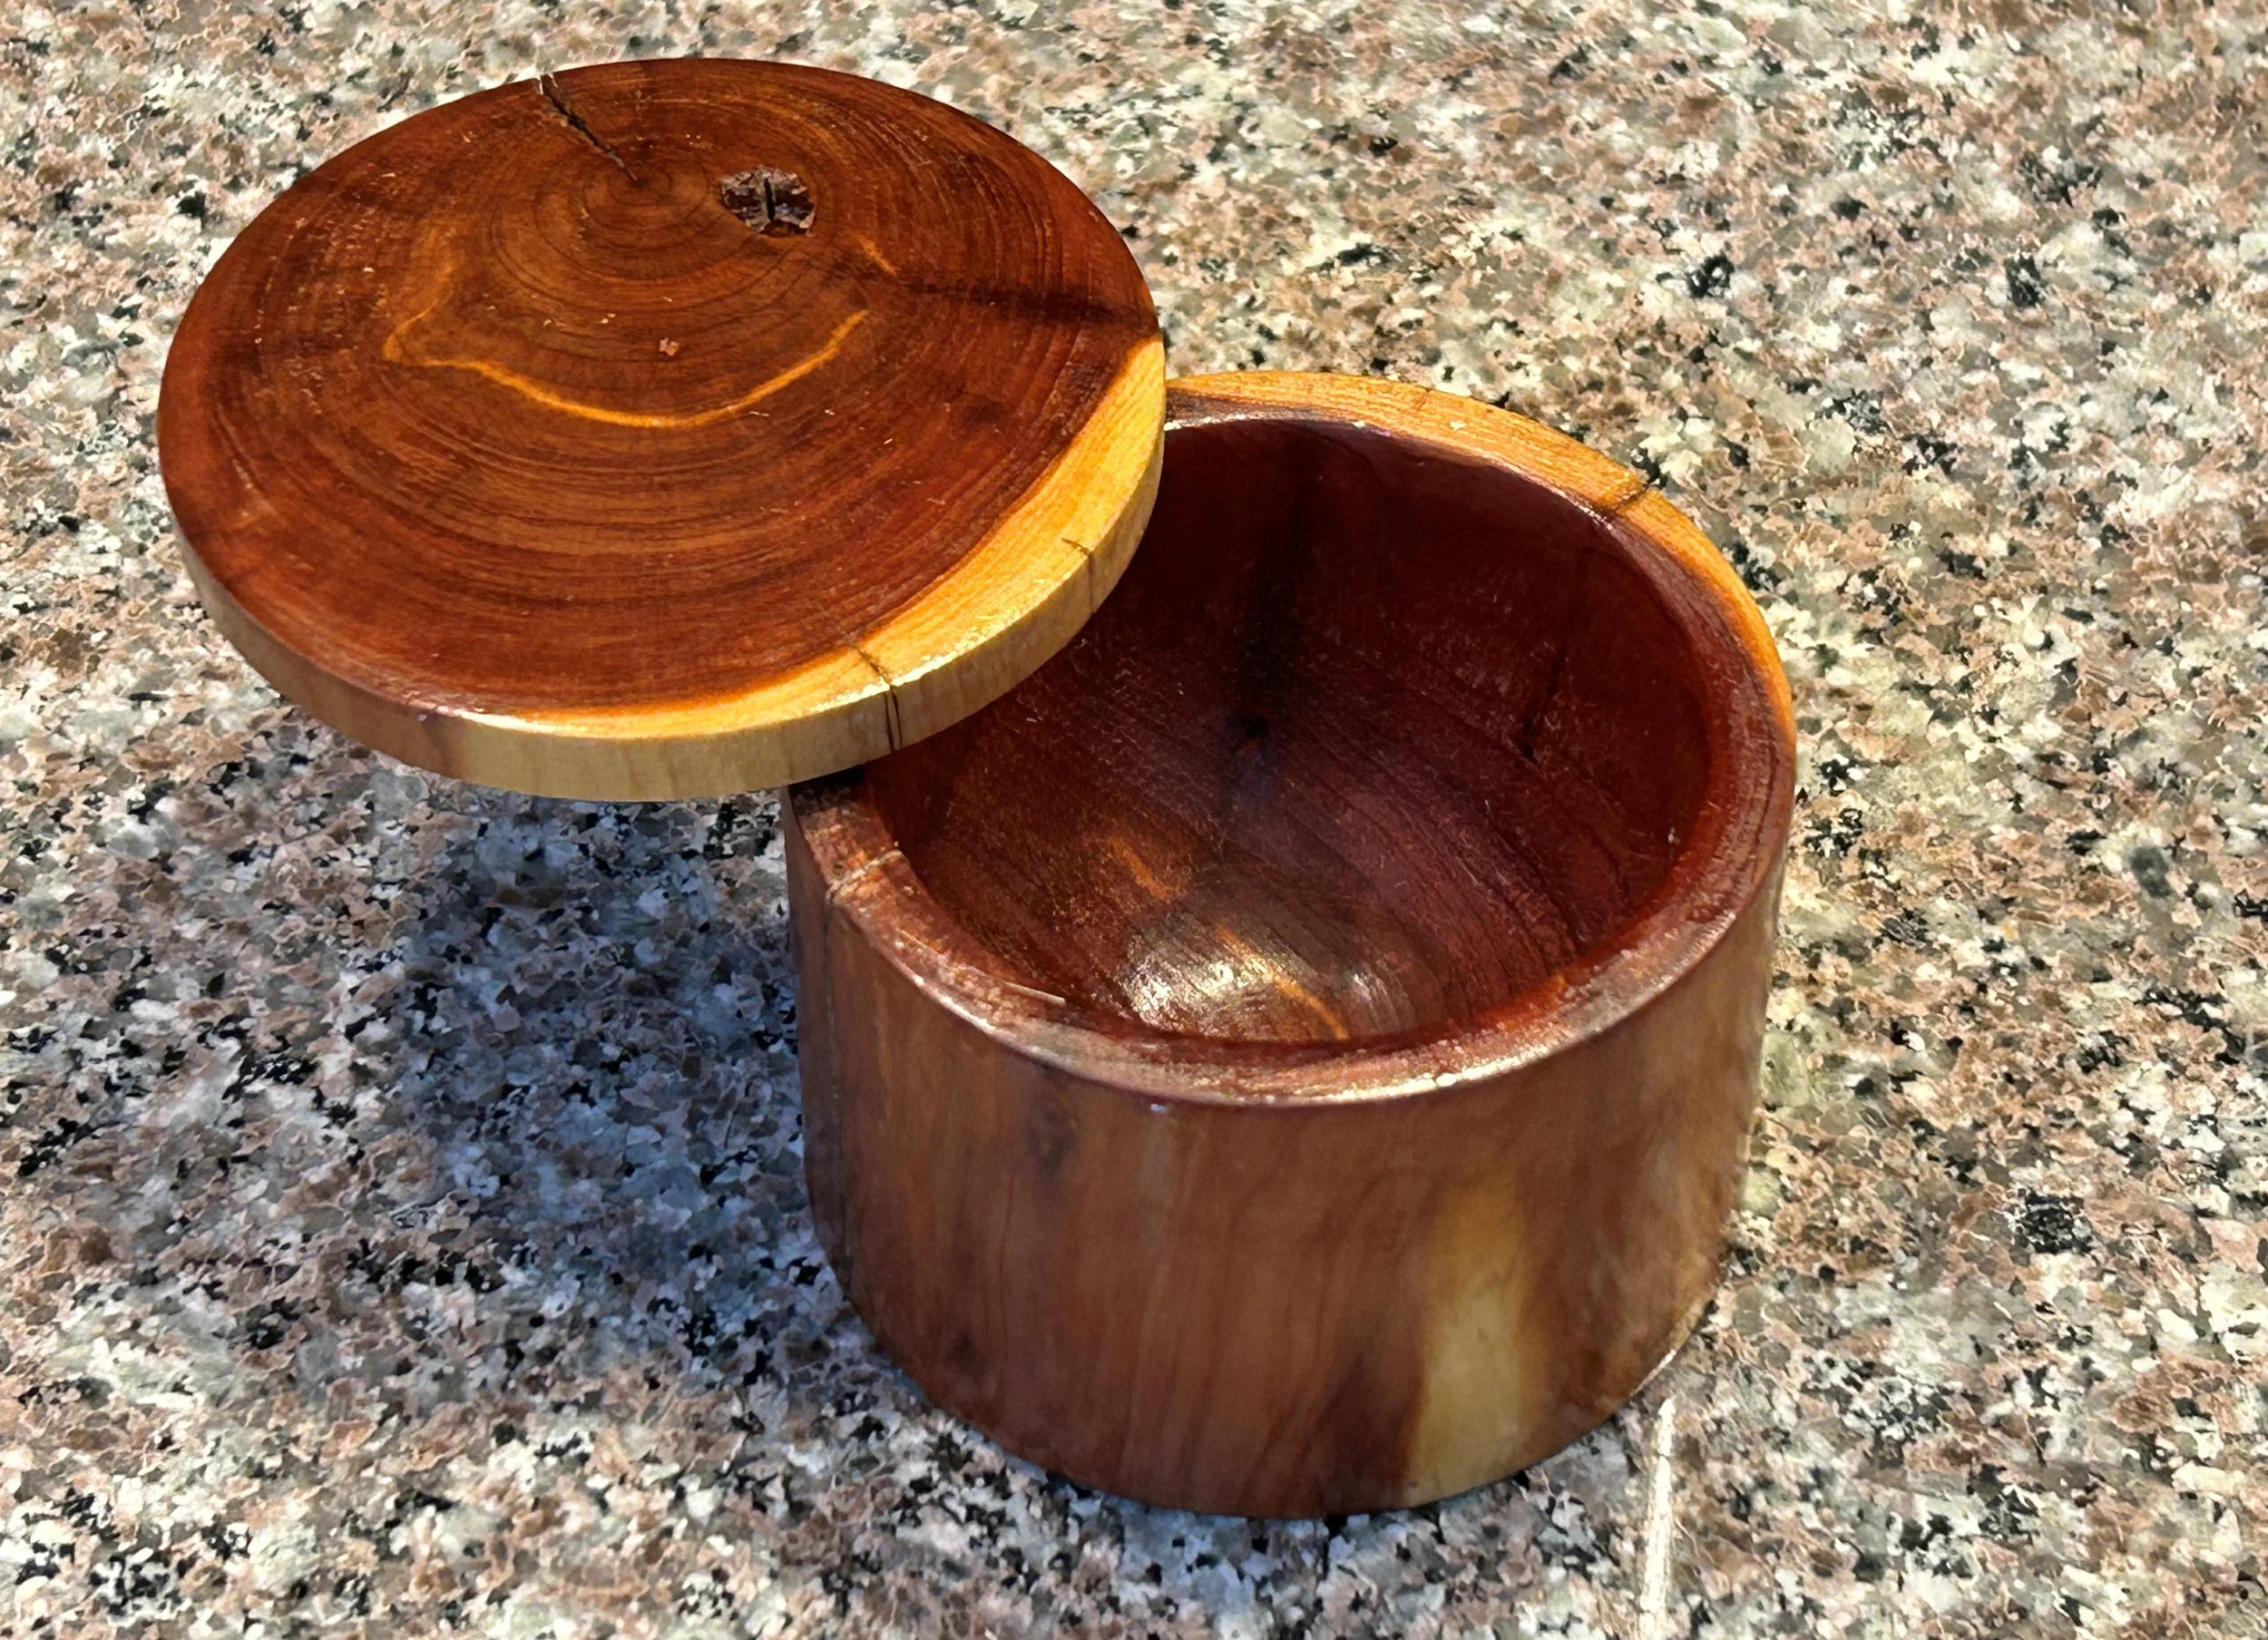
Lidded boxes are incredibly versatile. Whether you’re looking to store special items or add a decorative touch to your kitchen for storing salt and pepper, this small box is the perfect project to expand your woodturning repertoire. Not only is it simple, but it’s also a great introduction to hollowing, a skill we’ll continue to develop in future lessons.
Let’s dive right in—no glue required today!
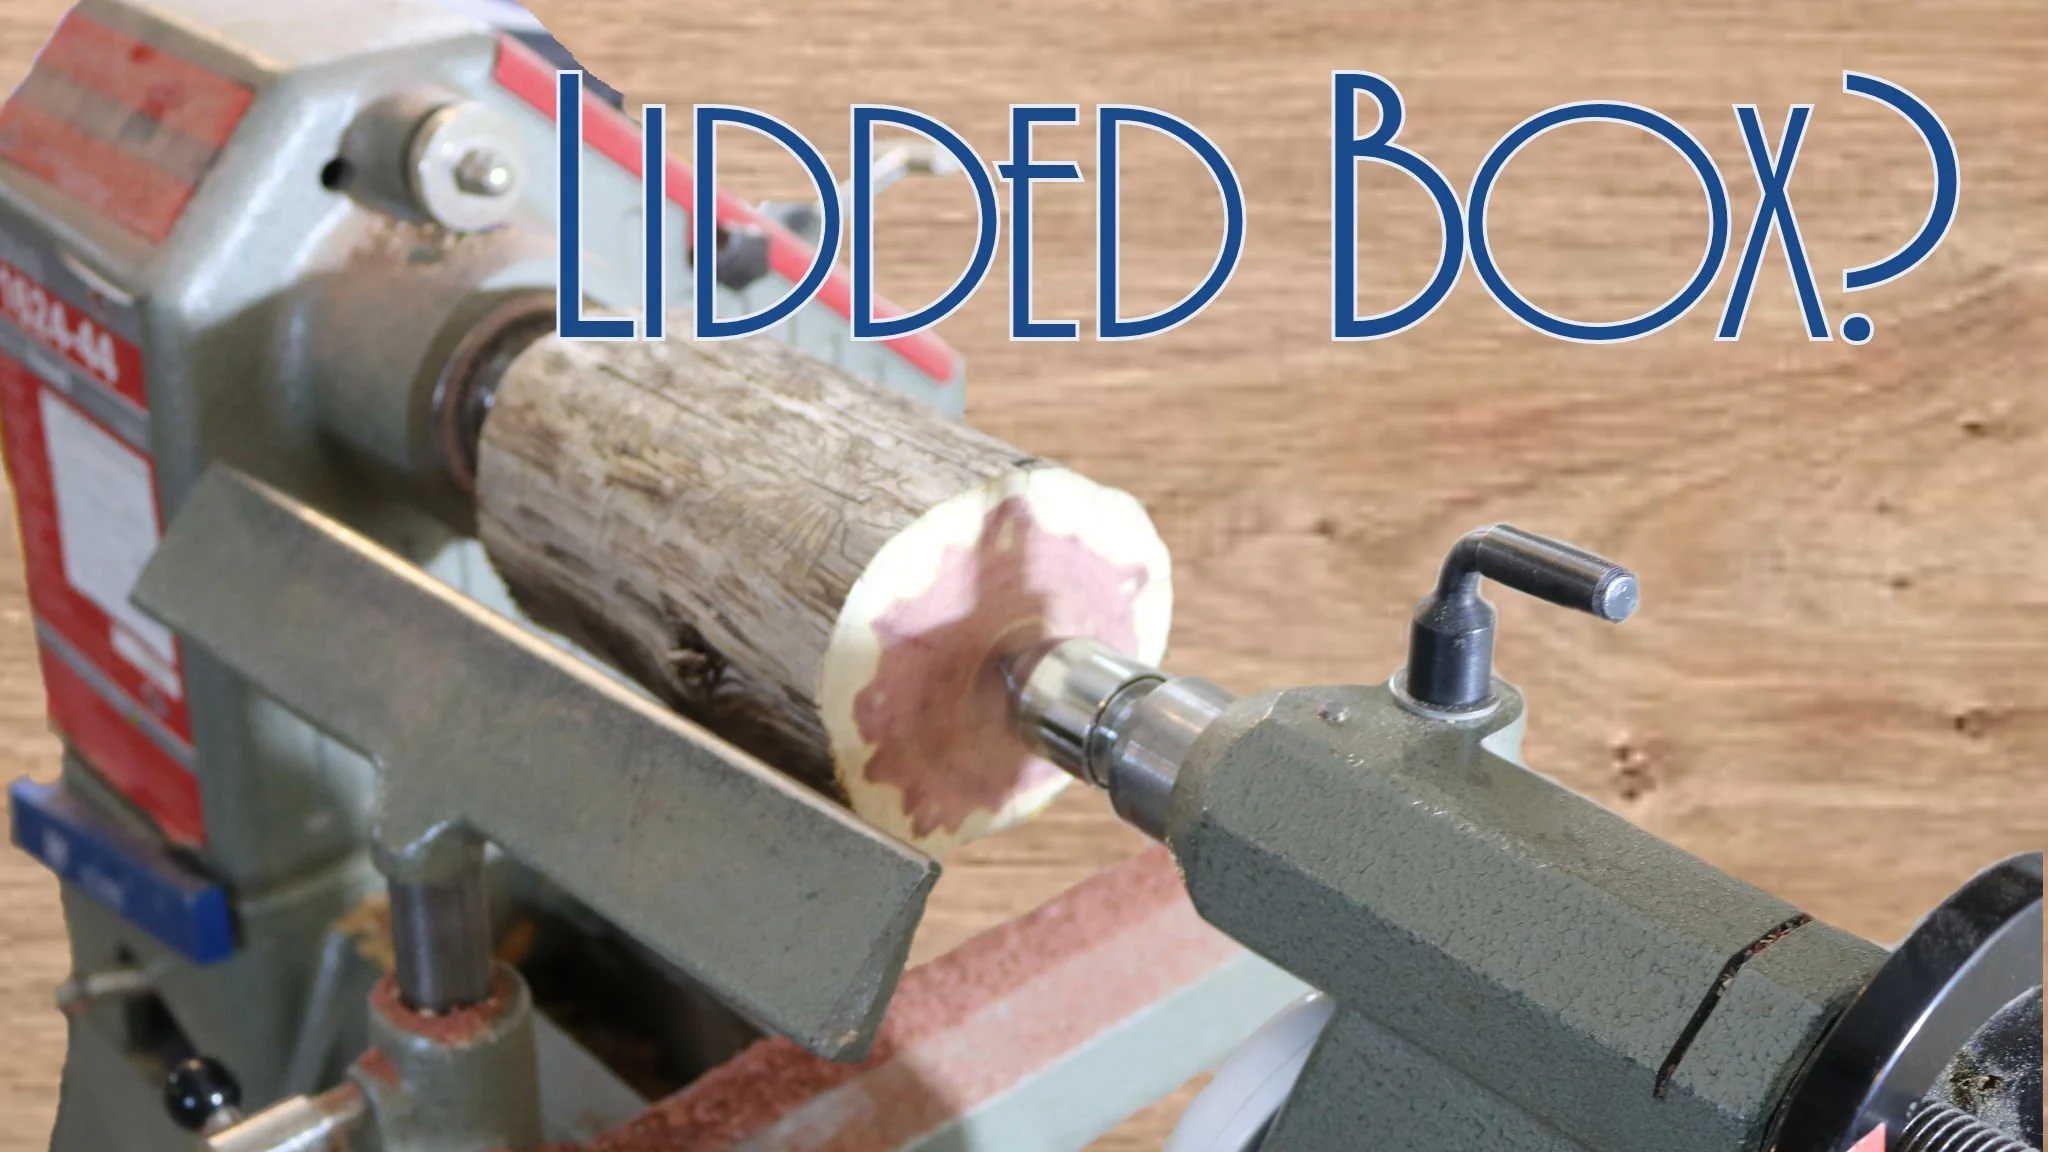
Getting Started with Cedar
For this project, I’m working with a small section of a cedar log. This project is ideal for those smaller branch sections you might have lying around. Our first step is to round the blank. If you’re using a faceplate, attach it to one end with wood screws. For those using a scroll chuck (https://amzn.to/3YE1eG6), start between centers. Once the piece is round, create a tenon at the tailstock end if you’re using a chuck, and then mount the piece in your chuck.
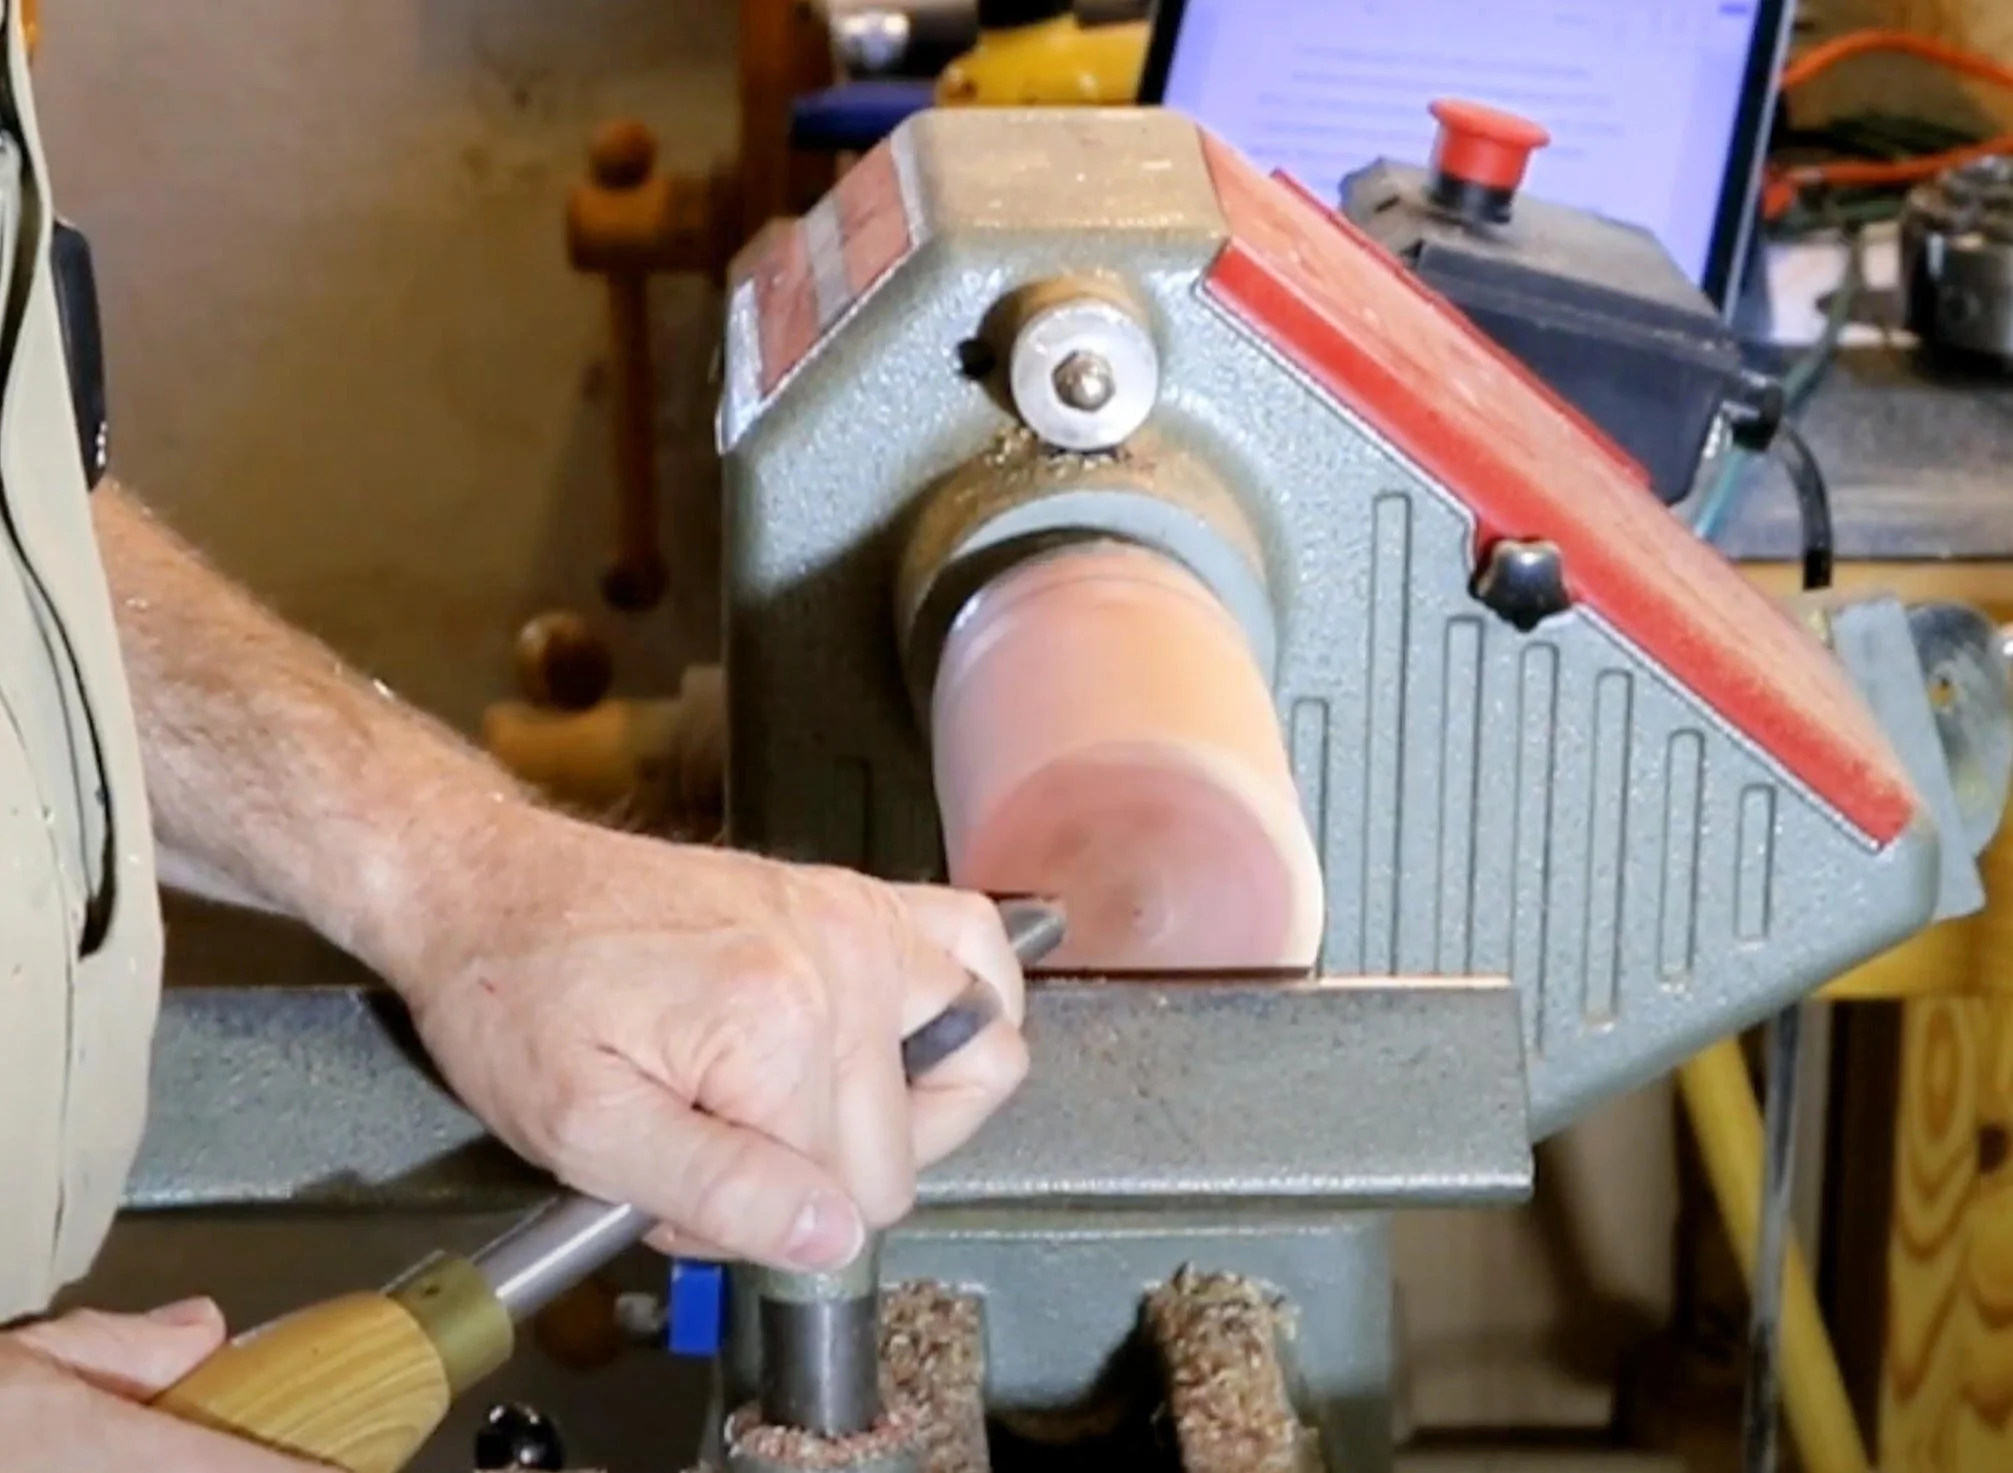
Shaping the Lid
Next, we’ll flatten the end of the piece and sand it through various grits (starting with 100, then moving to 150, and finally 220). Once you’ve achieved a smooth surface, mark in about 3/8 inch from the end, connect the lines, and part it off. If your workpiece has unique grain patterns, consider using a saw to preserve the wood grain alignment. Set the lid aside for now.
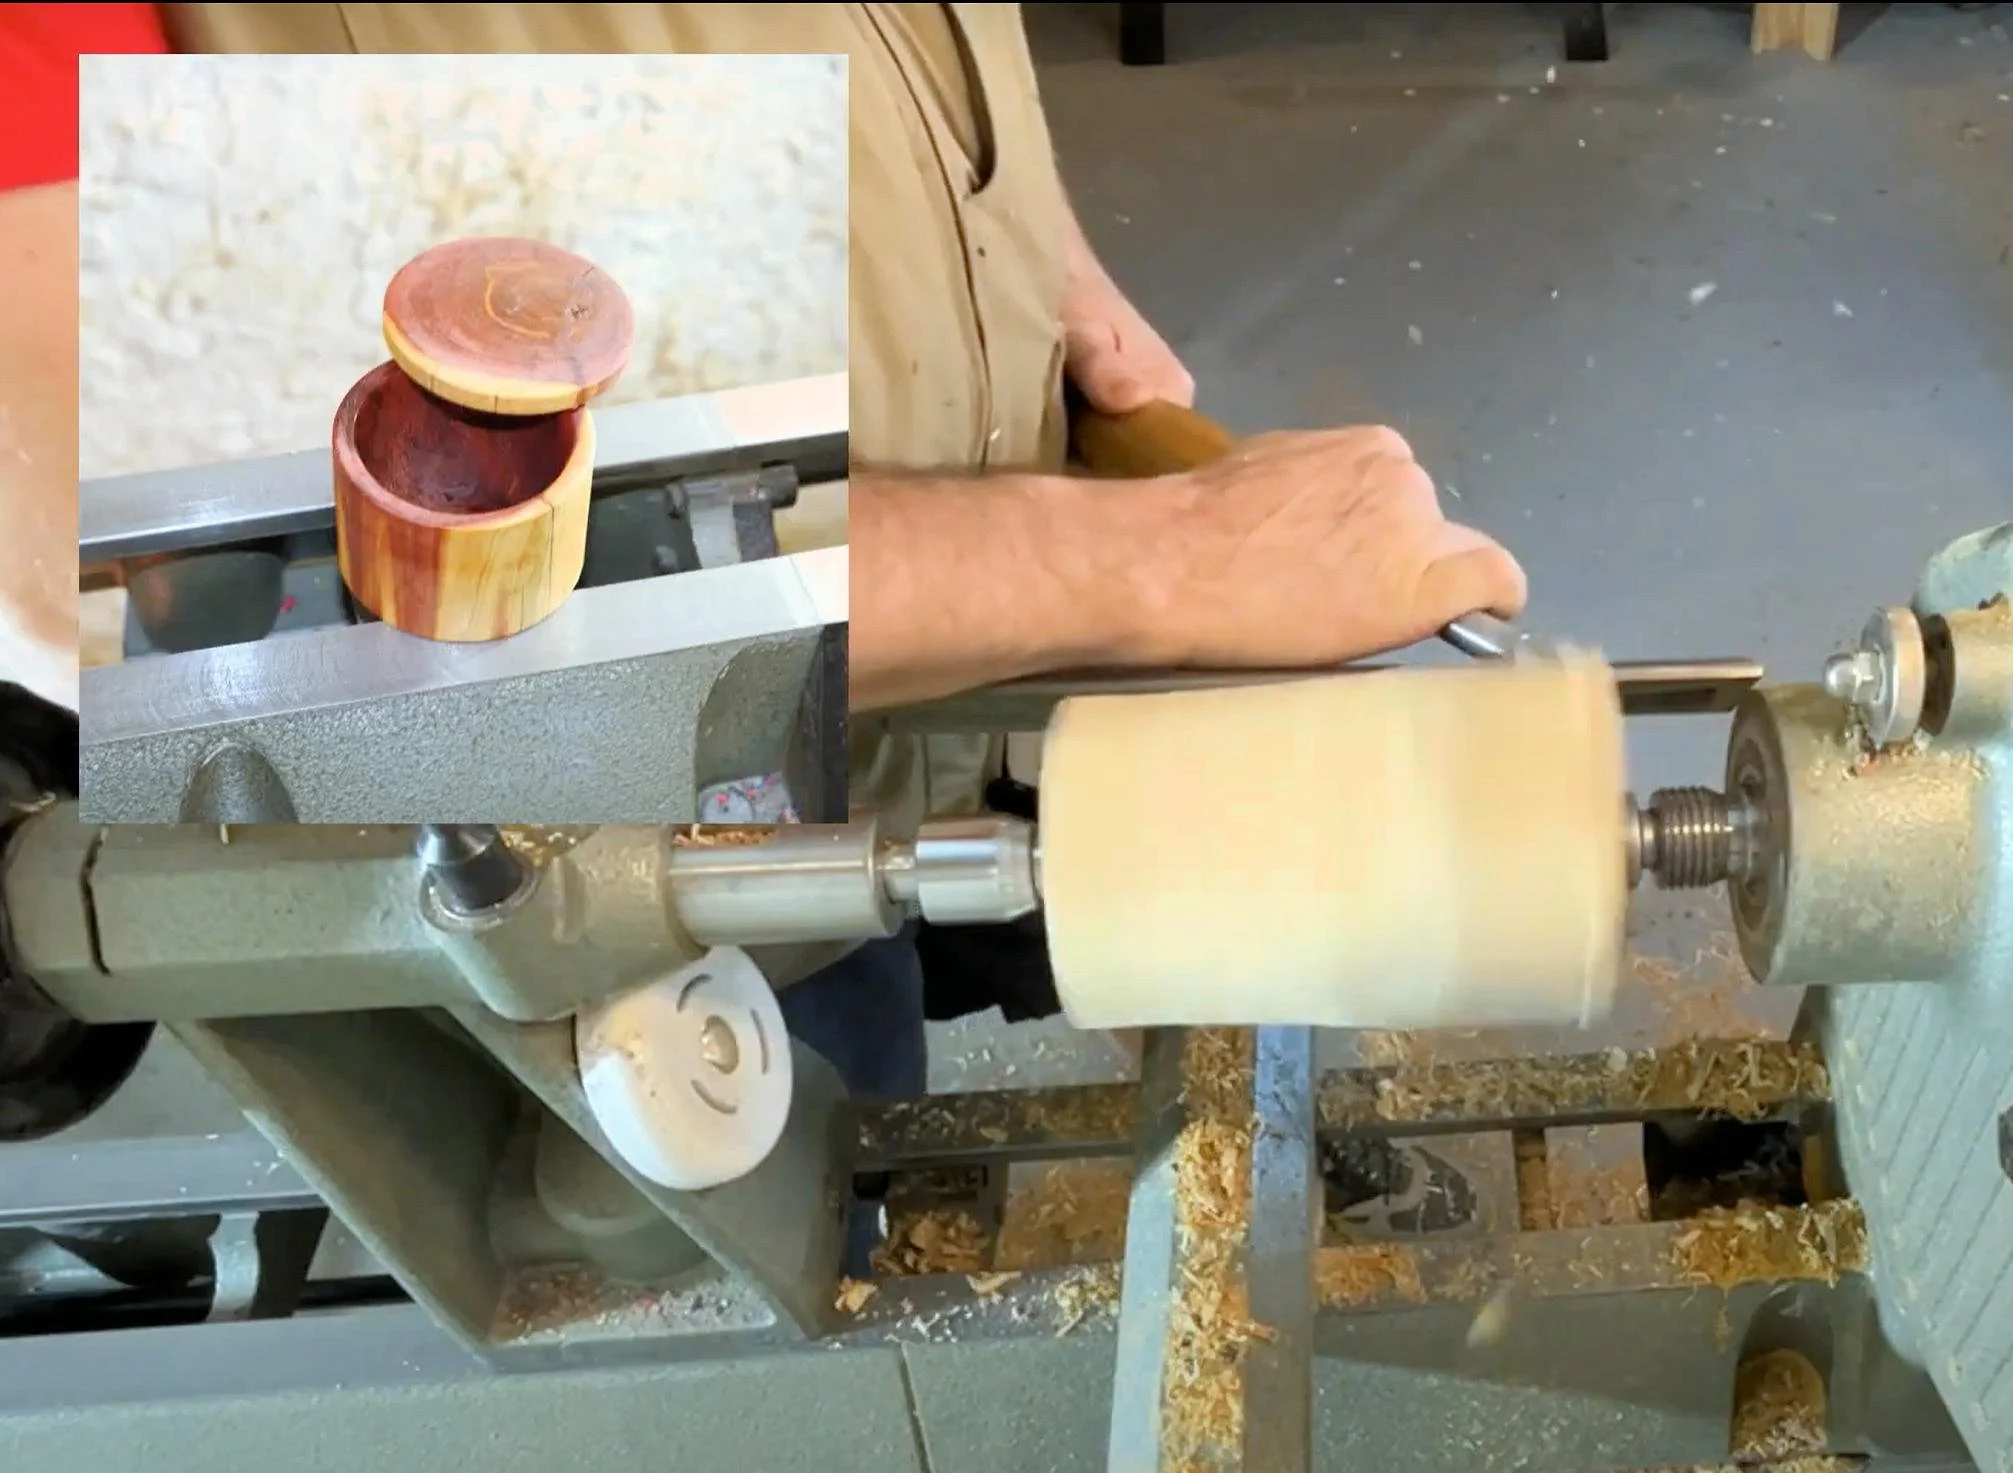
Crafting the Box
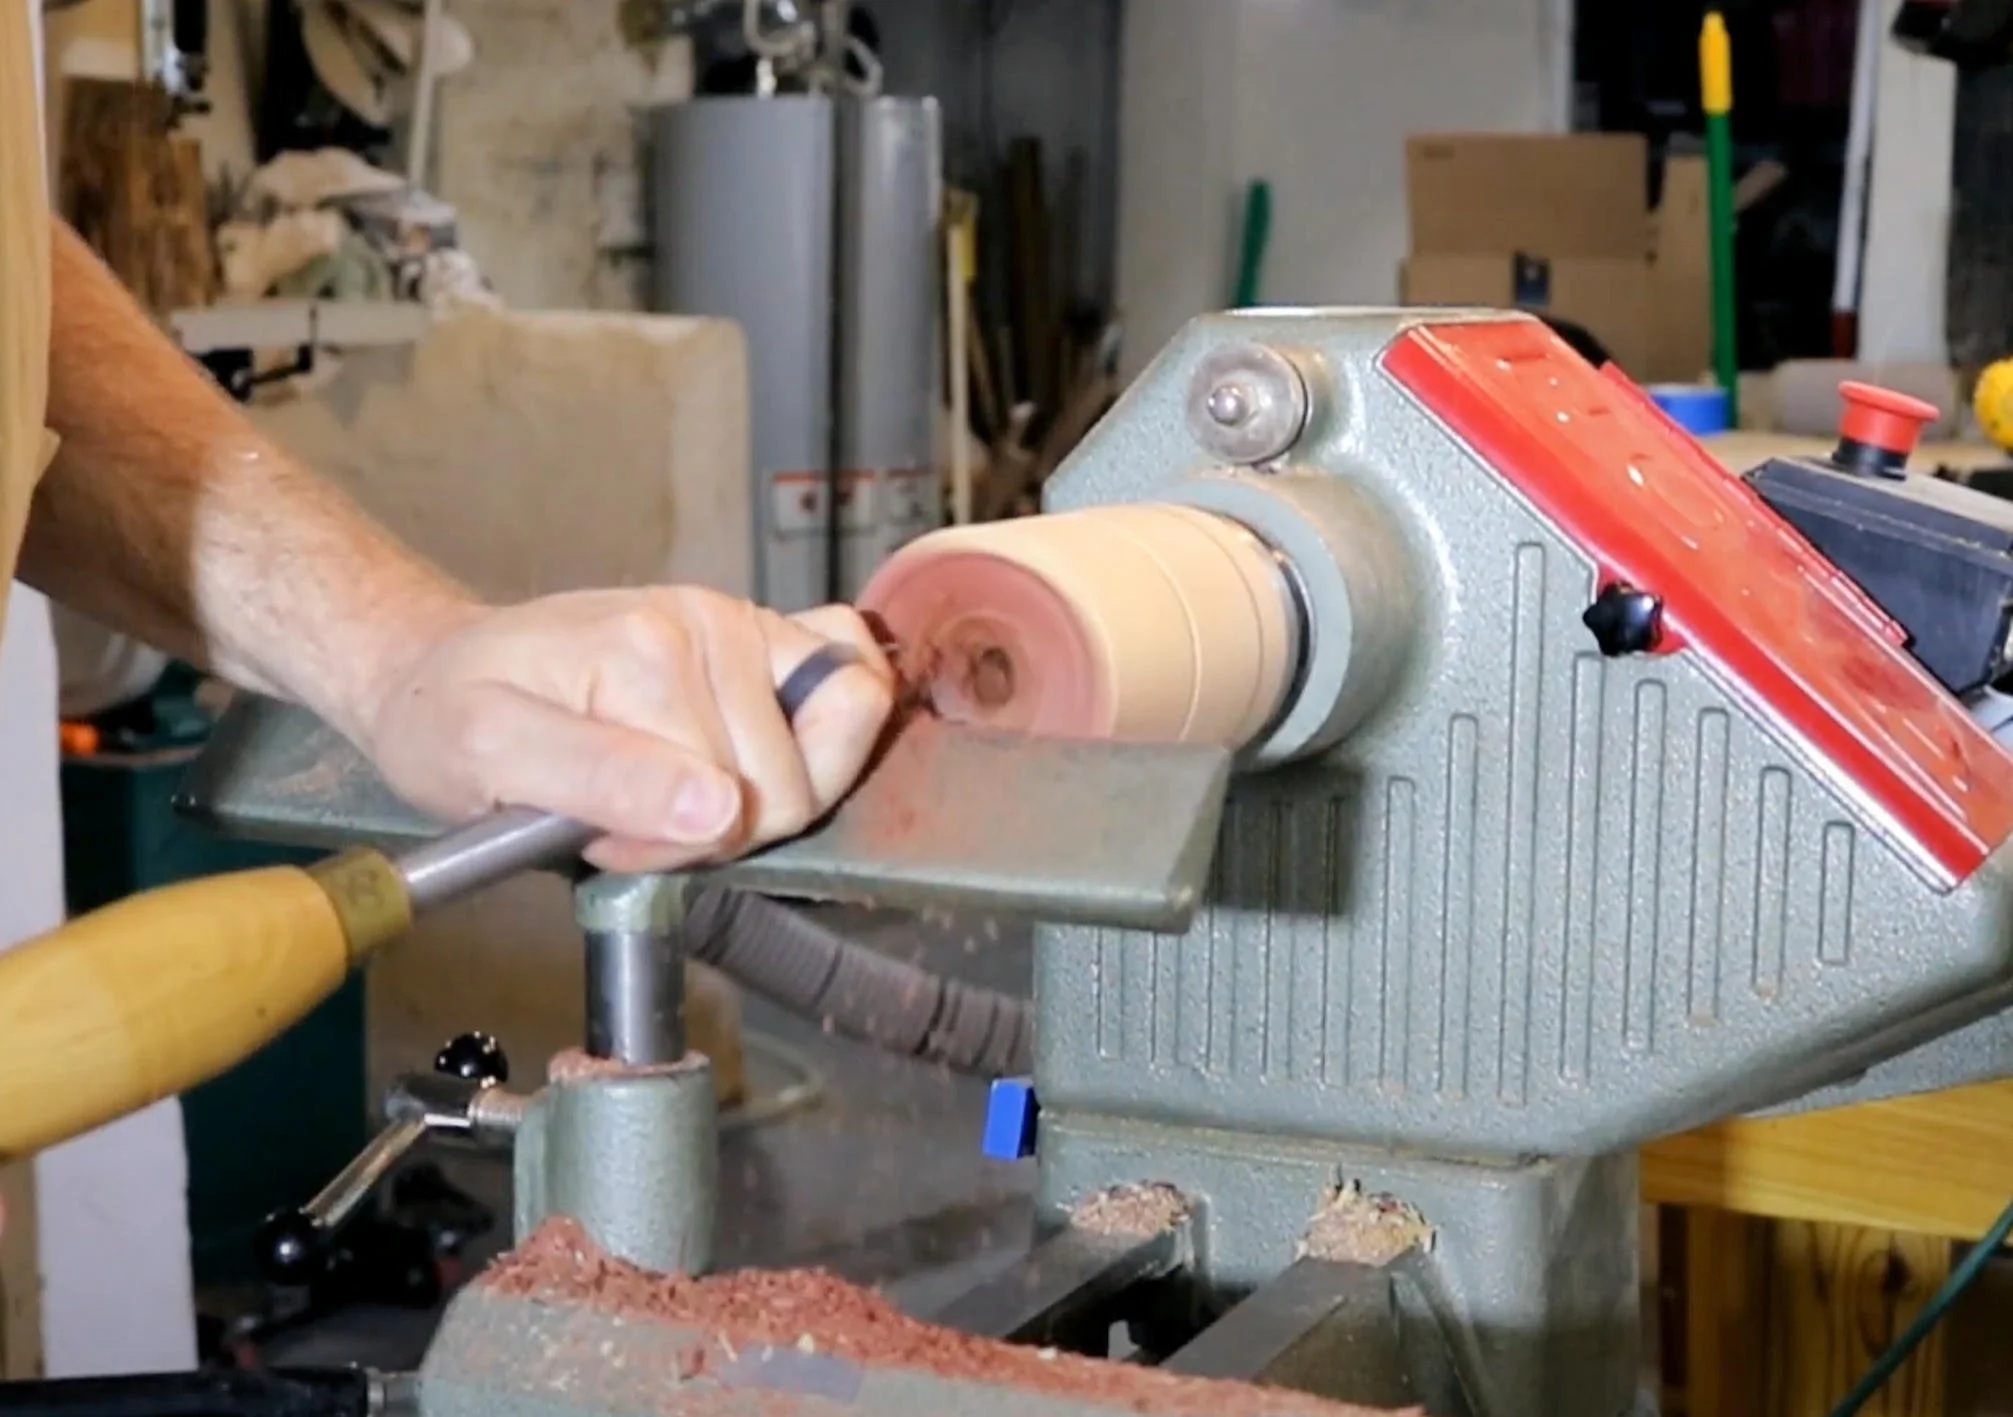
Measure 2 inches from the end of the piece to mark the bottom of the box. Mark a line and connect it about ¼ inch from the outside edge. Drill a depth hole, approximately 1½ inches deep, to define the interior depth of the box.
Now, using your bowl gouge (https://amzn.to/3SmN0p0) and a small scraper (https://amzn.to/3XeOVOr), remove the remaining waste from the inside of the box. As before, sand both the inside and outside of the box through your grits to achieve a smooth finish.
Re-attach Lid
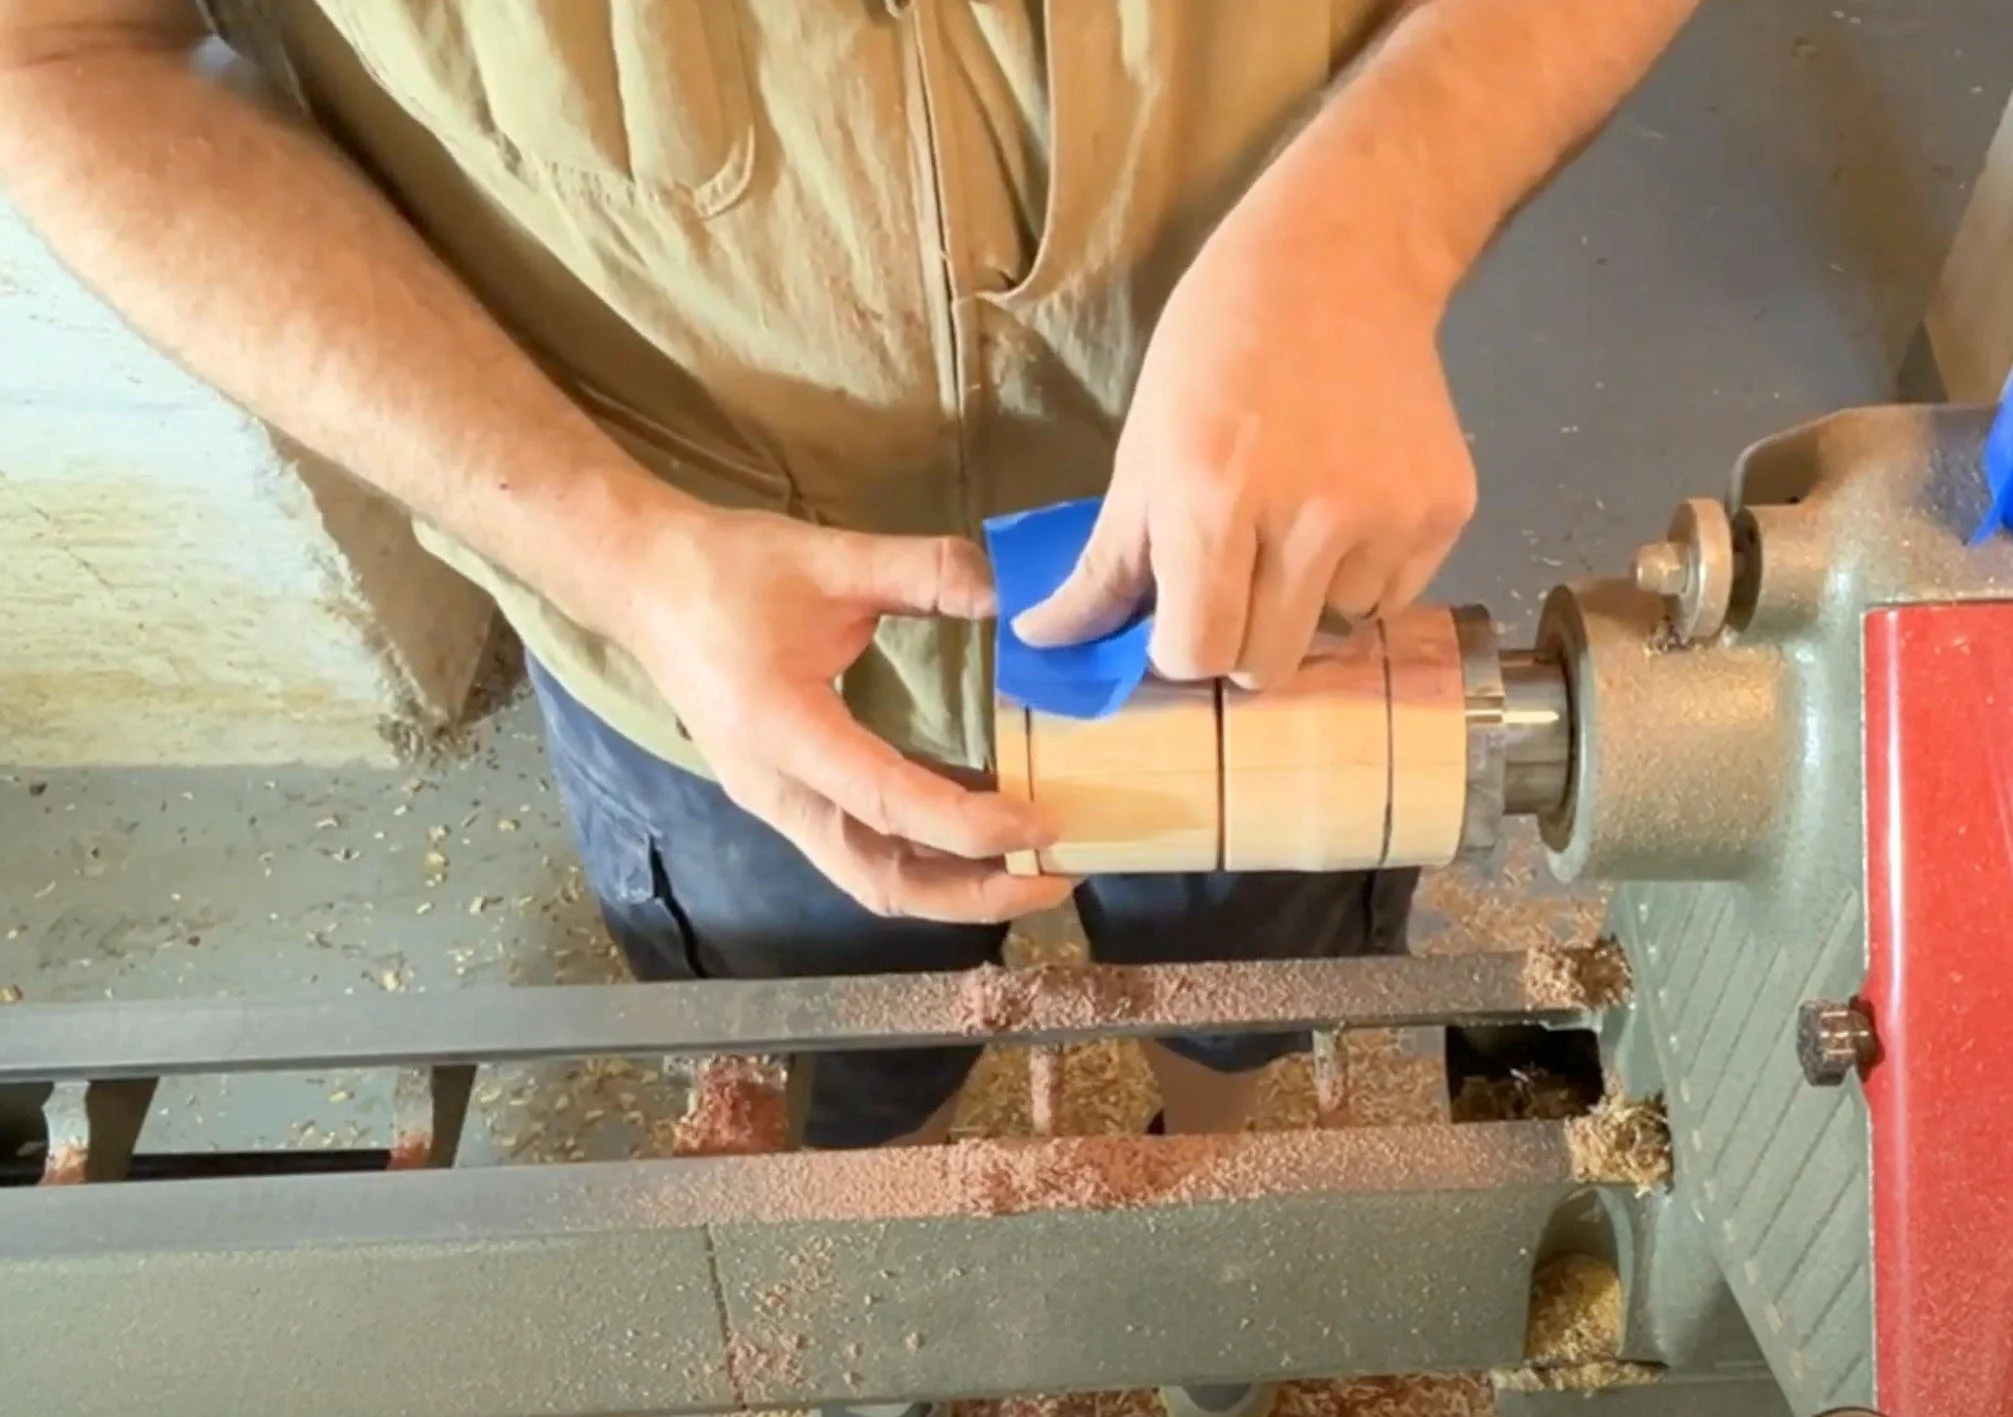
Re-attach the lid using painter’s tape, ensuring the bottom of the lid faces out. Sand the inside of the lid.
Final Assembly
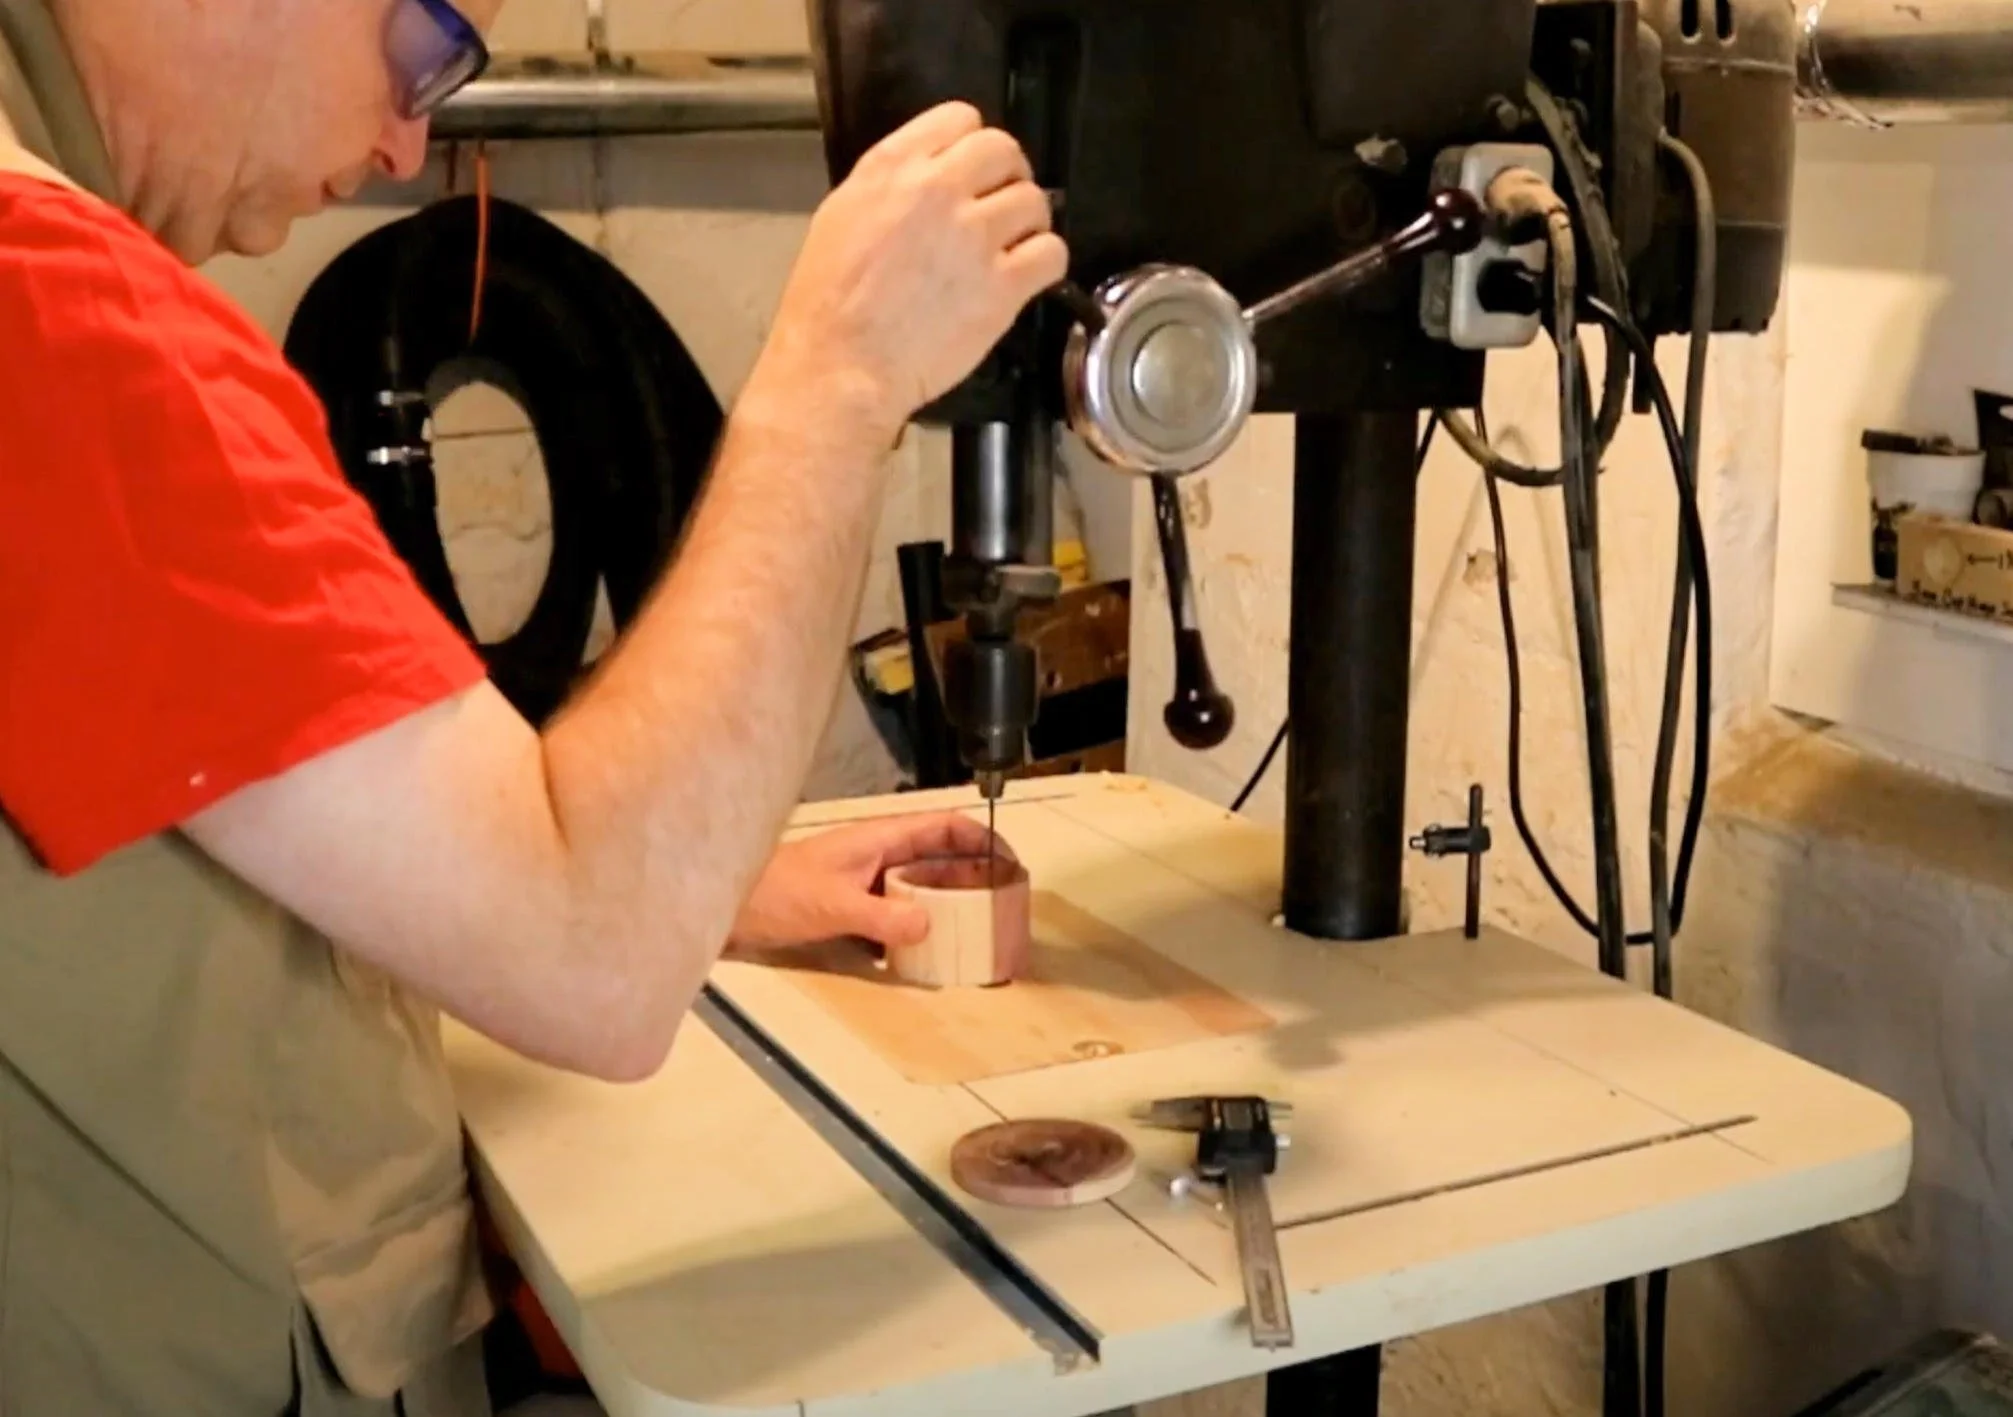
To finish, part off the box and prepare to attach the lid. Make an alignment mark on both the lid and the box. Drill a small hole in the shoulder of the box and the lid, then insert a small, clipped nail (I use nails clipped from aluminum pop rivets) to create a pivot point for the lid. Now, it’s time to apply your favorite finish. If you’re planning to use the box in the kitchen, I recommend finishing with shellac.
And that’s it! With practice, you’ll master this project in no time. In fact, you might find yourself making a pair of these boxes for your kitchen or as thoughtful gifts for others.
Looking Ahead to Lesson 9
In our next lesson, we’ll continue to build on your faceplate turning skills by crafting a simple bowl. For that project, you’ll need a turning blank that’s at least 6x6 inches and 2 to 3 inches thick. If you’re using a faceplate, don’t forget a waste block as well.
Make sure you’re subscribed to the channel with notifications turned on so you’ll be the first to know when Lesson 9 is released. I can’t wait to see you there and help you take your woodturning skills to the next level!