
How to Start Woodturning - Your First Bowl - Lesson 9
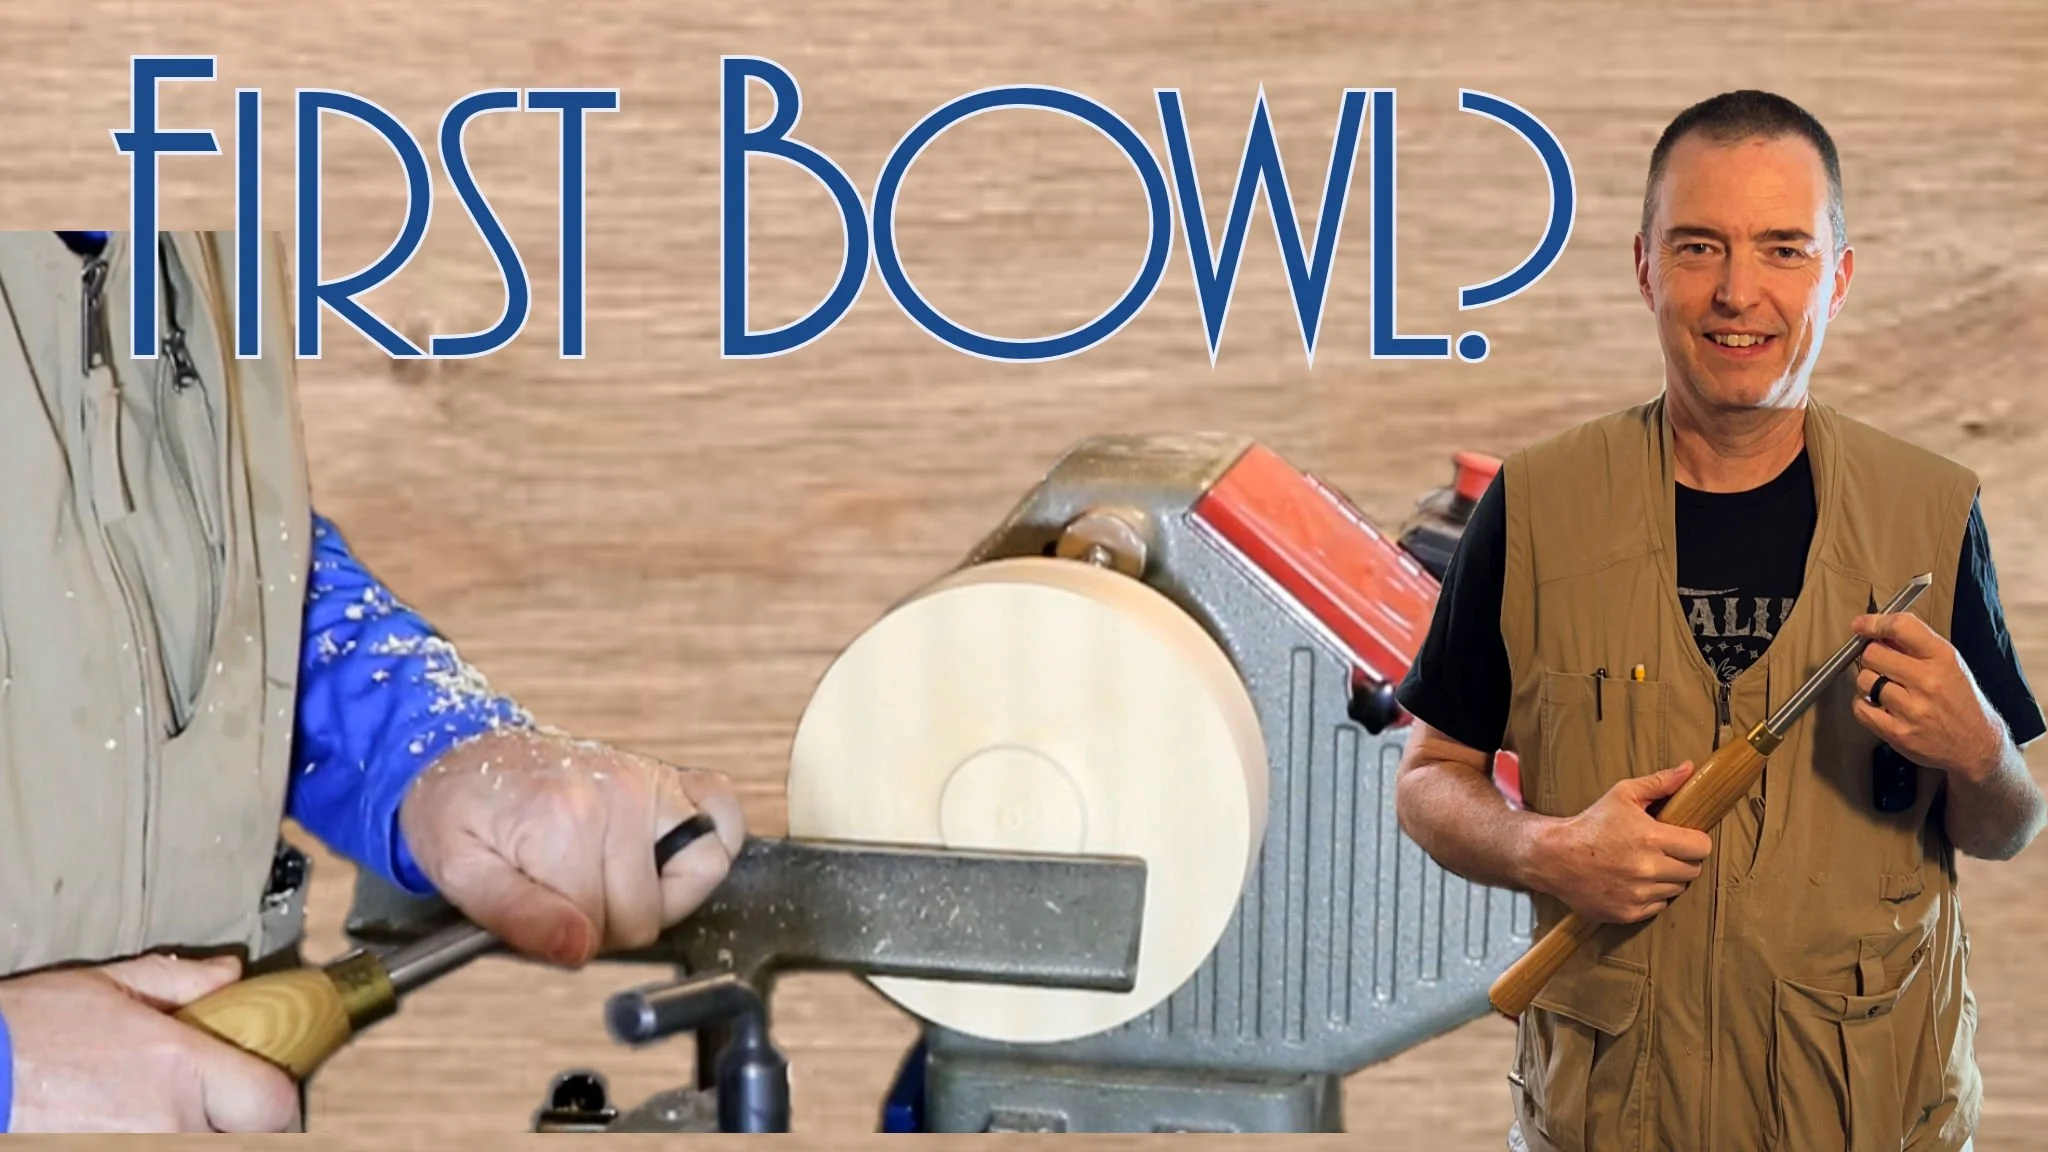
Welcome to Turning Stitches! I’m Sean, and I’m here to help you sharpen your woodturning skills so you can start creating fun projects faster. Today, we’re continuing our journey in faceplate turning by crafting a small bowl. Be sure to sign up for our e-mails, so you don’t miss any of our upcoming lessons.
Turning bowls is a favorite among woodturners, not just because of the beautiful end product but also because of the satisfying long, stringy shavings that come with the process. Let's dive in and make some shavings!
Preparing Your Bowl Blank
I’m starting with a bowl blank made from a 1x8 board from the home center. I glued three layers together, resulting in a piece roughly 7.25 x 7.25 inches. For this project, I’m reusing the waste block from Lesson 6. Before heading to the lathe, I’ll roughly round the blank at the bandsaw and use hot glue (https://amzn.to/3X8OAMO) to attach the waste block to the blank. Once that’s done, I’ll attach the faceplate using wood screws.
If you’re using a scroll chuck (https://amzn.to/3YE1eG6), drill a pilot hole in the center for your worm wood screw; we’ll be using this as a screw chuck to get started. After mounting the blank to the lathe, the first step is to get the outside diameter round.
Shaping the Bowl Exterior for a Scroll Chuck
With the scroll chuck, we’ll form a tenon and begin shaping the exterior of the bowl. Start by marking a 2-inch diameter circle in the center of your blank to identify the tenon. Cut in about ¼ inch from the outside to form the tenon. It’s crucial to create a dovetail shape that matches your chuck jaws and to ensure a flat surface just outside the tenon for secure mounting. Now, shape the bottom of the bowl, working from the base to the rim.
Shaping the Bowl Exterior for a Faceplate
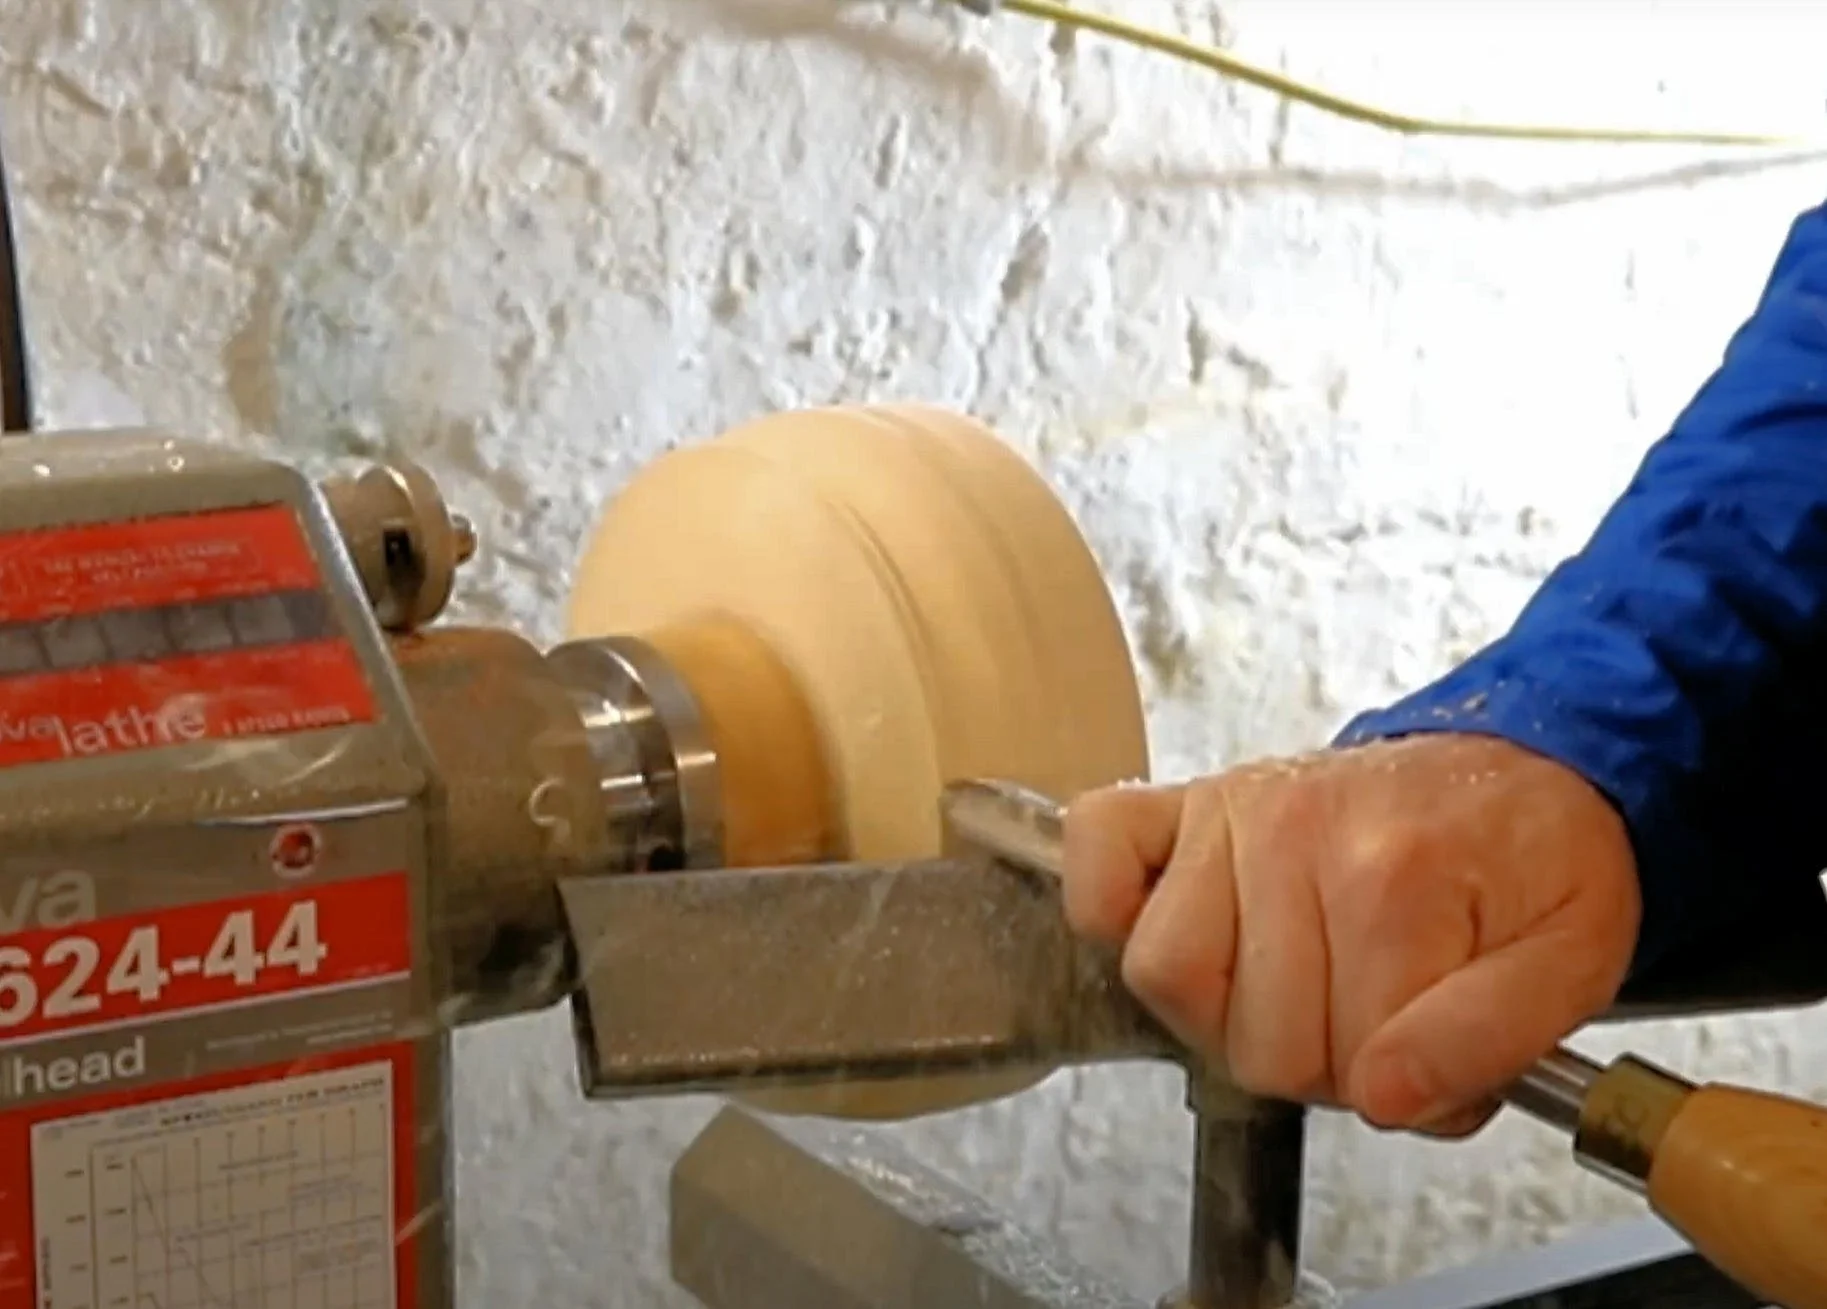
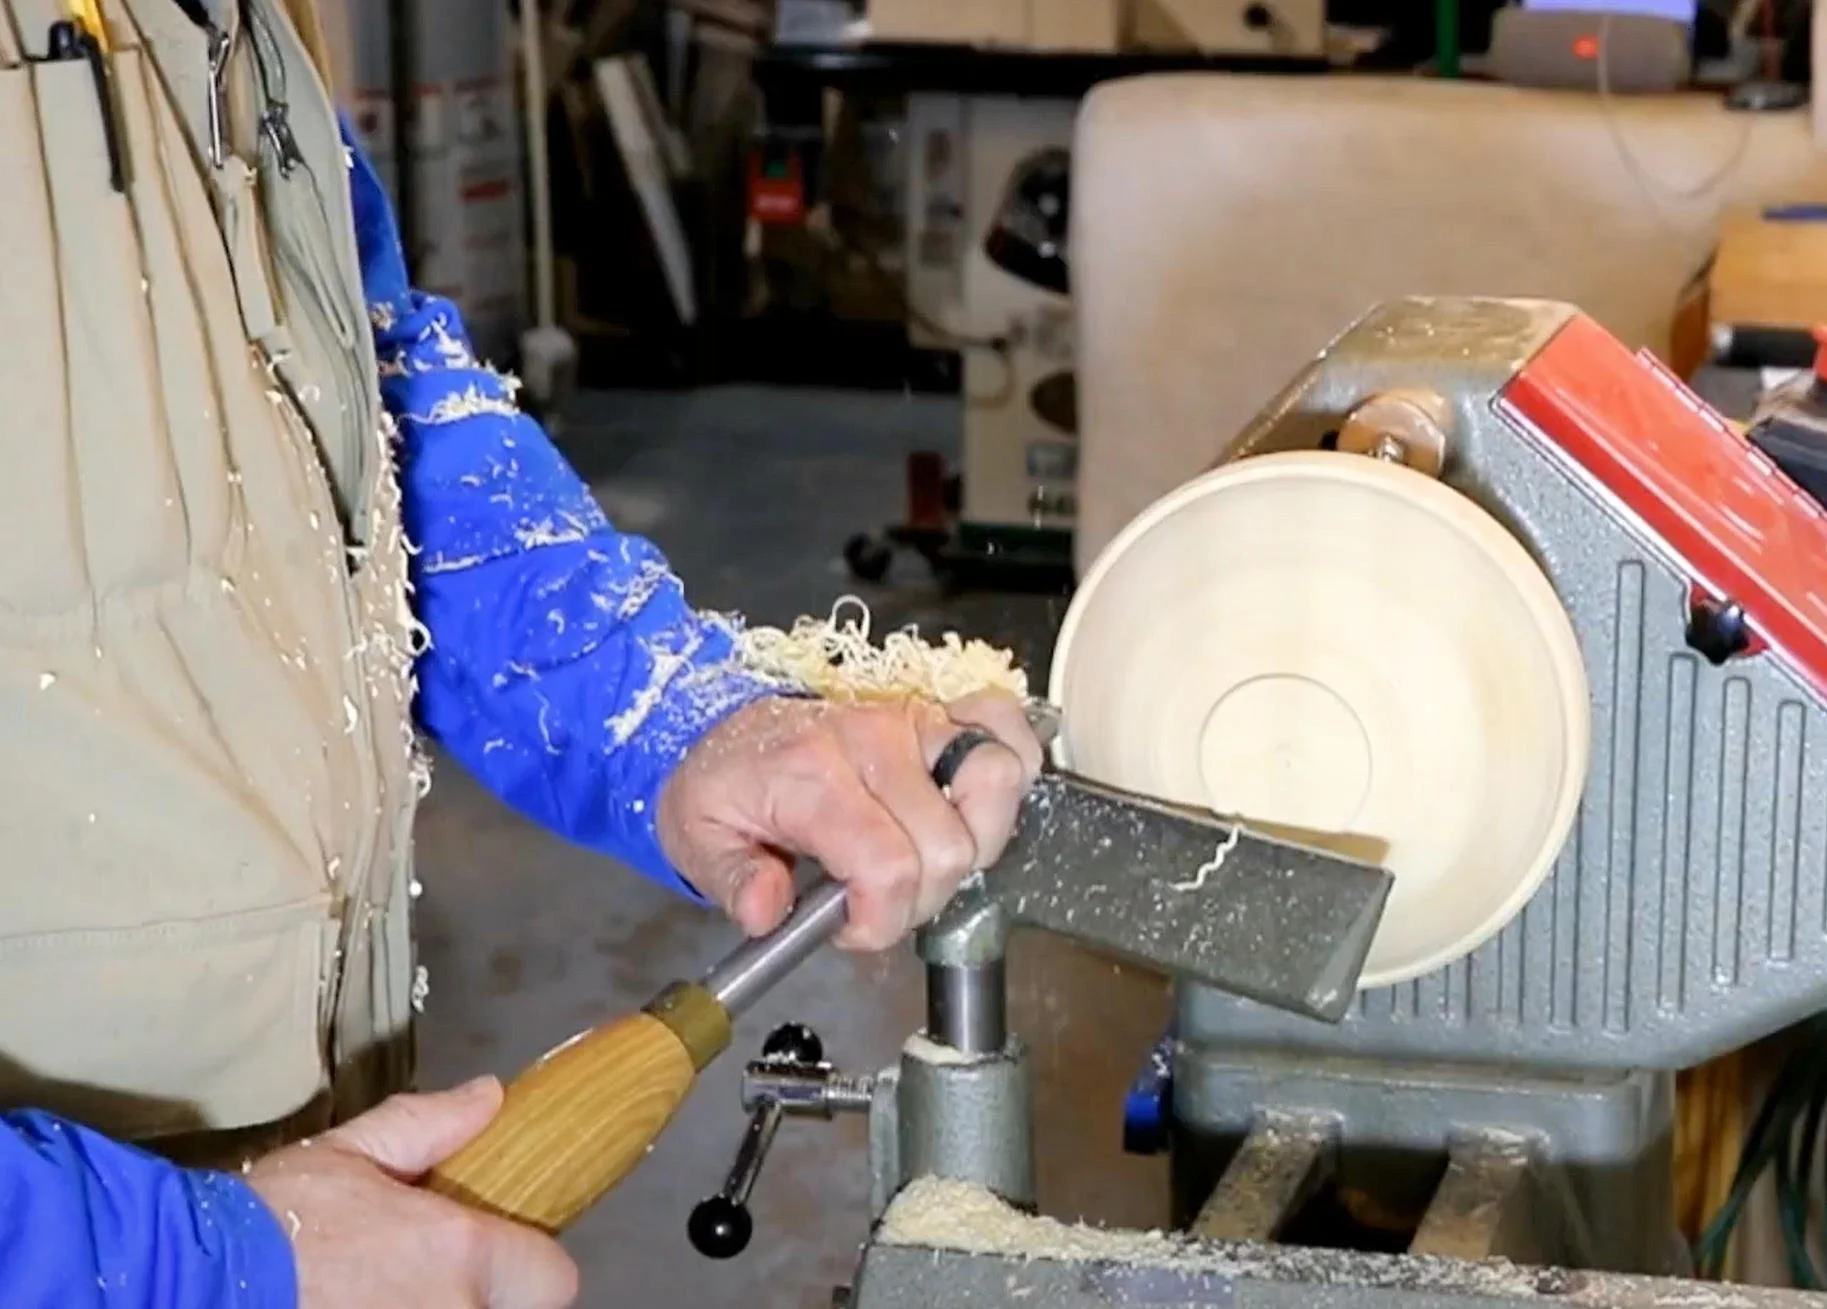
If you’re using a faceplate, begin shaping the exterior of the bowl from the rim to the base, moving toward the headstock. You might need to use a scraper or carbide tool to reach the bottom of the bowl. Keep in mind that even with bevel-supported cuts, you may experience some tear-out on the end grain portions of the bowl. To smooth these areas, re-sharpen your scraper and rotate it slightly to achieve a shear cutting motion. This technique might save you some time during the sanding process.
Hollowing the Bowl
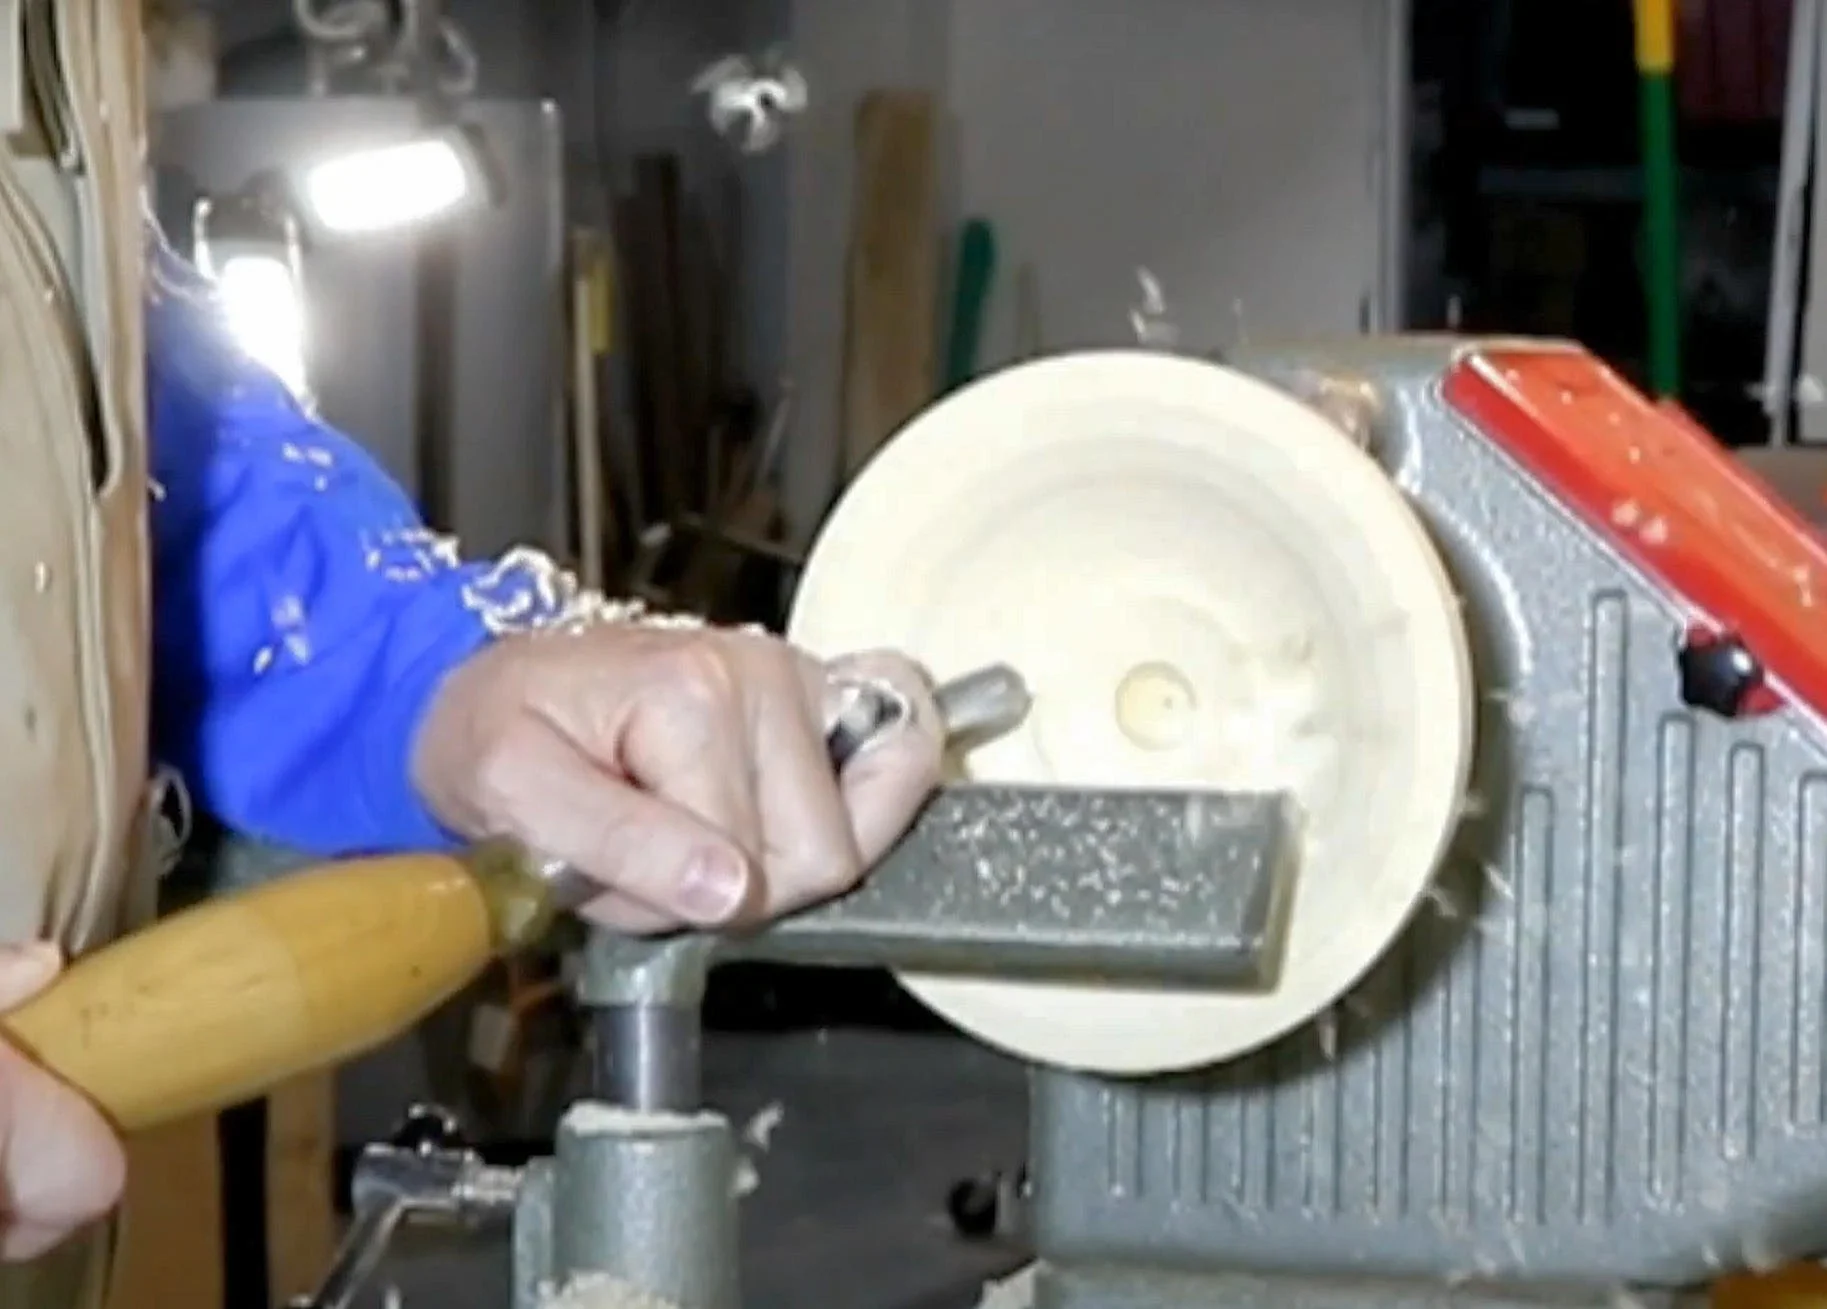
Now it’s time to hollow the bowl, a process that remains consistent regardless of your holding method. I prefer to drill a depth hole first (https://amzn.to/3WSbIAm)—this helps me avoid turning the bowl into a funnel! Then, using a bowl gouge (https://amzn.to/3SmN0p0), I remove the bulk of the waste. The swept-back grind on my gouge isn’t ideal for working on the bottom of bowls, so I typically switch to a scraper (https://amzn.to/3XeOVOr) to finish this part. Again, using a shear cutting motion can help smooth out any torn grain.
Sanding and Finishing
Once you’re satisfied with the bowl’s shape, it’s time to start sanding. Slow down the lathe speed and begin with 100-grit sandpaper, gradually working through the grits up to 220. You can go finer, but for a practice piece, 220 grit should be smooth enough.
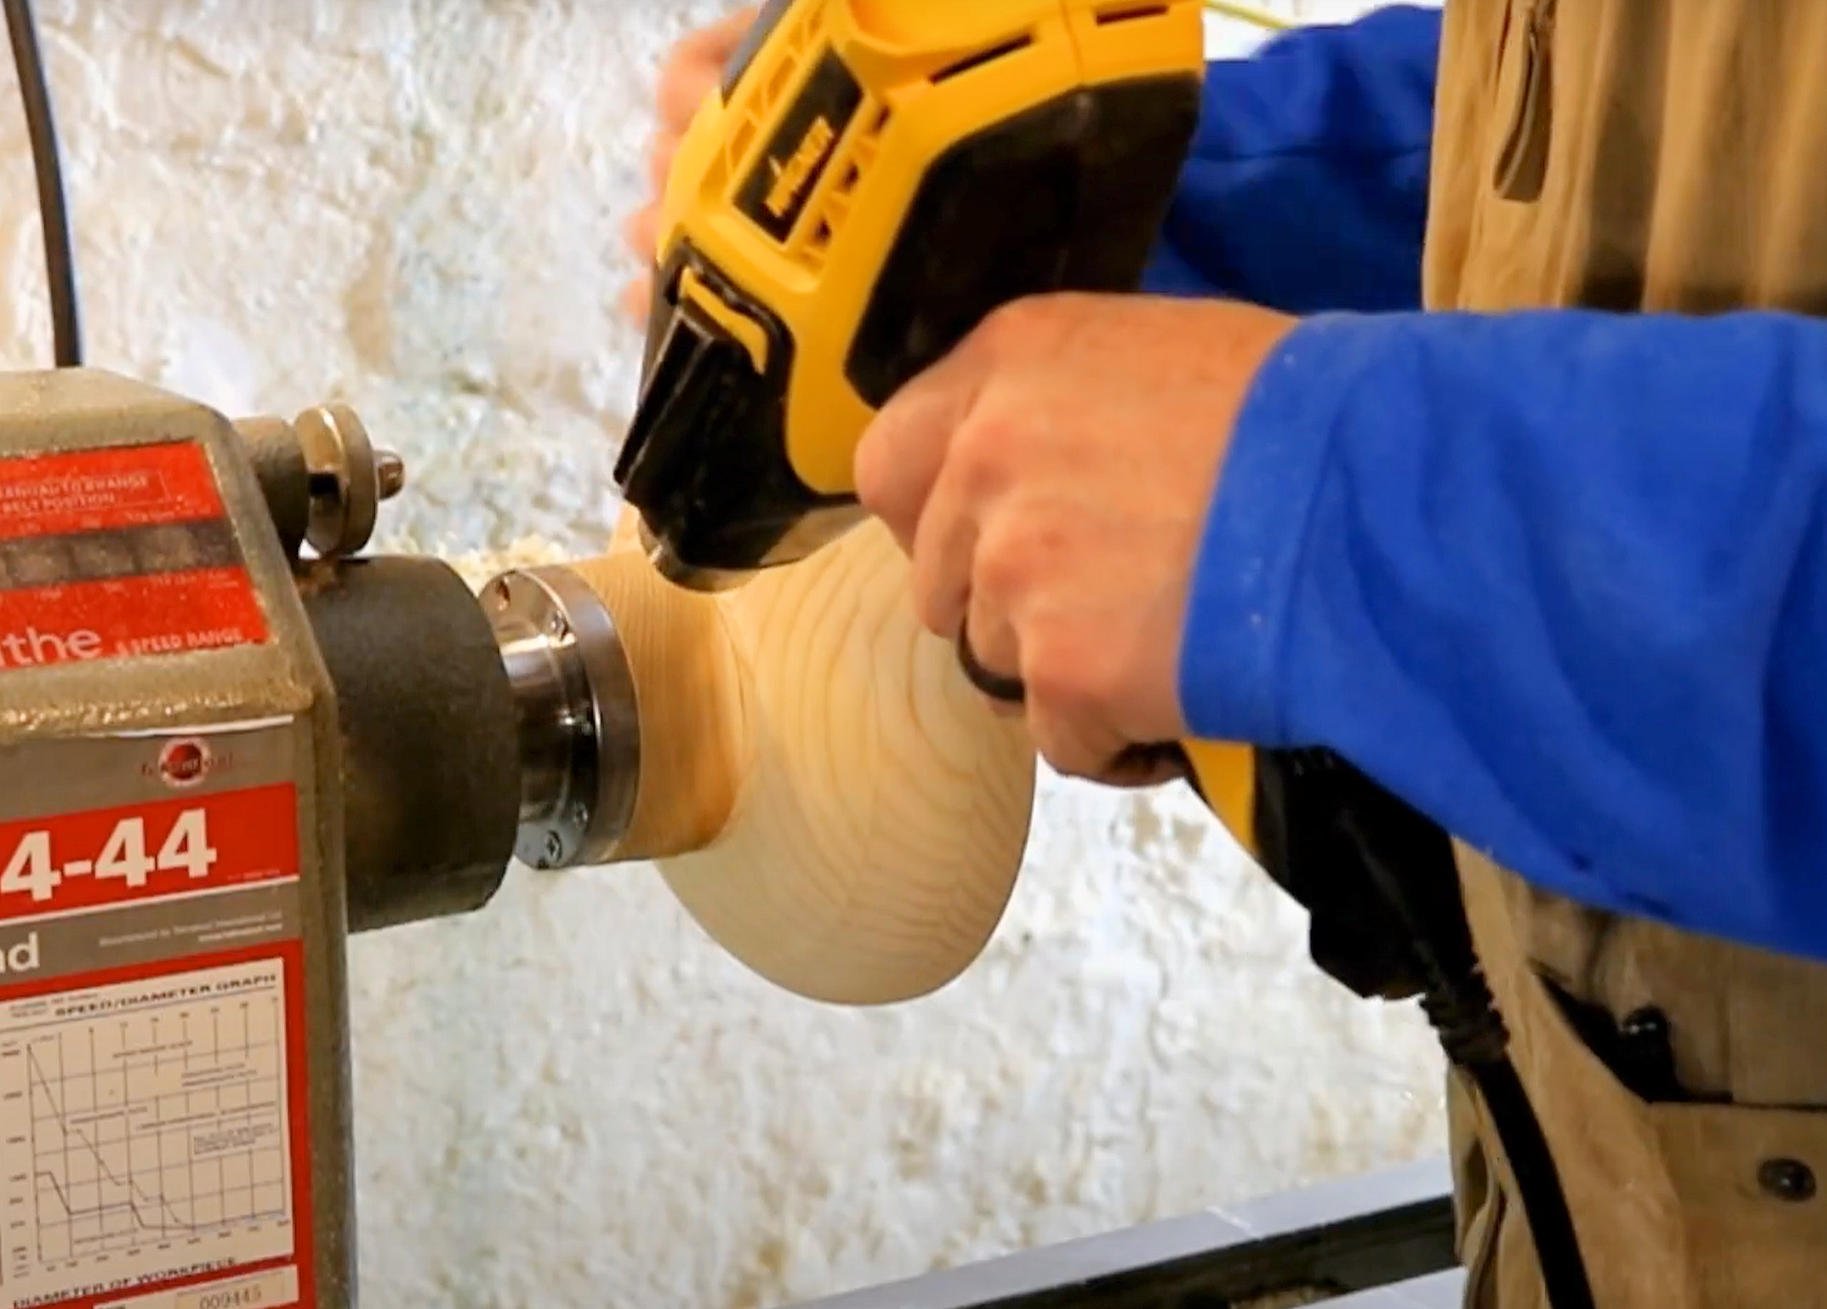
After sanding, it’s time to remove the bowl from the waste block if you’re using a faceplate or to turn away the tenon if you’re using a chuck. I usually soften the hot glue with a heat gun (https://amzn.to/4dHCPUL) to remove the waste block easily. Alternatively, you can cut off or turn away the waste block.
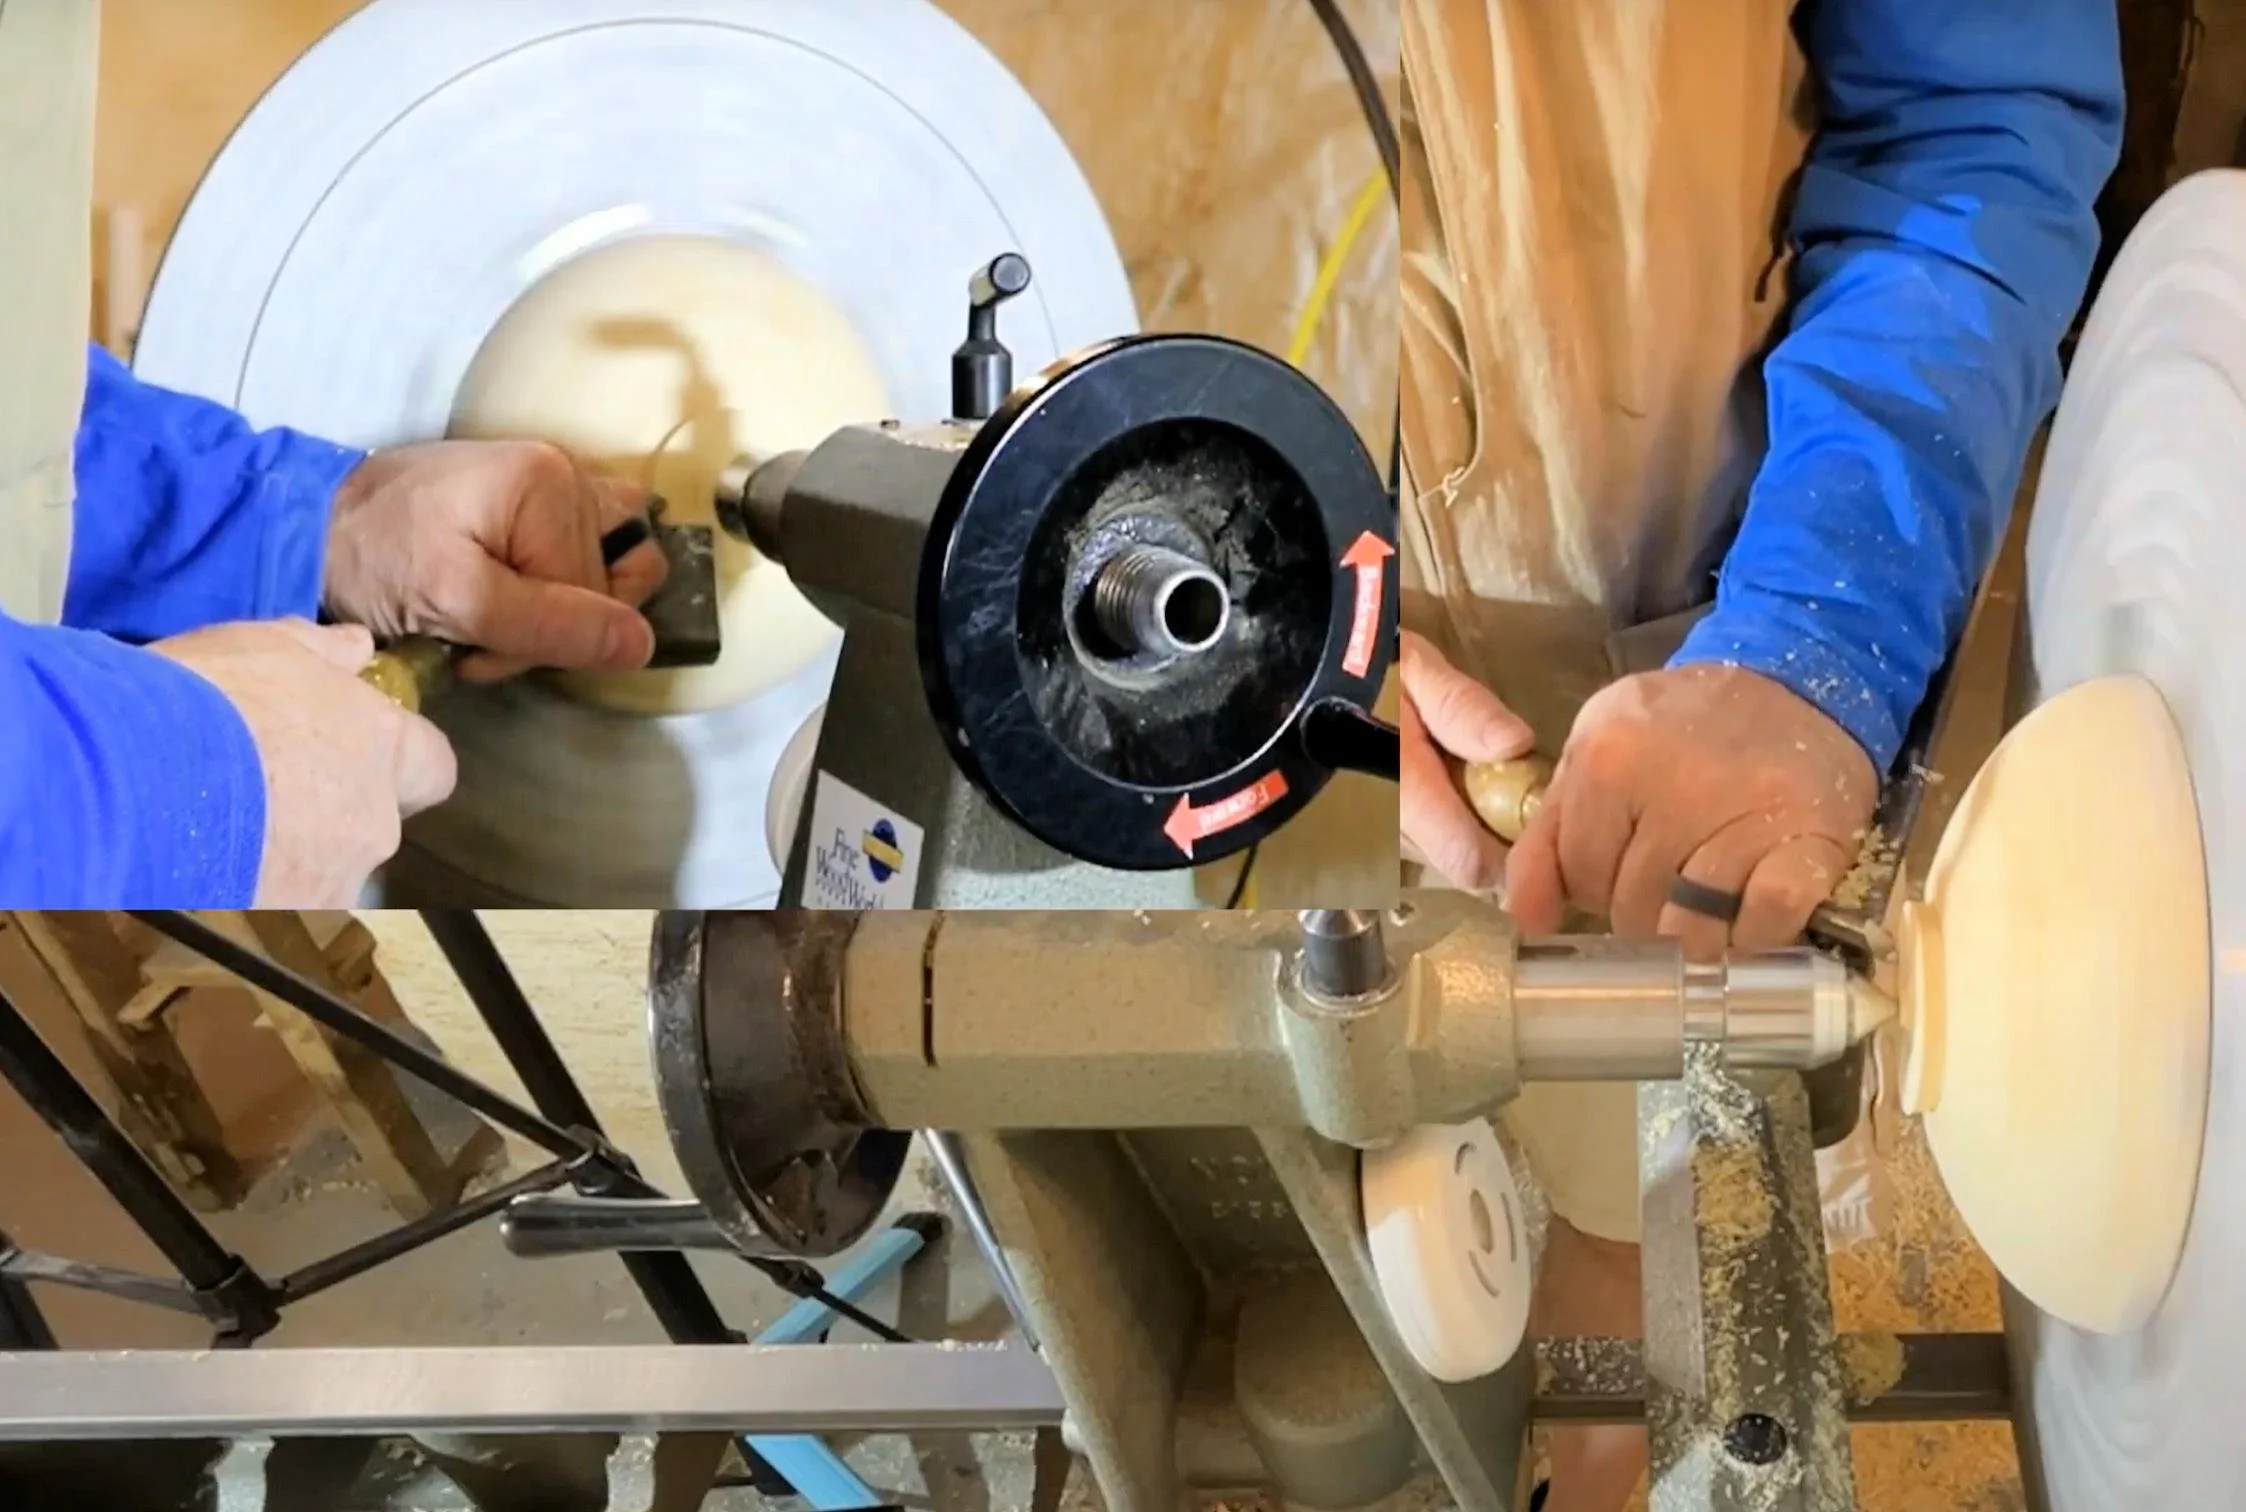
If you’re using a chuck, reverse mount the bowl using cole jaws (https://amzn.to/3ALkNlZ) to grip the outside rim. If you don’t have cole jaws, a jam chuck works as well—create a curved piece that matches the bowl’s interior and use the tailstock for support. A jam chuck can also be used to remove a waste block when using a faceplate. I often use the tenon material to create a foot for the bottom of my bowls, but the key is to size the bowl foot for stability.
Up Next - Lesson 10
Turning bowls is incredibly rewarding, and I’m sure you’ll want to keep practicing. Bowls have endless uses in the kitchen or as home décor items. In our next and final lesson, we’ll be turning a vase, which will involve much more hollowing. For that project, you’ll need a blank that’s 4 to 6 inches in diameter and 8 to 12 inches long—small sections of a log are a great choice. Be sure to subscribe to our e-mail list so you know when Lesson 10 is available. I can’t wait to see you in the next lesson!