
Hi there, I’m Sean, and welcome to Turning Stitches! We help woodturners learn the craft to begin making fun projects faster.
Have you ever sanded a bowl for 20 minutes, worked through the grits, and still found fuzzy patches when the light hits the bottom? Our first instinct is usually to keep sanding. But before you reach for another piece of sandpaper, stop and look at the surface.
Those stubborn rough areas are often tear-out, and the problem started while you were turning. A few changes to your last cuts can leave you with a cleaner surface and much less sanding.
Prefer to watch? In this video, I introduce my process to remove tear out for a great finished surface everytime.
Why Your Bowl Still Looks Rough After Sanding
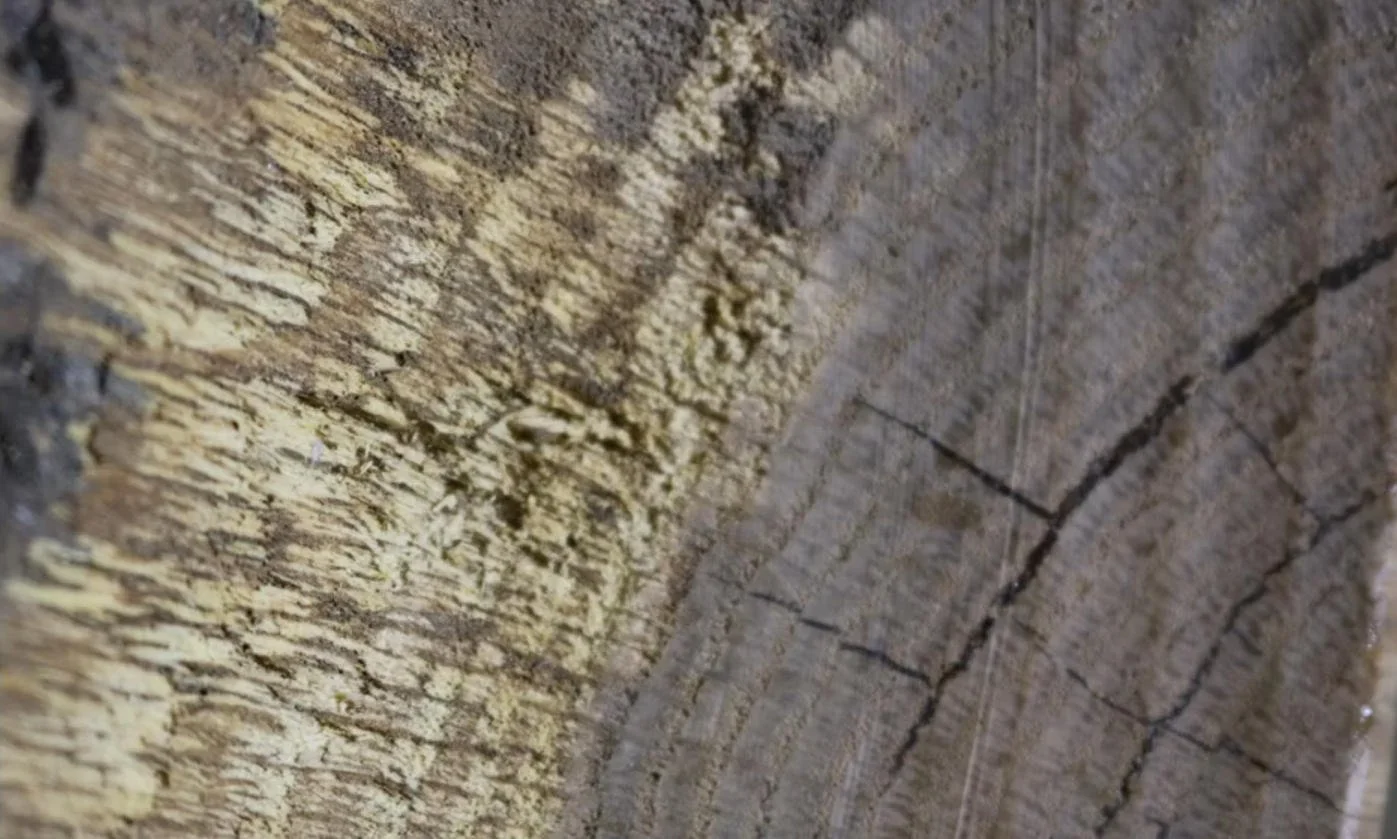
Torn wood fibers inside a bowl before surface refinement.
Tear-out happens when the tool pulls or tears wood fibers below the surface instead of slicing them cleanly. That leaves damaged areas that can remain visible even after the surrounding wood feels smooth.
Sandpaper removes wood, so sanding can eventually remove damage. But it can be a slow way to deal with tear-out. Moving through finer grits won’t make deeper damage disappear just because the rest of the bowl is getting smoother.
The better starting point is the surface your cutting tool leaves behind. Before sanding, look for torn or fuzzy patches, especially around the end-grain areas inside the bowl.
Three Things to Check Before Your Last Cuts
1. Start With a Sharp Bowl Gouge
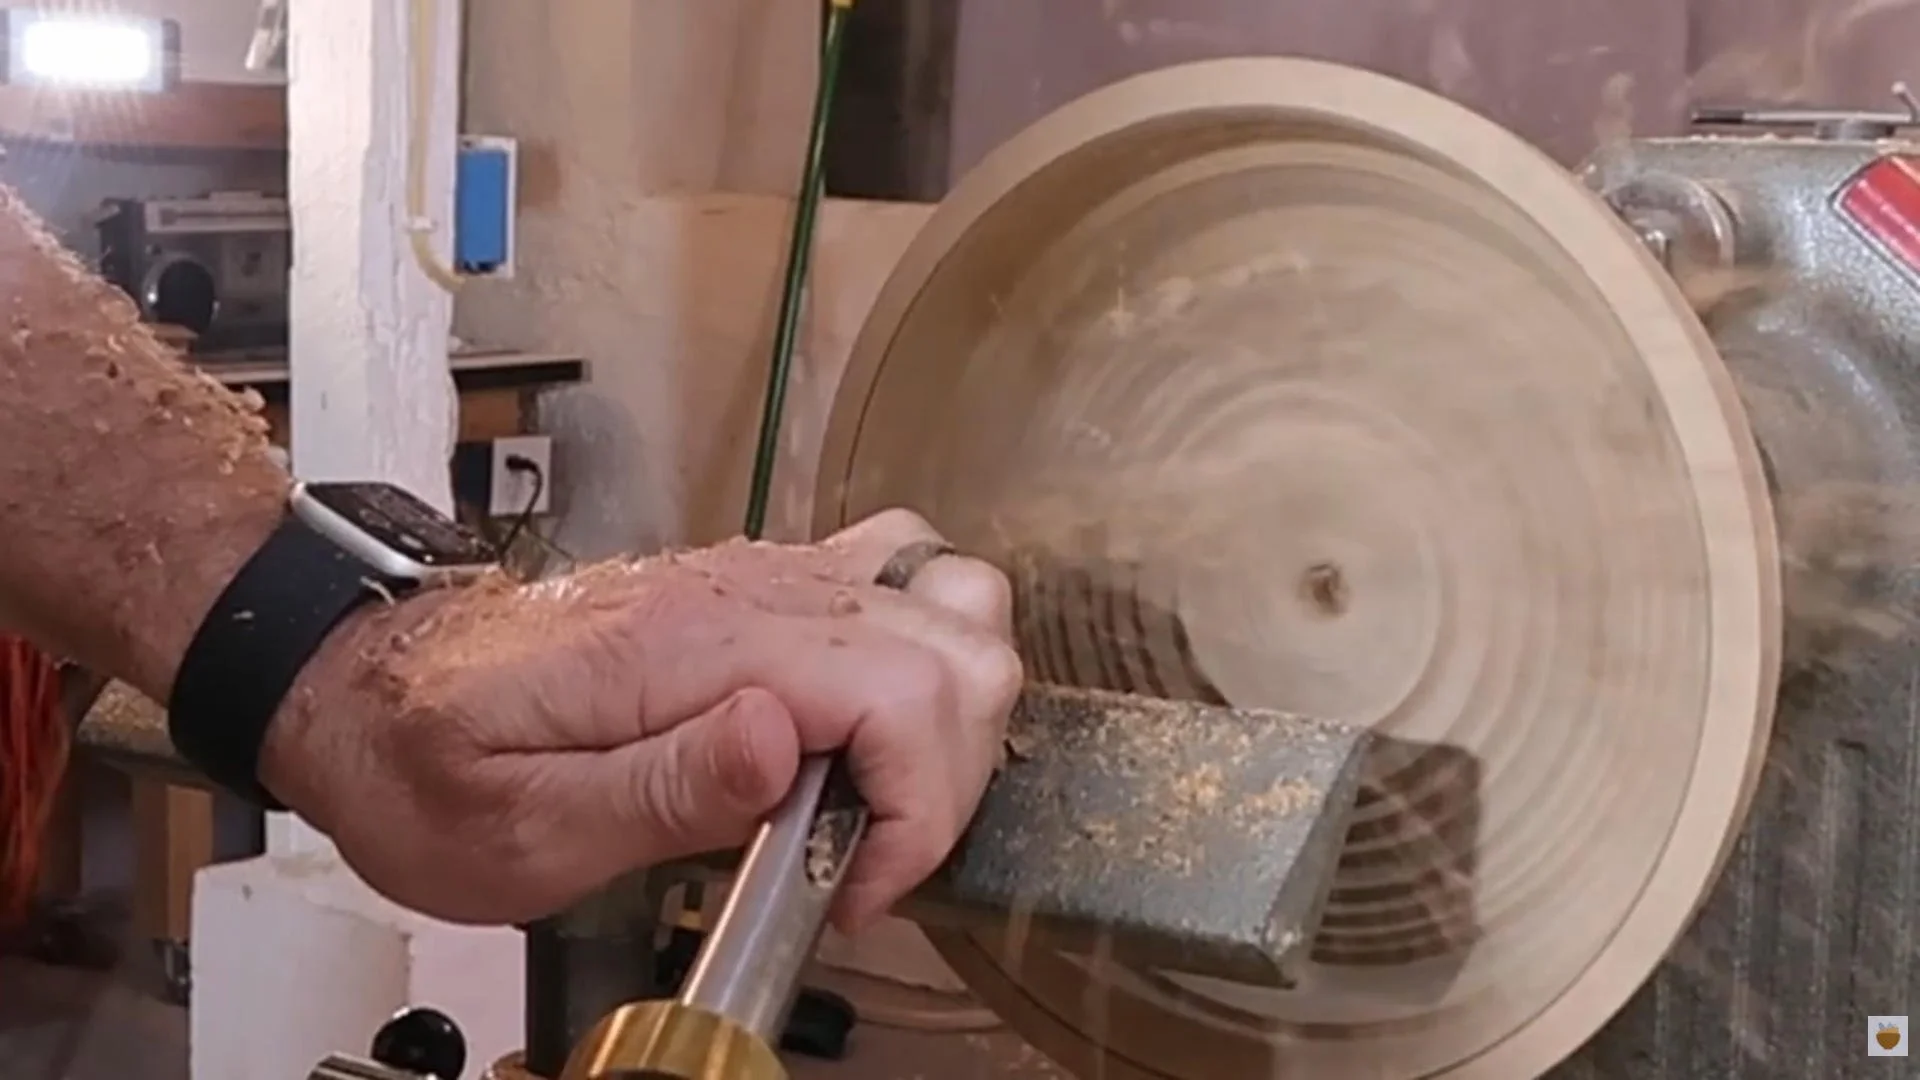
Bowl gouge making a light finishing cut inside a wood bowl.
Your tool may not be as sharp as you think. A freshly sharpened bowl gouge can leave a much cleaner surface. If the last cuts are leaving rough patches, check the edge before assuming you need a different sanding routine.
2. Make Your Finishing Cuts Light
Heavy cuts are useful when you’re removing material and developing the bowl’s shape. By the time you’re preparing to sand, the job has changed. Your last passes should focus on improving the surface.
Take light, controlled finishing cuts. You’re no longer trying to remove a lot of wood, and another aggressive pass can undo the surface you’re working toward.
3. Pay Attention to Bevel Support
How you present the gouge matters as much as its sharpness. Good bevel support helps you control the cut and slice the fibers cleanly. If your finishing pass keeps tearing the wood, check how the edge meets the surface rather than repeating the same cut with more pressure.
My Process for Reducing Tear Out Before Sanding
On almost every bowl, I start this stage with a freshly sharpened bowl gouge. Then I slow down my pace and take one or two light finishing passes. I’m concentrating on surface quality, not reshaping the bowl.
After those passes, I inspect the surface again. If a little tear-out remains, especially in the end-grain areas toward the bottom, I switch to a negative rake scraper.
Use a Negative Rake Scraper When Needed
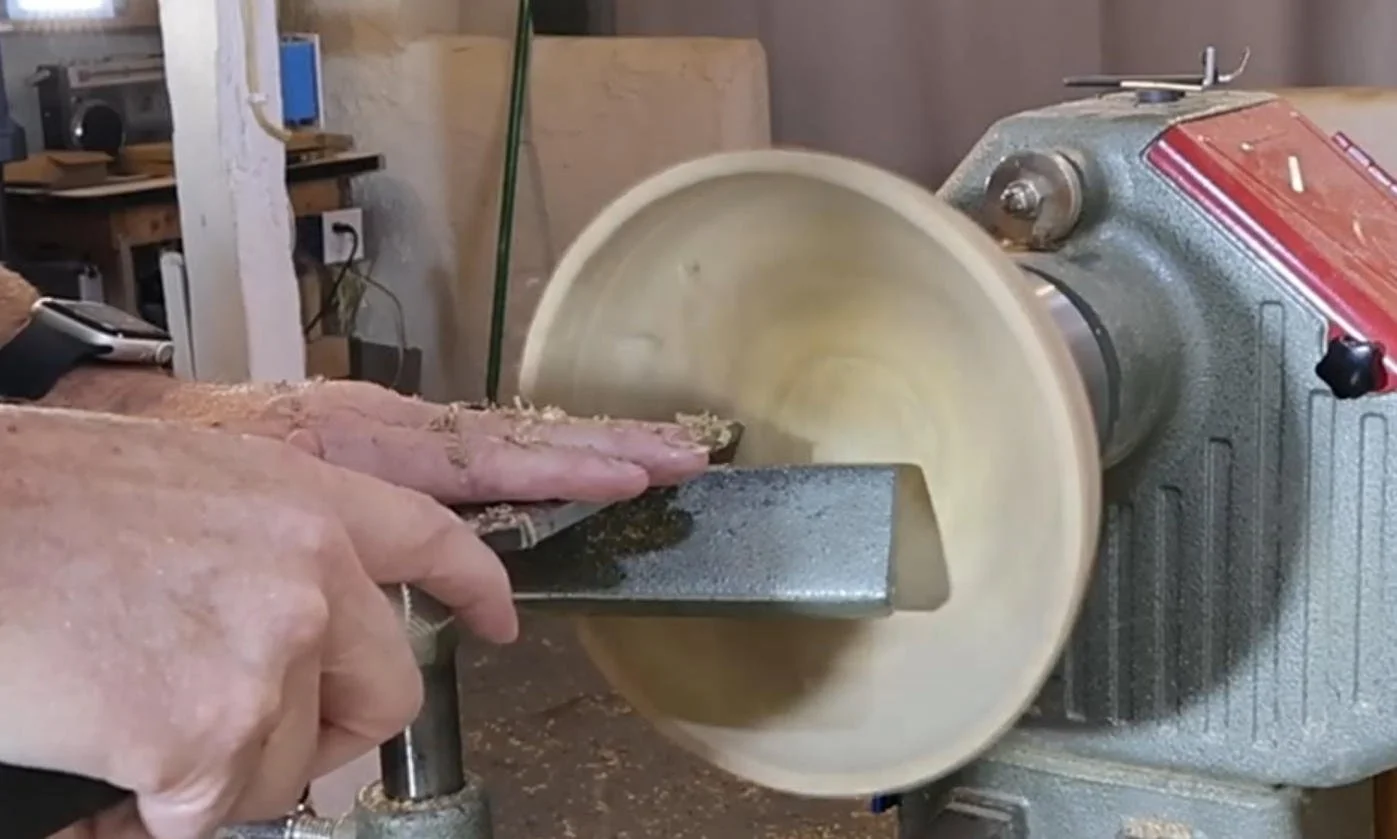
Negative rake scraper refining the inside surface of a wood bowl.
The important thing to notice in the video is how little material comes off. I’m using the scraper to refine the surface and remove remaining damaged fibers. This is a light finishing step, not another roughing pass.
The bowl gouge does the shaping, and the negative rake scraper helps clean up the areas that still need attention. I don’t automatically use it to replace a good gouge cut; I bring it in when the surface needs a little more work.
A Quick Check Before You Pick Up the Sandpaper
Before moving on to sanding, ask yourself:
Is my gouge freshly sharpened?
Were my last cuts light and controlled?
Was the bevel supporting the finishing cut?
Can I still see torn or fuzzy patches?
Would a light pass with the negative rake scraper help clean up a remaining rough area?
You’ll still need to sand. The difference is that you’ll be refining a cleaner surface instead of spending most of your sanding time trying to remove damage.
Keep Turning
If your bowl still looks rough after sanding, don’t automatically blame the sandpaper. Start by looking at the cuts that came before it. Sharper tools, lighter finishing passes, and good bevel support can save a surprising amount of work.
For more detail on finishing cuts, tool presentation, sanding, and applying a finish, our complete Bowl Turning Course walks through the process with multiple camera angles and real-time instruction.
And if you’re still building your basic setup, our Learnin’ Turnin’ post How to Mount a Bowl Blank is a useful place to continue. Until next time, happy turning!
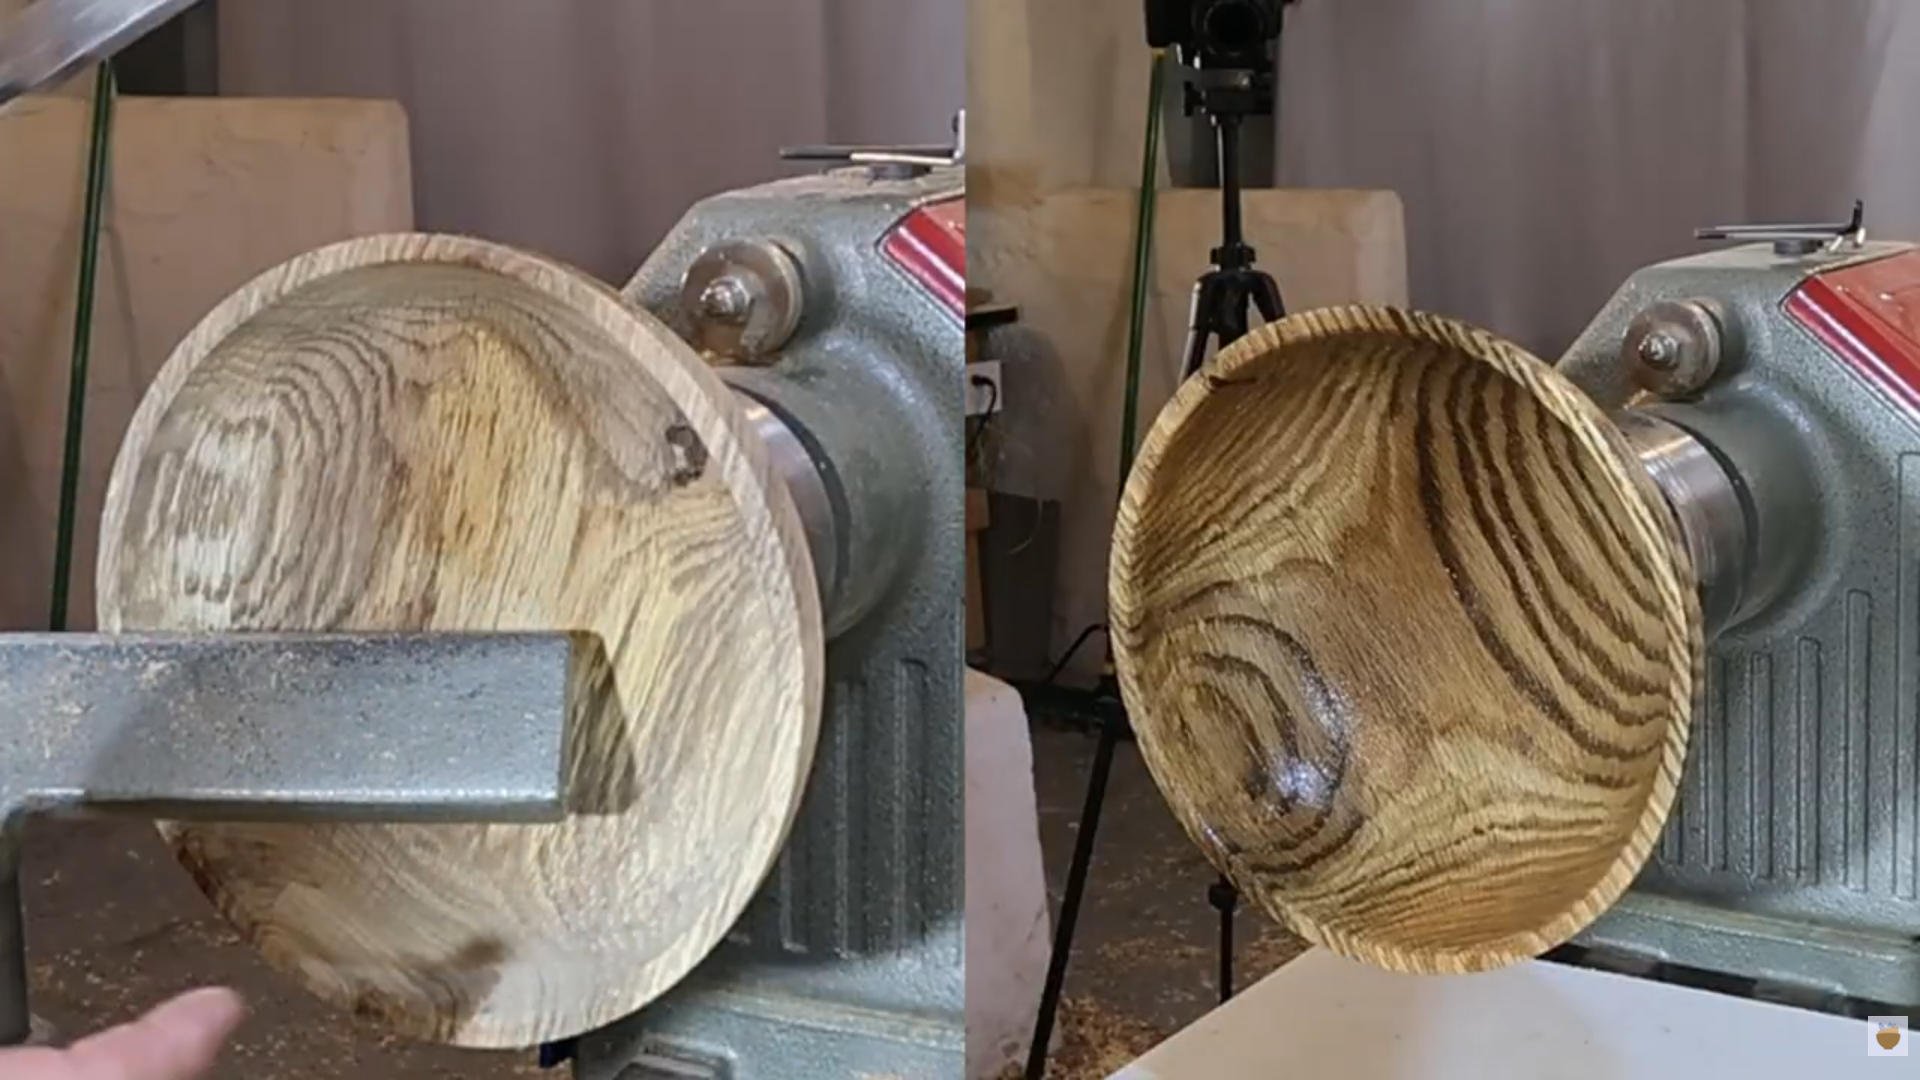
Smooth wood bowl interior after light finishing cuts.